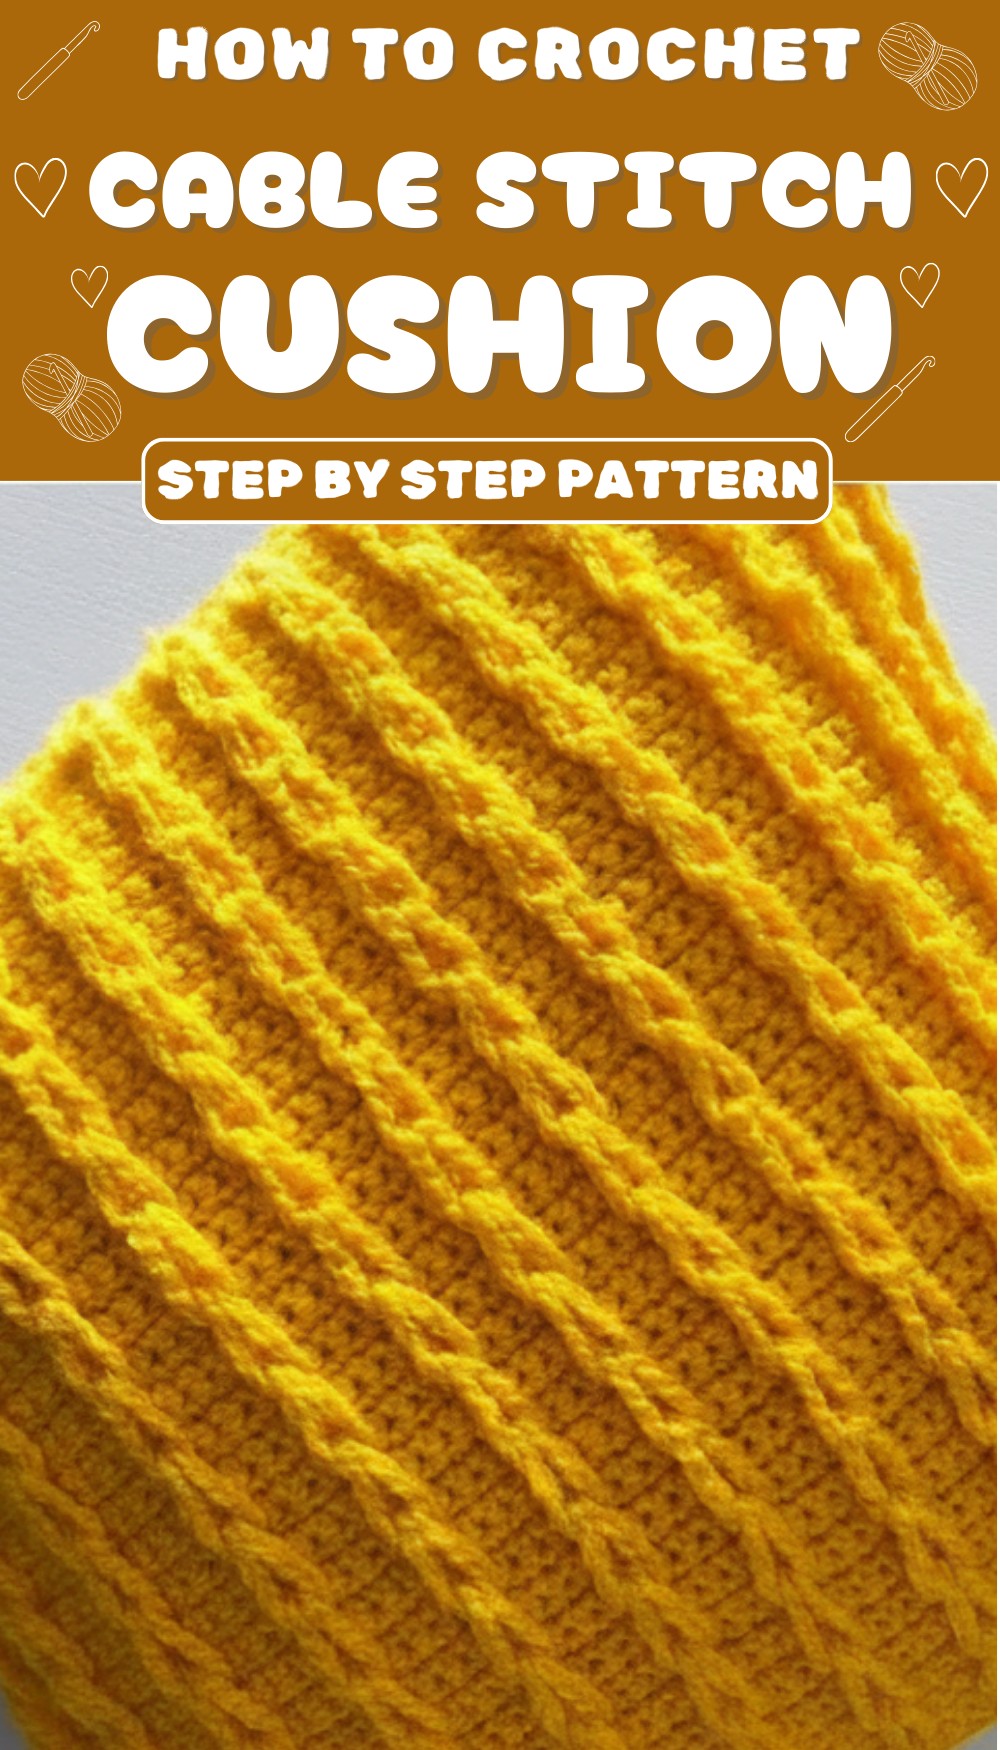
Stitch a cozy and stylish crochet cable stitch cushion pattern that adds texture charm and warmth to your home while being the perfect project for any skill level.
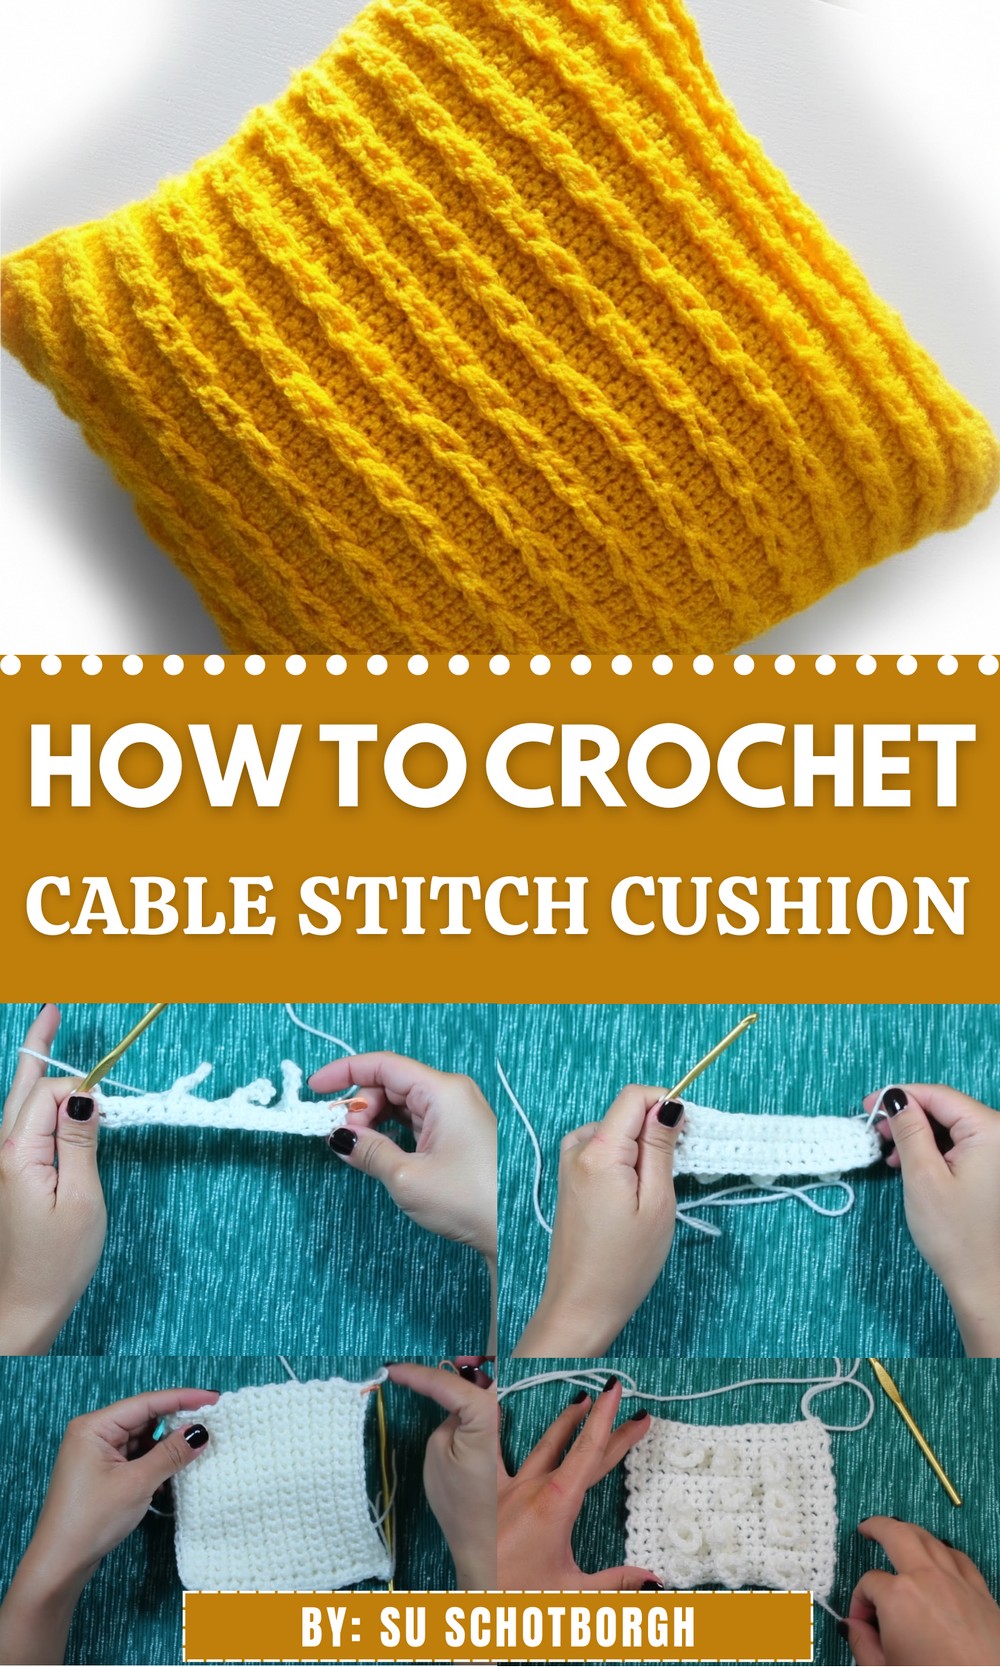
Turn any living space with this free crochet cable stitch cushion pattern that brings timeless texture and elegance to your home. Perfect for cozy couch accents, reading nooks, or sprucing up your bedroom, this design combines intricate cable stitching with a soft, inviting feel.
Crochet Cable Stitch Cushion for a Luxurious Feel
Its versatility allows you to experiment with colors and yarn types, creating a personalized touch that enhances any decor style – from modern minimalism to rustic charm. Whether you’re looking to challenge your crochet skills or crochet a thoughtful gift, this cushion pattern offers both beauty and functionality.
Get ready to stitch something truly special!
Materials Needed
Essential Supplies
- Yarn:
- Acrylic Yarn: 100% acrylic yarn (Sample made with white, but you can choose any color.)
- Select a similar weight for consistent size.
- Amount depends on cushion dimensions (small projects may require less than one standard skein).
- Hook:
- 5mm crochet hook (H/8 in US terminology).
- Other Materials:
- Stitch markers or paper clips for marking rows and corners.
- Scissors.
- Yarn needle for weaving in ends.
- Polyester fiberfill or other cushion stuffing (for filling).
Skill Level
Intermediate. Combines standard stitches with simple shaping techniques and cable-like braiding.
Key Abbreviations
- ch: chain
- sc: single crochet
- sl st: slip stitch
- st(s): stitch(es)
Special Notes:
- Always start stitching with a slip knot.
- For consistency, work in multiples of 4, plus one extra chain for the foundation chain.
- Mark key stitches to avoid errors (e.g., the start of rows or corners). This is particularly helpful for the braided element.
Pattern Instructions
Front Panel
- Foundation Chain:
- Start with a slip knot and chain multiples of 4 plus 1 extra chain. For the sample cushion, chain 17 chains.

- Start with a slip knot and chain multiples of 4 plus 1 extra chain. For the sample cushion, chain 17 chains.
- Row 1 (Single Crochet Foundation):
- Insert hook into the second chain from the hook and work 1 sc.
- Place a stitch marker to mark the first sc of this row.
- Work 1 sc into each chain until the row is complete (total: 16 sc for the sample cushion).
- Chain 1, turn your work.
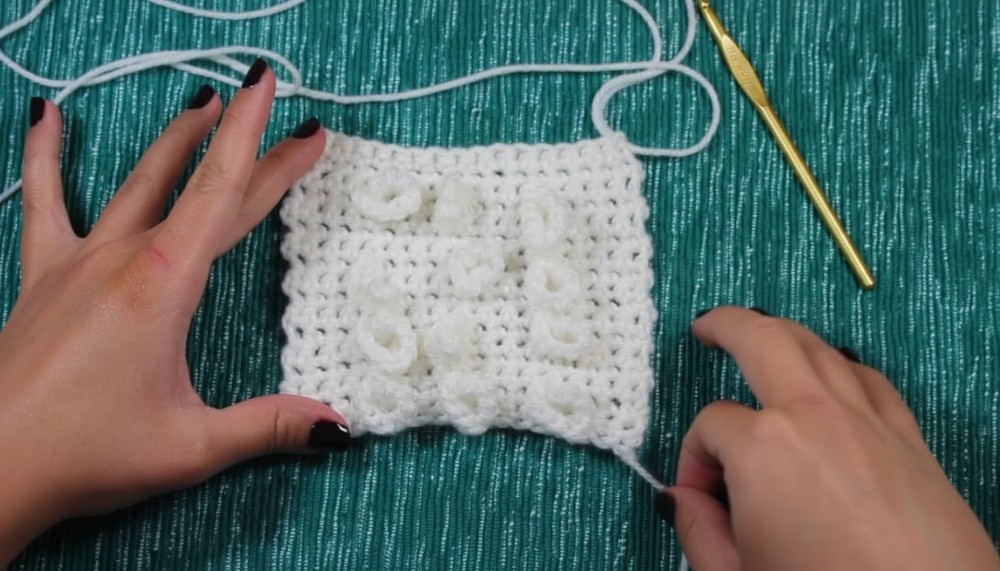
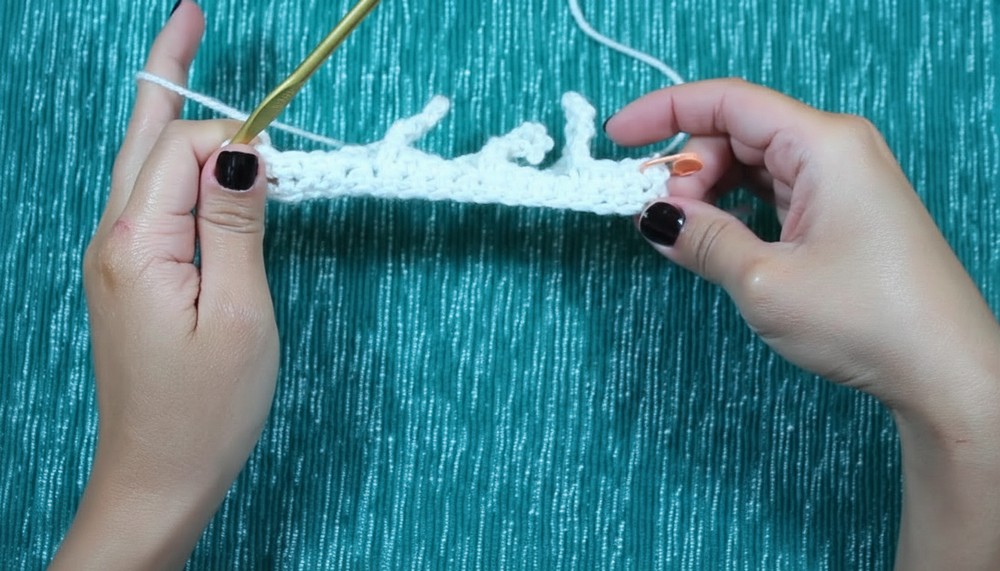 Row 2 (Set up Cable Loops):
- Skip the chain you just made. Begin the row by working 1 sc in each of the first 4 stitches. Mark the first stitch of this row.
- Chain 12 chains, leaving the chain “floating” (this will form a loop).
- Count to the next available stitch, insert hook, and make 1 sc. (You now have 4 sc and 1 loop.)
- Work 3 more sc into the next three available stitches (total: 4 sc after the loop).
- Repeat the pattern (12 chains for a loop, followed by 4 sc) until the row ends. For the sample cushion, this row ends with 3 loops.
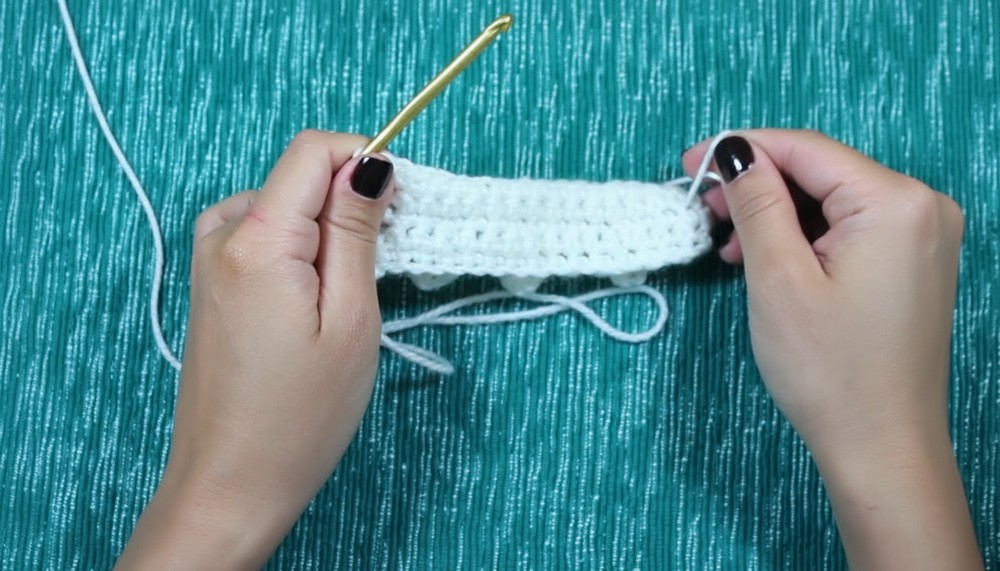
- Row 3 (Secure Loops, Wrong Side):
- Chain 1 and turn. Begin single crochet stitches on the wrong side of the fabric.
- Make 1 sc in each stitch along the row until you get to the first loop.
- To incorporate the loop: Pass your hook under the loop and into the next available stitch. Work 1 sc, thus anchoring the loop securely.
- Continue working sc until you reach each loop, anchoring them securely with the same method.
- By the end of this row, all loops should be on the right side of the fabric.
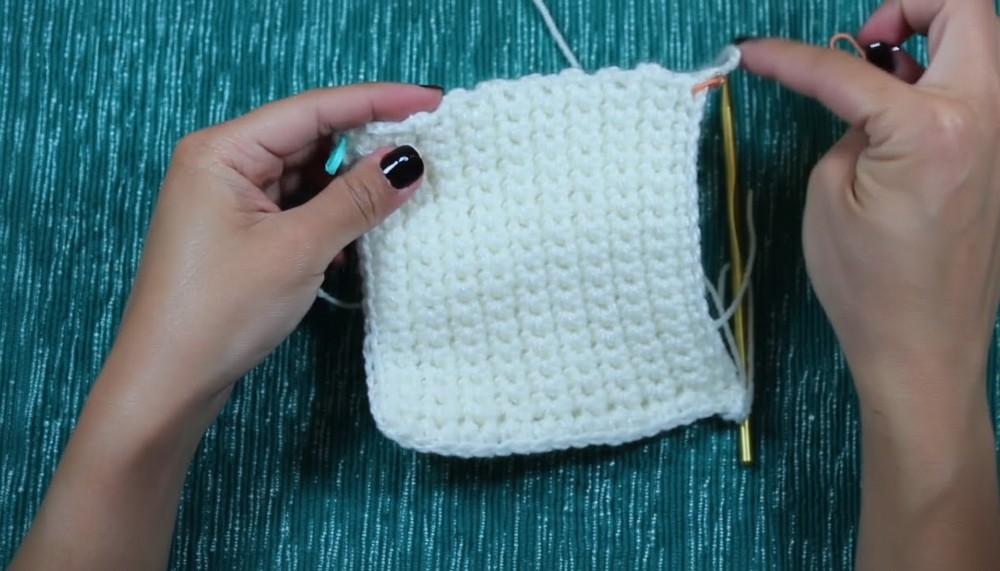
- Rows 4–5 (Plain Rows):
- Chain 1 and turn. Work 1 sc in each stitch across, maintaining a total of 16 sc in each row.
- These rows create space between braided cables.
- Repeat Rows 2–5 (Form More Loops):
- Repeat the pattern sequence (rows 2–5) four times to create four sets of vertical loops.
Braiding Technique
- Once all loops are formed, braid them for a cable-like appearance:
- Take the second loop and pass it under the first loop.
- Take the third loop and pass it under the second loop.
- Repeat this for all loops in the column.
- Ensure each loop remains straight by pulling gently as needed.
Securing Braids
- Chain 1 and turn the fabric to the wrong side. Start single crochet stitches across the row again.
- As you encounter each braided loop:
- Pass the hook under the loop and into the next available stitch.
- Make 1 sc through the loop and base stitch.
- Repeat this step for each braided loop along the row.
- Ensure the total stitch count maintains 16 sc.
Back Panel
- Create a plain panel for the back by working simple rows of single crochet stitches.
- Foundation Chain: Start with 17 chains (same number as front panel).
- Work rows of single crochet stitches until you reach the same number of rows as the front panel (e.g., 18 rows).
- Do not cut the yarn after finishing the final row.
Joining Front and Back Panels
- Place the wrong sides together, aligning edges. Use stitch markers to ensure corners and rows match exactly.
- Chain 1, then start working single crochet stitches through both panels to join them.
- At each corner, make 3 sc to ensure rounded and smooth edges.
- Leave one side partially open for stuffing.
- Insert fiberfill or cushion stuffing and evenly distribute.
- Finish the opening using single crochet stitches and a slip stitch at the end. Cut and secure the yarn.
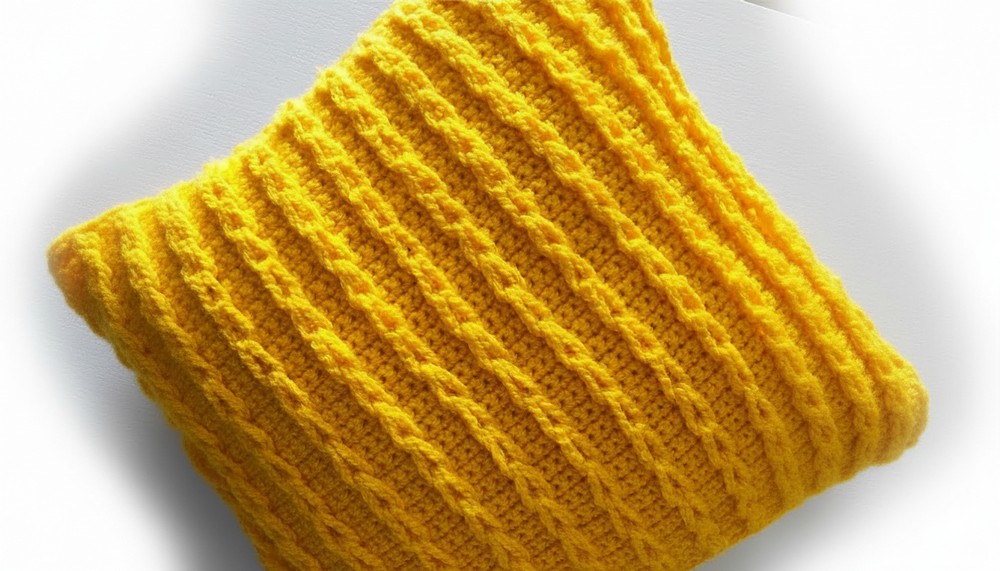
Final Look
- The cushion should have clean edges, uniform braids, and rounded corners.
- With the cable designs visible on the front panel and a solid back panel, the cushion is ideal for home decor, gifting, or adding a unique handmade touch.
Pattern Variations
- Colors:
- Alternate loop colors for a multi-tone braided effect. Example: Use white for the panel base and vibrant hues for the loops.
- Create a gradient effect by using an ombre yarn for a seamless color transition.
- Sizes:
- To create a larger cushion, increase the foundation chain length while maintaining the multiple of 4 plus 1 rule. Add more rows of loops and single crochets proportionally.
- For miniature cushions, reduce chain count and loop repetitions.
Tips for Success
- Consistent Tension: Keep tension uniform to maintain straight cables and prevent puckering.
- Use Stitch Markers: Mark important points in more intricate sections like loop placement and corners to ensure accuracy.
- Avoid Skipping Rows: Follow the pattern sequence exactly for even spacing between loops.
Conclusion
This beautifully braided miniature cushion combines elegance with practicality and is perfect for experimenting with designs and sizes. The subtle texture of the braids breathes life into the cushion, making it an excellent handmade accessory. Whether you’re creating a functional cushion or a decorative piece, this pattern allows endless customization and creativity.