
Build a cute jungle toy with this Crochet Gorilla Free Pattern and enjoy a little animal with a sweet face for kids, birthdays, and special gifts.
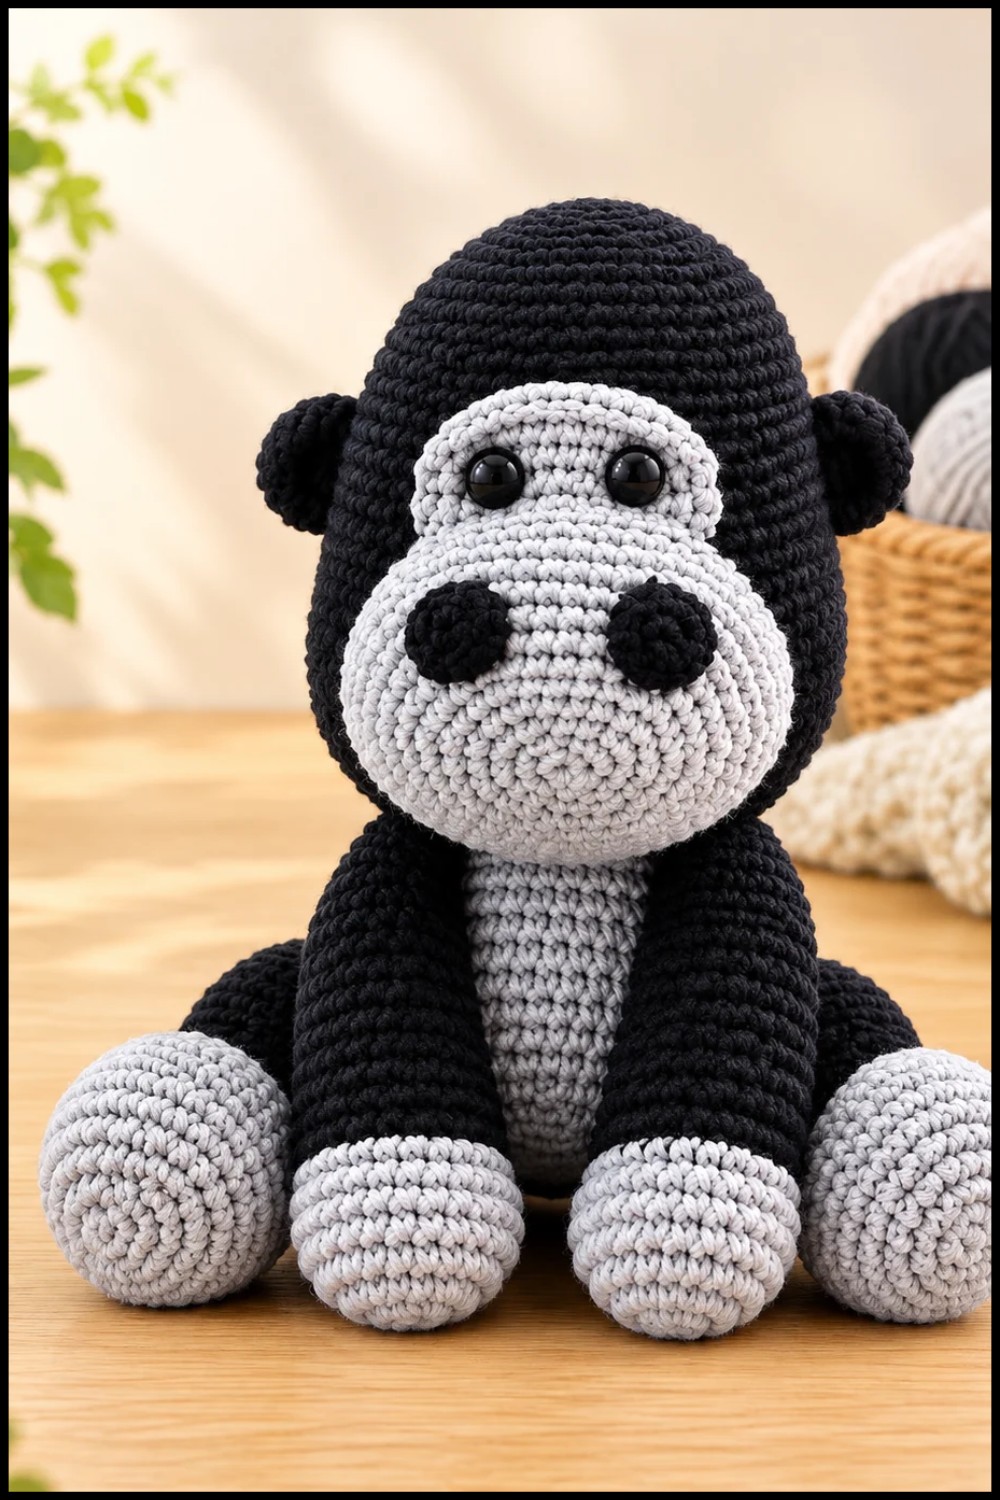
Hooks & Needles By Mita shares an entertaining crochet tutorial that brings a baby gorilla to life with a friendly face and a playful animal design. This Crochet Baby Gorilla is a small stuffed toy with a rounded head, wide ears, short legs, and a plump belly. Its tiny eyes, broad nose, and gentle smile give it an innocent expression. The brown body and lighter face create a natural color combination, while the closely worked stitches give the surface a smooth finish.
Cute Crochet Baby Gorilla Free Pattern For Kids
The gorilla’s large head and short arms are especially interesting details. They give the animal a funny, baby-like appearance that makes it different from adult gorilla toys. Dark brown, gray, or black yarn can be used for the body, with beige added around the face and belly for contrast.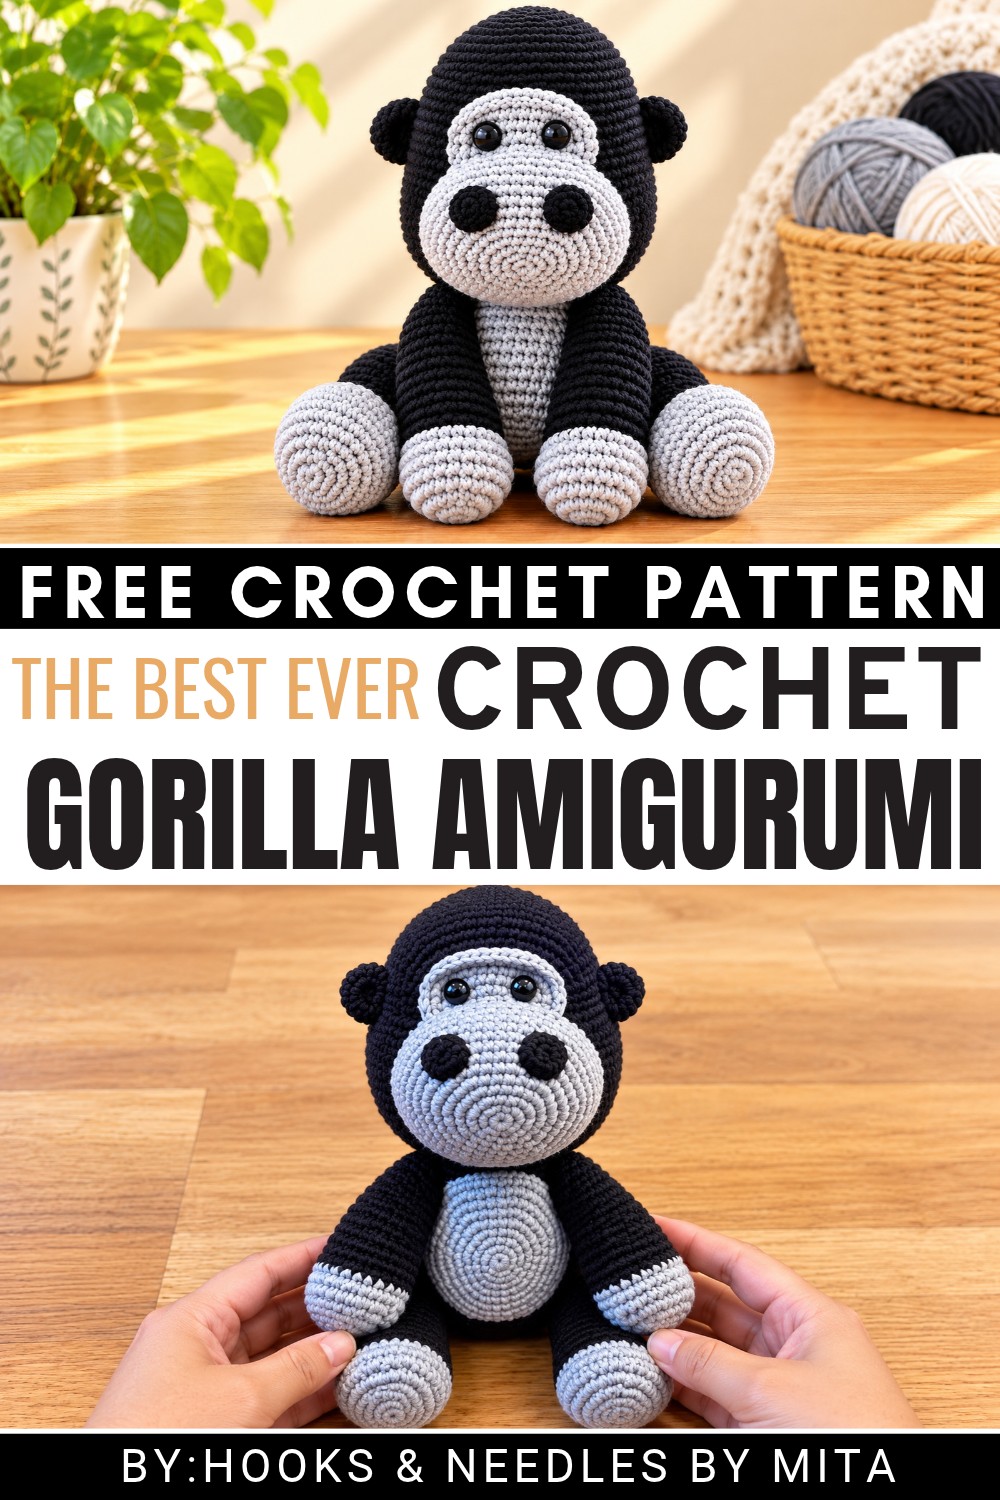 This baby gorilla can sit on a bedroom shelf, decorate a nursery, or become part of a collection of jungle animals. It is also a thoughtful handmade birthday present for children, friends, and family members who enjoy animal toys.
To make the gorilla, begin by crocheting the head and body in rounds. Fill the sections with stuffing, then prepare the ears, arms, and feet. Join the parts and finish with small facial details to give the figure its final look.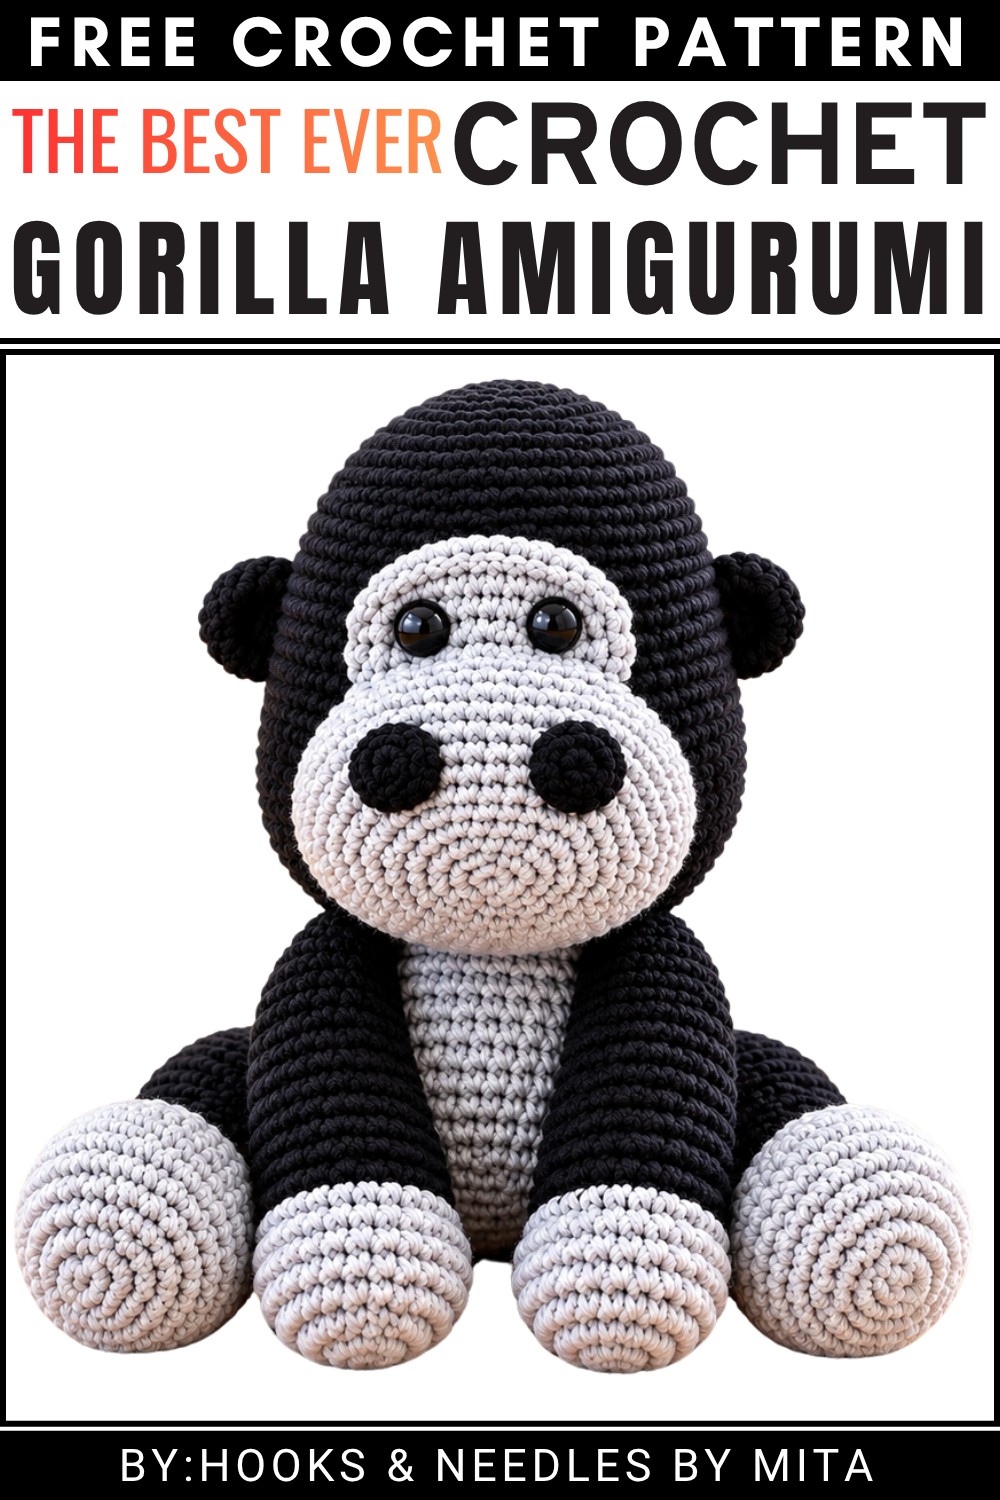 Pick this free baby gorilla pattern for a fun crochet project and add a cheerful jungle animal to your home!
About the Pattern
Bonzo the Gorilla amigurumi is an expressive crocheted toy featuring strong lines, adorable proportions, and lifelike detail. This pattern is structured to guide crafters through creating and assembling each individual piece, ensuring a sturdy finished result and emphasizing realistic shaping in the head, limbs, face, and body. By working in rounds and using careful placement of limbs and features, this pattern provides a three-dimensional, cuddly companion that stands out among classic amigurumi designs.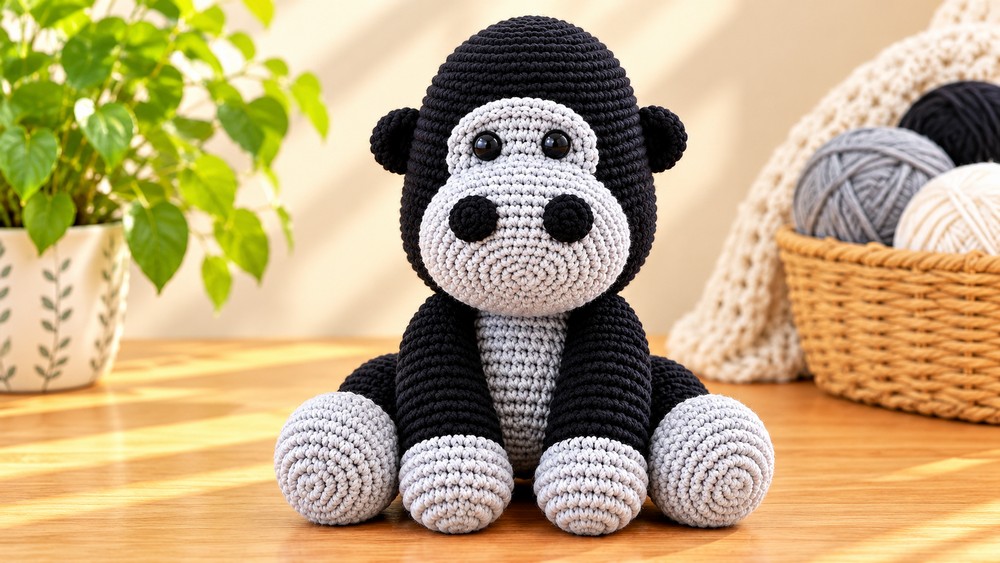
Pattern at a Glance
- Construction: Multiple individual pieces including head/body (single piece), face, snout, ears, belly, arms, legs, and nostrils
- Shaping: 3D shaping with strategic increases and decreases
- Special details: Half-double crochet for facial contour, thumbs on hands, color changes for naturalistic effect
Important Notes
- All pieces are worked in continuous rounds unless otherwise indicated.
- Stuff pieces firmly but avoid over-stuffing, especially for the head and limbs.
- When sewing pieces together, ensure neat seams and proper alignment for symmetrical appearance.
- The yarn color changes on arms and legs mimic gorilla fur patterns; carefully switch colors at the specified rounds.
- It is helpful to pin pieces in place before stitching them together.
Difficulty Level
Intermediate.
The pattern requires experience with amigurumi, working in continuous rounds, making invisible increases and decreases, performing color changes, and sewing pieces securely. Some shaping and assembly finesse is necessary for best results.
Supplies Needed
- Worsted weight yarn in black (main), grey (face and hands), and optional accent colors for nostrils
- Crochet hook size suited for a dense, firm fabric (typically 2.5mm–3.5mm)
- Stuffing (polyfiber fill)
- Yarn needle
- Stitch markers
- Scissors
- Sewing pins
Size & Measurements
- Finished Size: Approx. 10–12 inches (25–30 cm) tall, depending on yarn, hook, and tension
- Proportions: Head is large and round; arms and legs are robust; body is squat and firm.
Gauge & Stitch Details
- Amigurumi are worked at a tight gauge; adjust hook if stuffing shows between stitches.
- Key stitches: single crochet, half-double crochet, increases (inc), decreases (dec), magic ring.
Crochet Abbreviations
- mr – magic ring
- sc – single crochet
- hdc – half-double crochet
- inc – increase (2 sts in same st)
- dec – decrease (sc 2 sts together)
- sl st – slip stitch
- st(s) – stitch(es)
- FO – fasten off
Special Stitch Guide
- Magic Ring (mr): Create a loop, hold tail, insert hook, yarn over, pull through, work stitches into center, pull tight.
- Invisible Decrease (sc dec): Insert hook into front loop of next two stitches, yarn over, pull through both loops, yarn over again, pull through final two loops.
Complete Crochet Pattern
Face
- Round 1: Using grey yarn, mr, 6 sc into ring.
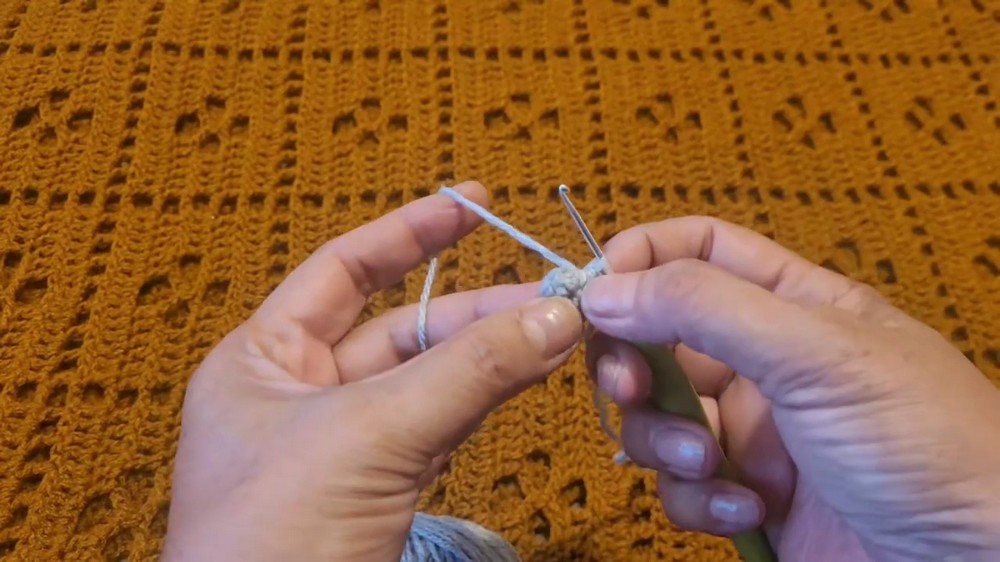
- Round 2: Inc in each st around (12).
- Round 3: (Sc in next st, inc in next st) repeat around (18).
- Round 4: (Sc in next 2 sts, inc in next st) repeat around (24).
- Round 5: (Sc in next 3 sts, inc in next st) repeat around (30).
- Round 6: (Sc in next 4 sts, inc in next st) repeat around (36).
- Round 7: (Sc in next 5 sts, inc in next st) repeat around (42).
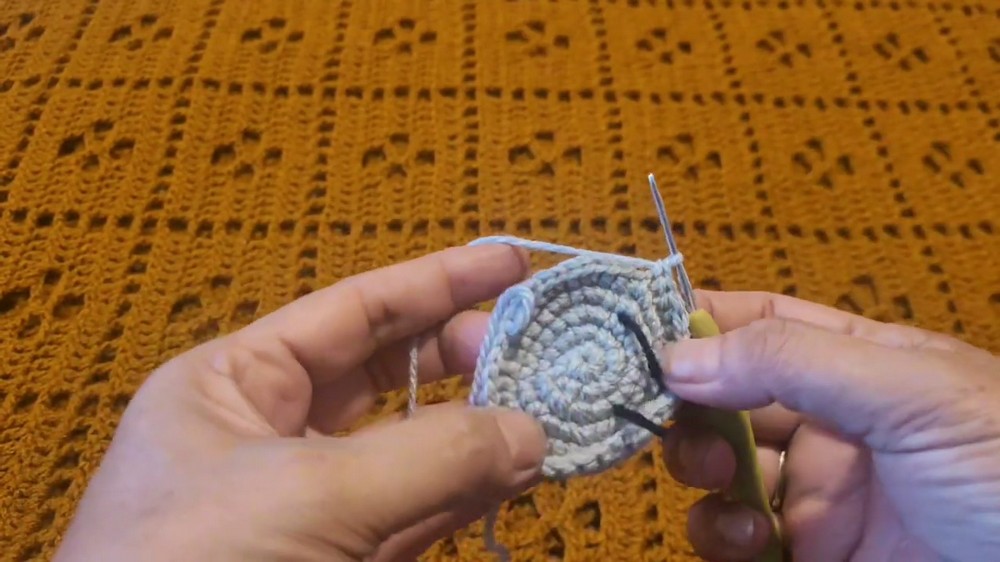
- Rounds 8–9: Sc in each st around (42 for each round).
- Round 10: (Sc in next 6 sts, inc in next st) repeat around (48).
- Round 11: (Sc in next 7 sts, inc in next st) repeat around (54).
- Round 12: (Hdc in next 8 sts, inc in next st) repeat around (60).
- Round 13: Hdc in each st around (60).
- Round 14: (Sc in next 9 sts, inc in next st) repeat around (66).
- Round 15: Sc in each st around (66).
- Round 16: (Sc in next 10 sts, inc in next st) repeat around (72).
- Round 17: Sc in each st around (72).
- Round 18: (Sc in next 11 sts, inc in next st) repeat around (78).
- FO, leaving tail for sewing.
Head and Body (one piece)
- Round 1: Using black yarn, mr, 6 sc.
- Round 2: Inc in each st around (12).
- Round 3: (Sc in next st, inc in next st) repeat around (18).
- Rounds 4–7: (Continue increasing 6 per round as on face)
- Increase by 6 per round (24, 30, 36, 42).
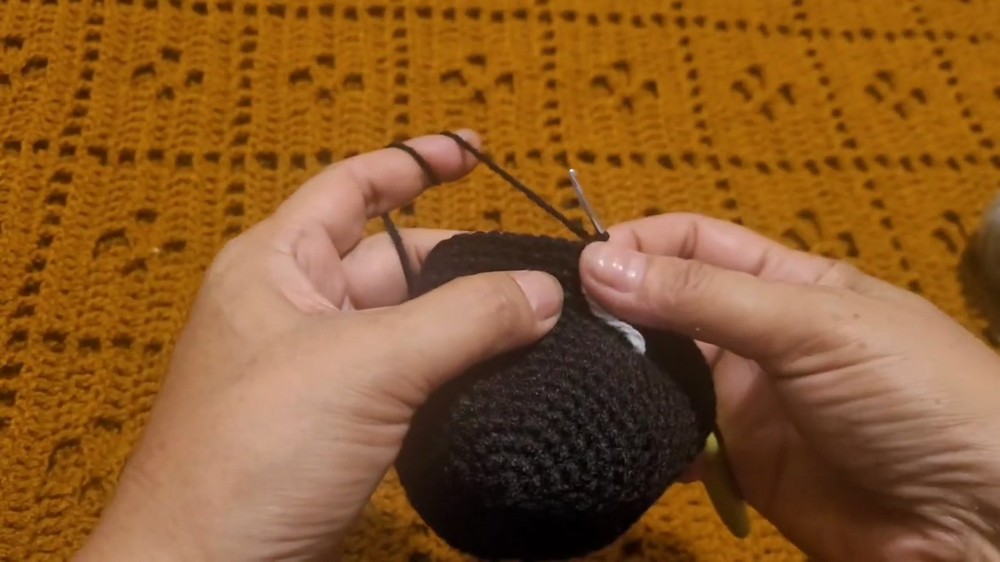 Rounds 8–14: (Continue as above to reach 78 sts)
- (Sc in next 11 sts, inc in next st) repeat until 78 sts reached.
- Rounds 15–25: Sc in each st around (78).
- Begin decreasing:
- (Sc in 11, dec in next) around (72). Continue, decreasing 6 per round.
- Continue decreasing to 16 sts at end.
- FO, leaving tail for closing after stuffing.
Snout
- Round 1: With grey, mr, 6 sc.
- Round 2: Inc in each st around (12).
- Round 3: (Sc, inc) repeat (18).
- Round 4: (Sc in 2, inc) repeat (24).
- Round 5: (Sc in 3, inc) repeat (30).
- Round 6: (Sc in 4, inc) repeat (36).
- Round 7: (Sc in 5, inc) repeat (42).
- Round 8: (Sc in 6, inc) repeat (48).
- Round 9: (Sc in 7, inc) repeat (54).
- FO, leaving tail for sewing.
Belly
- Round 1: With grey, chain 6, sc in 2nd ch from hook and next 3, 3 sc in last chain, rotate, sc in other side of chain 3, 2 sc in same as first.
- Round 2: Inc at both ends and on curve (work up to 56 sts over multiple rounds).
- Continue oval shaping up to 56 sts.
- FO, leave tail for sewing.
Ears (Make 2)
- Round 1: With black, mr, 6 sc.
- Round 2: Inc in each st (12).
- Round 3: (Sc, inc) repeat (18).
- Round 4: (Sc in next 2, inc) repeat (24).
- Round 5: (Sc in next, inc) repeat (14).
- FO, leave tail for sewing.
Arms (Make 2)
- Round 1: With grey, mr, 6 sc.
- Round 2: Inc in each st (12).
- Round 3: (Sc, inc) repeat (18).
- Round 4–6: Sc in each st.
- Round 5: On thumb side, work short row (row of sc out and back) for thumb.
- Round 7: Switch to black; sc in each st.
- Continue even rounds for arm length, decreasing to 6 sts at the end.
- FO.
Legs (Make 2)
- Round 1: With grey, mr, 6 sc.
- Round 2: Inc in each st (12).
- Rounds 3–9: (Continue increasing and shaping per instructions; refer above for complex shaping)
- Round 10: Switch to black; continue as above.
- Continue to desired length, decrease gradually to 6 sts at the tip to close.
- FO.
Nostrils (Make 2)
- Round 1: With grey, mr, 6 sc.
- Round 2: (Sc, inc) repeat (9).
- FO, leave tail for sewing.
Assembly & Finished Size
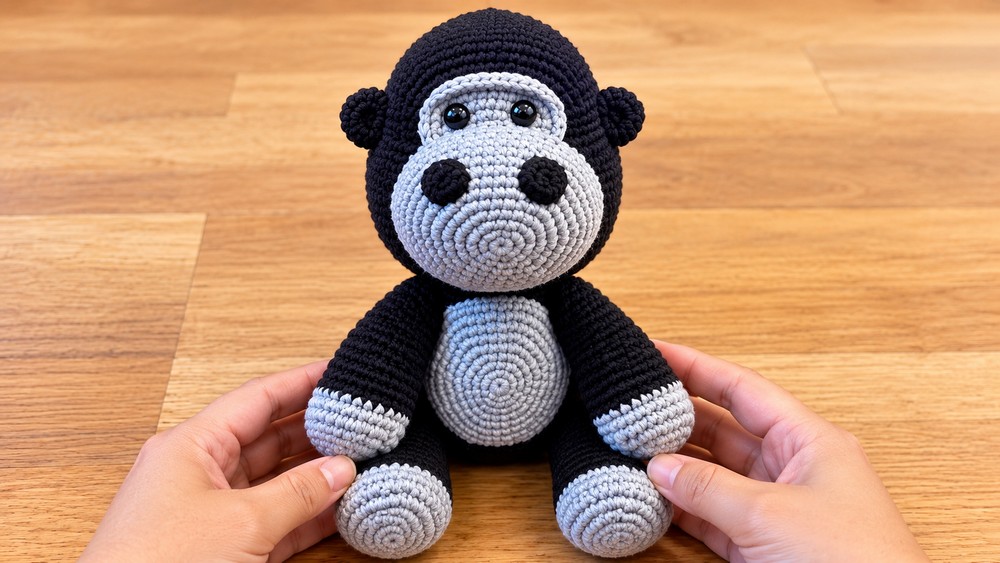
- Stuff head and body section firmly before final closure, making sure the shape is round and robust.
- Sew face onto the front of the head section, aligning centrally.
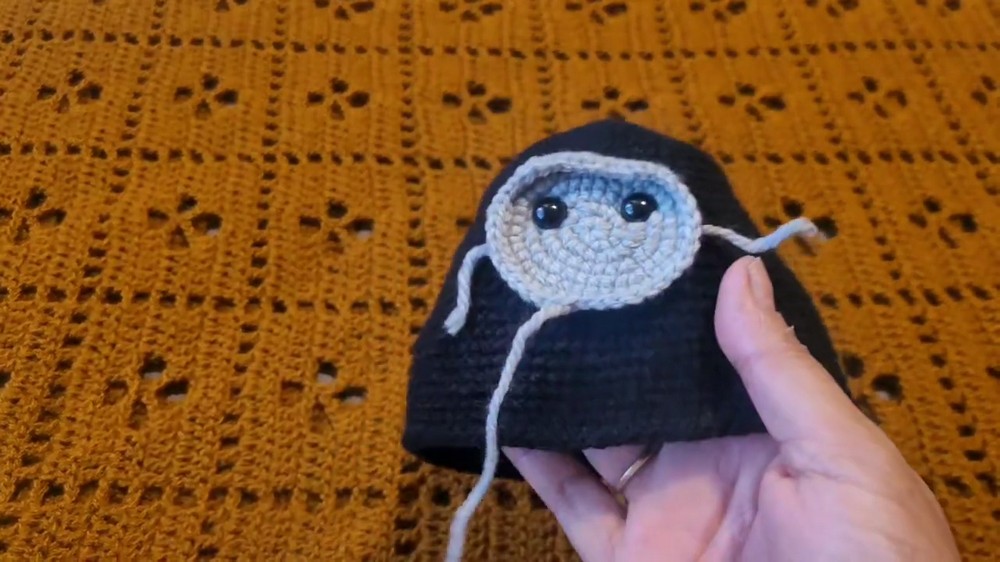
- Attach snout centered on the face, using remaining loops for a flush fit.
- Sew belly to body bottom, centered.
- Affix nostrils to the snout, spacing them about five rows above the snout base for realism.
- Attach ears to the head, matching levels with the top of the eyes.
- Position and sew arms so the thumbs face inward, attaching them evenly with the ears for lifelike posture.
- Sew legs beneath the belly, ensuring symmetry with ears when viewed from the front.
Conclusion
The Bonzo the Gorilla amigurumi pattern balances classic construction techniques with details that bring the character to life. Careful shaping, color transitions, and expressive assembly result in a compelling and loveable toy suitable for display or gifting. Proper stuffing and careful sewing of each part will yield a durable and huggable companion, full of personality and crafted charm.
