Snuggle up with this delightful crochet cloud pillow pattern—simple to make and perfect for adding soft, dreamy comfort to your cozy space.
Filled with soft fiber beads and sewn carefully along six edges, the pillow is sturdy yet squeezably soft. Beginners will appreciate how the project helps develop key techniques like working in the round and finishing touches, making it both fun and educational. Whether you decorate it with a sweet smile or keep it simple, this cloud pillow will brighten any space with handmade warmth and creativity.
Dreamy Crochet Cloud Pillow Pattern Fun Project for Newbies
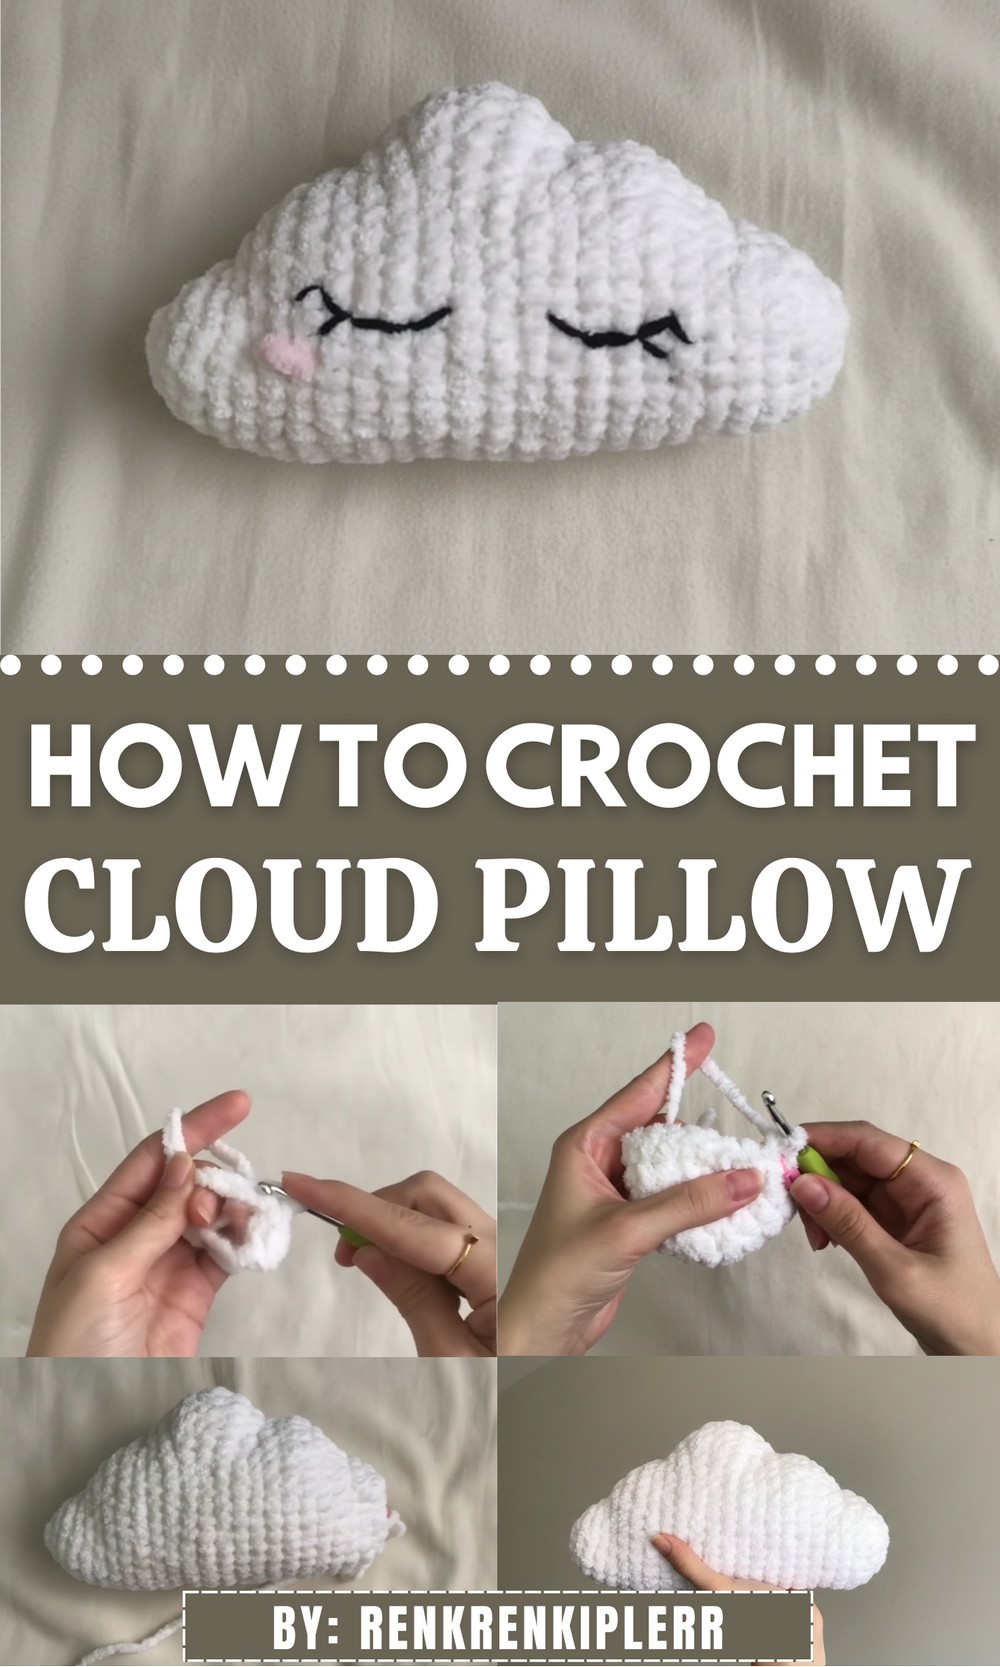
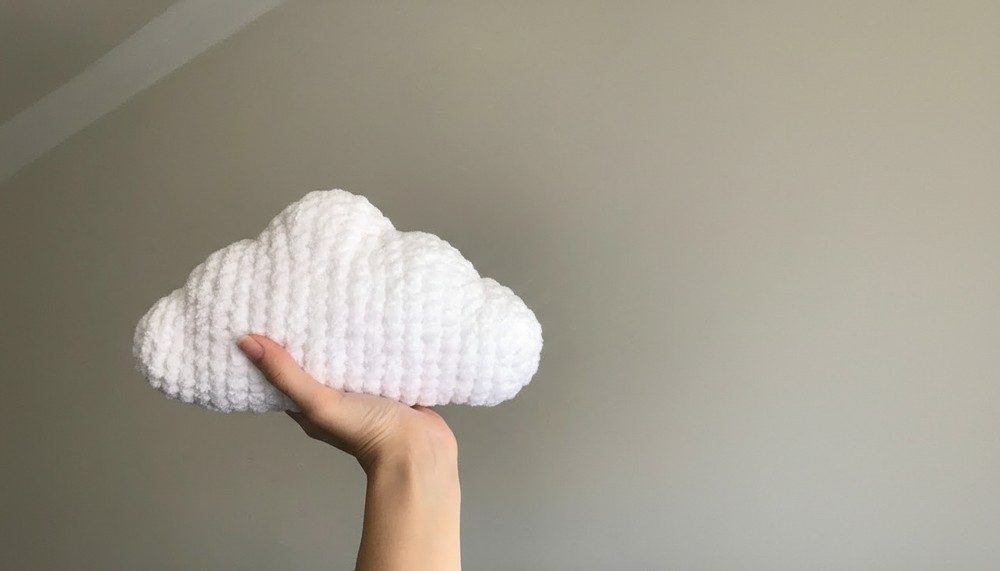
Soft, fluffy, and simply adorable, this cloud pillow is perfect for adding a cozy, whimsical touch to any room. Its gentle curves and plush velvet yarn create a charming, cuddly atmosphere that feels like hugging a little piece of the sky.

Crochet Cloud Pillow Pattern (with Optional Face)
1. Materials
- Yarn
- White velvet yarn (main color for cloud)
- Pink velvet yarn (for cheeks, optional)
- Black yarn (for eyes and mouth – regular acrylic or cotton is fine; does not need to be velvet)
- Hook
- 5.0 mm crochet hook (as stated: “crochet number 5”)
- Notions
- Stitch marker (very important for keeping track of rounds)
- Yarn / tapestry needle (a “hole needle” – large-eyed needle for sewing and embroidery)
- Scissors
- Polyester fiberfill (bead fiber / stuffing)
2. Abbreviations (US Crochet Terms)
- MR – magic ring (magic circle)
- ch – chain
- sc – single crochet
- dc – double crochet
- sl st – slip stitch
- inc – increase (2 sc in the same stitch)
- dec – decrease (single crochet 2 stitches together)
- st(s) – stitch(es)
- (…) – instructions inside parentheses are worked into the same stitch or repeated as indicated
- x N – repeat the instructions N times
3. Special Techniques
- Magic Ring (MR)
- Wrap yarn around two fingers to form a loop.
- Insert hook through loop, yarn over, pull up a loop.
- Ch 1 (for sc) and work the indicated number of sc into the ring.
- Pull the tail to close the center tightly.
- Invisible Decrease (Recommended)
For neater shaping:- Insert hook into front loop only of the first stitch,
- Insert hook into front loop only of the next stitch,
- Yarn over, pull through both front loops, yarn over and pull through both loops on hook.
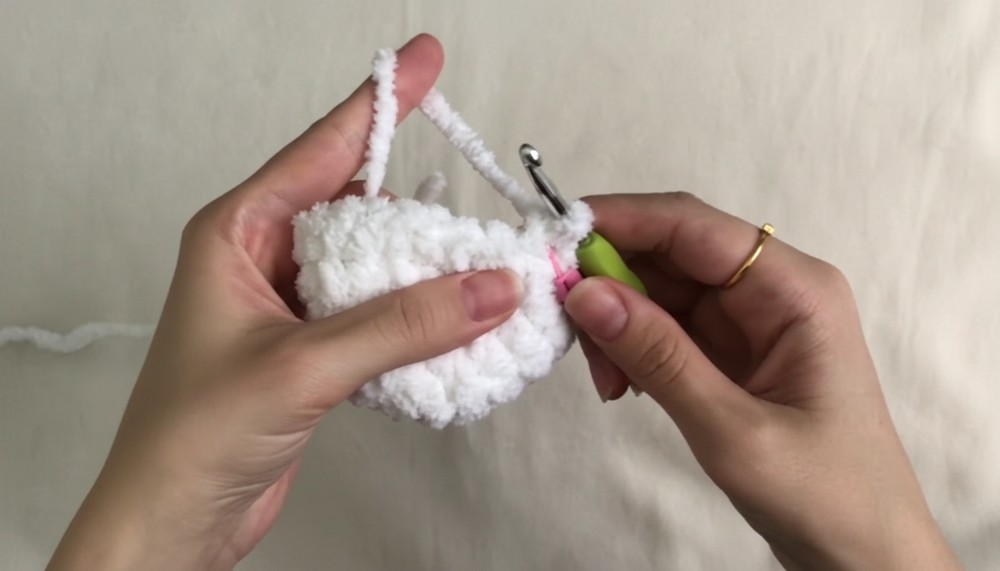
- Stuffing While Working
- Begin stuffing the cloud once it takes shape (around mid-pattern, after it begins closing).
- Add small amounts at a time and push gently into all “bumps” of the cloud.
4. General Notes
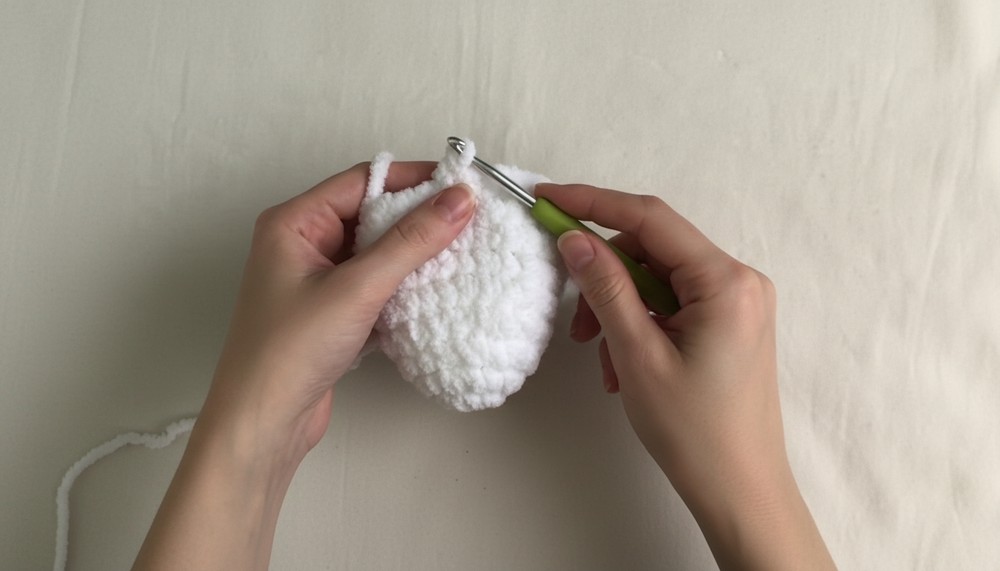
- This cloud is worked in continuous rounds (do not join at the end of each round unless specified).
- Always place a stitch marker in the last stitch of the round and move it up as you go.
- Count your stitches at the end of each round to ensure the shape remains symmetric.
- Velvet yarn can be slippery and slightly harder to see stitches; work slowly and feel for each stitch if needed.
5. Cloud Pillow Pattern
Start of Cloud
Round 1:
- 6 sc in a magic ring. (6)
Pull the short yarn tail to close the ring tightly.
Place a stitch marker in the 6th stitch.
Round 2:
- 6 inc (2 sc in each stitch around). (12)
Round 3:
- (sc, inc) repeat 6 times. (18)
(1 sc in next st, 2 sc in next st, repeat around.)
Round 4:
- 2 sc, inc repeat 6 times. (24)
(sc in next 2 sts, 2 sc in next st, repeat.)
Forming First Bump and Side Shaping
Round 5:
- 9 sc, 6 sl st, 9 sc. (24)
- Work normal sc into first 9 sts.
- Then work 6 slip stitches into the next 6 sts (this flattens/indents that section).
- Then 9 sc to end of round.
Round 6:
- 9 sc, (2 sc in same stitch) 6 times, 9 sc. (30)
- sc in first 9 sts.
- Then 6 increases (each increase is 2 sc in 1 stitch).
- sc in last 9 sts.
Round 7:
- sc in every stitch around. (30)
Adding More Volume
Round 8:
- 9 sc, (sc, inc) x 6, 9 sc. (36)
- 9 sc,
- then (1 sc in next st, 2 sc in next st) repeated 6 times,
- 9 sc.
Round 9:
- sc in every stitch around. (36)
Round 10:
- 15 sc, 6 sl st, 15 sc. (36)
- This again creates a flat/indented area, forming cloud bumps.
Round 11:
- 15 sc, (2 sc in same stitch) 6 times, 15 sc. (42)
- 15 sc,
- 6 increases (2 sc in each of the next 6 sts),
- 15 sc.
Round 12:
- sc in every stitch around. (42)
Top Bump Detail
Round 13:
- 17 sc, 8 dc, 17 sc. (42)
- 17 sc,
- then 8 dc (double crochet) to create a more pronounced curve,
- 17 sc.
Round 14:
- sc in every stitch around. (42)
Beginning Decrease and Shaping the Other Side
Round 15:
- 15 sc, 6 dec, 15 sc. (36)
- 15 sc,
- work 6 decreases,
- then 15 sc.
Round 16:
- 15 sc, 6 sl st, 15 sc. (36)
Round 17:
- sc in every stitch around. (36)
Round 18:
- 15 sc, 6 dc, 15 sc. (36)
- Adds another gentle wave.
Narrowing the Cloud
Round 19:
The transcription:
15 sc ( 1 decrease-2 sc-1 sc) – 15 sc (34)
This likely indicates a shaped decrease area. A reasonable interpretation to reach the stated stitch count (34):
- 15 sc, then work a small decrease section over 4 stitches total, then 15 sc.
You may do:
- 15 sc, dec, 2 sc, dec, 15 sc → total stitch count from 36 to 34.
Round 19 (recommended version):
- 15 sc, dec, 2 sc, dec, 15 sc. (34)
Round 20:
Transcription:
13 sc – (1 decrease-1 sc-1 decrease-1 sc-1 decrease) – 13 sc (31)
Use:
- 13 sc, dec, 1 sc, dec, 1 sc, dec, 13 sc. (31)
Round 21:
Transcription:
12 sc-(1 decrease-1 sc-1 decrease-1 sc-1 decrease)- 11 sc (28)
Use:
- 12 sc, dec, 1 sc, dec, 1 sc, dec, 11 sc. (28)
Final Tapering
Round 22:
- 11 sc, 6 sl st, 11 sc. (28)
- Another indented segment.
Round 23:
- (4 sc, dec) repeat 4 times. (24)
(This aligns with “4 sc- 1 decrease (24)” across the round.)
Round 24:
- (2 sc, dec) repeat 6 times. (18)
Round 25:
- (sc, dec) repeat 6 times. (12)
Creating the Final Little Bump
Round 26:
Transcription:
inc (6)
From 12 sts, if you “inc (6)” evenly spaced, you will end with 18 sts. However, the original language is short; it might mean “6 increases around,” which is:
- (inc, sc) repeated 6 times OR simply 6 inc evenly spaced.
For simplicity, and since this is just creating a small round area:
Suggested Round 26 (Option A):
- inc in next stitch, sc in next stitch repeat 6 times. (18)
Alternatively:
Suggested Round 26 (Option B – simpler but a bit puffier tip):
- 6 inc evenly spaced around. (18)
At the end of this round:
- Leave a long yarn tail and cut the yarn.
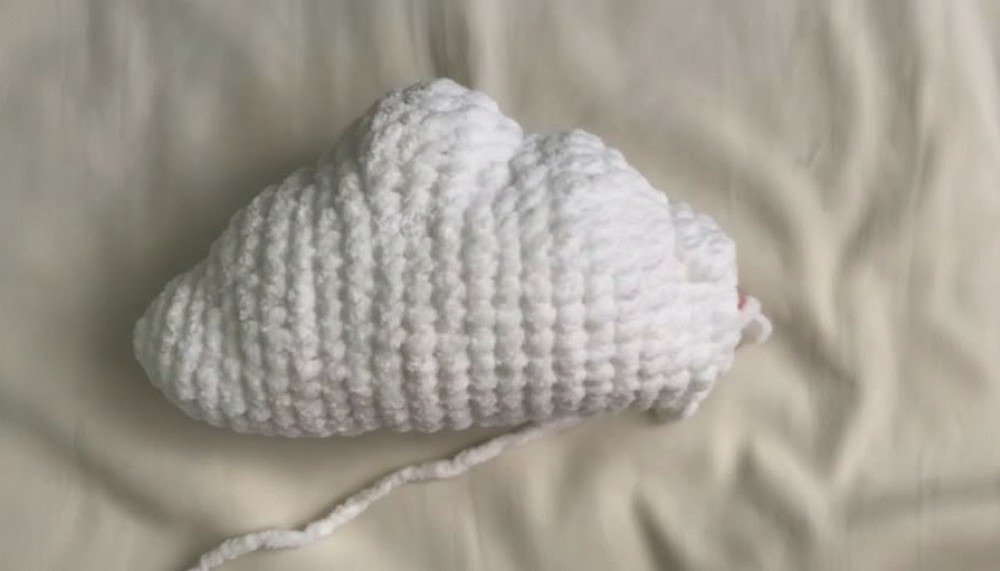
6. Closing and Shaping
- Sew the Opening Closed
- Thread the long tail onto a yarn needle.
- Weave through all 6 (or all remaining) “edge points” as indicated:
“Let’s sew all 6 edges.”
- Pull gently to close the opening and shape the final bump of the cloud.
- Shaping the Cloud
- Insert the needle with the tail into the center or one bump,
- Bring it out somewhere else to slightly indent areas and shape the cloud more realistically.
- Gently pull and secure the yarn with a small knot hidden inside.
- Cut yarn close to the surface; tug slightly to pull the end inside.
- Stuffing
- Ensure the cloud is fully and evenly stuffed before completely closing the last opening.
- Adjust stuffing with the needle if needed.
7. Face Details (Optional)
You can use the cloud with or without a face.
Eyes
- Cut a length of black yarn and thread onto a needle.
- Decide on the placement (usually slightly above the centerline, spaced evenly).
- Make simple curved embroidered eyes or “U” shaped sleepy eyes:
- Insert needle from the back of the cloud to the front at one corner of where the eye will be.
- Make small horizontal or slightly curved stitches (2–3 stitches).
- Repeat to form the other eye, making them symmetrical.
- Secure the yarn at the back with a couple of knots and weave in.
(The transcription mentions: “We made one eye. Do the same for the other one.”)
Cheeks
With pink velvet yarn:
- Make small circles/ovals or simple embroidered patches:
- Option 1:
- Crochet small circles:
- Round 1: 6 sc in magic ring, sl st to first sc, fasten off.
- Sew one on each side under the eyes.
- Crochet small circles:
- Option 2:
- Embroider a few small straight stitches or French knots for blush spots.
- Option 1:
The video note:
“Let’s make the cheeks as I showed.”
So follow your preferred style or replicate rosy patches near the eyes.
Mouth (Optional)
- Use black yarn.
- Embroider a small smile between or just below the cheeks:
- Bring yarn up at one corner of the smile,
- Insert down at the other corner,
- Bring up at the midpoint and catch the line to form a gentle curve.
8. Finishing the Pattern
- Check all seams and edges to ensure no stuffing is visible.
- Make sure eyes, cheeks, and any details are secure (especially if the pillow will be used by children).
- Trim any visible yarn ends; hide them by pulling inside the cloud with the needle.
9. Suggestions and Tips
- Working with Velvet Yarn
- Keep tension even but not too tight, as velvet can thin or shed if pulled harshly.
- Feel for stitches if you cannot see them clearly.
- Using a slightly larger hook than usual for the yarn weight can help.
- Maintaining Shape
- Distribute stuffing gradually rather than all at once.
- Do not overstuff; the cloud should be soft yet full, not stretched.
- Pattern Adjustments
- If you want a larger cloud, use a slightly bigger hook and bulkier yarn, or repeat some “sc in every stitch” rounds to add height.
- For a flatter cloud, use less stuffing and add more slip-stitch rounds in areas where you want more indentation.
- Care Instructions
- Hand-wash gently (especially with velvet yarn).
- Press water out in a towel and lay flat to dry.
- Avoid machine drying to prevent distorting the shape.
10. Final Words
This cloud pillow is both decorative and functional. It can be used:
- As a cute throw pillow,
- As a child’s room decoration,
- Or as a soft toy if securely stitched.