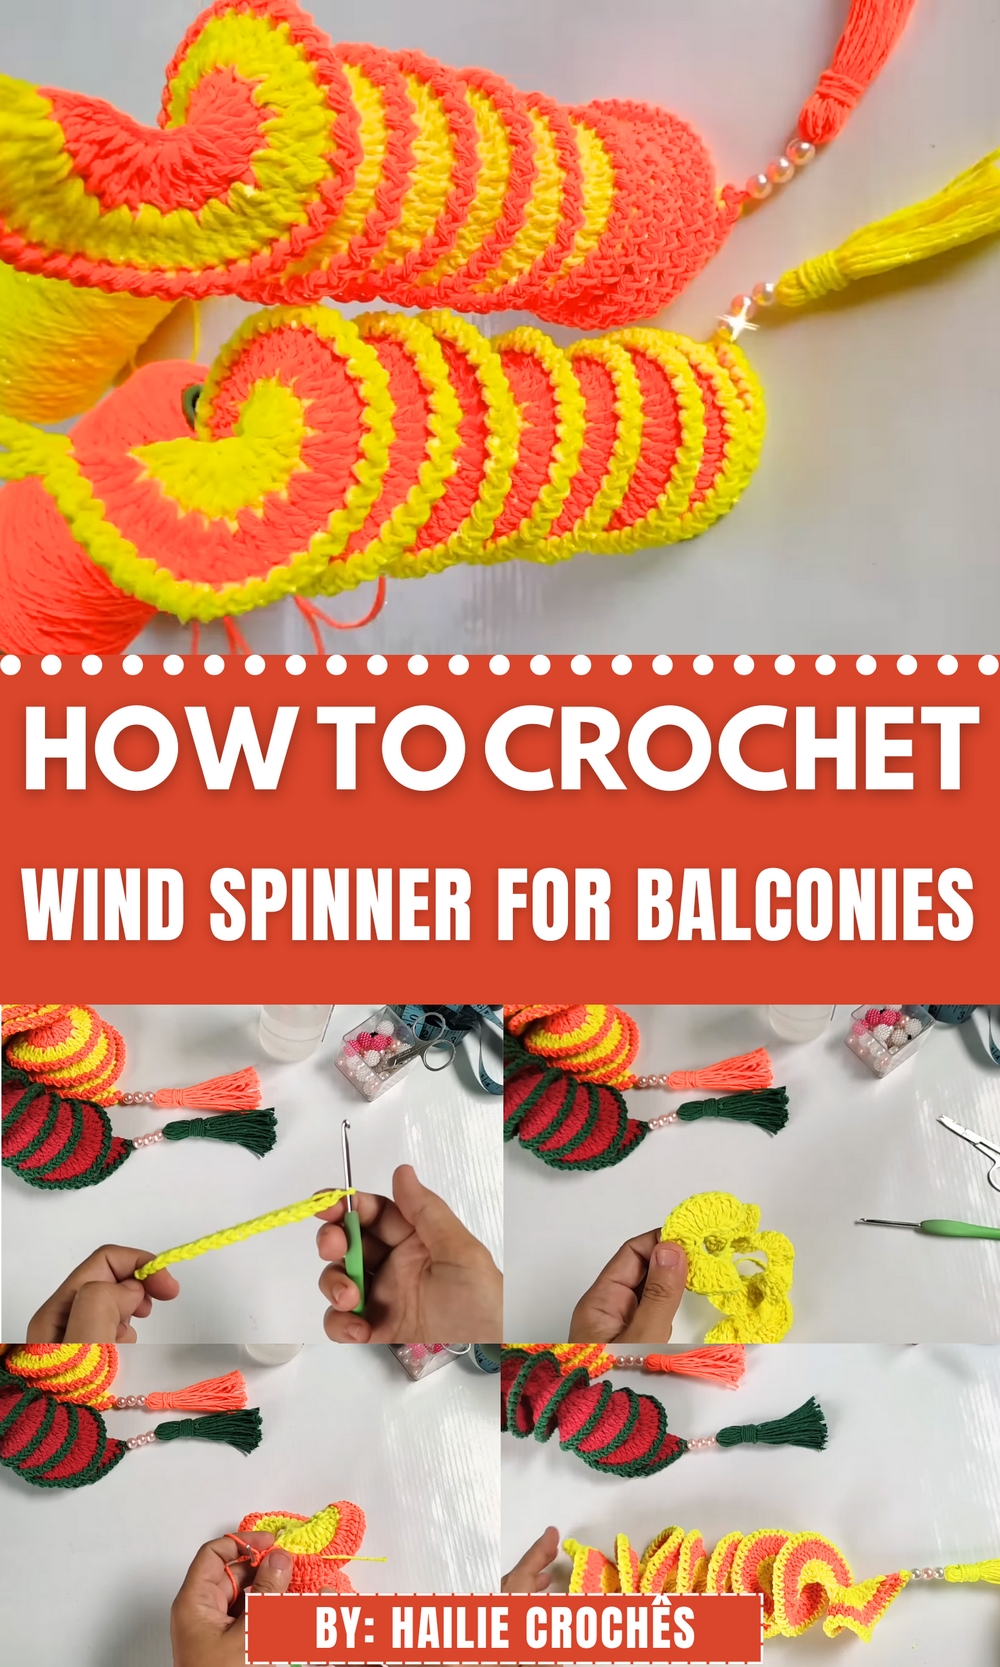
Catch breezy charm with this Free Crochet Wind Spinner Pattern that adds movement, color, and playful flair to gardens, porches, or sunny corners.
In quiet neighborhoods, small hanging decorations often add unexpected charm, especially when they respond to the breeze. One such charming piece is the Free Crochet Wind Spinner Pattern, which turns a simple string of yarn into a dynamic swirl of motion and color. These spinning accents move gracefully in wind, instantly drawing attention whether placed on a balcony, in a lobby, or near a sunny window.
Easy Crochet Wind Spinner Pattern That Dances in Every Gust
Their appeal goes beyond their movement. They offer a smart way to use leftover yarn and can be tailored in shades that match seasons, moods, or special events. Bright tones bring energy, while soft neutrals feel calming and elegant. Lightweight and portable, they’re perfect for renters or event decorators who want color and texture without permanent changes.
They also serve as gentle garden guardians, distracting birds or adding life to quiet corners. Each one feels both artistic and functional, spinning effortlessly with the breeze, catching sunlight, and casting subtle shadows. This project is a playful twist on home decor that brings lightness and rhythm to any space without much effort. A thoughtful addition to any crocheting collection, this spinner brings motion, fun, and personality with every turn.

Step-by-Step Instructions
Gather Materials
- String: Number 6 string in neon yellow and neon orange (or any colors of your choice).
- Crochet Hook: Size 3.5 mm.
- Other Tools: Tapestry needle, scissors, glue.
- Accessories: Pearls for decoration.
Step 2: Crochet the Base (First Row)
- Start by creating an initial loop.
- Define the size of the wind spinner by chaining the desired number of stitches. The example in the video starts with 55 chains.
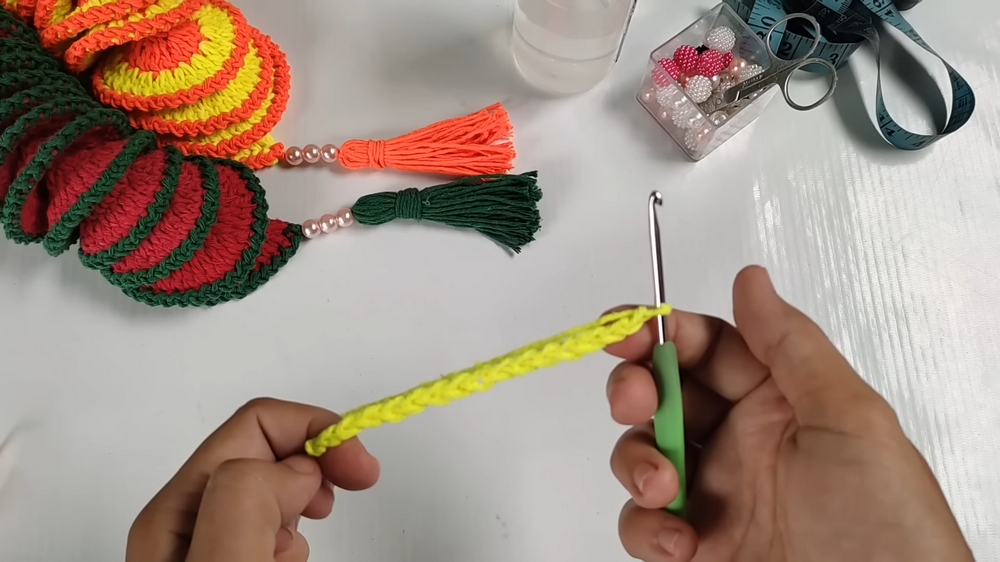
- The tutor mentions that you can adjust the size by increasing or decreasing the number of chains.
- For the first row:
- Skip the first 3 chains and work into the fourth chain.
- Make 3 double crochet stitches into the same chain.
- Continue making 3 double crochet stitches in each chain until the end of the row.
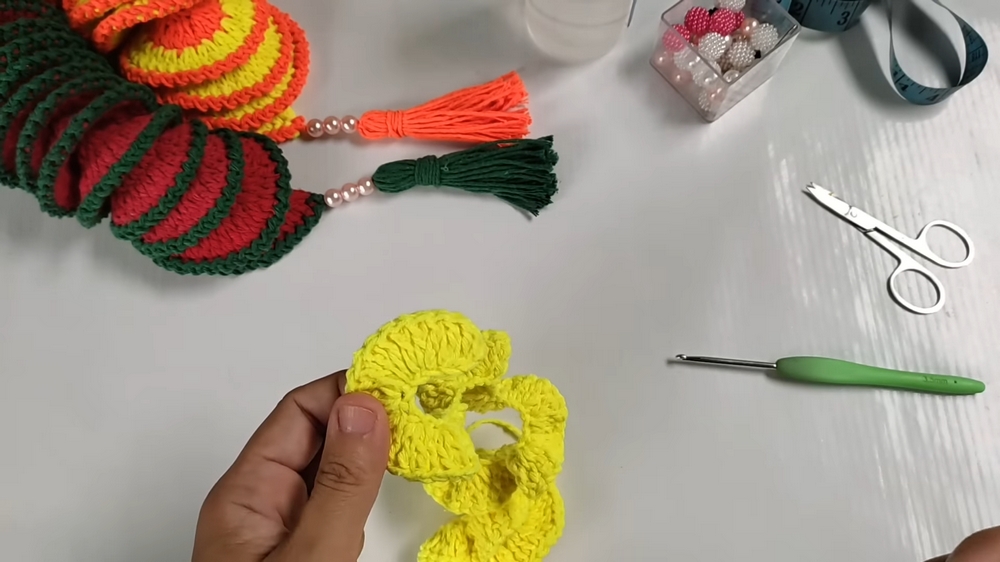
Step 3: Add the Second Color (Second Row)
- Choose a contrasting yarn color (e.g., neon orange in the video).
- Attach the new yarn to the first stitch of the previous row using a slip stitch.
- Chain 3 to start, then work 2 double crochet stitches into each stitch from the previous row.
- As you work through this row, hide the loose yarn ends behind your stitches for a clean finish.

Step 4: Create the Hanging Loop
- Using the initial color (neon yellow), make 15 chains to form a ring.
- Slip stitch into the first chain to complete the ring.
- Secure the loop to the top of the piece by attaching it with slip stitches.
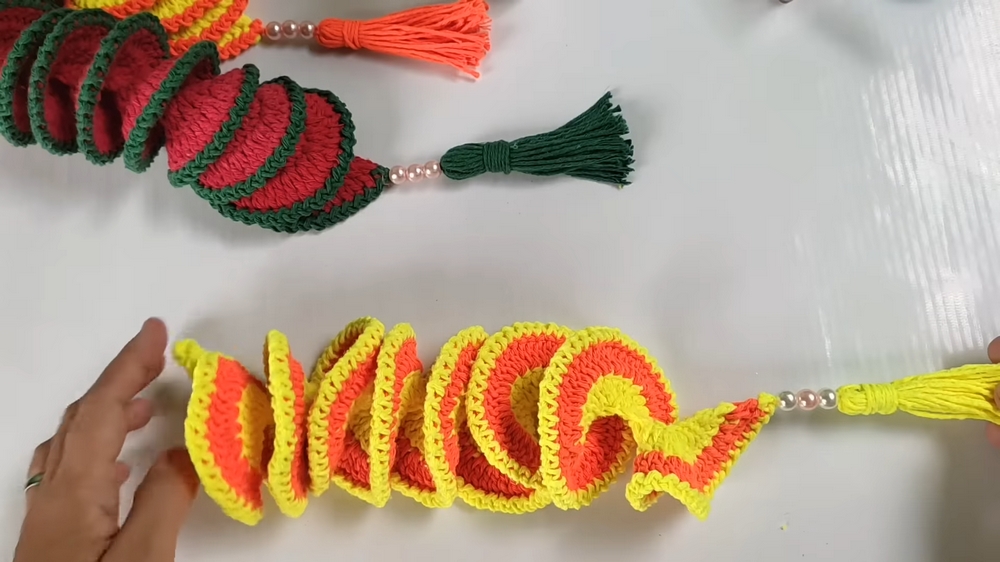
Step 5: Work the Third Row
- Use slip stitches between the stitches of the previous row to ensure the edges are tidy and to create the decorative effect.
- Hide the yarn ends as you go.
Step 6: Add Decor (Optional)
- Use the yarn and tapestry needle to add pearls or other decorations.
- Adjust the positioning of the spinner’s frame for a uniform circular shape.
Special Features
- Customizable Design: The spinner can be made in various sizes and colors to suit different aesthetics. Examples include watermelon-themed and smaller designs.
- Decorative Applications: It can be hung on balconies, gardens, walls, or children’s rooms for a playful touch.
- Easy Materials: The required tools and decorations are inexpensive and easy to find, making it accessible for most crafters.
Level of Difficulty
The project is categorized as easy to intermediate:
- Beginner-Friendly: Basic crochet techniques like chaining, double crochet, and slip stitching are used, which are manageable for beginners.
- Intermediate: Hiding yarn ends and ensuring a neat finish might require a bit of practice.
Tutor’s Suggestions
- Experiment With Colors: Play around with color combinations to create unique designs that fit your personal style or match the intended environment.
- Adjust Sizes: Use different numbers of chains for the base row to create spinners of varying sizes.
- Lighting Considerations: Apologies were made for poor lighting due to rainy weather; ensure your workspace has good lighting to make it easier on your eyes.
Uses
- Balcony or garden decoration.
- Wall hanging for indoor spaces.
- A vibrant, handmade gift.
Tip
To ensure the spinner lasts longer, especially if you hang it outdoors:
- Seal the finished piece with a protective layer like spray varnish to make it water-resistant and prevent color fading over time.
Conclusion
This delightful wind spinner project is an excellent crochet to add a pop of color and charm to your home or outdoor spaces. With just a few materials, simple crochet techniques, and a dash of creativity, you can create customized pinwheels that are both functional and decorative.