Carry your things in style with this free crochet flower drawstring bag pattern that is easy to follow and helps you make a cute and handy bag for daily use.

Try This Free Crochet Flower Drawstring Bag Pattern for a Fun Crochet Idea
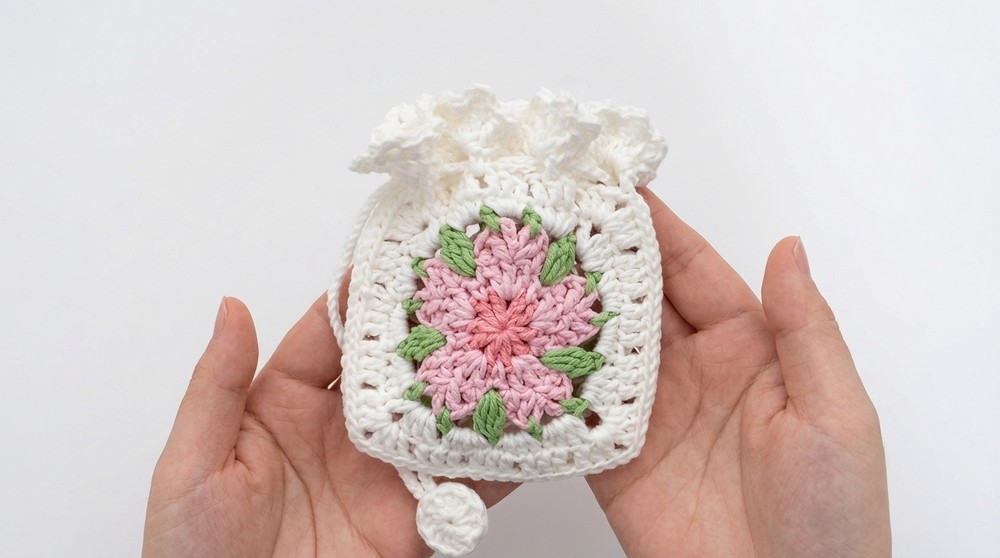
Making a flower drawstring bag with crochet is super fun and easy. This free pattern lets you create a small, beautiful bag decorated with pretty flower designs. The bag has a soft and colorful look that will make anyone smile. It’s perfect for holding small items like coins, keys, or candies, and the drawstring keeps everything safe inside. The bag looks unique thanks to its floral pattern and lace edging, making it a great gift or a lovely decoration.

The bag is small enough to carry around while being stylish and useful. If you love crocheting or want something handcrocheted and charming, this bag is a perfect project for you. Let’s create a cute flower bag by following the easy pattern.
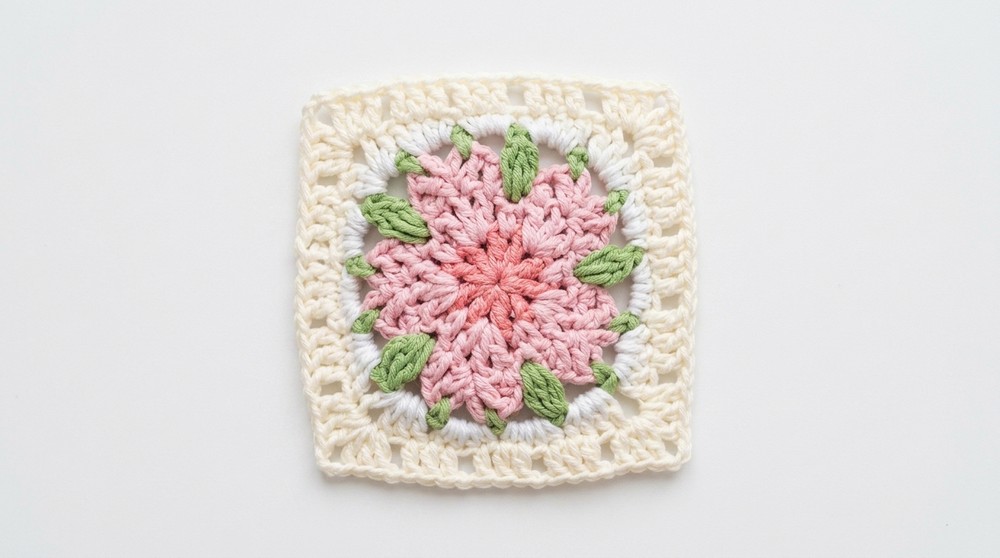
Refined Crochet Flower Drawstring Bag Pattern
Materials Needed
- Yarn:
- 4 ply cotton yarn in chosen colors (main color for sakura flowers and green for leaves and stems).
- Crochet Hook:
- 2.5 mm crochet hook.
- Additional Tools:
- Scissors
- Tapestry needle
- Optional:
- Glue for attaching small decorative circles.
Abbreviations Used
- sc: Single crochet
- dc: Double crochet
- hdc: Half double crochet
- ch: Chain
- sl st: Slip stitch
- st: Stitch
Pattern Instructions
Flower Panel
You will need to create two identical flower panels.
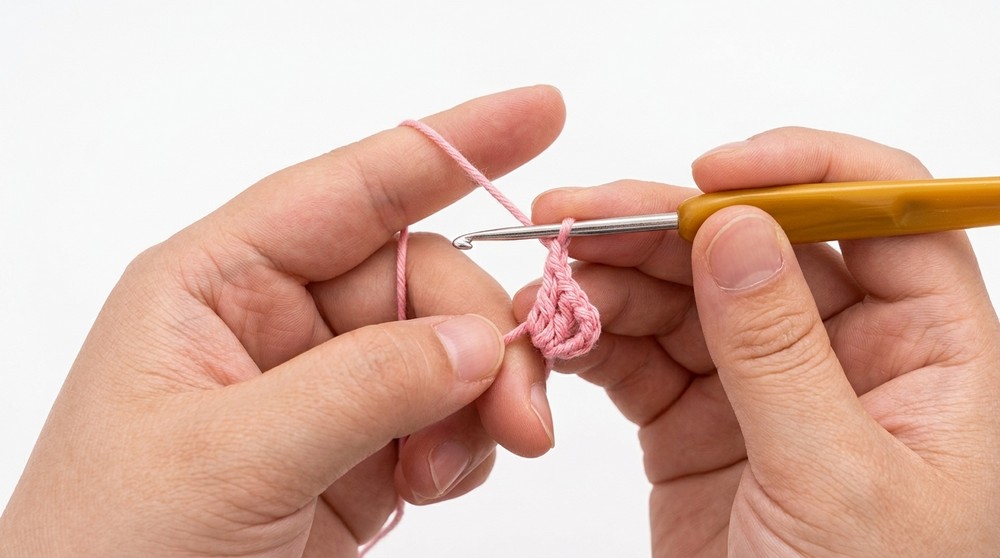
Round 1:
- Start with a magic ring.
- Chain 3 (this counts as 1 double crochet).
- Chain 1. This set constitutes one group.
- Repeat the following 9 times into the ring:
- 1 double crochet, chain 1.
- You should have 10 groups in total.
- Tighten the magic ring.
- Insert the hook into the third chain of the initial chain 3 and make a slip stitch.
- Fasten off the yarn.
Round 2:
- Crochet into chain spaces from the previous round.
- Attach yarn and make a knot.
- Work a single crochet, chain 1 in the next chain space.
- Then, double crochet, chain 1 in the same space.
- Create a total of 5 petals by repeating this sequence.
- Slip stitch into the first single crochet.
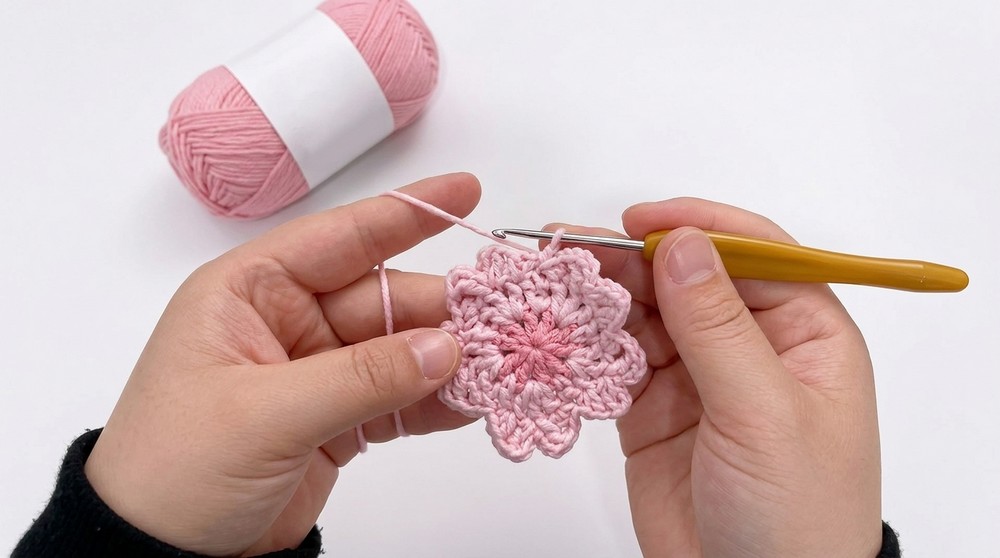
Round 3:
- Chain 1.
- Crocheting into the double crochets from the previous round:
- Single crochet in the first double crochet.
- Half double crochet in the same stitch.
- Chain 1 in the second double crochet; make a double crochet, chain 3, slip stitch into the same stitch.
- Chain 3 more, double crochet again, chain 1.
- Half double crochet in the third double crochet, and then a single crochet.
- Repeat this pattern around the flower for 5 groups.
- Slip stitch into the first single crochet and fasten off.
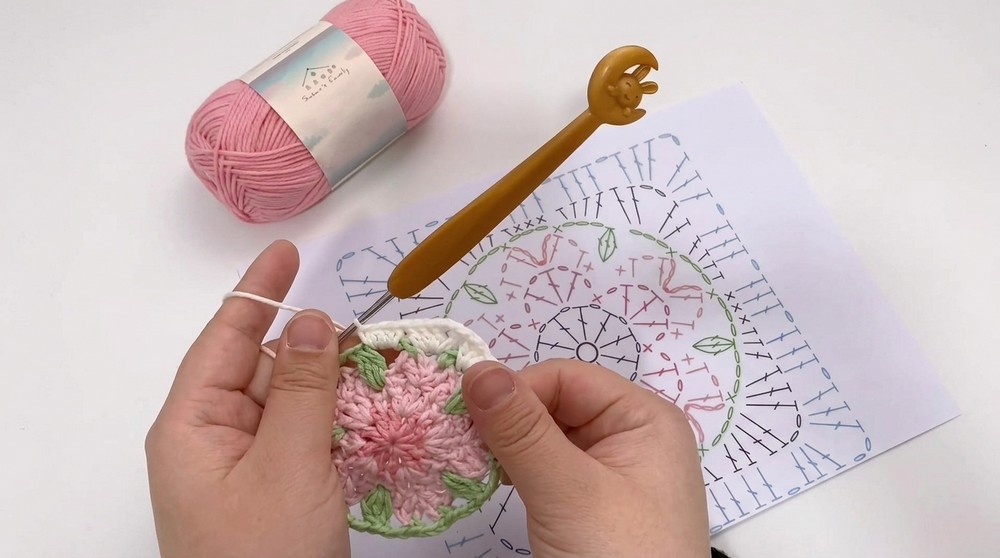
Adding Green Leaves (Optional):
- With green yarn, insert the hook between single crochets.
- Chain 3 (counts as an unfinished double crochet).
- Make two more stitches similarly.
- Yarn over, pull through all loops.
- Chain 3, and single crochet in the gap between double crochet and chain stitch.
- Repeat around the flower.
Joining the Flower Panels
- Place two flower panels back to back.
- Slip stitch them together around three edges, leaving one side open for pouch opening.
- Pick up the chain stitch on the nearer side and the inner loop on the opposite side.
- Weave in yarn tails as you go.
Lace Edging
- Crochet around the remaining open edges with lace pattern:
- Incorporate chain spaces to create a decorative pattern.
- Chain 4, skip 2 stitches, insert hook, and make a single crochet.
- Repeat this around the pouch edge for a consistent look.
Finalizing the Pouch
- Creating Drawstrings:
- Crochet two chains and weave around the top opening of the pouch.
- Skip one stitch, pick up the next to loop the drawstring around the pouch.
- Adding Decorative Circles:
- Crochet four small circles.
- Pair them and glue to attach to each end of the drawstrings.
Final Words and Tips
- Stitch Consistency: Maintain even tension to ensure the pouch is smooth.
- Custom Colors: Feel free to experiment with different yarn colors for personalization.
- Blocking: Lightly block the finished pouch to enhance the flower details and shape consistency.
- Practice Patience: For beginners, practicing stitch techniques beforehand will help achieve a neat result.
- Wet Blocking for Shape: For a more defined pouch shape, wet block using pins to stretch and dry the crochet panels flat.
By following these detailed steps, you will create a beautiful and practical sakura mouthwash pouch, perfect for personal use or as a thoughtful gift.