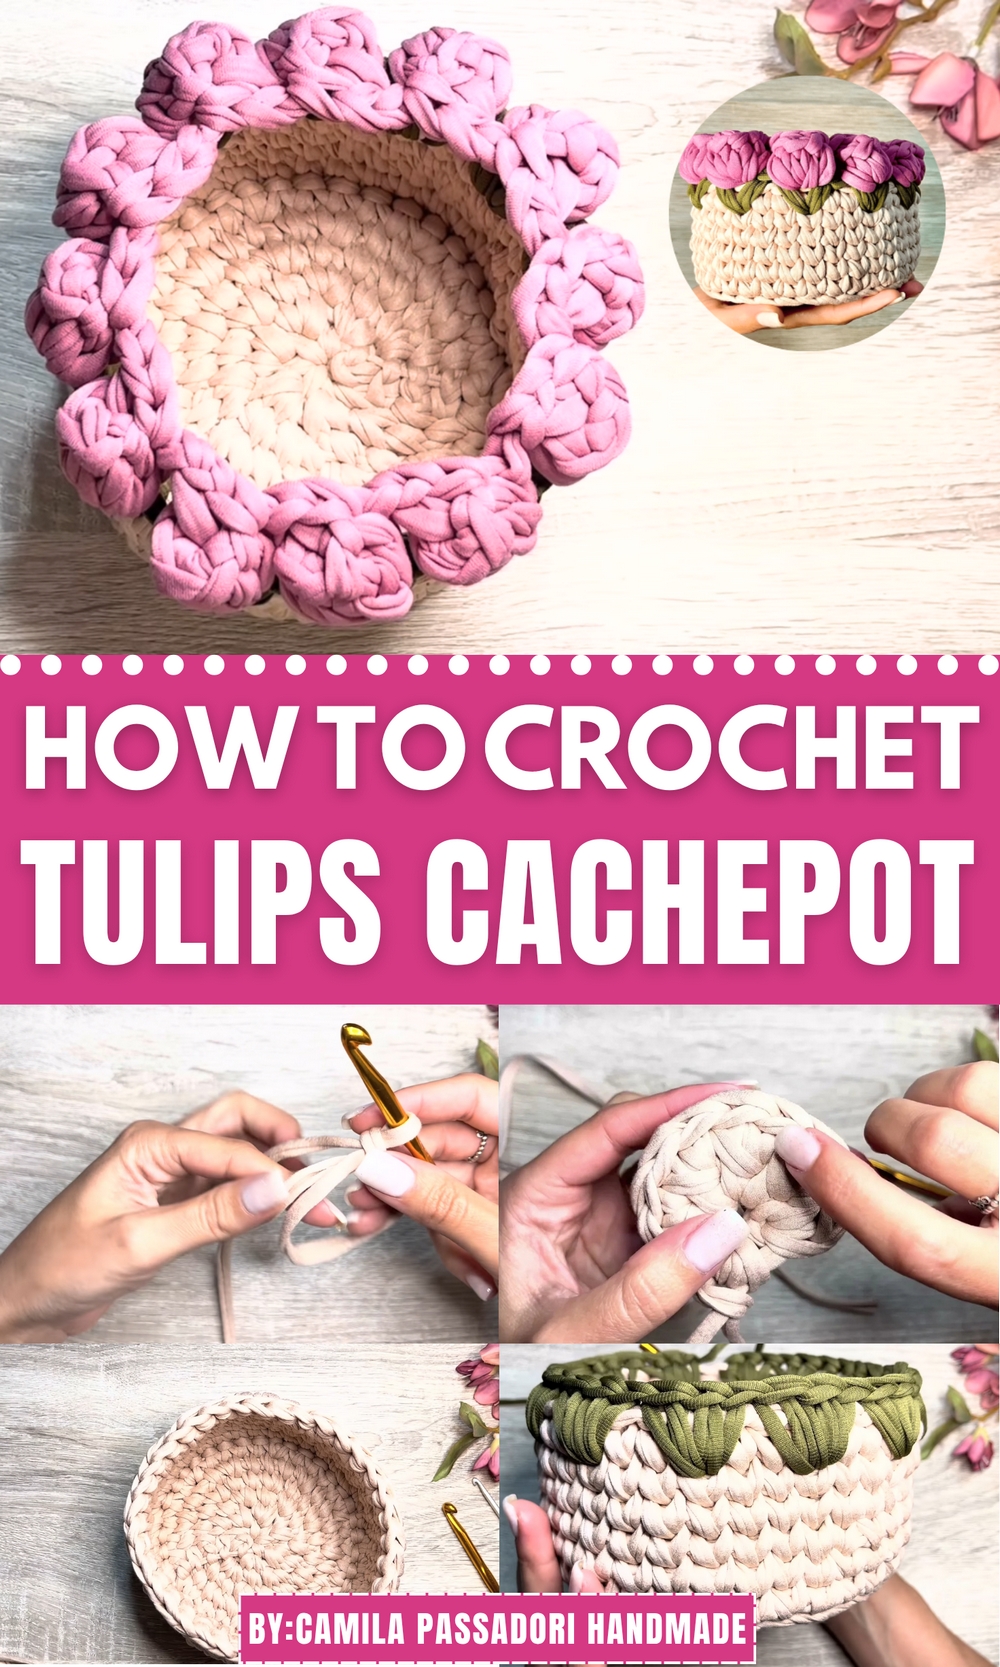
Delight in adding charm with this Free Crochet Tulips cachepot Pattern that protects your pots while bringing fresh, floral elegance to any space.
Brightening up a simple planter can turn an ordinary space into a captivating nook. The charm of floral accents on household items has long been cherished, and a tulip-themed cover offers both protection and personality to your pots. This charming cover softens the look of plain containers while adding a subtle touch of spring all year round. Not only does it shield pots from scratches and dirt, but it also provides an opportunity to refresh your home décor without heavy renovations. Versatile and lightweight, this tulip cachepot wrap suits various pot sizes and styles, making it easy to switch up your aesthetic whenever the mood strikes.
Cozy Crochet Tulips Cachepot Pattern for Indoor Plants
Practical yet decorative, it serves well in living rooms, kitchens, or patios, enhancing the natural beauty of your plants. The textured details bring depth and warmth, creating a cozy atmosphere around your greenery.
Whether used to brighten a windowsill or as a centerpiece on your dining table, this piece adds a handmade charm that guests will appreciate. The combination of function and visual appeal offers a delightful way to integrate nature-inspired artistry into everyday living, proving that simple touches can create lasting impressions.
Step-by-Step Instructions
Materials Required
- Yarn:
- Nude (beige), moss green, and pink yarns (old-pink preferred).
- Conceptual brand yarn for the foundation.
- Premium yarns mixed for the basket body.
- Needles:
- Needle size #7 for general knitting.
- Needle size #4 for finishing.
- Other Tools:
- Scissors (for thread trimming).
- A small needle for threading invisible closures.
Steps to Create the Tulip Cachepot
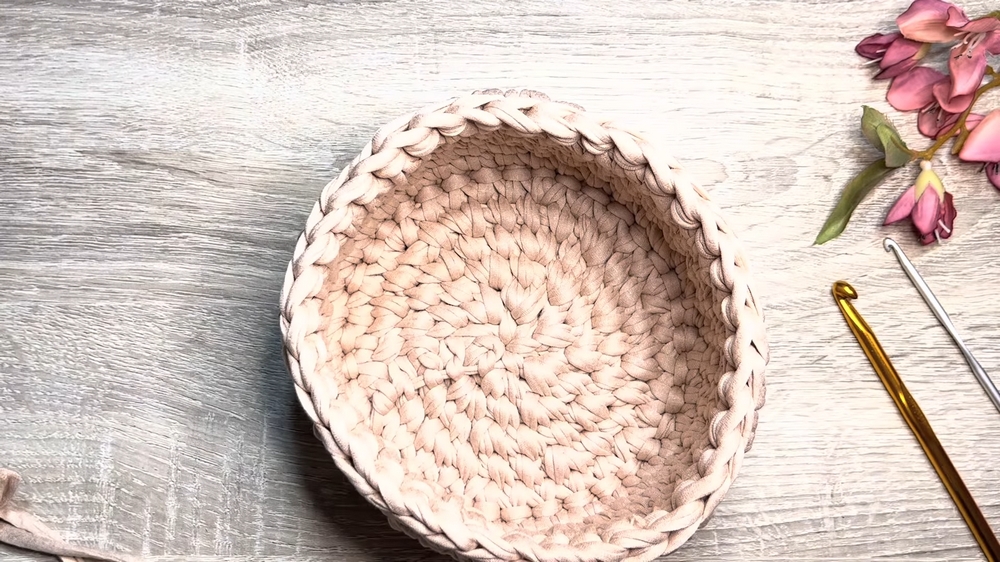
- Creating the Base:
- Start with a magic ring method: cross the yarn on your hand in an X pattern, pull a loop through, and secure it with single crochets.
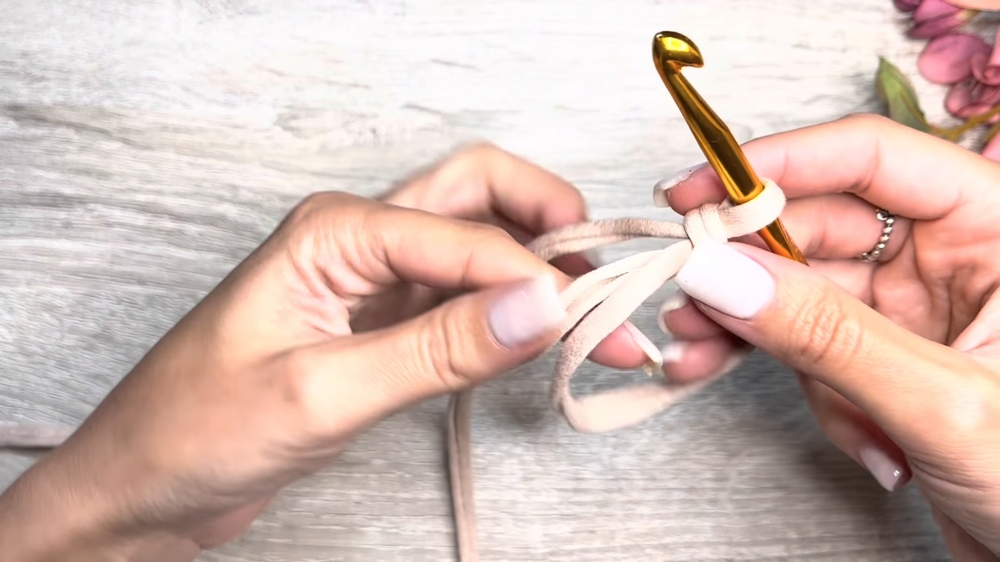
- Make six foundation stitches inside the magic ring.
- Tighten the ring by pulling the loose yarn end gradually.
- Start with a magic ring method: cross the yarn on your hand in an X pattern, pull a loop through, and secure it with single crochets.
- Building the Circular Base:
- Use single centered crochet stitches to expand the base. Follow a pattern:
- Row 1: Make 6 stitches.
- Row 2: 2 single stitches into each base stitch (12 total).
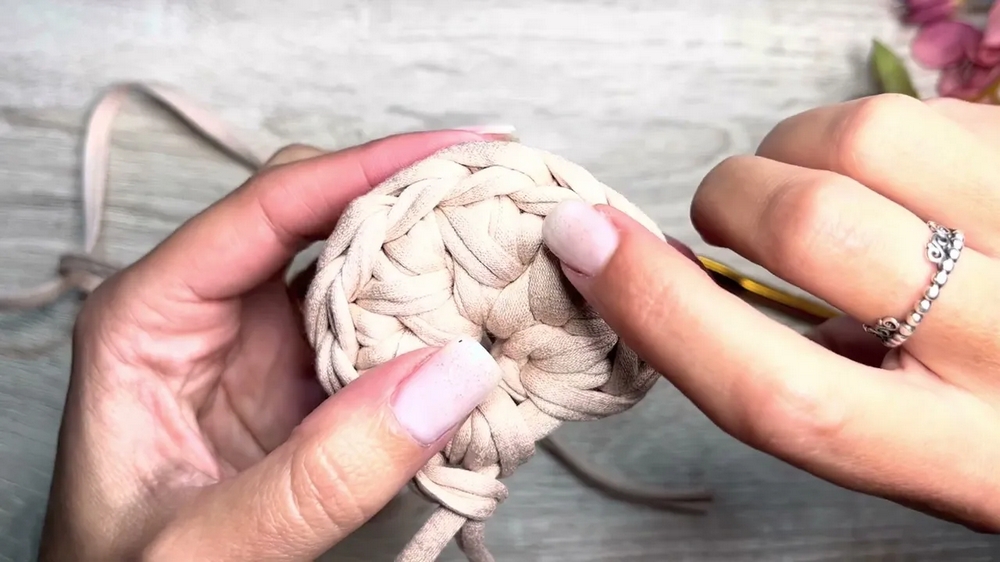
- Row 3: Alternate: 1 single stitch, 2 stitches together (18 total).
- Row 4: Alternate: 2 single stitches, 2 stitches together (24 total).
- Row 5: Alternate: 3 single stitches, 2 stitches together (30 total).
- Row 6: Alternate: 4 single stitches, 2 stitches together (36 total).
- Adjust yarn tension for uniformity.
- Use single centered crochet stitches to expand the base. Follow a pattern:
- Creating the Basket Walls:
- Start working on the edge by switching from the circular base to slip stitches on the outer loops. Then continue into regular centered crochet stitches.
- Build 6 rows to form the walls of the basket.
- Leaf Accents:
- Switch to green yarn.
- Work using three stitches for each “leaf,” placing one centered stitch for every two skipped stitches along the basket rim to form the stylized tulips’ “leaves.”
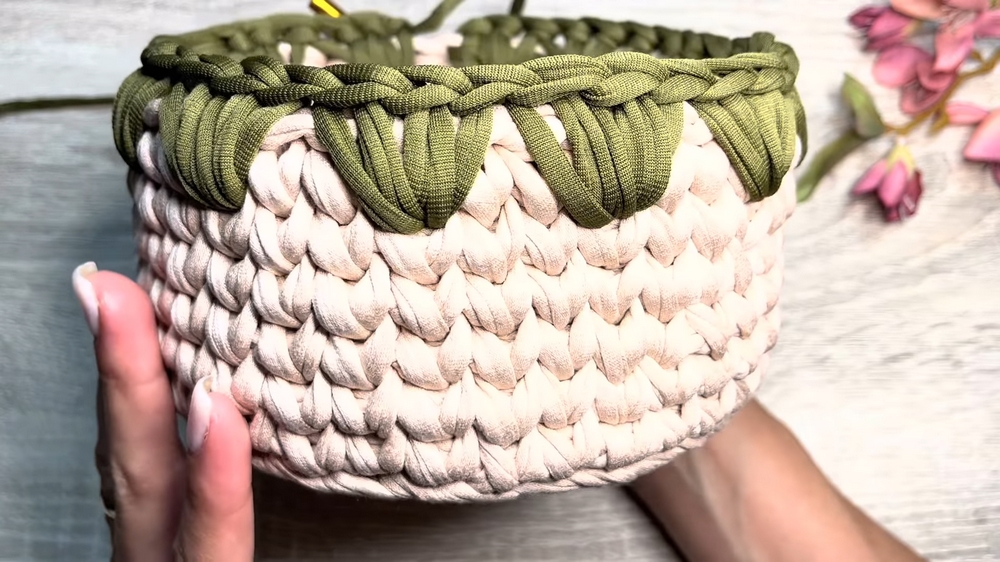
- Tulip Flowers:
- Switch to pink yarn.
- Attach the yarn to the middle stitch of a “leaf” section.
- Create 5 elongated stitches in the same spot and pull them together for a closed tulip petal.
- Repeat for each leaf accent.
- Finalization:
- Perform an invisible closure for each thread.
- Hide all loose ends within the structure to ensure a clean finish.
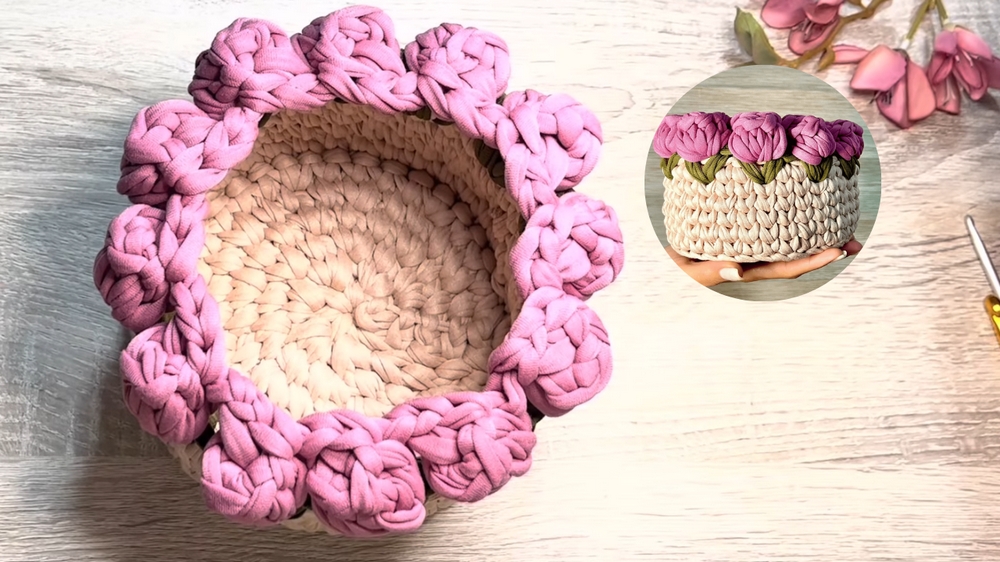
Special Features of the Tulip Cachepot
- Visual Appeal: The basket’s tulip petals and leaf detailing add charm and elegance to home décor.
- Versatility: Ideal for storing small items or as a standalone decorative piece.
- Seamless Design: Invisible closures ensure there are no visible knots or seams.
- Customizability: The type and color of yarns can be customized to complement your preferred aesthetic.
Level of Difficulty
- Beginner-Friendly:
- The pattern involves basic techniques such as magic rings and single centered stitches.
- However, beginners may find the invisible closures and properly distributing leaf accents slightly challenging at first.
Tutor’s Suggestions
- Thread Lengths: Ensure your magic ring’s excess thread is long enough to tighten your base effectively and for invisible closure use.
- Yarn Type: Use branded premium yarn for sturdiness and smoother crafting.
- Practice Stitching: Beginners should start slow with centered stitches to avoid uneven tension or gaps in the base or walls.
- Customization: Adjust the height of the basket, the number of tulip petals, or the stitch count as necessary to suit your preferences or the yarn thickness.
Uses
- Decorative: Enhances indoor spaces with colorful crochet designs.
- Functional: Serves as a storage container for knick-knacks, sewing supplies, or even holding small potted plants.
- Gifting: The tulip cachepot makes a thoughtful and personal handmade gift.
Tip for Success
To achieve a polished look, always maintain consistent tension while crocheting, especially during the basket’s walls and tulip petals. Uneven tension may cause crooked edges or loose flowers. Regularly count your stitches between rows to avoid accidental increases or decreases.
Conclusion
The Tulip Cachepot combines straightforward crochet techniques with decorative creativity, making it accessible for beginners and a rewarding crochet project. Its delicate tulip embellishments and seamless design make it a versatile addition to your home or gift collection. By following the steps detailed above, you can create your very own functional and stylish tulip-themed basket.