
Give your bedroom a fresh look with the Crochet Motif Blanket Free Pattern, a pretty mix of squares that adds warmth to your space every day.
Small crochet pieces can turn into a comforter when they are joined together in a lovely arrangement. The Crochet Motif Blanket is a wonderful cover that adds comfort and personality to your home. Кристина Богданова shares this lovely blanket idea, showing how separate crochet motifs can become a beautiful item for everyday use.
Cozy Crochet Motif Blanket Free Pattern For Your Home
The blanket has an interesting surface filled with small shapes that connect neatly. Some motifs can feature flower-like centers, while others may have open spaces or raised stitches. The spaces between the stitches give the fabric a light appearance, and the connected pieces form an attractive overall design. You can try gentle pastel shades, rich earthy tones, or different colors that suit your room.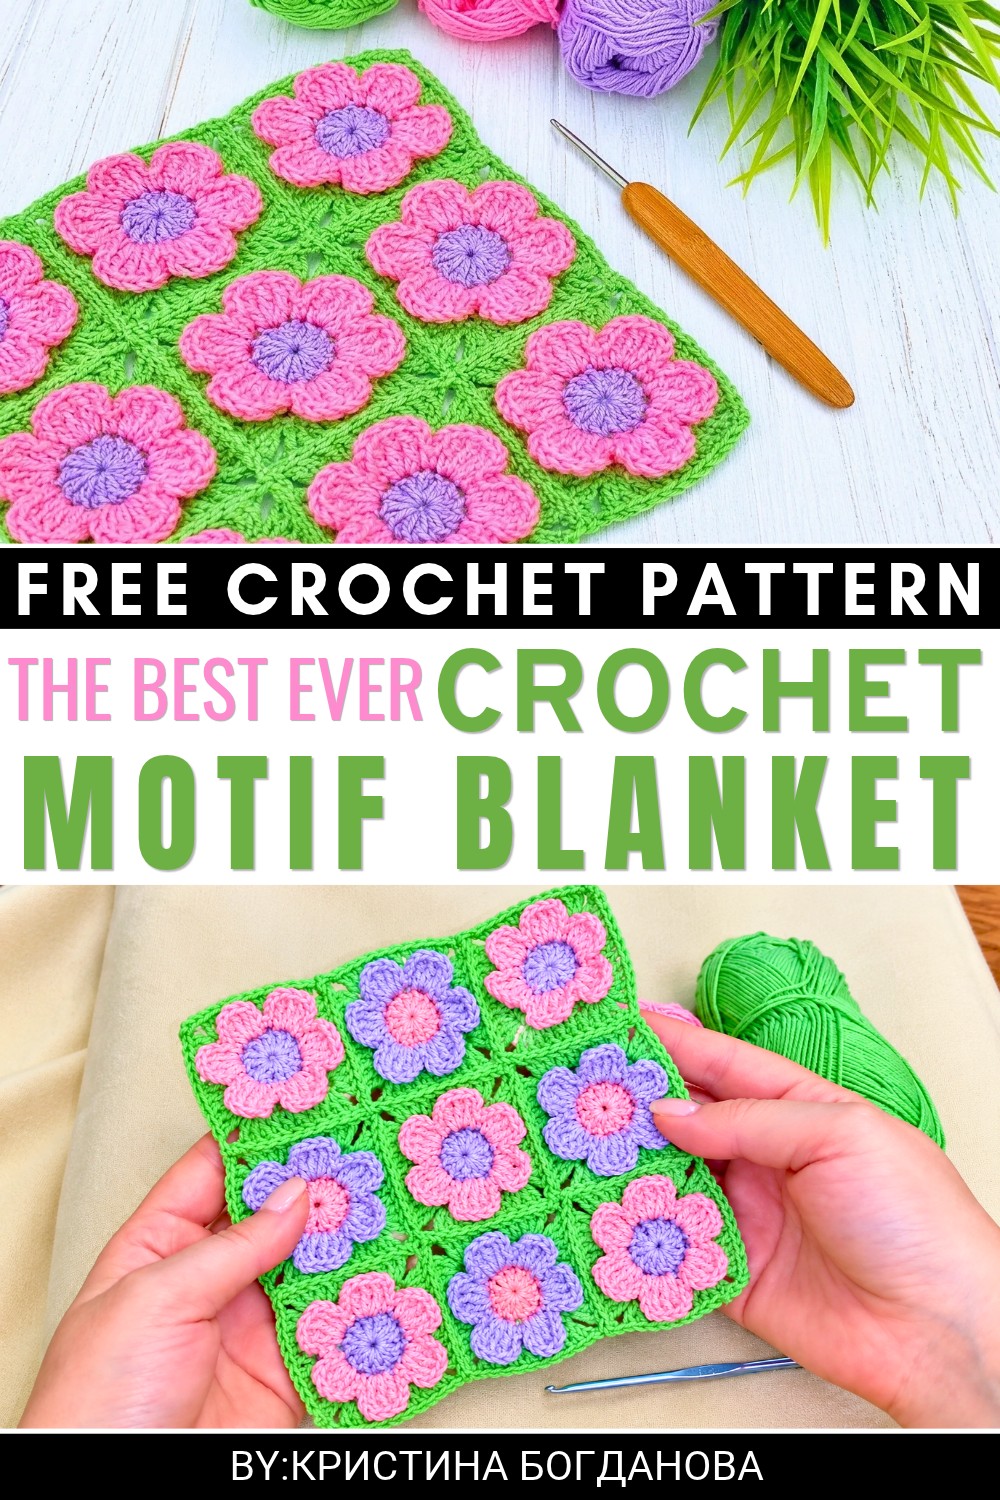 One nice thing about this blanket is that you don’t need to work on the entire piece at once. You can finish a few motifs during your free time and save them until you have enough. After joining the pieces, a simple outer border can help complete the blanket.
This blanket is useful for covering your legs while watching television, keeping warm during an afternoon nap, or adding a soft layer to your favorite armchair. You can also prepare it as a present for someone moving into their first home.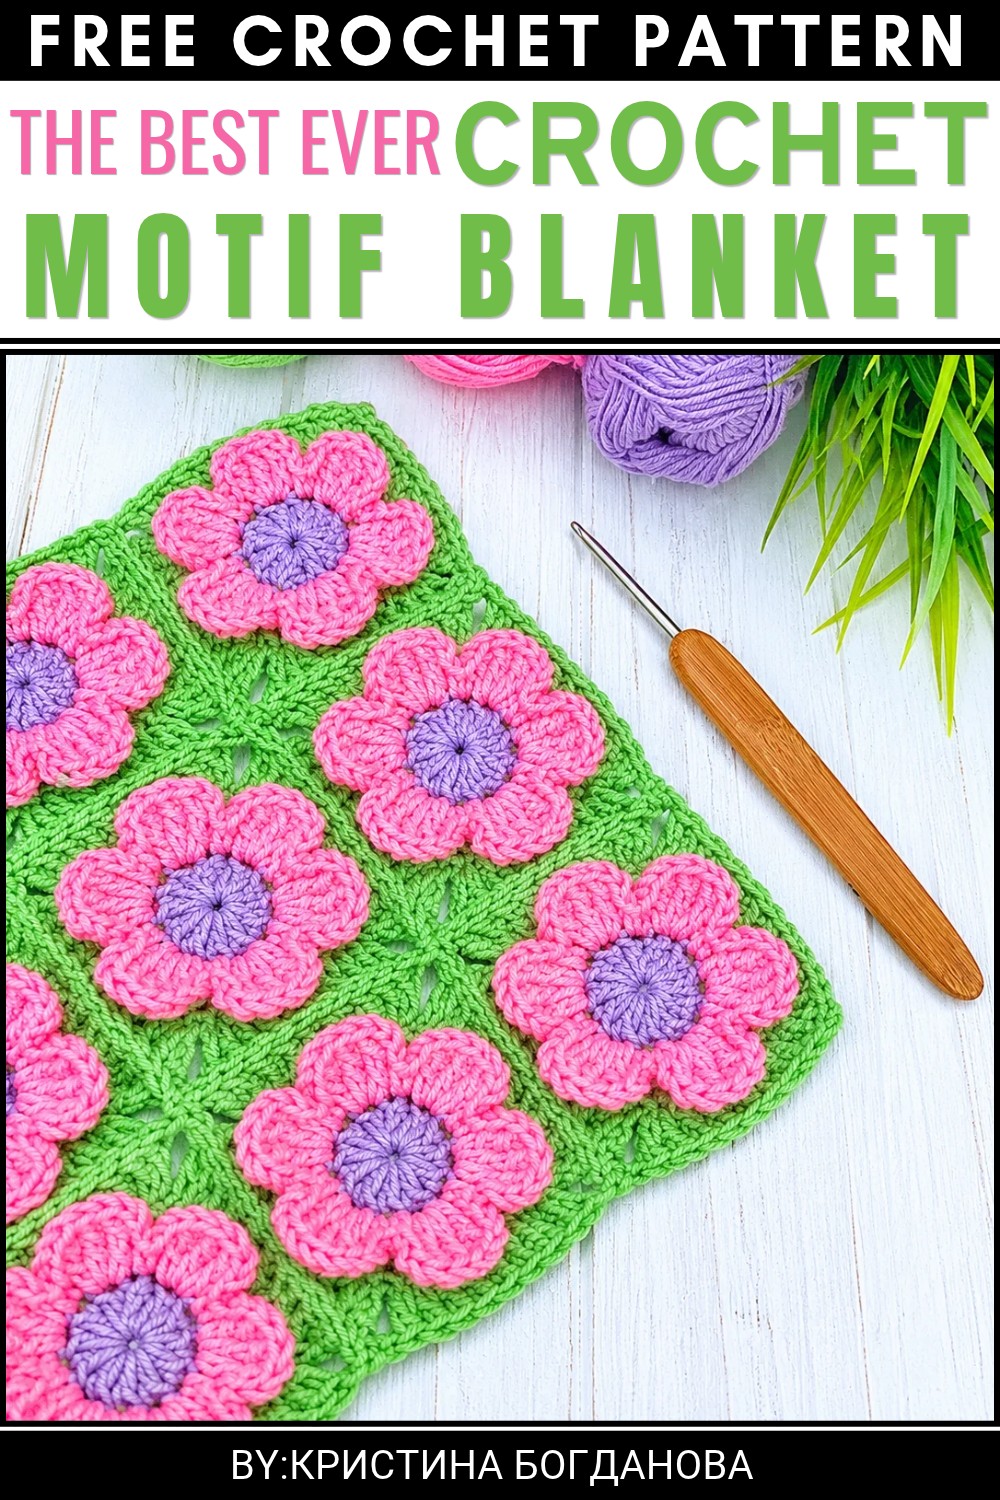 Each small motif becomes part of something much bigger. That is what gives this blanket its special appeal, turning separate pieces of yarn into a useful item filled with personal effort.
About the Pattern
The floral motif square is a versatile design used for decorative projects, such as blankets, scarves, table runners, and more. Each motif combines a richly textured flower at the core, crisp petals, and a geometric square base, resulting in a visual balance between softness and structure. This pattern employs straightforward joining-as-you-go techniques to seamlessly connect motifs, producing a professional and cohesive result in multi-motif creations.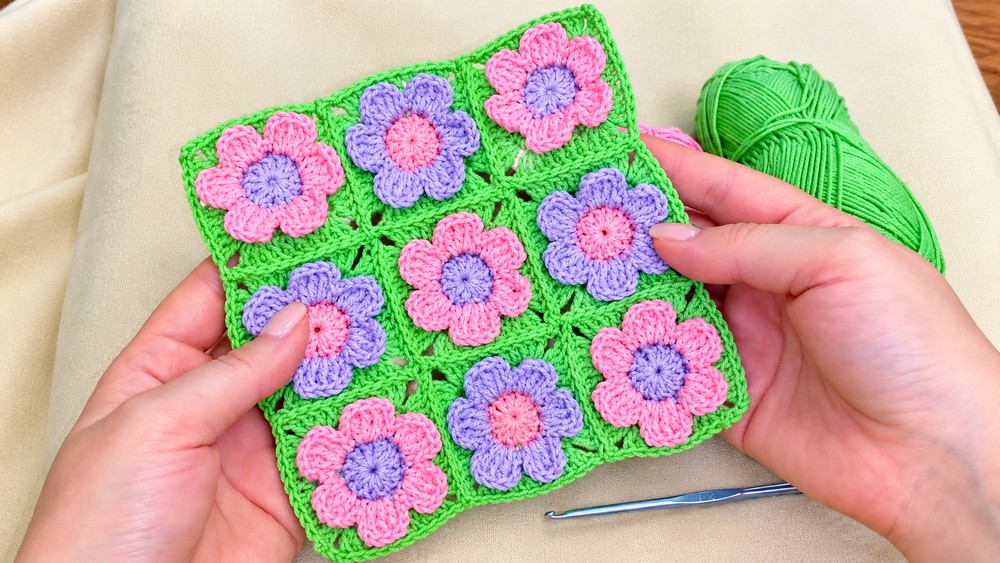
Pattern at a Glance
- Foundation: Created with a magic ring for a tight, neat center.
- Motif Structure: Layered construction—foundation circle, a textured round (worked in back loops), a square frame, and raised petals (worked into front loops).
- Colorwork: Uses color changes to highlight layers and add visual depth.
- Seamless Joining: Motifs are joined during the last round, eliminating much of the finishing work.
- Applications: Suitable for blankets, cushions, and other modular crochet projects.
Important Notes
- Always work the second round in back loops only; this leaves free loops for attaching the petals later.
- Maintain a gentle, even tension, which ensures that motif sides and corners do not curl or ruffle.
- Use stitch markers to help identify the start and corners, especially when joining motifs.
- When joining, ensure both motifs have wrong sides facing out for a virtually invisible seam.
- Consider blocking your finished motifs and assembled pieces for maximum definition.
Difficulty Level
Confident Beginner to Intermediate.
The pattern assumes basic familiarity with magic rings, working in rounds, changing colors, and handling taller stitches (treble crochet). Moderate attentiveness is required to switch correctly between back and front loops and to execute seamless joins.
Supplies Needed
- Yarn: Three colors of DK/light worsted yarn (approx. 10g per motif), or adjust weights for project scale.
- Hook: 3.5mm–4mm crochet hook (adjust size to match your yarn for best drape).
- Tapestry needle: For weaving in ends.
- Scissors
- Stitch markers (optional, for marking joins and corners if working multiple motifs).
Size & Measurements
- Each finished motif measures approximately 9–10 cm across (corner to corner) using DK yarn and a 3.5mm hook.
- Size will vary with yarn thickness and crochet tension.
Gauge & Stitch Details
Gauge is not critical for this modular motif, but for reference:
- 8 double crochet x 4 rounds = 5cm square (blocked, using DK yarn and 3.5mm hook).
Crochet Abbreviations
| Abbreviation | Meaning |
|---|---|
| ch | chain |
| sc | single crochet |
| dc | double crochet |
| tr | treble crochet |
| sl st | slip stitch |
| st/sts | stitch/stitches |
| BL | back loop(s) only |
| FL | front loop(s) only |
| MR | magic ring |
Special Stitch Guide
- Magic Ring (MR): Create an adjustable loop, work stitches into the ring, and pull tail to tighten the center.
- Treble Crochet (tr): Yarn over hook twice, insert, yarn over and pull up loop, (yarn over and pull through two loops) three times.
Complete Crochet Pattern
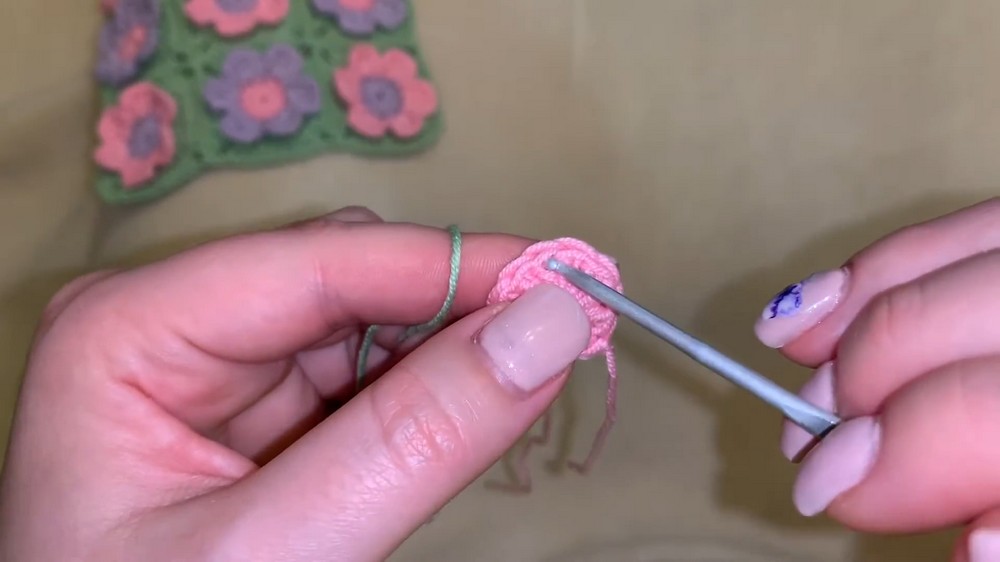
1. The Center Core
Round 1:
- Create a magic ring (MR).
- Ch 3 (counts as first dc).
- Work 11 dc into the ring. (12 dc total including ch-3.)
- Pull the tail tight, closing the center.
- Sl st to top of beginning ch-3 to join.
2. The Motif Base
Round 2:
- Join new color to any stitch.
- Working in the back loops only (BL):
- 2 dc in each stitch around. (24 dc)
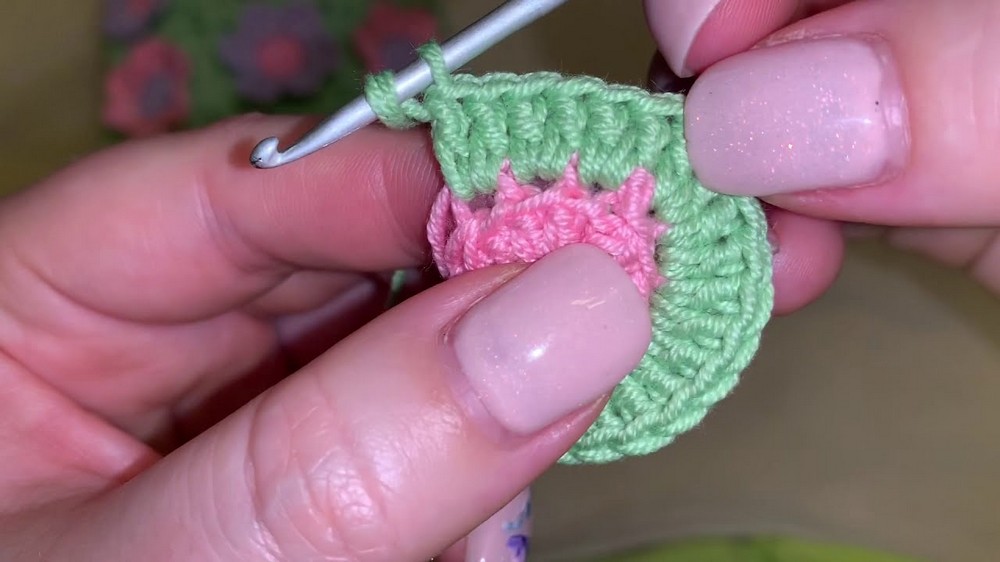
- 2 dc in each stitch around. (24 dc)
- Sl st to first dc to join.
- Fasten off if changing color for square round.
3. Forming the Square
Round 3:
- Join new color in any stitch.
- Ch 6 (counts as 1 dc + ch 3 for corner).
- 3 dc in next stitch.
- 1 dc in each of next four stitches.
- 3 dc in next stitch (corner).
- Ch 3, 3 dc in the same stitch.
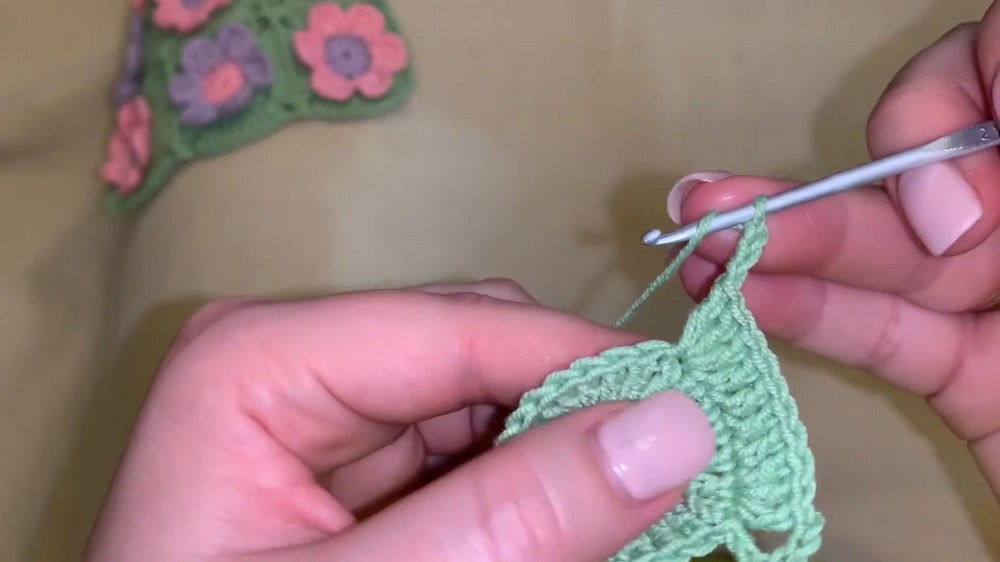
- Continue pattern as follows:
- 1 dc in each of next four stitches, 3 dc in next stitch (corner), ch 3, 3 dc in same stitch.
- Repeat side and corner instructions to form the square until all four corners and four sides are complete.
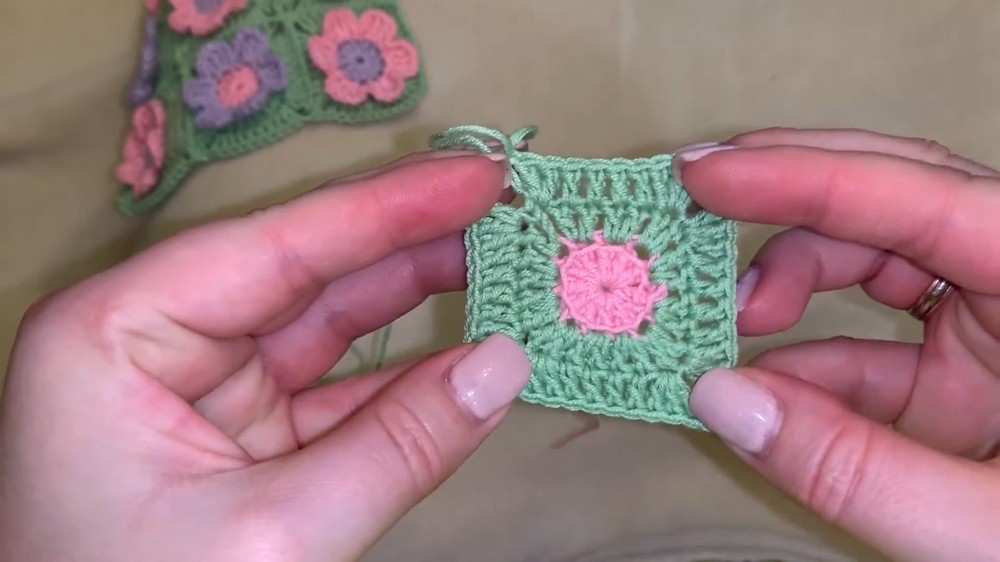
- Sl st to third chain of starting ch-6 to join.
Note: The corners should each have 3 dc, ch 3, 3 dc separated by 4 dc along each side, for a well-defined square.
4. Adding the Petals
Round 4:
- Attach petal yarn to any unused front loop of the center circle (Round 1).
- For each petal:
- Ch 3,
- In the next front loop work 3 tr,
- Ch 3,
- Sc into the next front loop.
- Repeat this sequence, forming 6 petals by working around the 6 sets of available front loops.
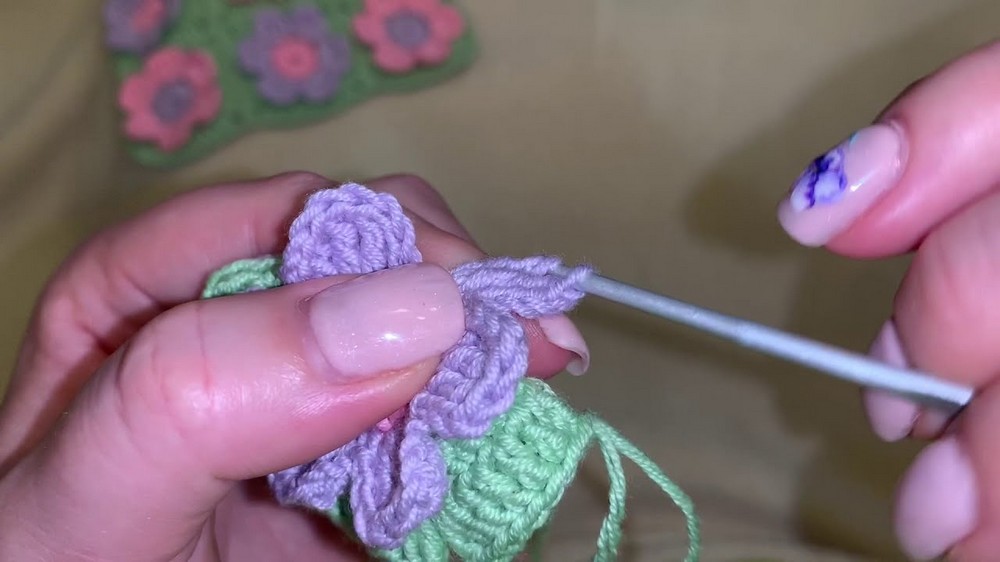
Each petal should be slightly arched and raised, sitting distinctly on top of the motif’s center.
5. Joining Motifs
- Arrange motifs with wrong sides facing outwards when ready to join.
- For each new motif, begin the final (Square) round as above.
- Joining at the Corner:
- Work up to the corner, then ch 1, sl st into adjacent motif’s corner ch-3 space, ch 1 to complete the corner.
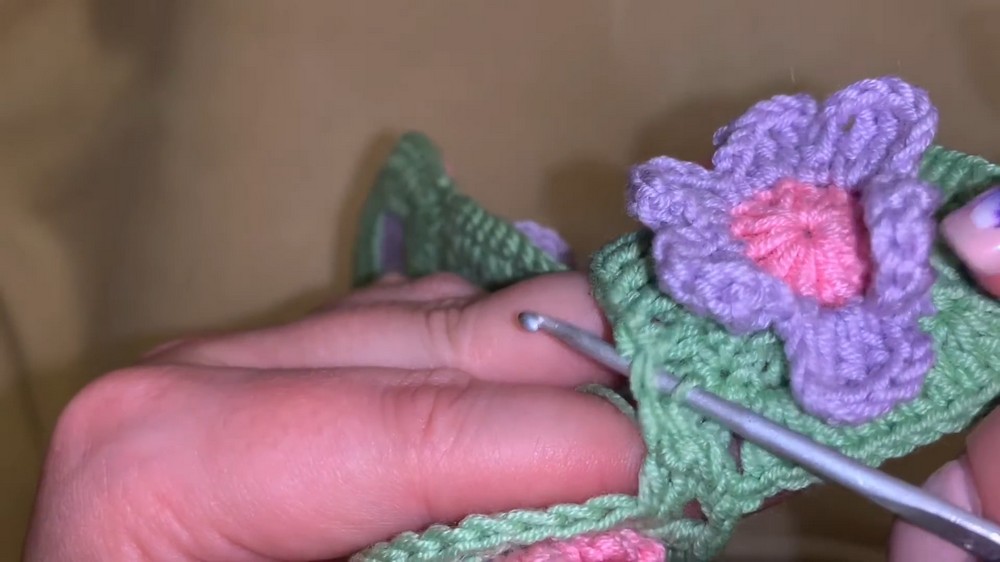
- Work up to the corner, then ch 1, sl st into adjacent motif’s corner ch-3 space, ch 1 to complete the corner.
- Joining Along Sides:
- As you work side stitches, instead of a regular dc, insert the hook through both your motif and the corresponding stitch of the adjacent motif, complete the dc. This creates an invisible, seamless join.
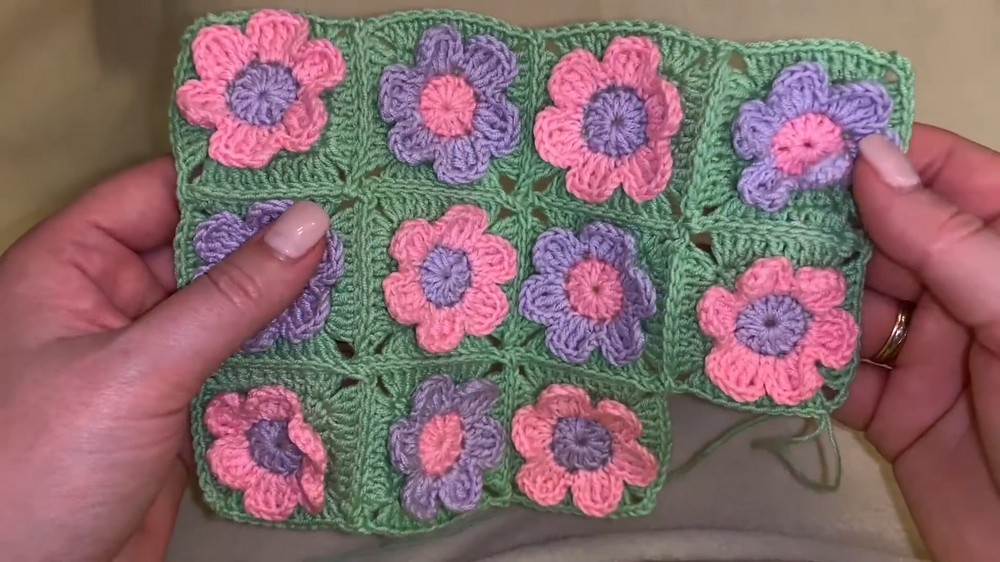
- As you work side stitches, instead of a regular dc, insert the hook through both your motif and the corresponding stitch of the adjacent motif, complete the dc. This creates an invisible, seamless join.
- Continue in this manner to join all motifs for your project, repeating at every touching edge for a sturdy, flat seam.
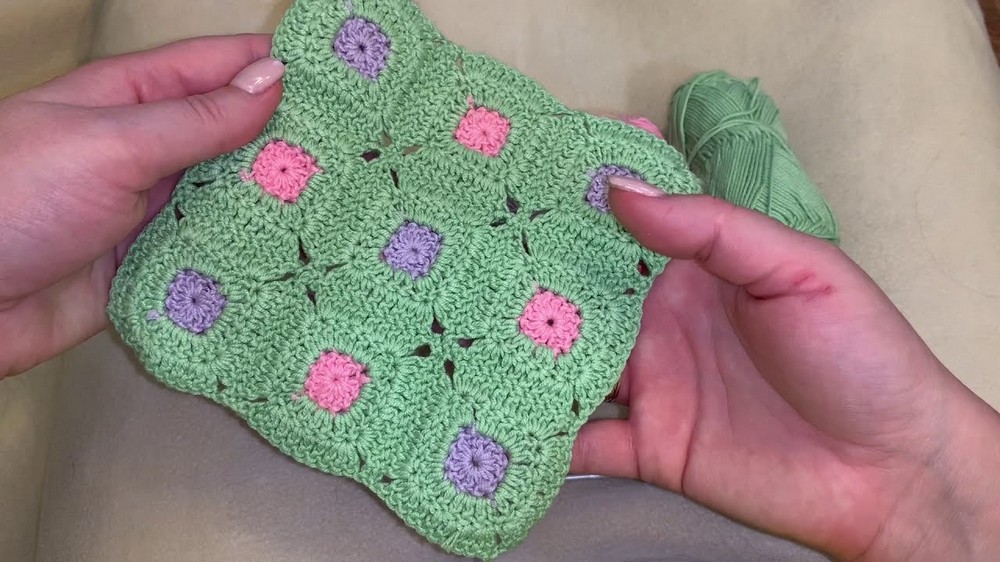
Assembly & Finished Size
After joining, block each motif (and the assembled piece if creating a blanket or similar project) to enhance stitch definition and shape. Each completed, joined motif forms a flat, floral square; the raised petals and seamless connections yield a unified, sophisticated fabric. Final dimensions will depend on the number of motifs selected for your finished project.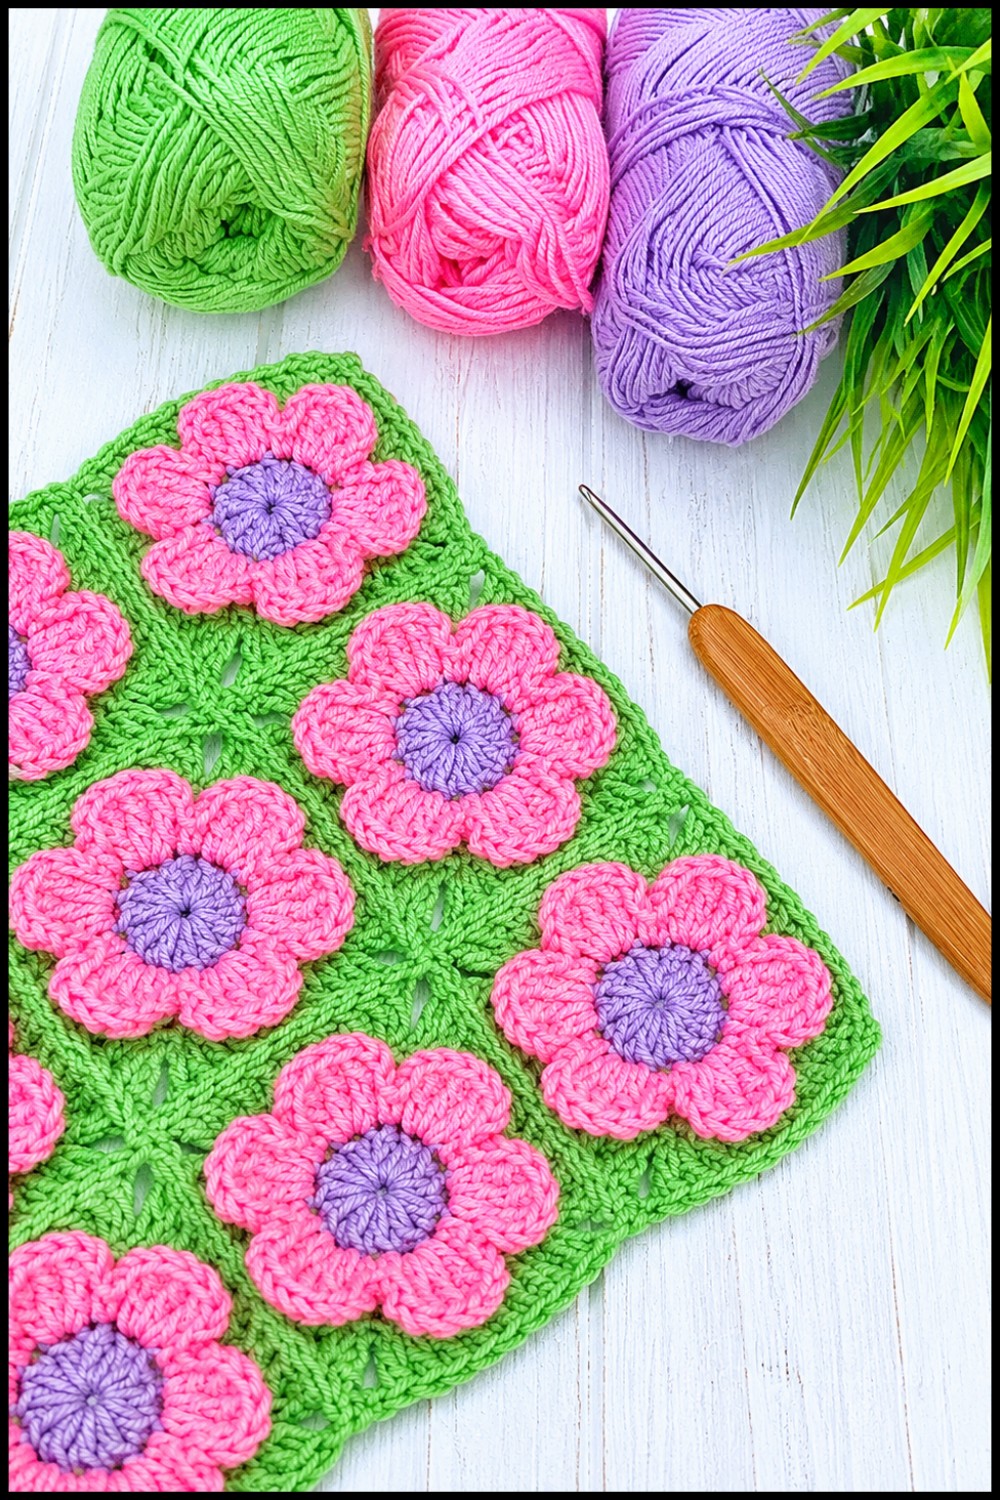
Conclusion and Ending Words
This motif offers a harmonious mix of geometric clarity and floral softness, showcasing technical elements like seamless joining, layered petal construction, and deliberate color changes. By mastering these motifs and joins, you achieve a beautifully textured, adaptable fabric perfect for heirloom quality blankets and decorative crafts. The modular approach empowers creativity, allowing dynamic combinations of color, size, and arrangement tailored precisely for any project need.
