
Wear a beautiful floral accessory with the Crochet Rose Gajra Free Pattern, a sweet hair decoration for traditional outfits and special days.
The lovely tutorial by Calm & Crochet by Kajal introduces a beautiful project that crochet enthusiasts will appreciate. The Crochet Rose Gajra is a charming floral accessory inspired by traditional Indian flower garlands. This project creates a delicate rose-themed gajra made from soft yarn, resulting in a lovely decoration that measures approximately 12 inches in length, making it perfect to wear around the hair or as a decorative piece.
Free Crochet Rose Gajra Pattern For Weddings & Festivals
This project highlights simple yet elegant crochet stitches that come together to form intricate rose shapes strung in a garland. It is suitable for those with basic to intermediate crochet skills. The main features include beautifully formed roses connected seamlessly to create a flexible and eye-catching accessory.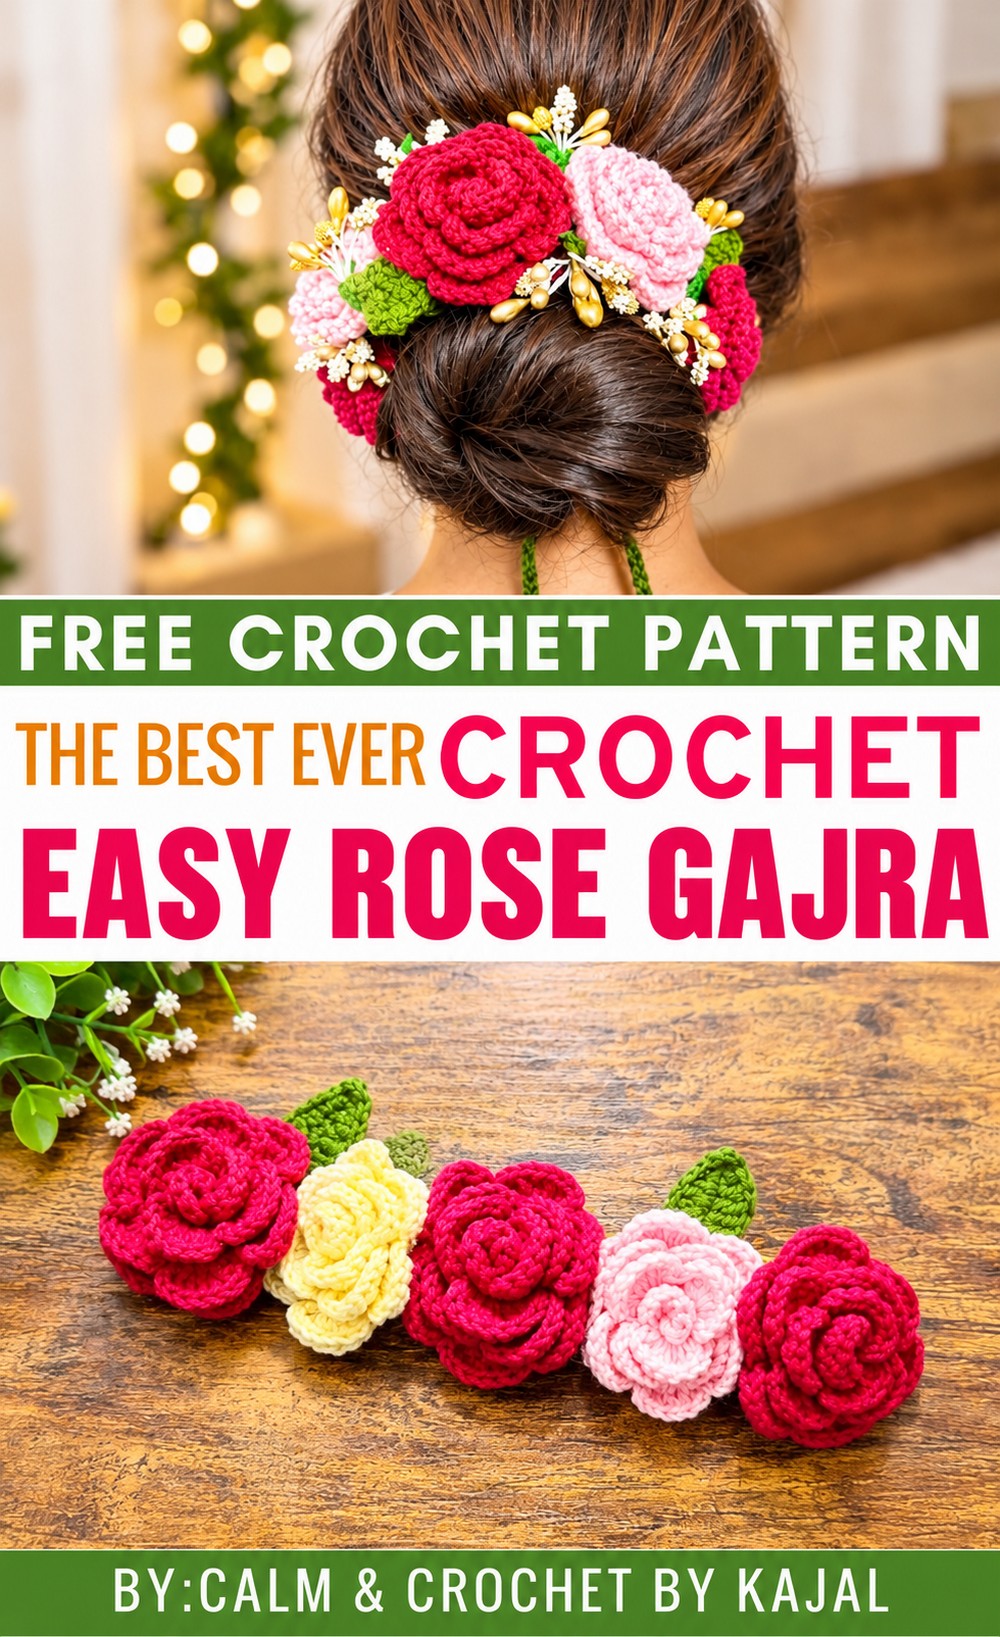 The Crochet Rose Gajra is a wonderful project to try because it combines creativity with practical use. You’ll start by crocheting individual small rose motifs using basic stitches like chain, single crochet, and double crochet. Then, these roses are connected and sewn or crocheted together to form the garland. This process is easy to follow and repetitive enough to become relaxing, yet it produces a stunning final product.
You’ll find this floral gajra perfect for festive occasions, casual wear, or as a special handmade gift. If you appreciate making pretty, wearable art, this project is a great choice. Give this free pattern a spin and bring a touch of handmade elegance to your collection!
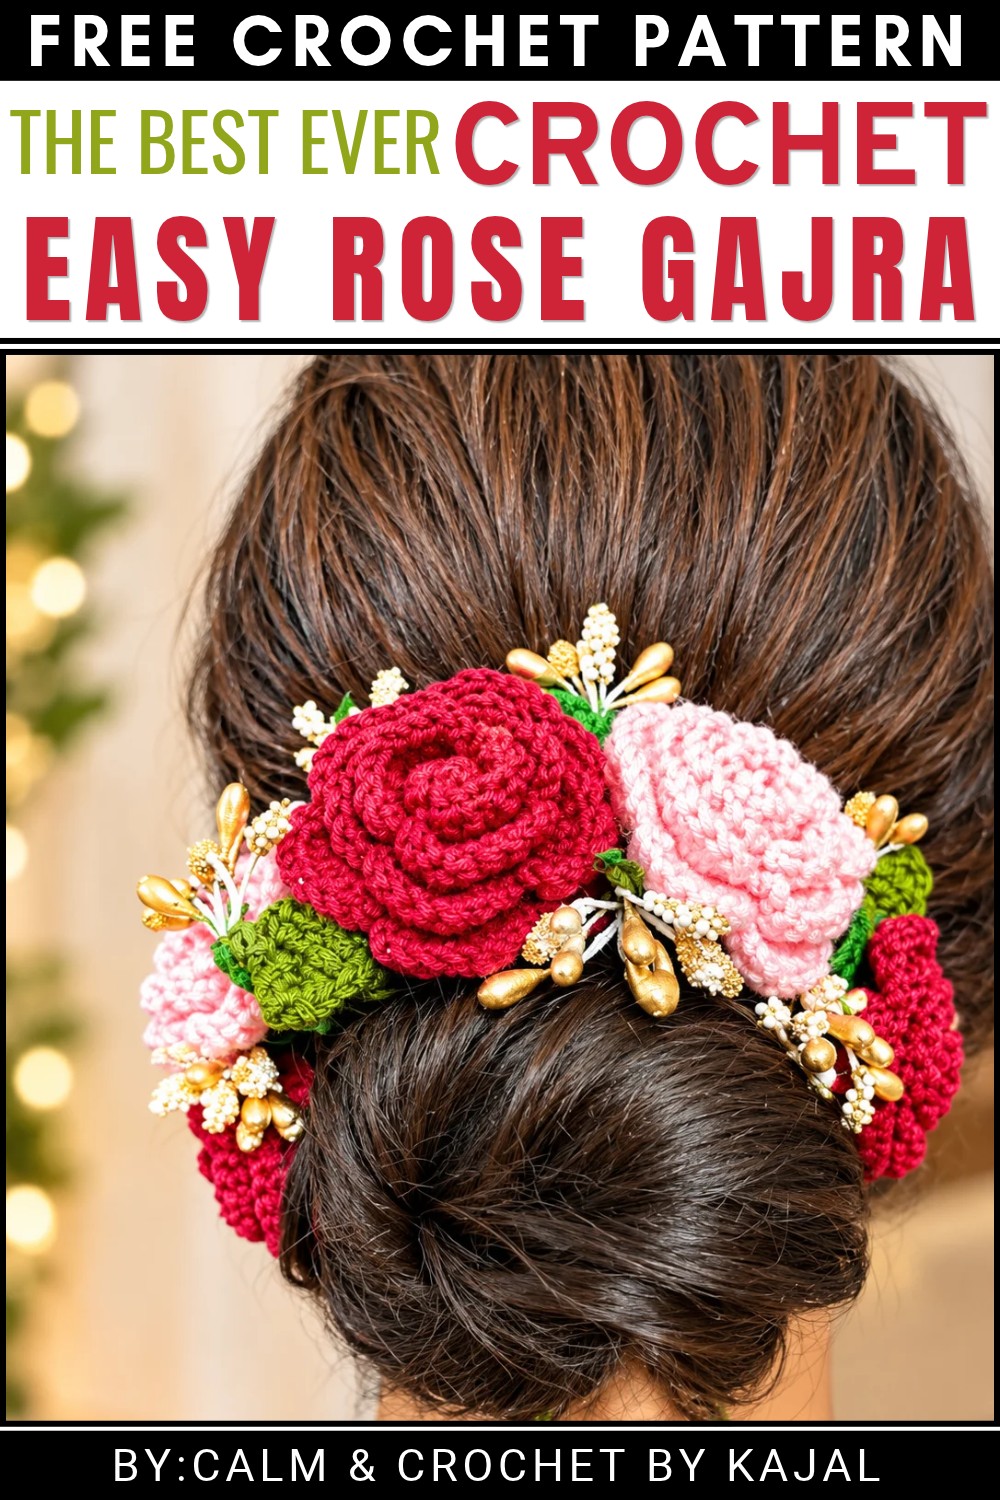
Crochet Rose Gajra Pattern
About the Pattern
The Rose Gajra pattern blends traditional motifs and modern crochet techniques to create an elegant floral hair accessory. Structured in distinct stages, the design features beautifully crocheted roses, sculpted leaves, and a durable base, finished with artificial pollen embellishments for a striking yet natural effect. Each component is carefully assembled to form a garland that is visually rich, flexible, and intended for lasting wear.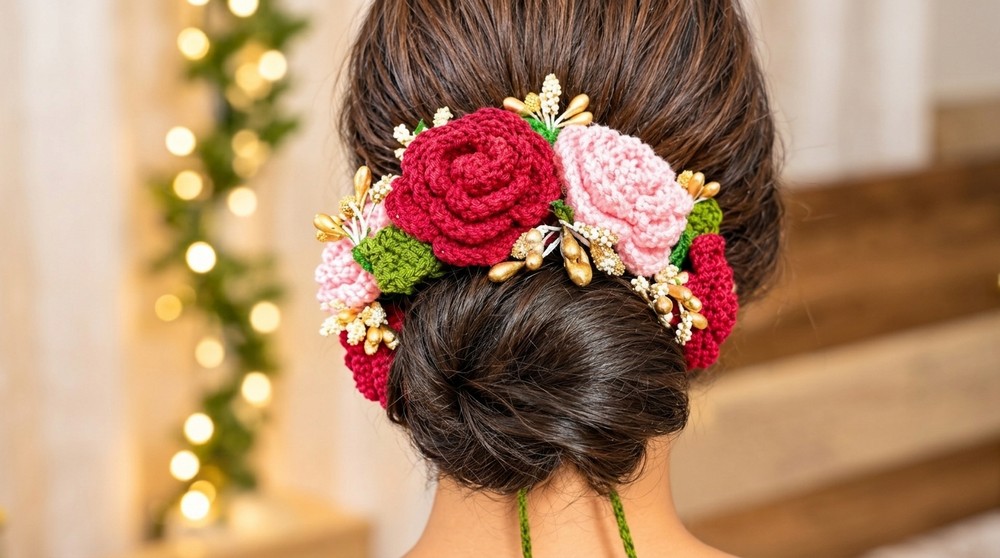
Pattern at a Glance
- Rose Flowers: Worked in rows, rolled, and stitched for dimensional petals.
- Leaves: Slim, shaped motifs in classic green.
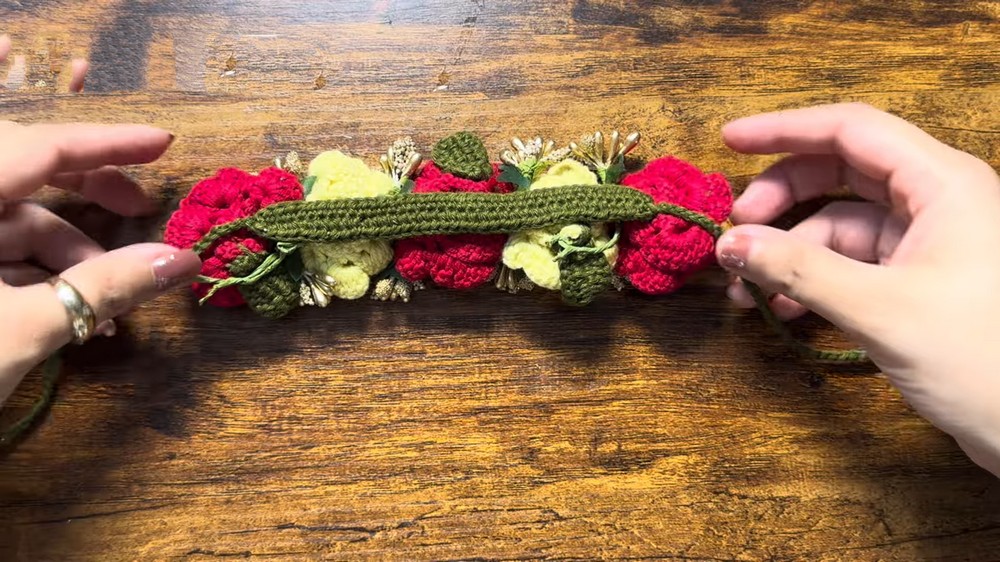
- Base & Ties: Two long strands joined at each end by leaves, allowing comfortable wrapping and secure placement.
- Decorative Details: Artificial pollen added for enhanced realism.
- Assembly: All elements attached to the base, reinforced, and sealed for durability.
Important Notes
- Maintain a consistent stitch tension for uniform flowers and leaves.
- Leave adequate yarn tails for stitching and secure attachment.
- Use a tapestry needle for sewing individual motifs to the base.
- Reinforce all connection points and consider adding craft glue for extra strength.
- Allow sufficient drying time after glue application for best results.
Difficulty Level
Best suited for advanced beginners or intermediate crocheters. Familiarity with row shaping, basic stitch variations, and motif assembly is recommended.
Supplies Needed
- Cotton or acrylic yarn: Red or pink for roses, green for leaves and base
- 2.5–3 mm crochet hook (size 4/0 or as preferred for firm stitches)
- Artificial pollen flower pairs (optional, for decoration)
- Tapestry needle
- Stitch marker
- Craft glue
- Scissors
Size & Measurements
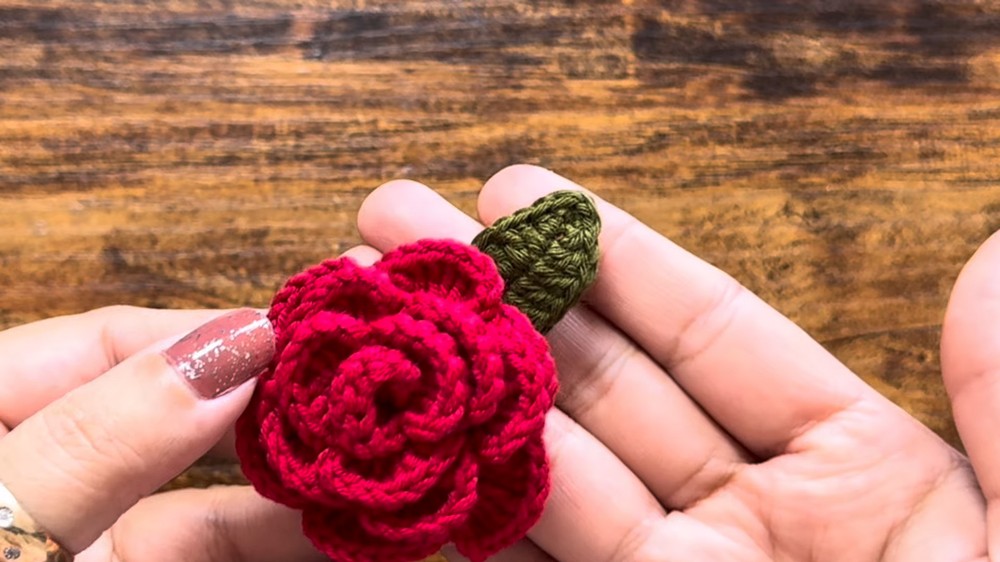
- Each rose: Approximately 2–3 cm diameter after rolling (depends on yarn and tension)
- Each leaf: Roughly 3–4 cm long
- Base: Long enough to wrap around as desired, typically about 80 cm plus leaves at each end
- Gajra overall length: Adjustable; standard style is between 80–90 cm
Gauge & Stitch Details
- Gauge is not essential, but aim for firm, tight stitches to ensure structure and durability.
- Pattern uses single crochet (SC), double crochet (DC), half-double crochet (HDC), chain (ch), and slip stitch (sl st).
Crochet Abbreviations
- ch – chain
- sc – single crochet
- dc – double crochet
- hdc – half-double crochet
- sl st – slip stitch
- sp – space
- st/sts – stitch/stitches
Special Stitch Guide
- V-Stitch: (dc, ch, dc) in same st or space
- Shell Stitch: 8 dc in the same chain-2 space
- Leaf Shaping: stitches worked in both sides of the chain for symmetry
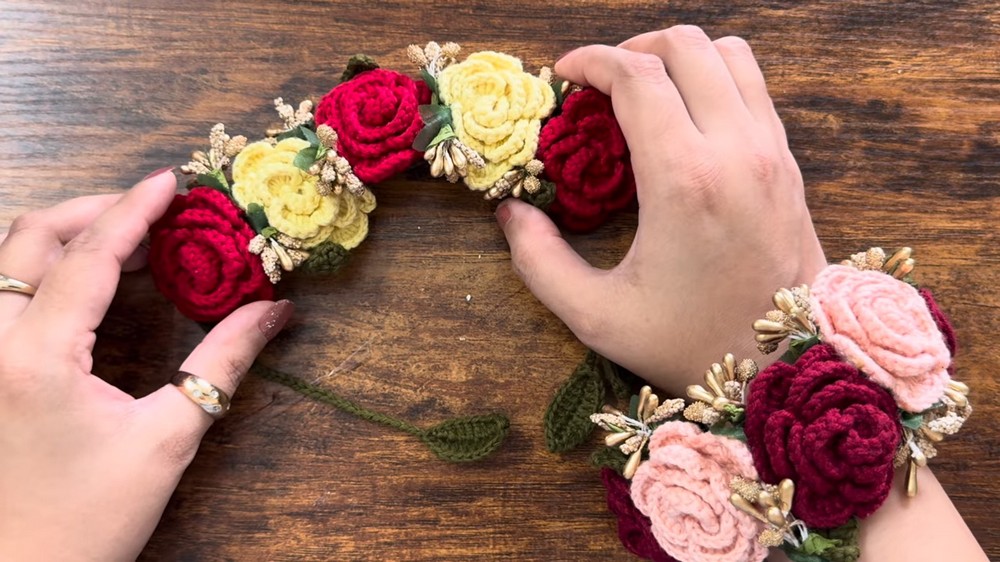
Complete Crochet Pattern
Crochet the Rose
- Foundation:
- Make a slip knot.
- Chain 43.
- Row 1:
- Skip the first chain.
- Work sc in each of the remaining 42 chains.
- Row 2 (V-Stitch Row):
- Ch 5, turn your work.
- Put 1 dc into the first stitch.
- Skip 2 sts, then in next st:
- (1 dc, ch 2, 1 dc) all in the same stitch (V-Stitch).
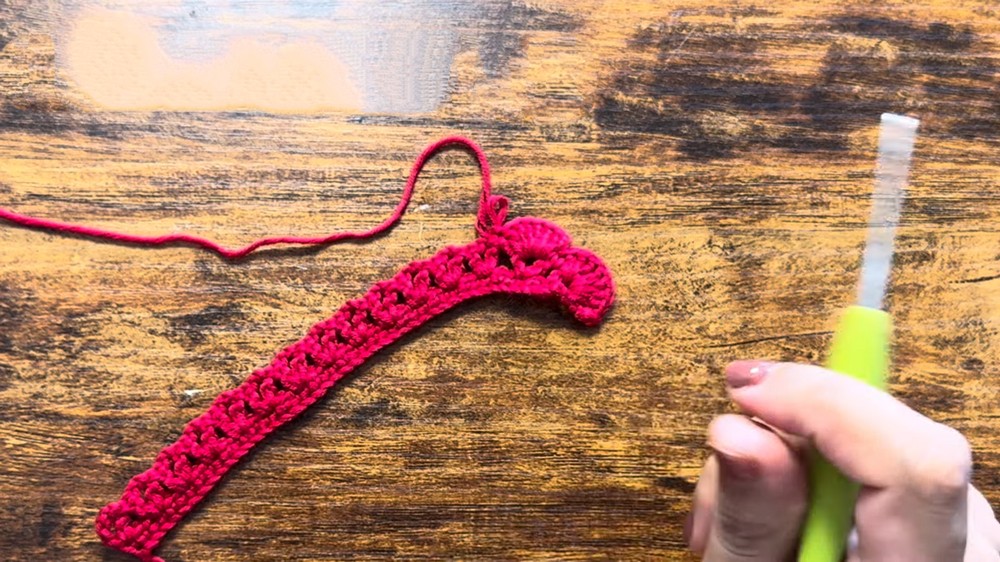
- (1 dc, ch 2, 1 dc) all in the same stitch (V-Stitch).
- Repeat across the row:
- Skip 2, (1 dc, ch 2, 1 dc) in next stitch.
- Continue this pattern to the end.
- Row 3 (Shells Row):
- Ch 3, turn.
- In each ch-2 space from previous row:
- Work 8 dc.
- After each shell, sc into the small space between shells to lock the shell in place.
- Repeat until all chain spaces filled.
- Finishing:
- Cut the yarn, leaving a long tail for sewing.
- Roll the strip gently into a rose shape, overlapping petal layers for fullness.
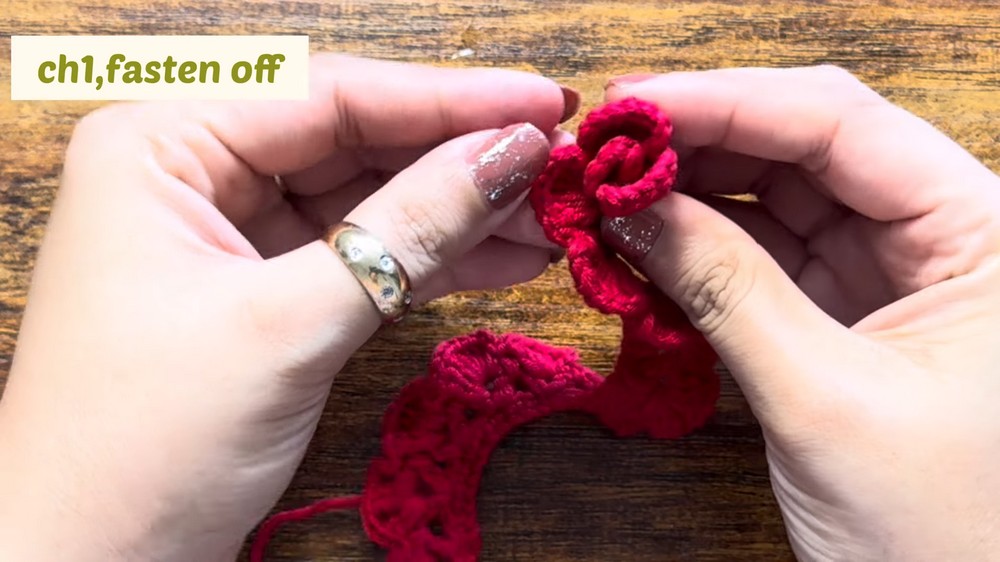
- Use a tapestry needle and yarn tail to stitch through the base, securing all layers so the rose stays firm.
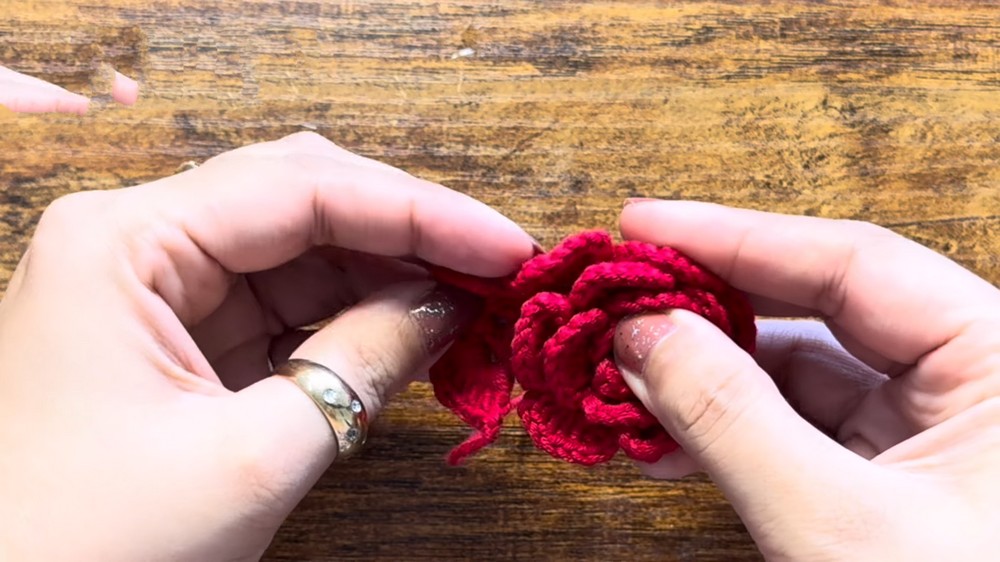
Leaf
- Foundation:
- With green yarn, chain 11.
- Leaf Construction (first side):
- Skip first chain, then:
- 1 sc in next st,
- 1 hdc in next st,
- 5 dc over the following sts,
- 1 hdc in next st,
- In final chain: 3 sc (to curve the tip).
- Skip first chain, then:
- Reverse Side:
- Turn work to crochet into the underside of the foundation chain:
- 1 hdc,
- 5 dc,
- 1 hdc,
- 1 sc in the base chain.
- Turn work to crochet into the underside of the foundation chain:
- Finishing:
- Chain 1, cut yarn, weave in ends.
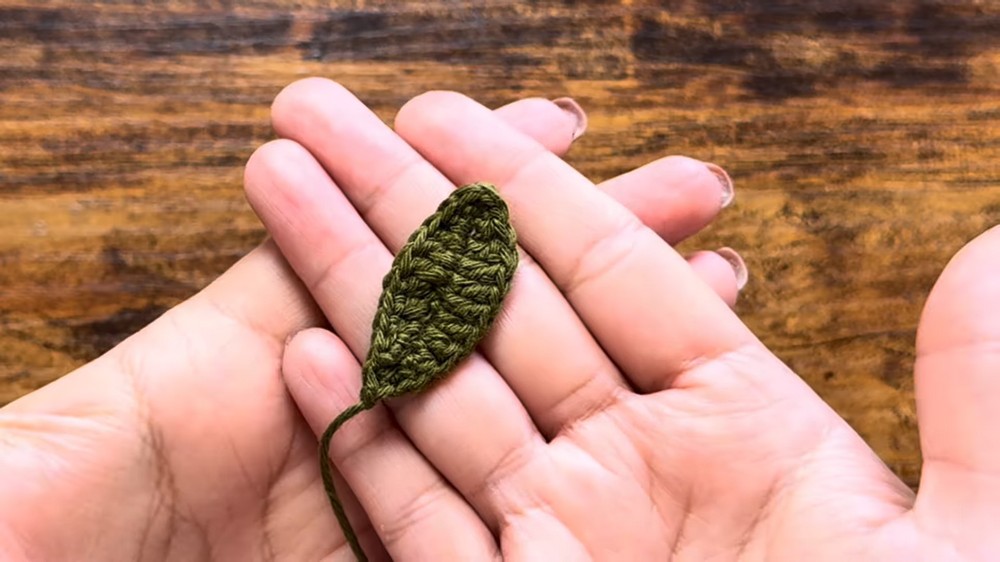
- Chain 1, cut yarn, weave in ends.
Base
- Foundation:
- Start with a leaf as given above, do not fasten off.
- Construction:
- After completing first leaf, chain 40.
- Place a stitch marker at the 40th chain.
- Chain another 40.
- Work hdc back across the chain (total 80 hdc).
- At marked stitch, work 3 hdc to turn for smooth base.
- Continue hdc back to the leaf.
- End:
- Finish the row and chain 40 again for the tie at the other end.
- Crochet a final leaf using the leaf pattern above at the end of this chain to secure the tie.
Assembly
- Attaching Flowers:
- Thread a tapestry needle with a yarn tail from each rose.
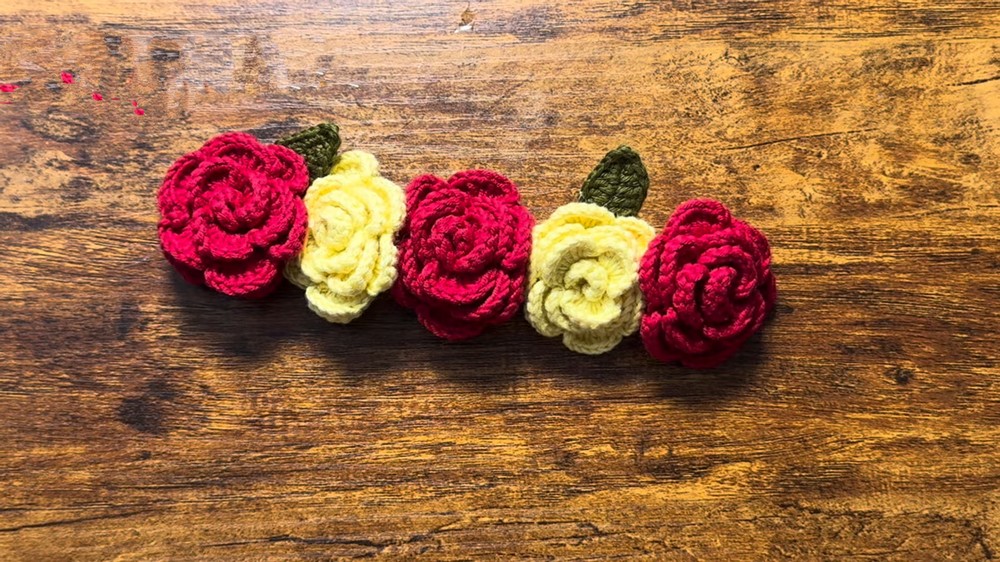
- Stitch the rose through its base onto the central section of the gajra’s crocheted base.
- Secure each rose firmly, spacing them evenly along the base.
- Securing Leaves & Decor:
- Sew green leaves between or beside roses as desired, using yarn tails and tapestry needle.
- Add artificial pollen flower pairs adjacent to roses and leaves for traditional embellishment.
- Sew green leaves between or beside roses as desired, using yarn tails and tapestry needle.
- Final Reinforcement:
- Apply glue sparingly at connection points (where roses and leaves attach to base).
- Allow glue to set overnight.
- Make a few back-and-forth stitches with yarn and needle at each glued point for maximum durability.
- Weave in all ends, trim excess yarn for a neat finish.
- Apply glue sparingly at connection points (where roses and leaves attach to base).
Assembly & Finished Size
After final reinforcement, check the gajra for secure attachment of all roses, leaves, and decorations. The base should be flexible and sturdy, allowing it to be wrapped or tied as needed for hair styling or adornment. Finished length can be customized per preference, with most standard designs sized between 80 and 90 cm.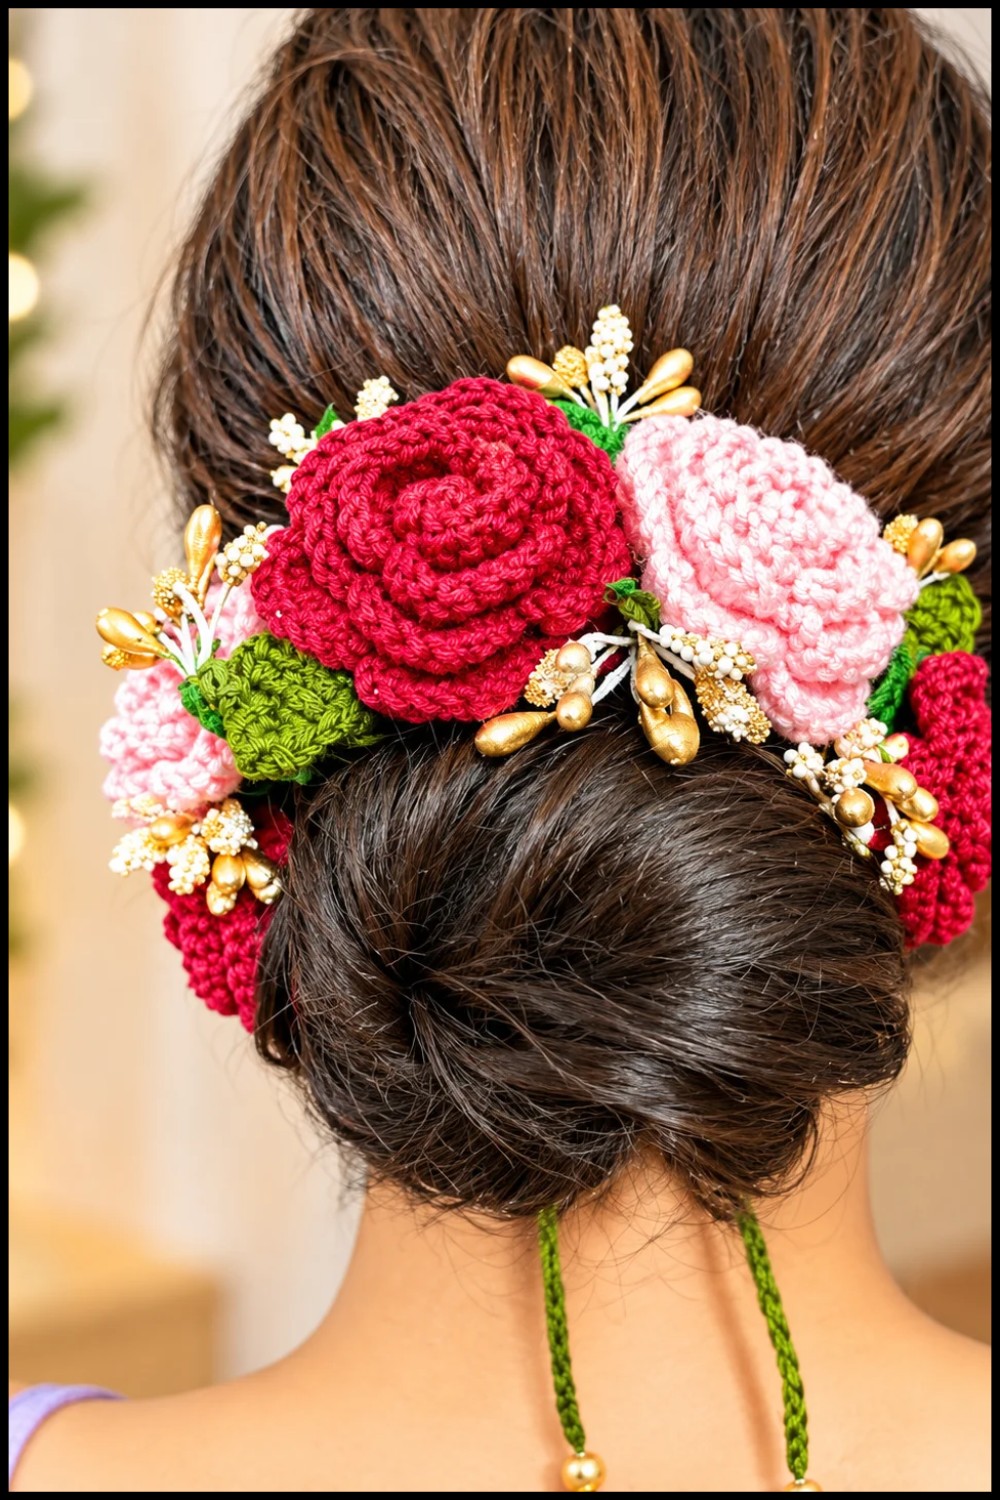
Conclusion and Ending Words
This Rose Gajra pattern combines layered crochet techniques for rich, three-dimensional roses, shaped leaves, and a strong foundational base. All motifs are joined and reinforced for lasting strength. Artificial pollen pairs and craft glue finishes provide the final touch, ensuring the accessory is both beautiful and practical for cultural, festive, or everyday wear.
