
Decorate your coffee table with this Crochet Viral Flip Garden Coaster Free Pattern and enjoy a cute floral touch for your favorite cozy corner.
Wouldn’t it be fun to have a flower decoration that can also hold your tea or coffee cup? A colorful garden sitting on your table can add a fresh feeling to your home. Calm & Crochet by Kajal shares an interesting tutorial for this clever and useful idea.
Unique Crochet Viral Flip Garden Coaster Free Pattern For Dining Tables
This Crochet Viral Flip Garden Coaster is a flower-inspired table accessory with a special folding design. When opened, the pieces spread out like blooming flowers, showing their pretty petals and leafy details. When folded together, they form a small flower garden that looks attractive even when not in use.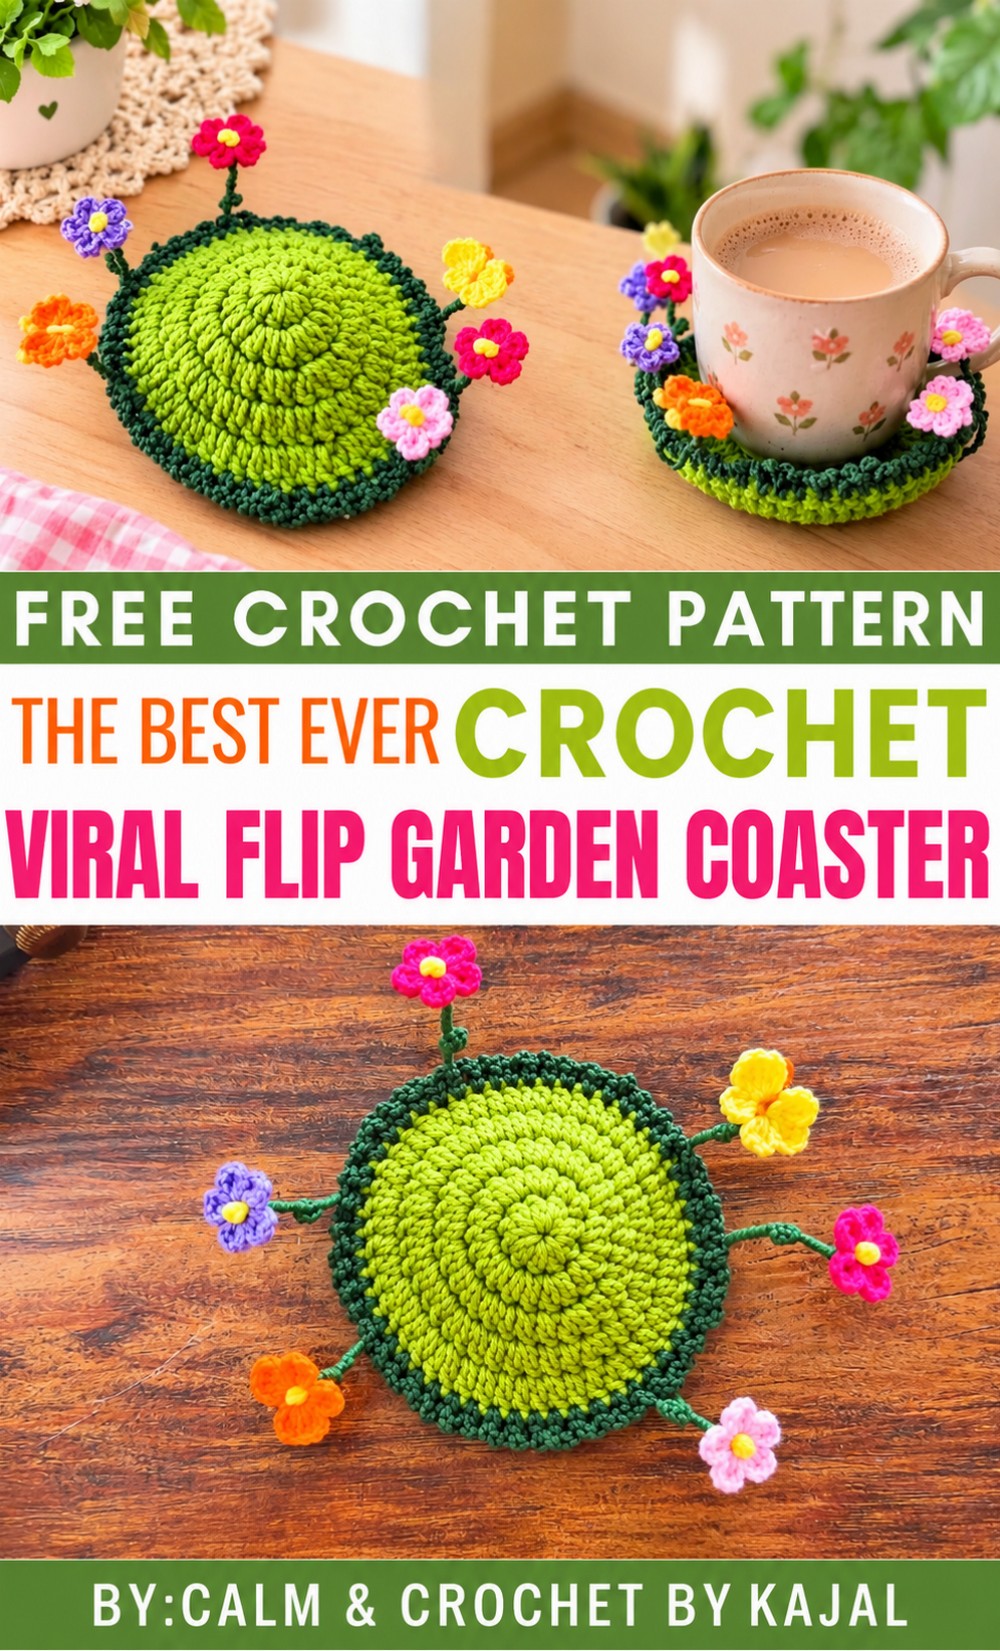 The changing shape is the most exciting feature of this project. Its raised stitches, rounded petals, and green sections give it a natural appearance. You can choose pink, yellow, lavender, or white flowers to match your dining area. The different colors also help each part stand out beautifully.
These coasters are useful for placing beneath tea cups, coffee mugs, and small glasses. They help protect tables from light marks while adding a decorative touch. A finished set can also be a thoughtful handmade gift for birthdays, Mother’s Day, or housewarming celebrations.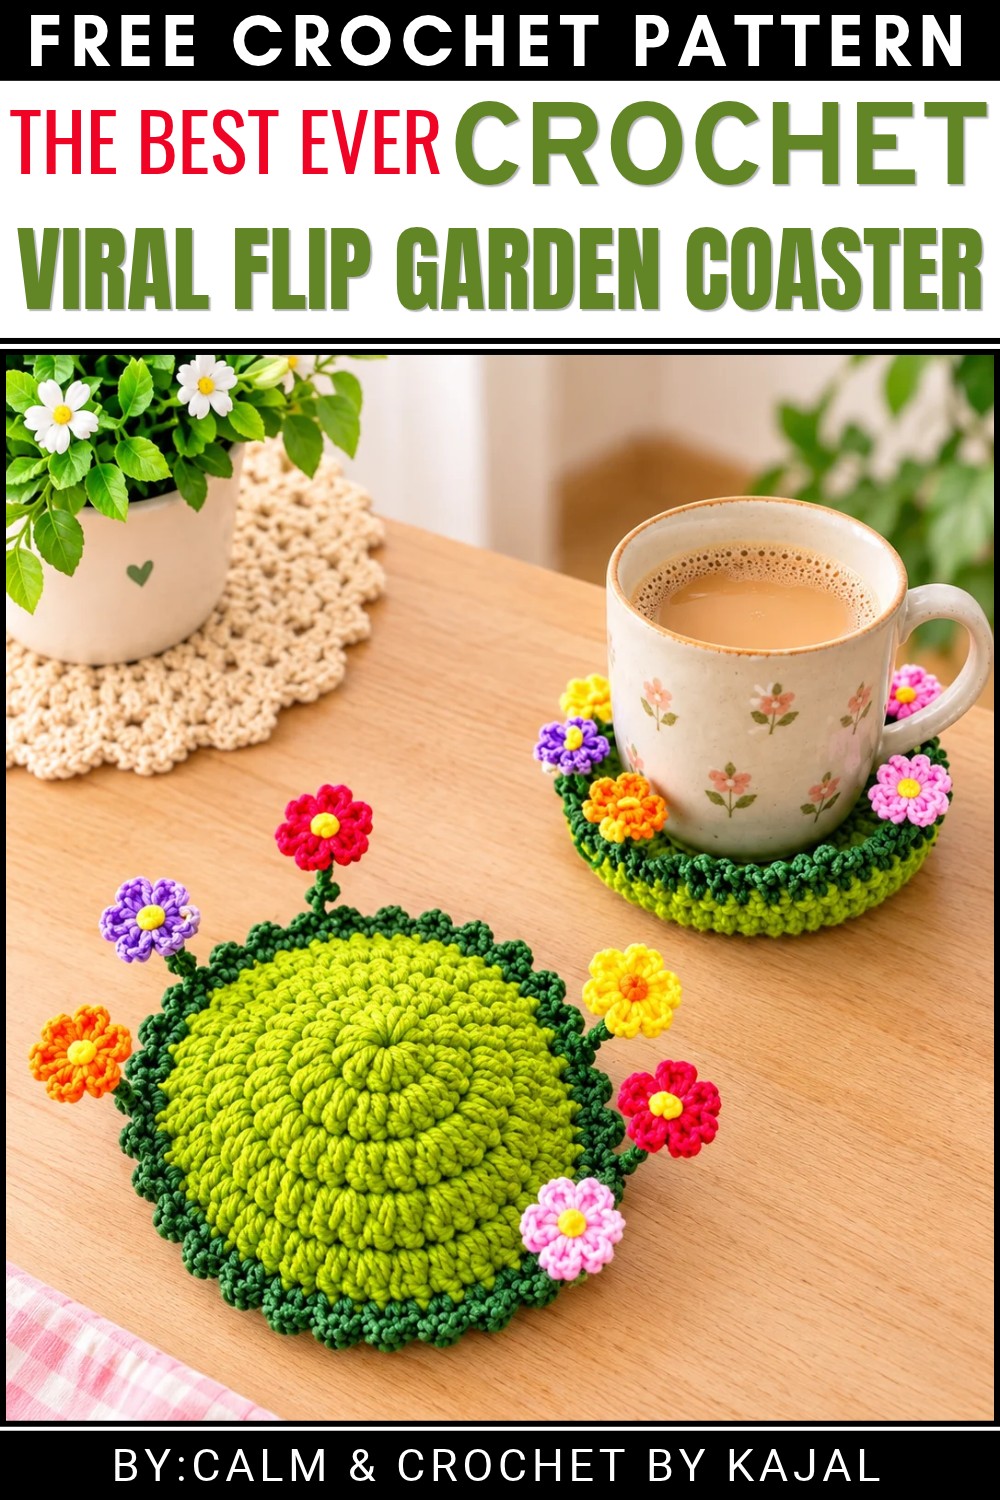 The making process involves crocheting the flower sections, shaping the leaves, and joining the pieces to form the folding design. Neat finishing helps everything sit nicely together.
Try this free flip garden coaster pattern and give your table a pretty flower display that is useful every day!
About the Pattern
This whimsical crochet “garden coaster” blends classic rounds with playful accessories for a unique and multi-textural home accent. The project focuses on a substantial circular base bordered with a lacy edge, then brings a cheerful character through miniature flowers, leaves, and a butterfly, all arranged on wrapped wire stems. This layered approach promotes both creativity in assembly and skill-building in various crochet techniques. The finished coaster is both decorative and functional, making it a delightful addition to any desk, table, or gift set.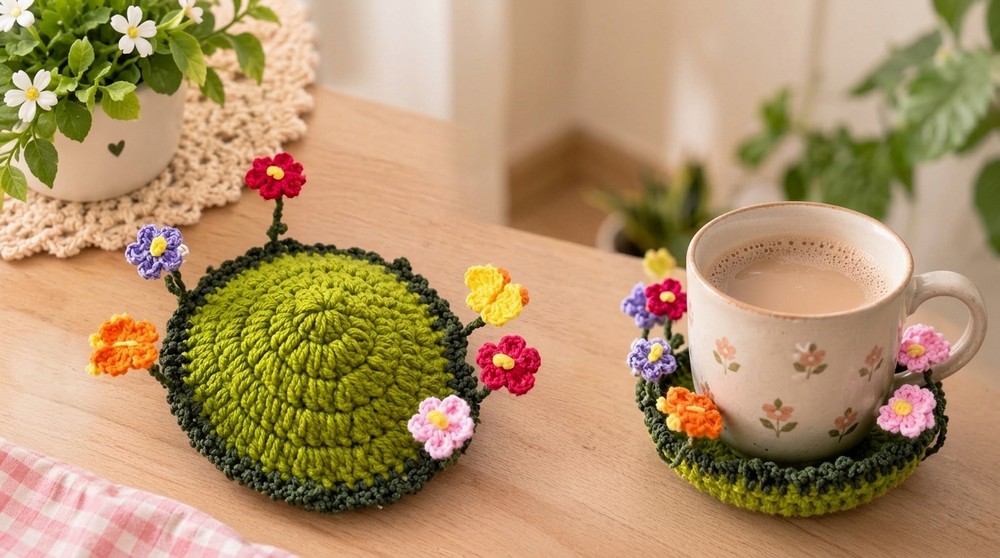
Pattern at a Glance
- Type: Circular coaster with attached 3D floral accessories
- Construction: Center-out rounds for base; separate mini flower, leaf, butterfly motifs; assembly on wire stems
- Edge: Picot chain arch
- Technique: Magic circle; increasing in rounds; combining motifs and structural assembly
Important Notes
- Work the coaster base tightly for durability.
- Yarn changes and accessories are optional but add significant charm.
- Take care when using wire and glue in assembly—work in a clean, well-ventilated space.
- Attach accessories before blocking the coaster to ensure precise placement.
- If using as an actual drink coaster, ensure accessories are placed low or flat enough to not interfere with a glass; adapt length as preferred.
Difficulty Level
Advanced Beginner to Intermediate
Basic skills such as magic circles, increases in the round, and simple motif making are required. Working with wire for the “garden” effect introduces a mixed-media element accessible to crafters comfortable with hand assembly.
Supplies Needed
- Worsted or DK cotton yarn in various colors for the base, edge, flowers, leaves, butterfly, and wrapping
- Crochet hook: 3.5mm or size for a dense fabric
- Scissors
- Yarn needle
- Craft wire (for flower/butterfly stems)
- Craft glue (for securing ends)
- Optional: Stitch markers
Size & Measurements
- Coaster Diameter: Approximately 5.5–6 inches (14–15 cm) finished
- Floral stems: Customizable; between 2–5 inches as preferred
Gauge & Stitch Details
- Gauge: Tight gauge recommended—12 double crochets and 7 rows = 2 inches (5 cm)
- Stitches Used: Double crochet, single crochet, triple crochet, chains, slip stitch, picot
Crochet Abbreviations
- ch – chain
- sl st – slip stitch
- sc – single crochet
- dc – double crochet
- tr – treble (triple) crochet
- st(s) – stitch(es)
- mr – magic ring
Special Stitch Guide
Magic Ring (mr): Loop yarn, work stitches into ring, pull tail to close.
Picot Chain Arch: Ch 4, attach with sl st in next st (creates lacy ‘loop’ edge).
Increase (inc): Work 2 stitches in the same base stitch.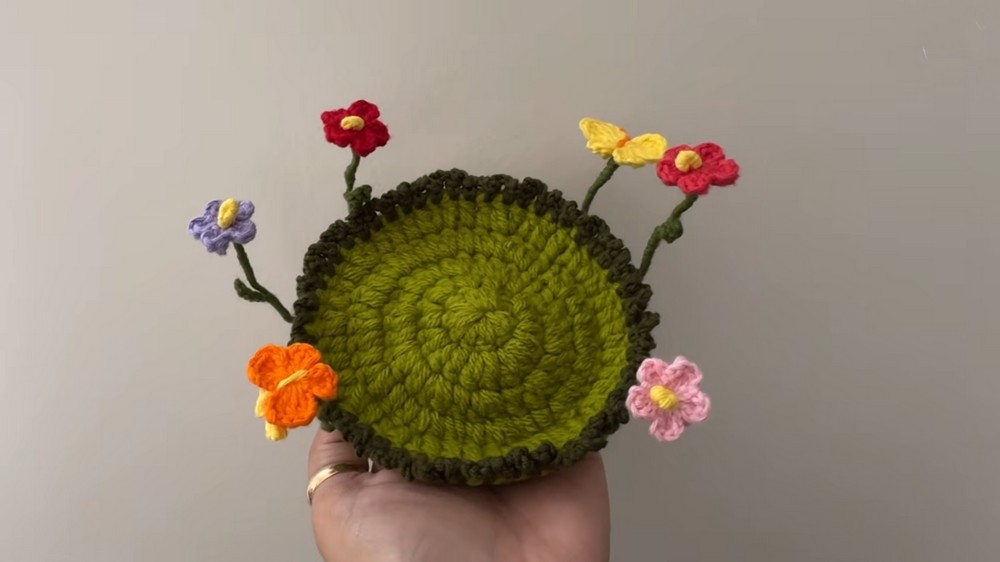
Complete Crochet Pattern
1. Coaster Base
- Magic Circle:
- Start with a magic circle. Ch 2 (does not count as a stitch).
- Round 1:
- Work 10 dc into magic circle.
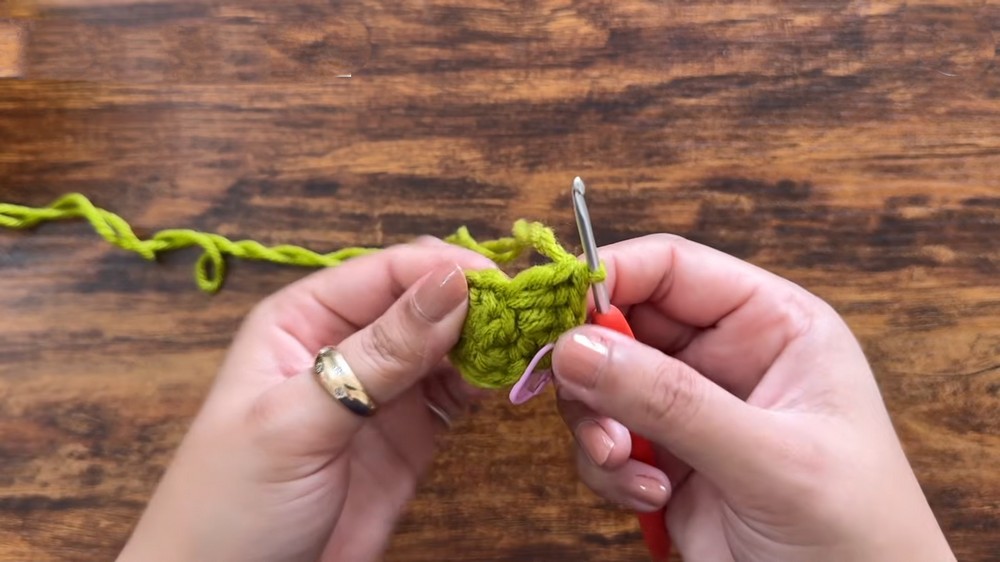
- Sl st to first dc to close the round.
- Work 10 dc into magic circle.
- Round 2:
- Ch 2, 2 dc in each st around (20 dc total).
- Sl st to first dc to join.
- Round 3:
- Ch 2; (1 dc in next st, 2 dc in next st) repeat around (30 dc total).
- Sl st to first dc to join.
- Round 4:
- Ch 2; (1 dc in next st, 1 dc in next st, 2 dc in next st) repeat around (40 dc total).
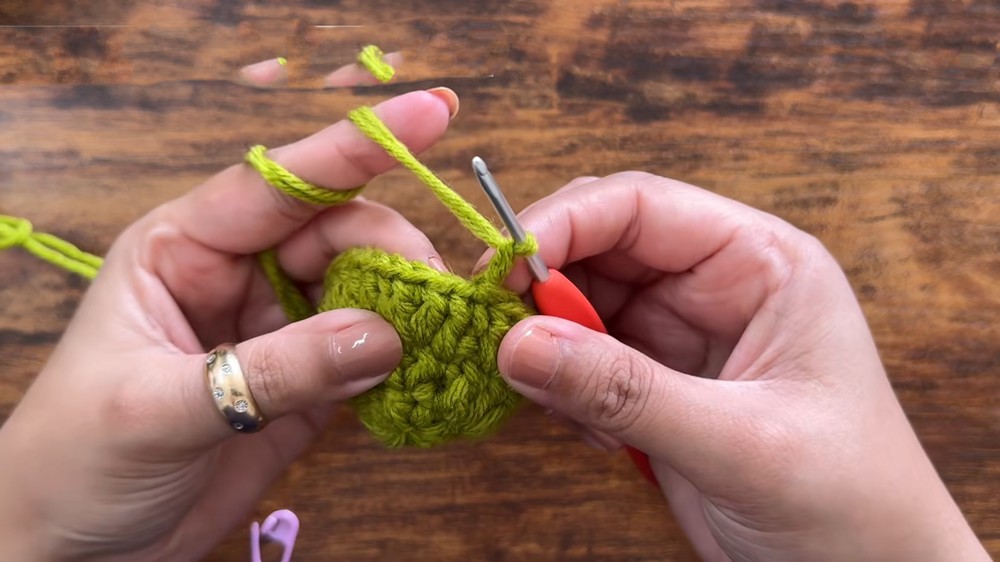
- Sl st to first dc to join.
- Ch 2; (1 dc in next st, 1 dc in next st, 2 dc in next st) repeat around (40 dc total).
- Round 5:
- Ch 2; (1 dc in next st, 1 dc in next st, 1 dc in next st, 2 dc in next st) repeat around (50 dc total).
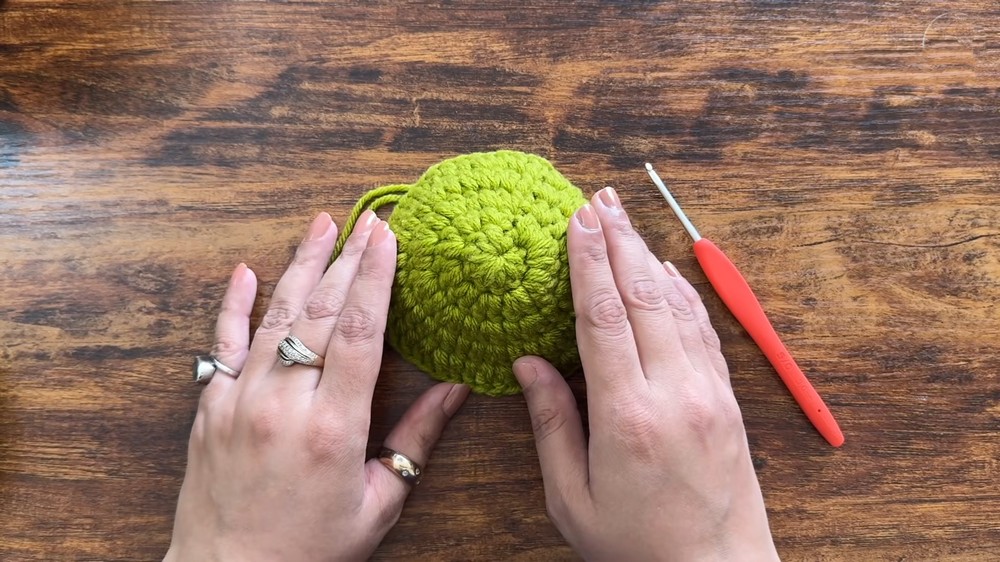
- Sl st to the first dc to join. Fasten off and cut yarn.
- Ch 2; (1 dc in next st, 1 dc in next st, 1 dc in next st, 2 dc in next st) repeat around (50 dc total).
2. Coaster Edge
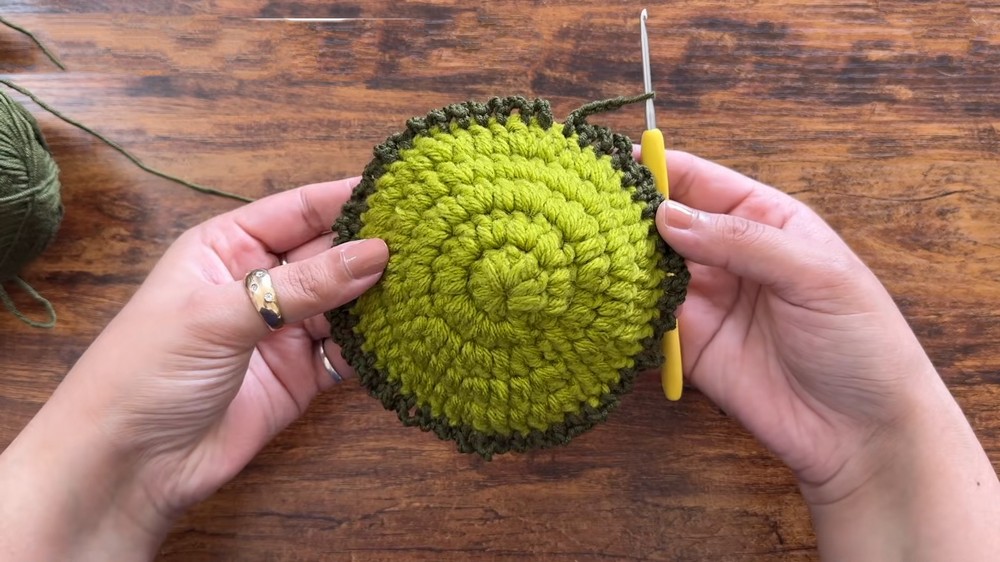
- Attach a new color to any stitch.
- Ch 1; sc in first st, ch 4, sc in next st.
- Repeat: (sc, ch 4, sc in next st) around the edge.
- Sl st to starting sc. Fasten off and weave in ends.
3. Making Accessories
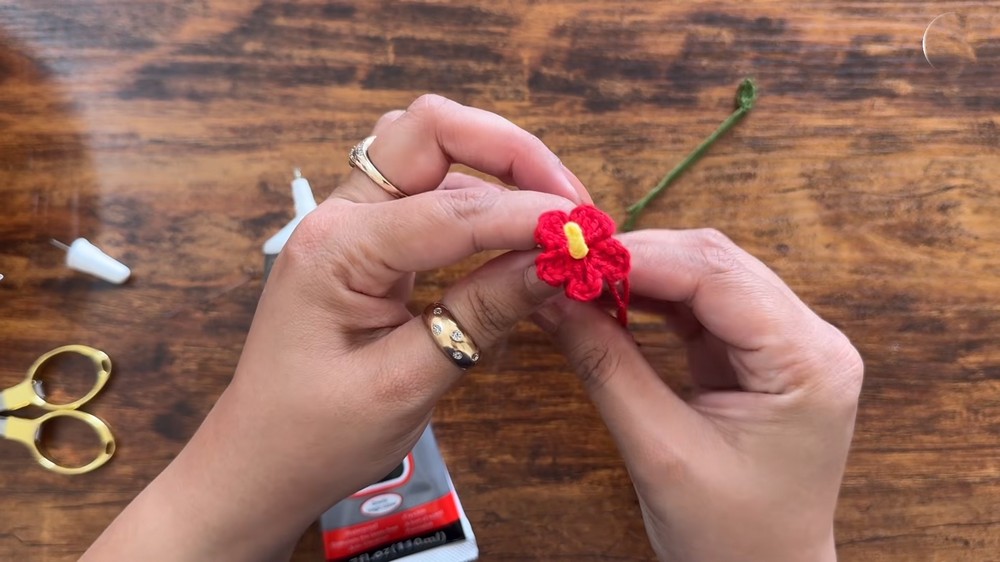
Flowers (Make as many as desired)
- Start with a magic ring.
- Work 5 petals as follows:
- (Ch 2, 2 dc, ch 2, sl st in ring) – this forms one petal.
- Repeat for a total of 5 petals.
- Sl st to first petal, fasten off, and pull the center tight.
Leaves (Make as desired)
- Ch 4.
- Starting in second ch from hook, sl st, sc in next ch, sl st in last ch.
- Fasten off.
Mini Butterfly
- Wings:
- Start with a magic ring.
- (Ch 4, 3 tr, ch 4, sl st into ring) for first wing.
- Repeat (Ch 4, 3 tr, ch 4, sl st into ring) for the second wing.
- Close ring tightly; fasten off.
- Body:
- Ch 5, then sc in each chain (4 sc total).
- Fasten off and sew or glue body across the wing center.
4. Coaster Assembly
- Wire Stems:
- Cut desired lengths of wire.
- Wrap each wire with green or preferred yarn; secure yarn ends with glue.
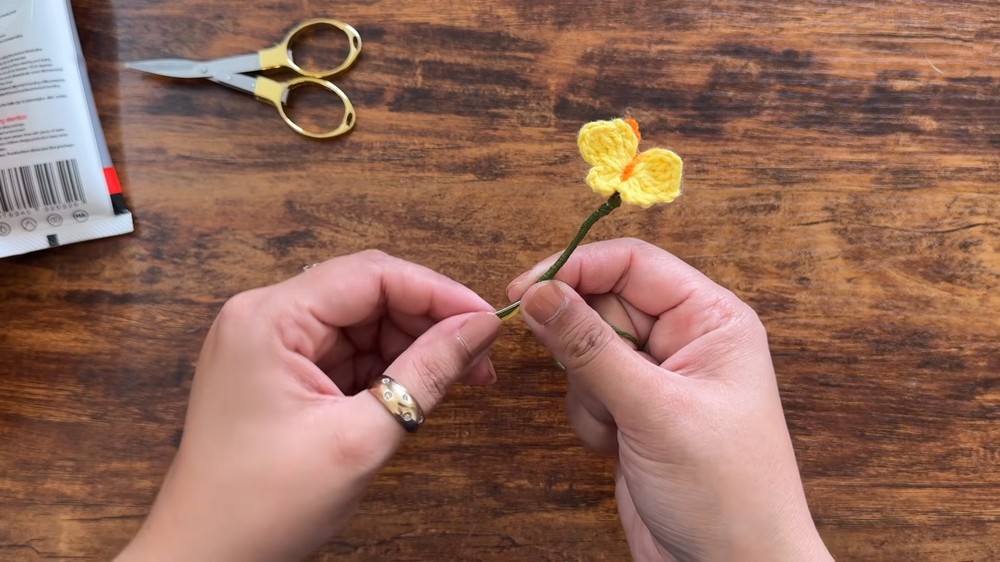
- Allow to dry before next step.
- Attach Accessories:
- Sew or glue the mini flowers, leaves, and butterflies to the tops of the wrapped wire stems.
- Let dry completely for stability.
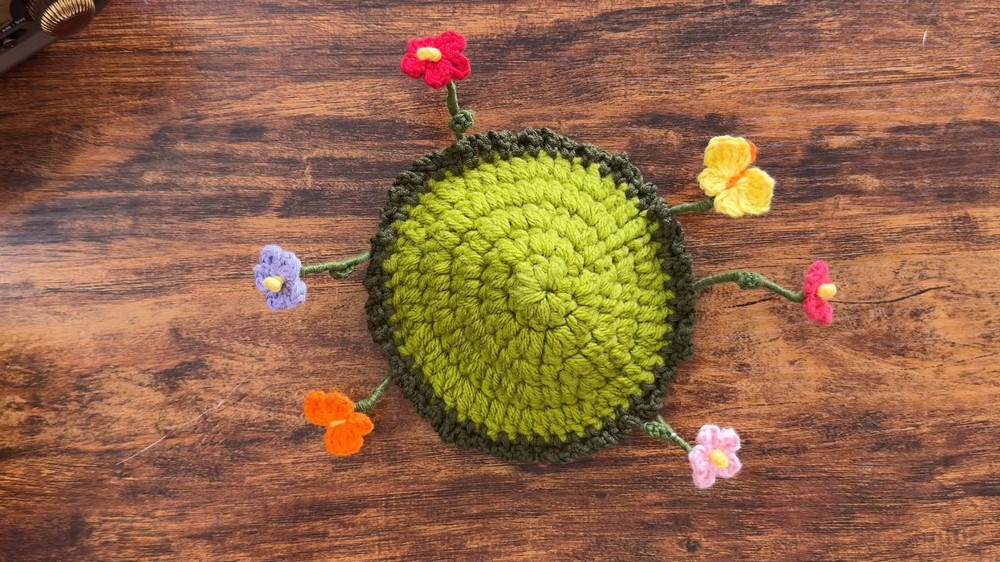
- Insert Stems:
- Carefully insert each wire “stem” through the coaster by threading between double crochet stitches along the outer rounds.
- Place at various points around the coaster base for a scattered ‘garden’ look.
- Secure with a drop of craft glue on the back if necessary to prevent movement or wobble.
Assembly & Finished Size
Block the main coaster base if desired. Once all wire stems and accessories are attached and glued, allow everything to dry and set. Check that all elements are secured from both the top and bottom sides; trim excess wire on the back if needed. The finished piece should be a sturdy, flat coaster with a playful arrangement of 3D floral and butterfly accessories that can “stand up” around its edge.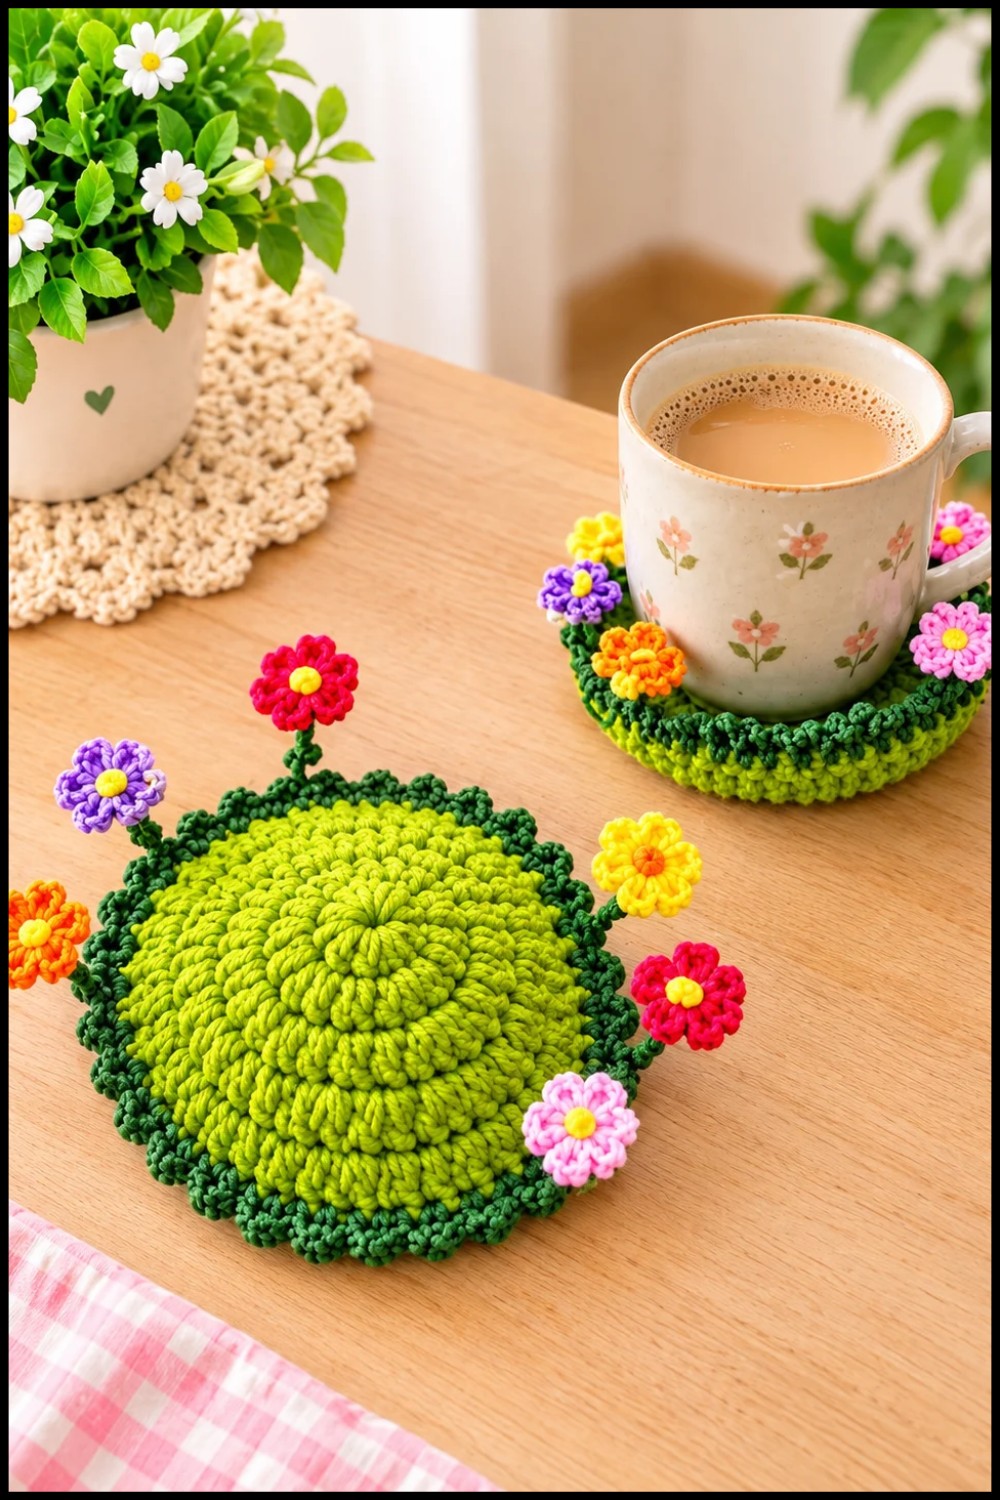
Conclusion
Fusing color, texture, and a touch of whimsy, this coaster design provides both creative satisfaction and practical value. The structured rounds of the base give way to imaginative free-standing details, making each finished project as unique as the hands that create it. This blend of classic crochet with sculptural technique brings a delightful, playful elegance to any space where it is used.
