
Try the Crochet Skirt Free Pattern for a stylish piece to wear with sandals and simple shirts, ideal for warm weather and perfect for handmade outfits.
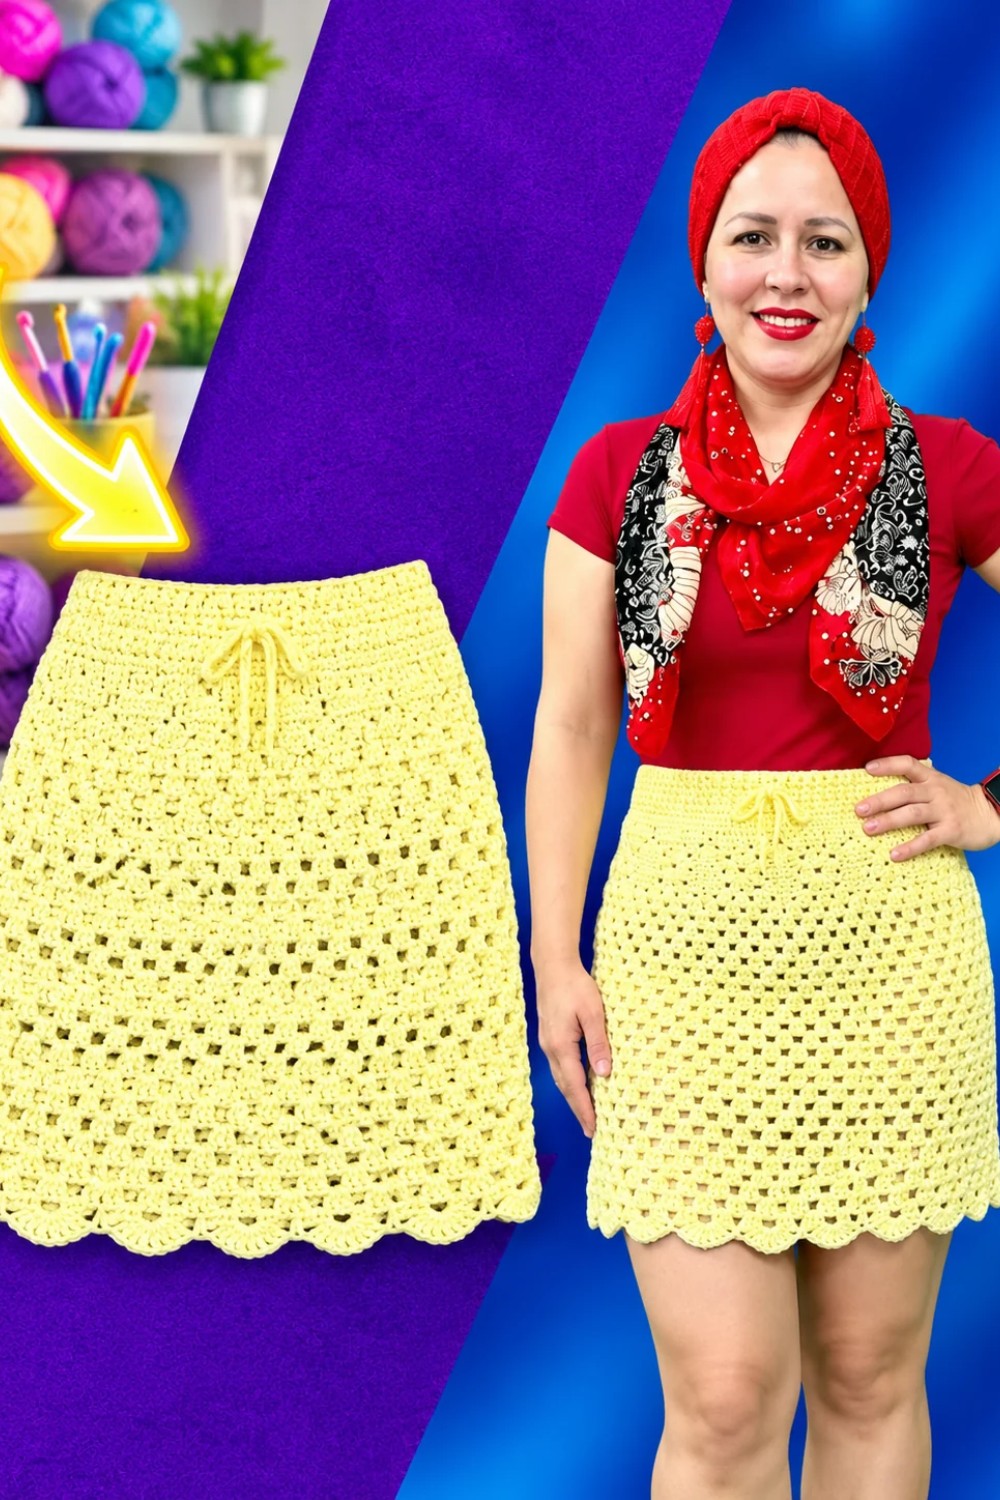
Yanet pupo crochet shares a fashionable clothing idea for women who like wearing comfortable outfits with a personal touch. The Crochet Skirt is a pretty wardrobe piece that can be styled in different ways throughout the year. Its interesting yarn texture gives it a special appearance, making it a nice alternative to regular fabric skirts.
Simple Crochet Skirt Free Pattern With Pretty Details
One appealing thing about this skirt is how the crochet stitches give the fabric its own character. Depending on the stitch design, the surface can have small openings or closely worked sections. You can choose soft camel, dark cherry, or light gray yarn for a different look. The waistband helps the skirt sit around the waist, while the lower section allows room for movement.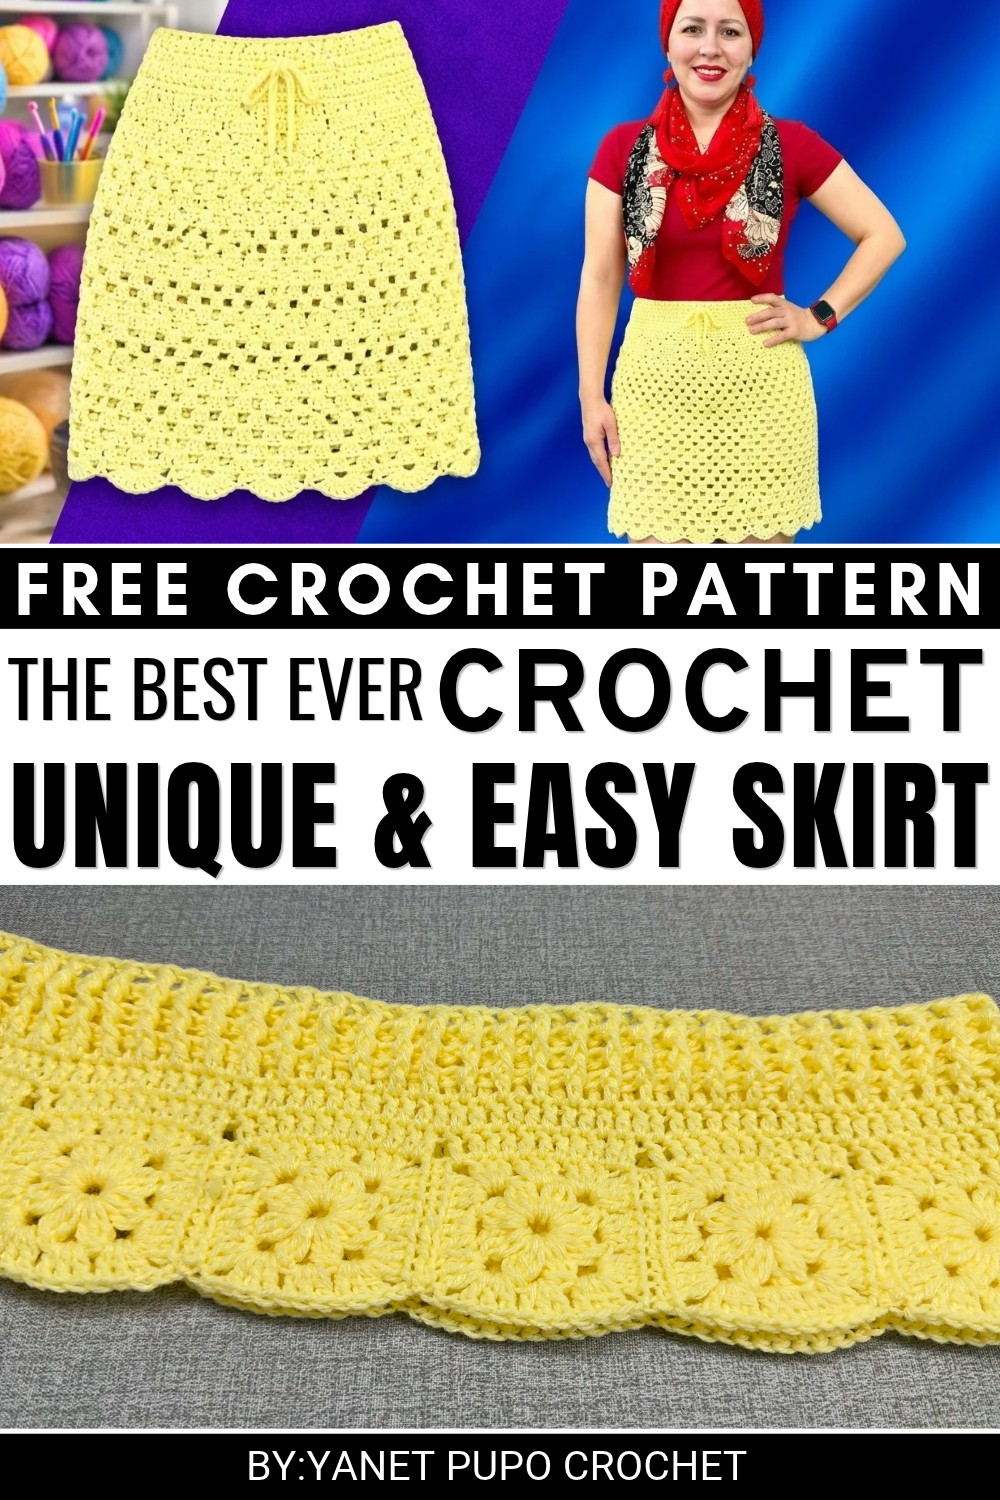 Choosing the right yarn is important for comfort. The skirt can be worked using crochet stitches, with careful attention to the waist and hip measurements. Checking the length while working helps achieve your preferred fit. A suitable lining can also be worn underneath when the stitches have larger spaces.
This skirt is a nice option for spring and summer when paired with a simple top and flat sandals. During cooler days, you can wear it with a fitted turtleneck and ankle boots. It is also suitable for birthday gift, weekend outings, or casual family visits.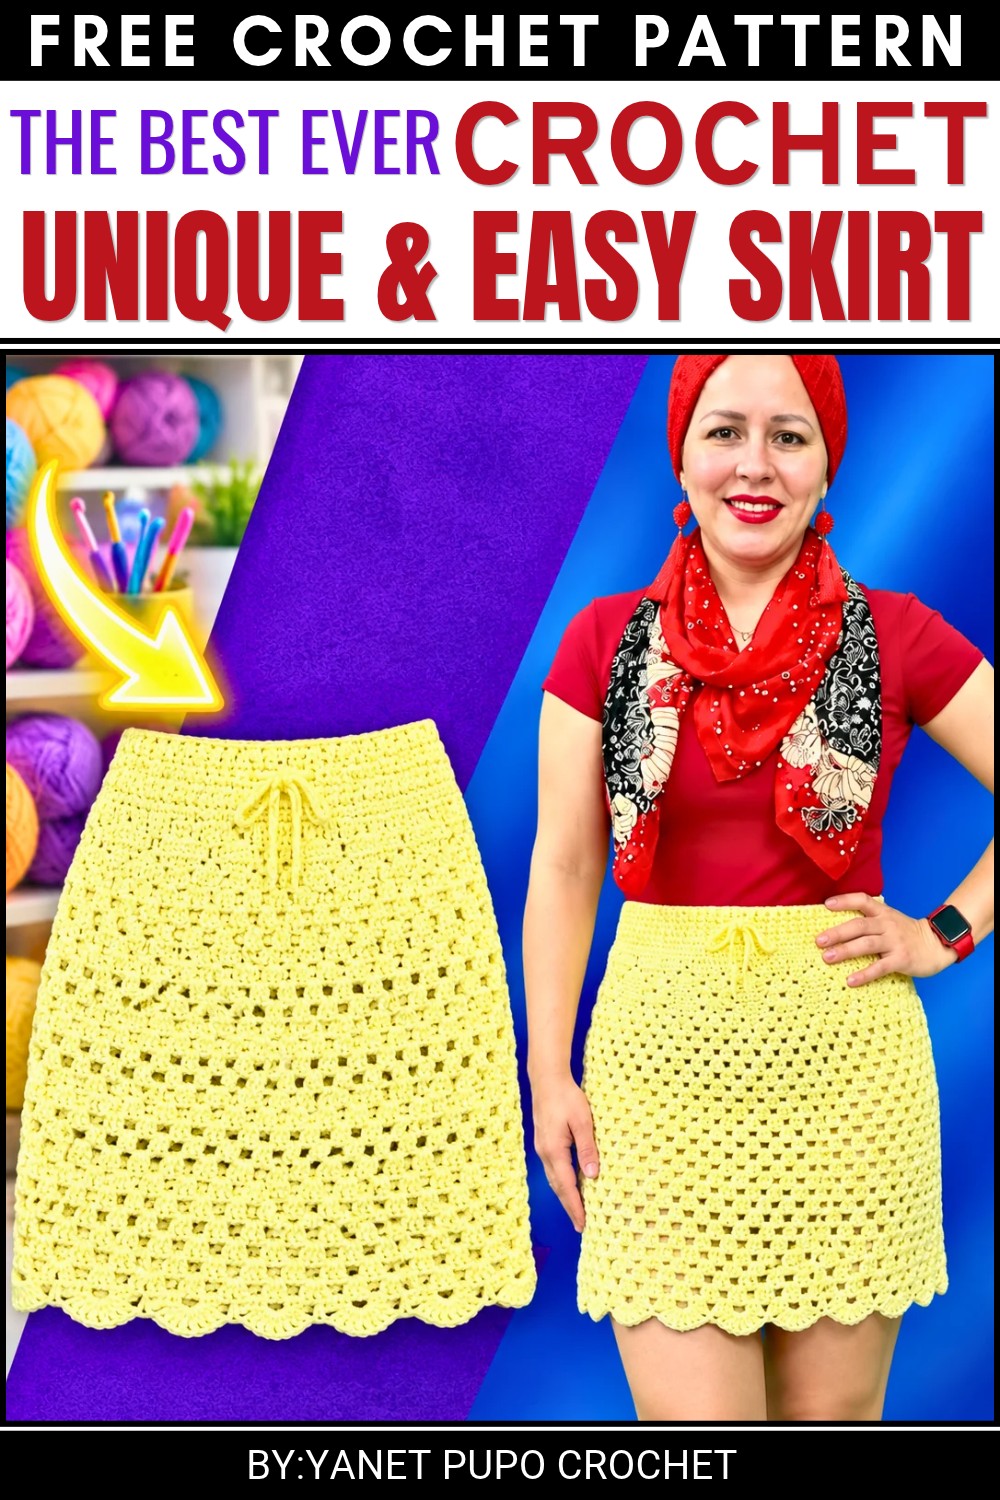
The finished skirt offers plenty of outfit choices without needing too many accessories. Its yarn texture and flexible styling options give you a useful clothing piece that can easily become part of your regular wardrobe.
Crochet Skirt with Square Motif Construction
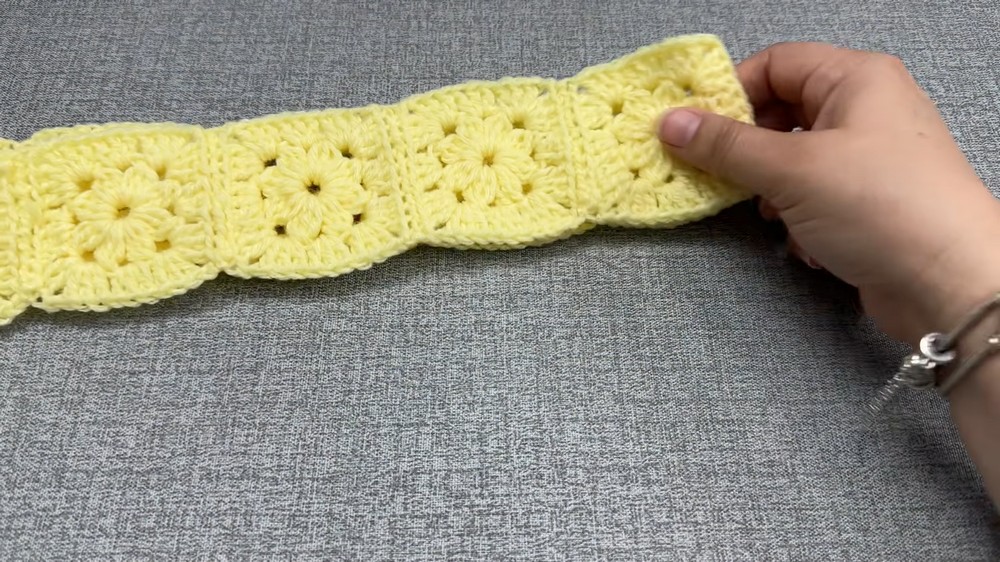
This skirt is created with individual crocheted square motifs, resulting in a modular and customizable garment. Each square begins from a floral center and transitions into classic granny square corners, producing a skirt with geometric harmony and texture. After assembling the squares into a belt-like strip, a fitted waistband and decorative bottom border are added. The process balances technical simplicity with eye-catching design, making it accessible to many skill levels.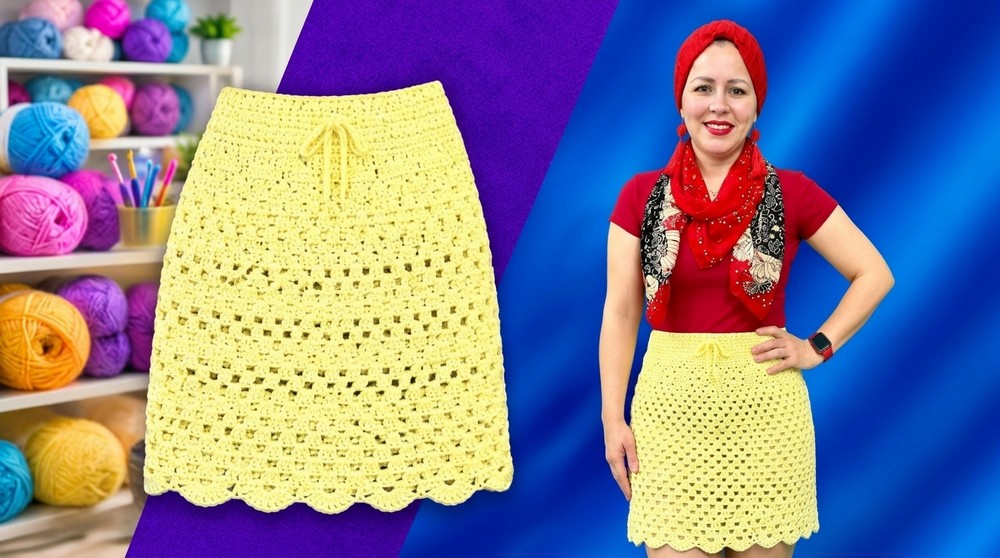
About the Pattern
- The skirt body is formed from a series of motifs worked in the round and joined side-by-side.
- A modern waistband, using post stitches, adds both structure and stretch.
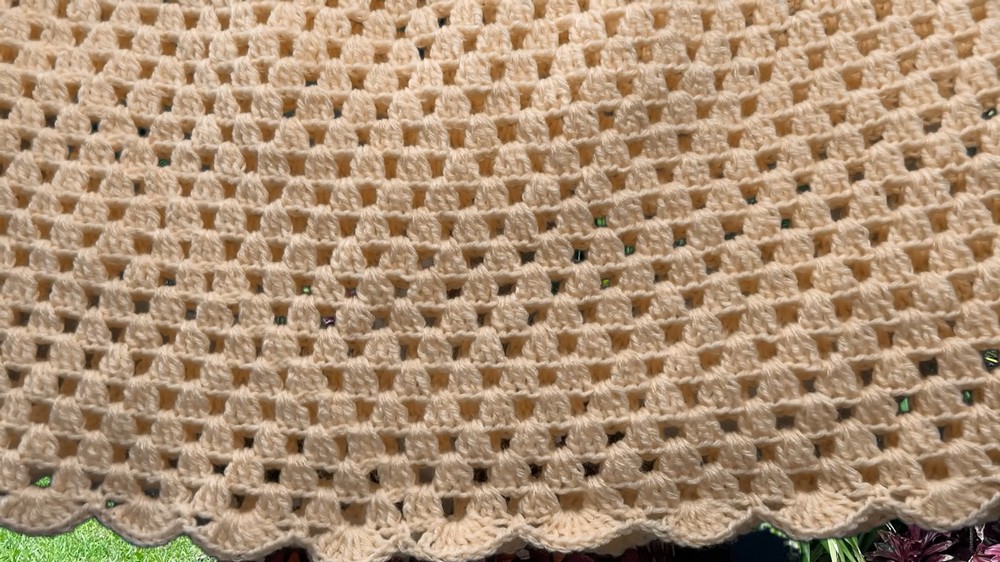
- The bottom border incorporates traditional grouping and fan techniques for elegant finishing.
Pattern at a Glance
- Modular construction: Assemble skirt by connecting individual squares.
- Floral granny squares: Each motif features petal clusters and classic corners.
- Stretch waistband: Three rounds of front and back post double crochet.
- Adjustable finish: Waistband can be cinched with ribbon or foundation chain.
- Length adjustability: Add as many border rows as needed for desired skirt length.
- Decorative fans: Elegant final round creates a ruffled hem.
Important Notes
- Square count is easily adjusted for different body sizes.
- Secure joins along the top loops for durability and comfort.
- Block motifs prior to assembly for best results.
- Choose colors to create gradient or patchwork effects.
Difficulty Level
The pattern fits adventurous beginners and intermediate crocheters comfortable with cluster stitches, motif assembly, and post stitches. Basic familiarity with motif construction and finishing techniques improves outcome.
Supplies Needed
- Worsted-weight yarn or fiber suitable for wear and drape; amount varies by size and length (estimate 250–500g for medium adult).
- Crochet hook sized for yarn, commonly 3.5mm–5mm.
- Yarn needle for motif joining and weaving ends.
- Stitch markers (optional for motif placement).
- Ribbon or chain tie for adjustable waist.
- Measuring tape for skirt length and fit.
Size & Measurements
- Motif Size: Finished squares approximately 4″ x 4″ (10 x 10 cm) after blocking.
- Waistband Width: Typically 2″ (5 cm) after three post rounds.
- Skirt Length: Customizable; start at hip, add border rows for desired coverage.
- Square Count: Approximately 12 squares for standard adult; adjust for fit.
Gauge & Stitch Details
- Motif gauge: One square should measure about 4″ x 4″ as worked.
- Border is worked in classic granny groupings and fan stitches.
- Post stitches provide texture and stretch for the waistband.
Crochet Abbreviations
- ch – chain
- sl st – slip stitch
- dc – double crochet
- sc – single crochet
- fpdc – front-post double crochet
- bpdc – back-post double crochet
Special Stitch Guide
- Petal Cluster: Begin dc, pull up loop; repeat 3 times, then yarn over and pull through all loops for clustered petal.
- Front-post double crochet (fpdc): Yarn over, insert hook around post from front, complete dc.
- Back-post double crochet (bpdc): Yarn over, insert hook around post from back, complete dc.
- Fan: Place 7 dc in one space.
Complete Crochet Pattern
Creating the Square Pieces
Foundation
- Begin with a slip knot.
- Chain 6 and join with a sl st to form a ring.
Round 1: Petals
- Into ring, repeat 8 times:
- For each petal: Work 3 unfinished dc, leaving last loop of each on hook, yarn over and pull through all loops (clustered), then ch 2.
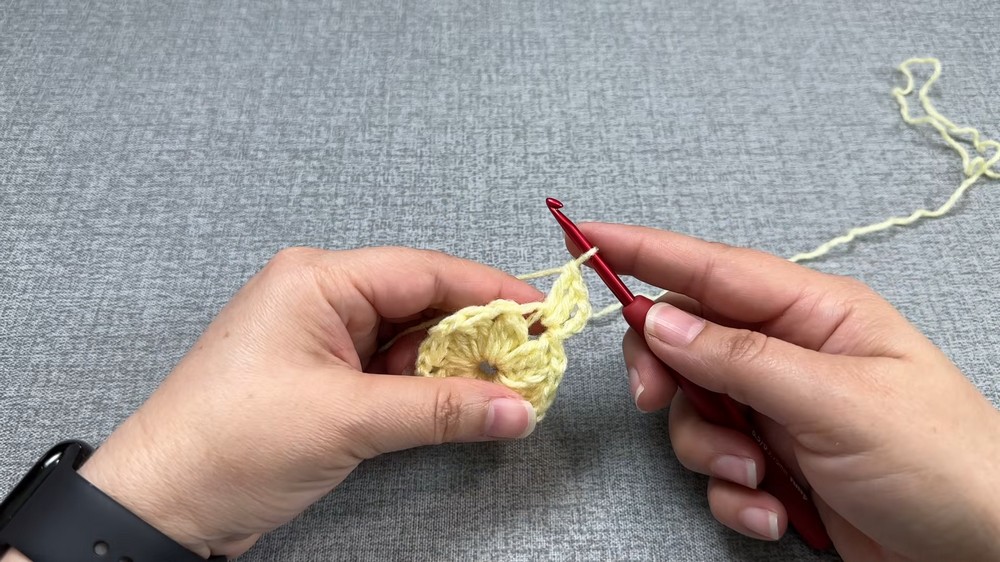
- For each petal: Work 3 unfinished dc, leaving last loop of each on hook, yarn over and pull through all loops (clustered), then ch 2.
- Ensure 8 petals and 8 spaces, join with sl st.
Round 2: Square Formation
- Into each chain space, repeat:
- At corners: 3 dc, ch 2, 3 dc
- At sides: 3 dc in each space (between the corner clusters).
- Join with sl st to first dc. Fasten off and weave ends; block if needed.
Joining the Squares
- Create desired number of squares (e.g., 12).
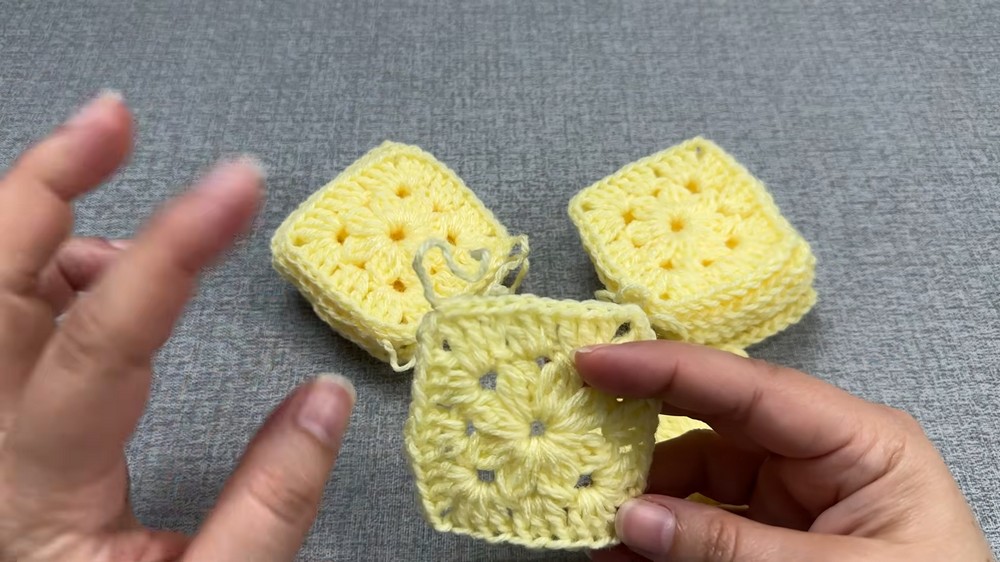
- Arrange squares side-by-side.
- Use a yarn needle to join by sewing the top loops of the edge chains, forming a continuous horizontal strip (“belt” of squares).
Waistband Construction
Base Rows
- With new yarn, join at a corner space along the top edge of the belt.
- Work dc stitches evenly across the top for 2 rows.
Elastic Stitch
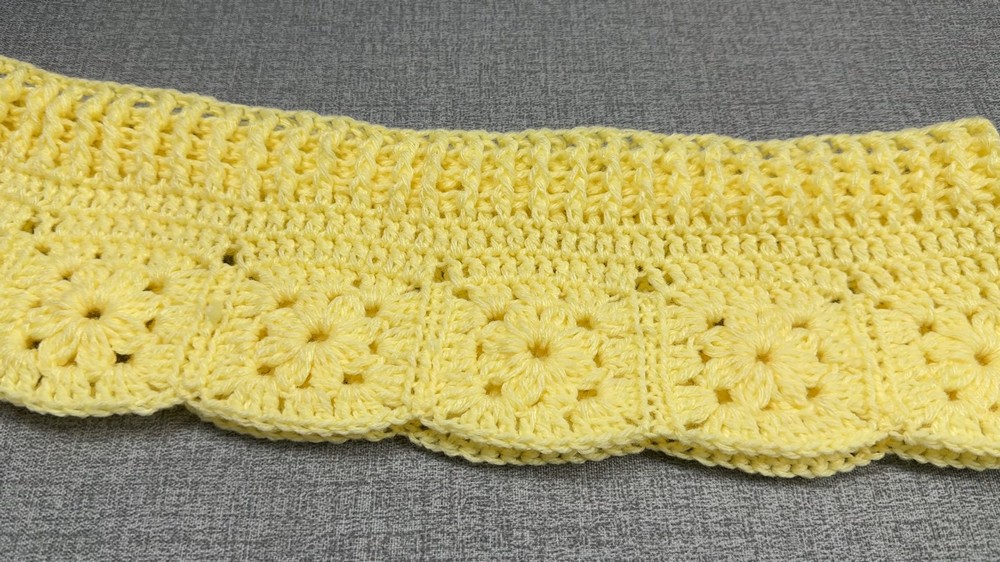
- Work 3 rounds of fpdc and bpdc, alternating for ribbed texture and stretch:
- Round 1: Alternate fpdc and bpdc across.
- Round 2 and 3: Repeat alternation.
Finishing
- Weave a foundation chain or ribbon through the second row of the waistband for fit adjustment and style.
Bottom Border
Base Round
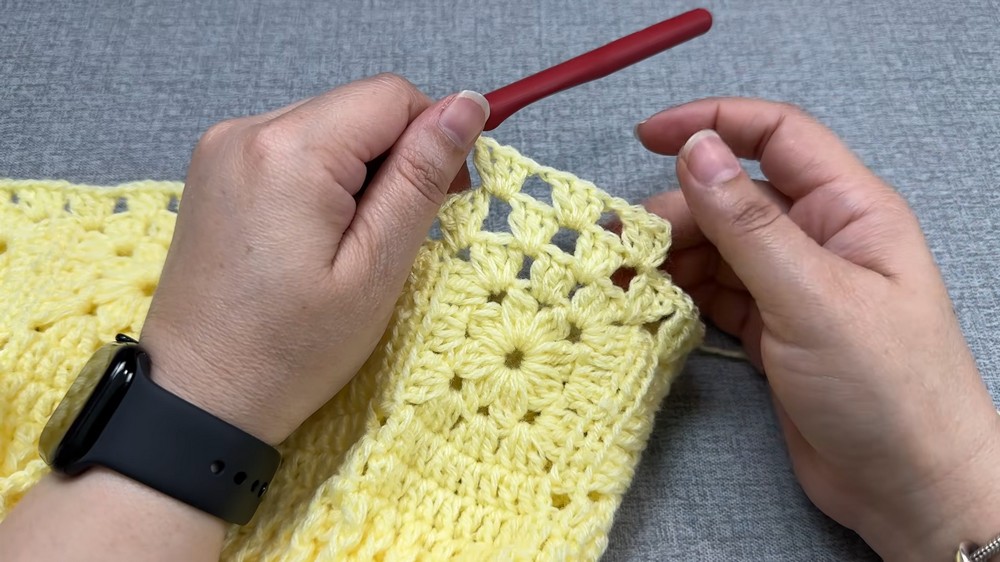
- Work groups of 3 dc in each space along the bottom edge, separated by ch 1.
Body Length
- Continue with additional rounds:
- Work groups of 3 dc in each space as established for as many rows as needed to reach desired length.
Decorative Edging
- Final round:
- In each space: Work a fan of 7 dc.
- In the next space: sc.
- Repeat this pattern (fan, sc) around the edge for decorative finish.
Assembly & Finished Size
- Seam ends of the skirt strip together for a continuous belt; ensure motifs are secure and seams are tidy.
- The waistband sits at or above the hips, and border rows extend to preferred length.
- Insert ribbon or chain through waistband for easy adjustment.
- Finished skirt fits according to chosen motif count and length.
Conclusion
This skirt provides both creative flexibility and technical clarity. The motif-based construction encourages experimentation with colors and textures, while the adjustable waistband ensures comfort and fit. The border and decorative hem give the garment elegance and movement, making it a versatile addition to any wardrobe or a statement handmade piece. The pattern is straight-forward but offers space for creative expansion, inviting artisans to personalize their crochet work.
