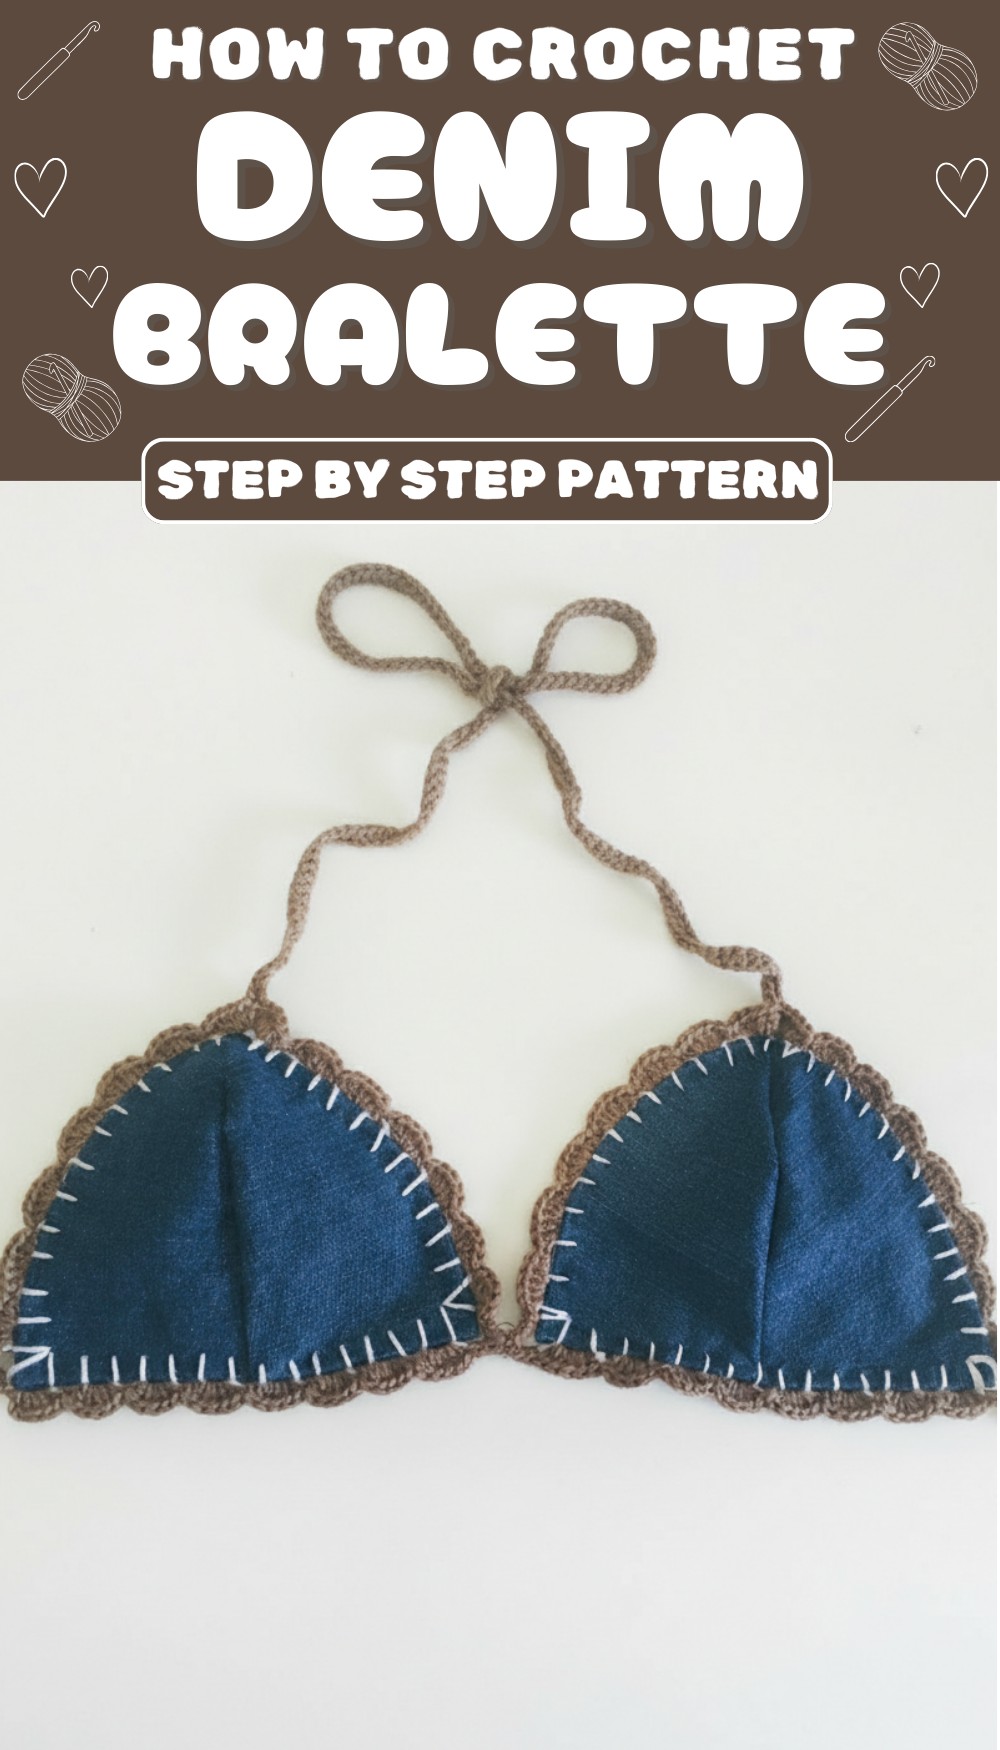
Immerse yourself in the beauty of a crochet denim bralette that combines effortless style and comfort, perfect for sunny days or layered fashion statements.
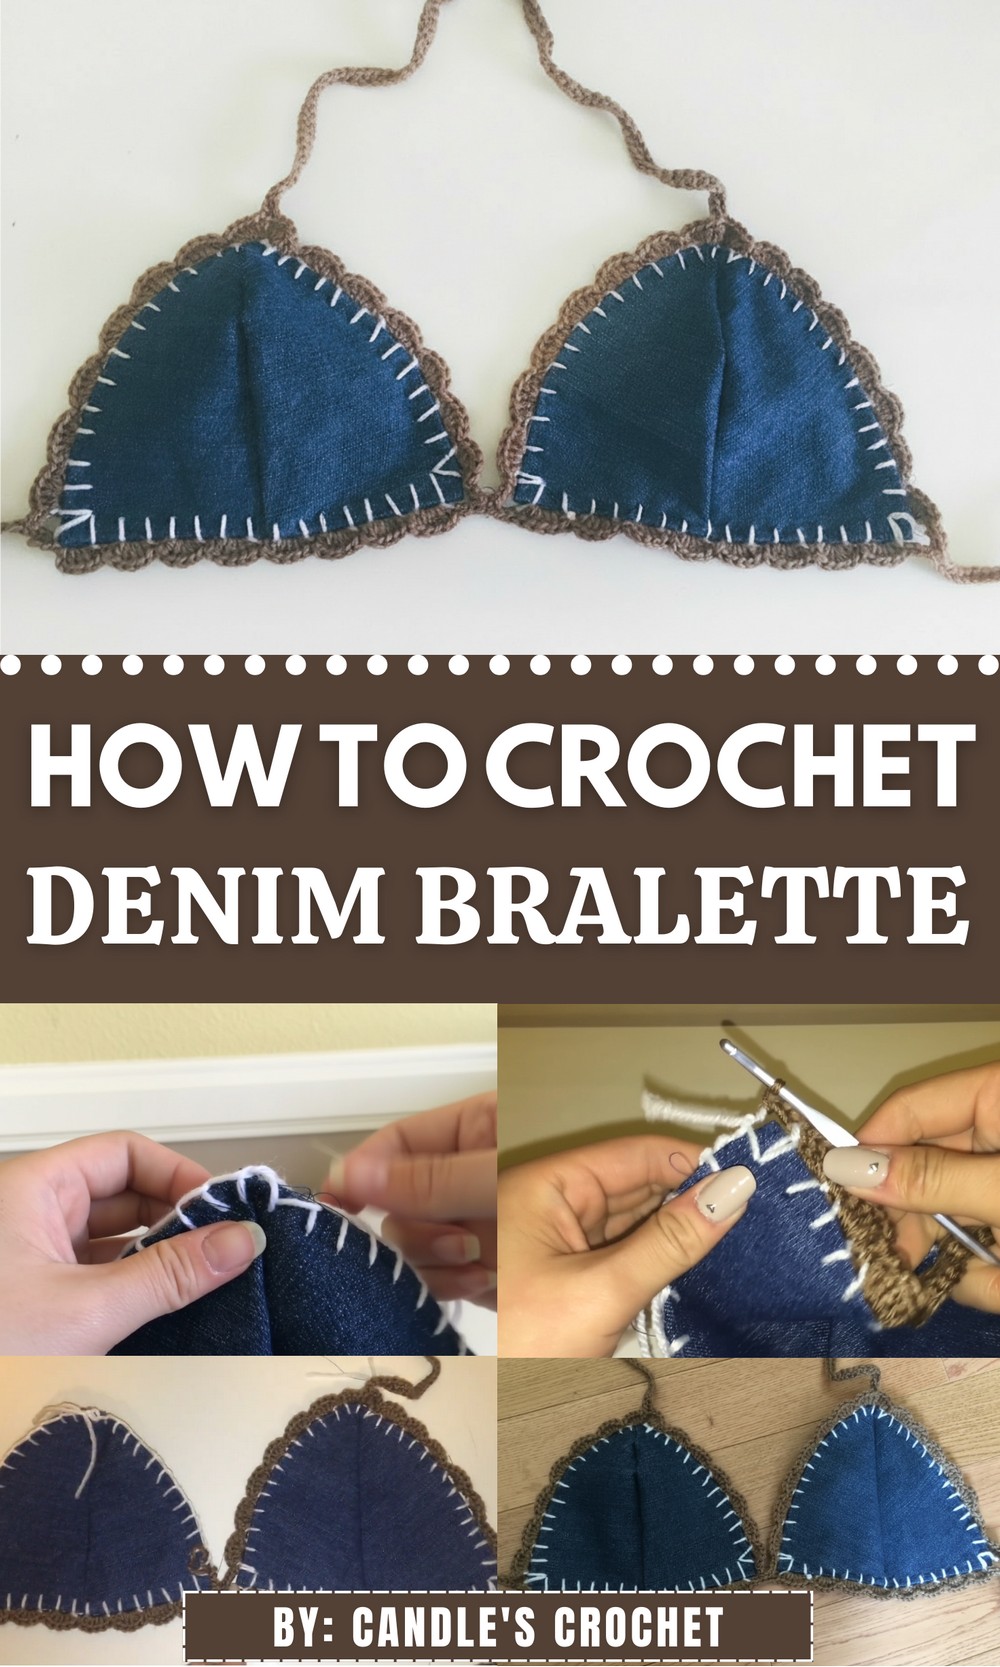
If you’re searching for a project that’s both fashionable and fun, this free pattern might be just what you need. The crochet denim bralette combines texture, style, and comfort, making it a standout addition to any wardrobe. Perfect for intermediate crocheters, this pattern offers easy-to-follow instructions to create a lightweight, eye-catching piece.
FREE Crochet Denim Bralette That Looks Totally Chic
Whether paired with high-waisted shorts, layered under a jacket, or worn solo for sunny days, this design delivers versatility and timeless appeal. With just a few materials and basic skills, you’ll have a bralette that’s uniquely yours—and crafted with care. Dive into the details and get started today!
Materials and Supplies
Fabric & Yarn
- Denim: Upcycle scrap denim fabric (e.g., from old jeans) or purchase a quarter yard from a fabric store.
(Tip: Denim should be sturdy but not too thick for stitching.) - Yarn: Red Heart cotton or acrylic yarn in café latte or any color of choice. Lightweight or medium weight yarn works best for the trim.
Tools
- Hook: 3.75mm crochet hook.
- Needle: Sewing needle with an eye large enough to thread yarn through.
- Thread: Sewing thread that matches the color of the denim for hand stitching.
- Optional: Ruler or fabric measuring tape, colored pencil or tailor’s chalk for marking fabric, and scissors.
Skill Level
Intermediate: Basic sewing skills and familiarity with US crochet stitches (chain, single crochet, double crochet, slip stitch) are required.
Key Abbreviations
- ch = chain
- sc = single crochet
- dc = double crochet
- sl st = slip stitch
- st(s) = stitch(es)
Special Notes
- Denim Cups: Follow the linked video tutorial (or any bralette cup pattern) to create the base denim cups. Ensure the cups are cut to fit your measurements for proper coverage.
- Markings: Mark 1cm apart around the edges of the denim cups for evenly spaced crochet stitches.
- Customization: Adjustable straps and tie-back allow for a custom fit. For larger or smaller sizes, increase or decrease the number of stitches in the edging and adjust strap lengths accordingly.
- Shell Stitch: The decorative edging uses the shell stitch pattern (5 dc in one stitch, followed by a sc).
Pattern Instructions
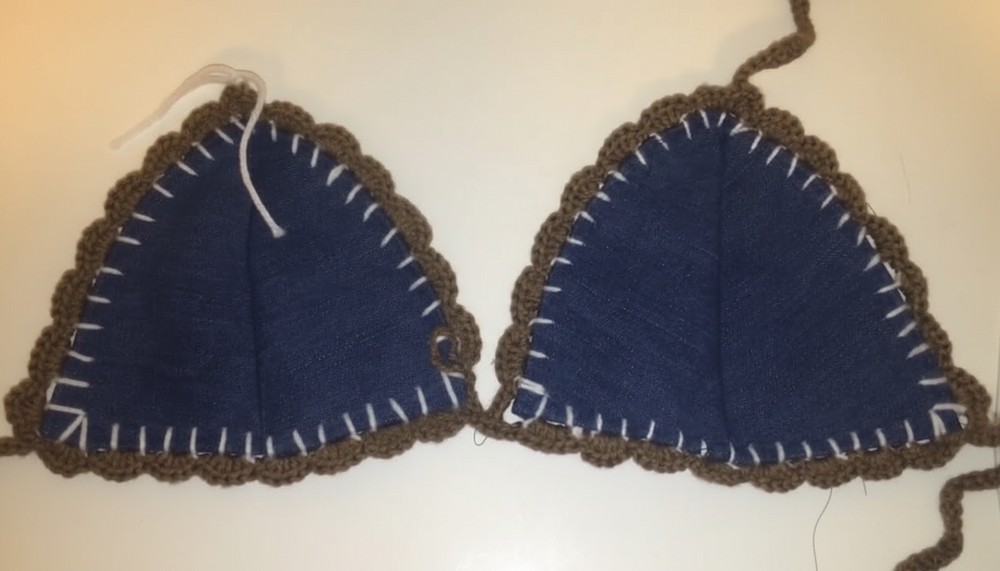
Step 1: Prepare the Denim Cups
- Cut Denim Cups: Follow an external denim bralette tutorial or use a pre-made denim bralette pattern template. Cut two equal-sized cups out of denim fabric.
- Mark Edges: Using a colored pencil or tailor’s chalk, mark 1cm apart around the edges of both cups. These markings will serve as sewing and crocheting guides.
- Sew Base Stitches: Thread your needle with yarn, tie a knot at the end, and begin sewing base loops around the denim following the markings.
- Start at one corner, pierce the fabric from the back to the front, and leave about 0.5cm of yarn as a loop.
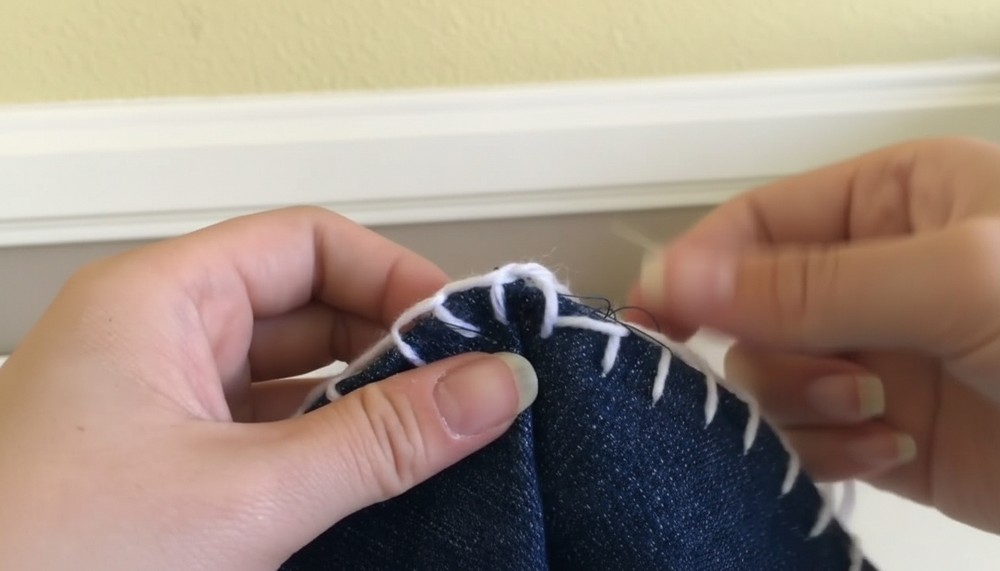
- Insert the needle into the loop before pulling through to secure a knotted edge.
- Repeat this process around the cup, stitching through the marked fabric to create base yarn loops.
- At corners, work an extra stitch in the same marking to accommodate the curve.
- Start at one corner, pierce the fabric from the back to the front, and leave about 0.5cm of yarn as a loop.
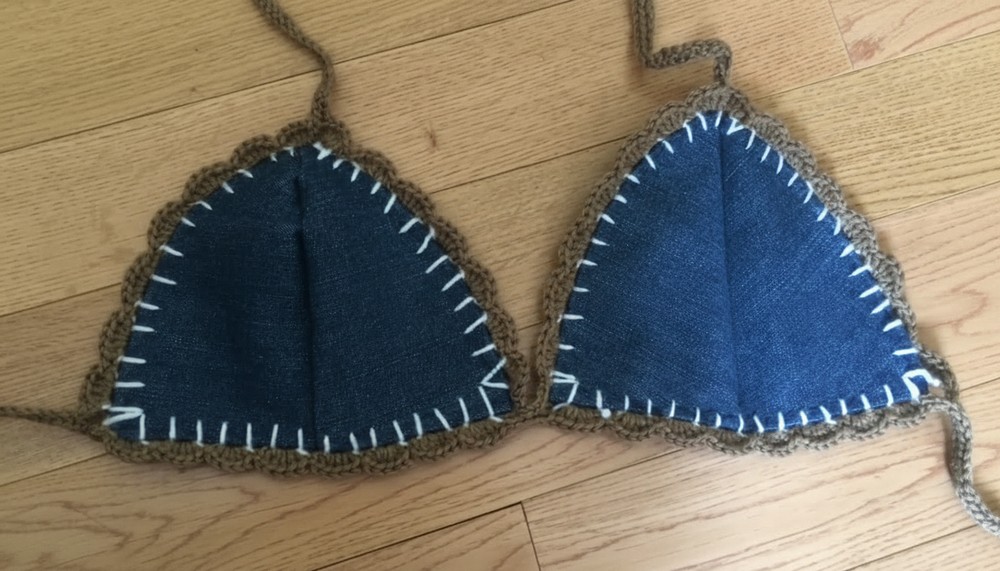
- When you reach the starting point, tie off the yarn with a secure knot.
Repeat this process for the second cup.
Step 2: Add the Crochet Trim
Round 1: Shell Stitch Edging
- Join yarn to the bottom corner of the first cup where the base stitching ends. Attach with a slip stitch.
- Ch 3 (counts as a dc), work 4 dc into the same corner space (this creates the first shell).
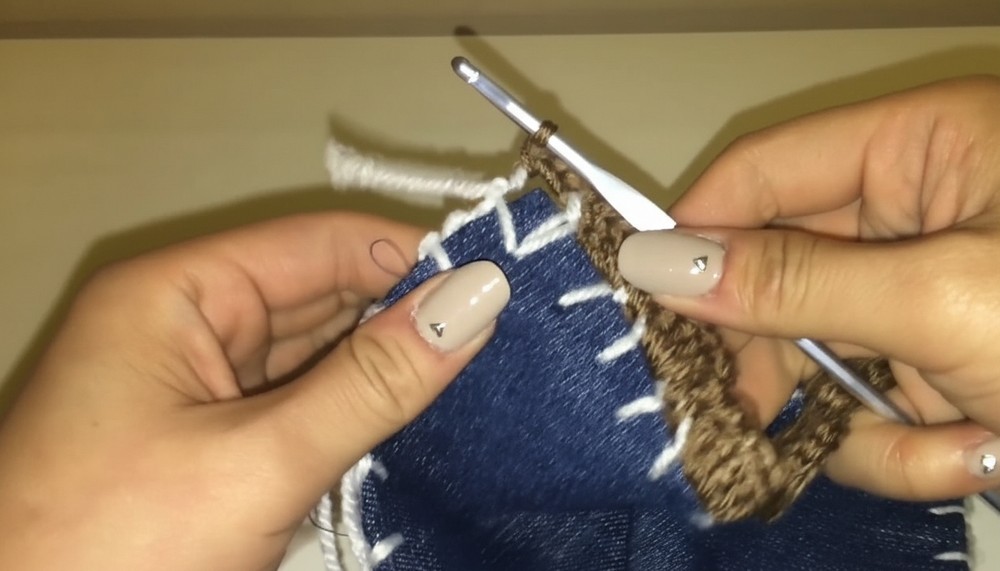
- Single crochet in the next marked stitch (or space between loops on the base row).
- Work 5 dc into the next stitch/space, then sc into the next one.
- Repeat: Continue alternating 5 dc and sc in each stitch around the cup edge until you reach the next corner.
- At the top corner (rounded edge), work 3 sc into the same space to allow the crochet to curve smoothly around the corner.
Connecting Cups
- Without fastening off, position the bottom corner of the second cup next to the first cup’s other end.
- Work 1 sc through the bottom corner stitch of the second cup to join the cups together.
- Continue the shell stitch pattern (5 dc, 1 sc) along the edge of the second cup.
- When you reach the other bottom corner of the second cup, work 3 sc into the corner stitch.
Step 3: Waist Straps
- At the bottom center of the bralette, ch 100 stitches (or more, depending on your desired strap length).
- Turn your chain and sc into each chain stitch back to the base of the bralette.
- Attach the strap back to the same corner space with 1 sl st.
Repeat this process to make the second waist strap at the opposite cup corner.
Step 4: Neck Strap
- At the top corner of one cup, attach the yarn and ch 80 stitches (or more if needed to comfortably tie around your neck).
- Turn your chain and sc into each chain stitch back to the starting point.
- Attach the strap securely to the same stitch or space with a sl st.
Repeat for the second cup’s top corner to create the second neck strap.
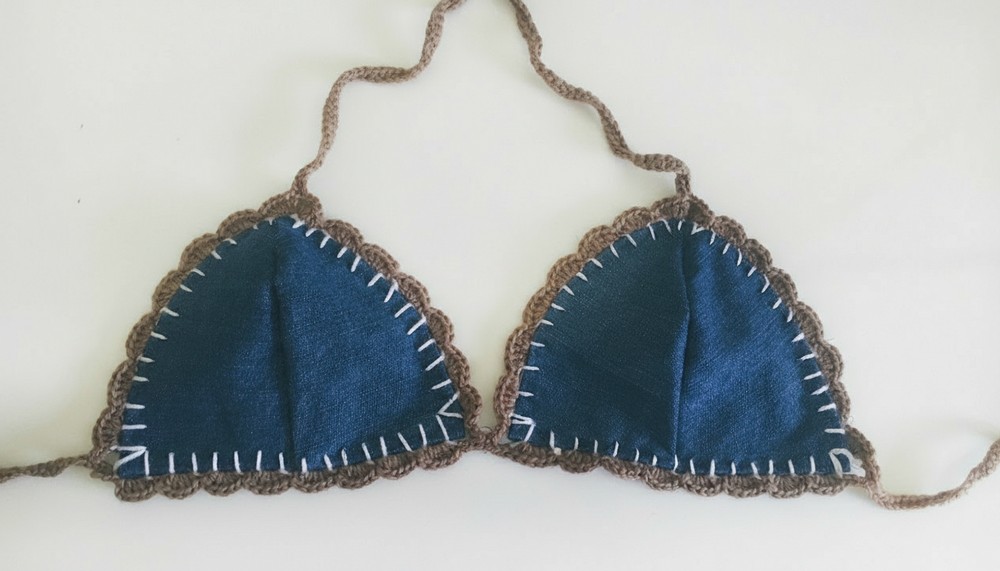
Step 5: Final Touches
- Continue the shell stitch edging along the remaining bralette edges (side edges, neckline, and center of the cups).
- When you reach the starting point of your work, tie off with a slip stitch and pull the yarn tail through before fastening it off. Weave in all ends with a tapestry needle.
Tips for Success
- Preplan: Before crocheting, ensure your denim cups fit well, and all markings are evenly spaced to avoid uneven edges.
- Count Stitches: Keep count of your stitches for consistent shell patterns, as uneven streaks may distort the trimming.
- Try It On As You Go: After completing the cups and attaching the straps, try on the bralette to check placement and fit. Adjust strap lengths if necessary.
Customization Ideas
- Color Variations: Use a contrasting colored yarn for the crochet trim, neck, and waist straps to make your bralette pop.
- Bralette Size: Increase or decrease the size by making larger or smaller denim cups and adding or reducing rows of shell stitches.
- Decorative Add-ons: Add beads or tassels to the ends of the straps or sew a lace lining inside the cups to enhance comfort and style.
- Texture Varieties: Experiment with different crochet stitches for the edging, such as picot or puff stitches, instead of the shell stitch.
Conclusion
This denim and crochet bralette combines sustainability with chic handmade charm, making it a great addition to any wardrobe. You’ve now created a gorgeous and unique piece that you can tie and adjust for a custom fit. This design not only gives a new life to old denim but also provides endless customization options for colors, size, and patterns.
Have fun showing off your new handmade bralette, and inspire others to try their creative hand at upcycling fashion!
Pattern Variations
- Color: Use gradient or multi-colored yarn for the trim to create different visual effects. Contrasting or bright colors pair well with denim shades.
- Size Adjustments: Increase/decrease your starting marking spacing and strap lengths to accommodate larger or smaller body sizes.
- Fabric Alternatives: Substitute denim for lightweight canvas or linen for a softer, breezier version.