Brighten your holidays with this delightful crochet Christmas tree decor pattern that adds a cozy, handmade charm to every room in your home.
Looking to add a special touch to your holiday decorations? This charming crochet Christmas tree decor pattern is just what you need! With its bright colors and soft texture, it brings warmth and joy to any room. The tiny branches and little details make it look just like a real Christmas tree, but much cuter and cozier. You can use these lovely pieces to decorate your table, hang on walls, or even give as sweet handmade gifts to friends and family.
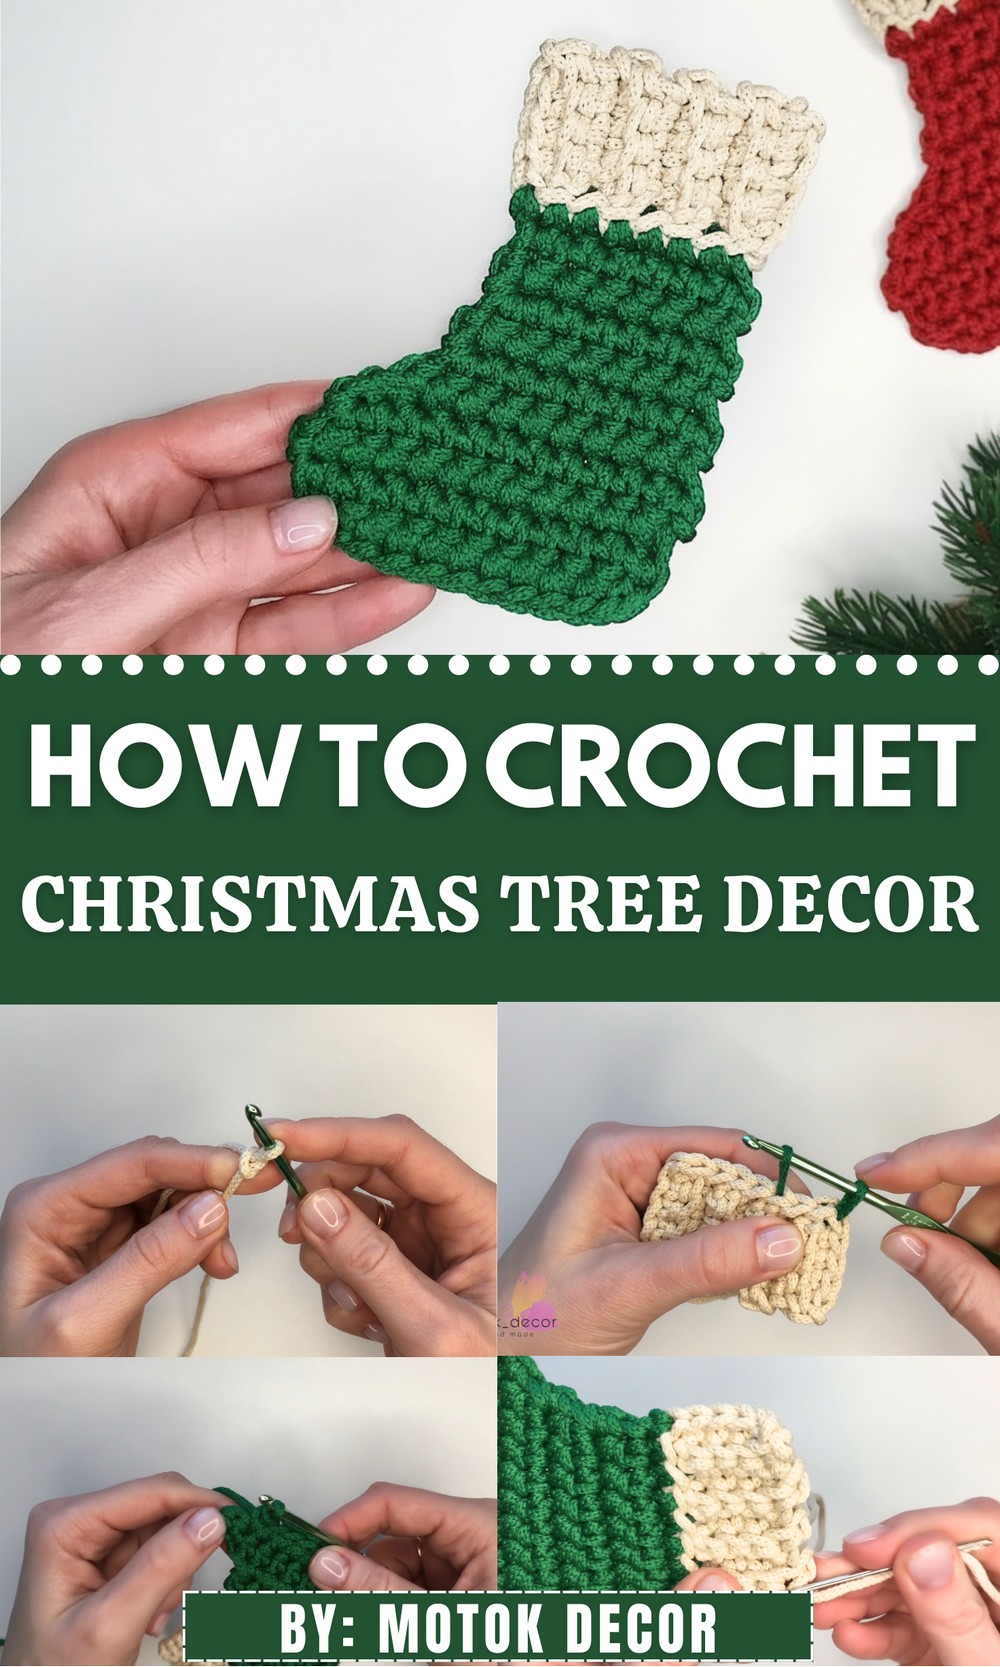
Crochet Christmas Tree Decor Patterns for Holiday Fun
They’re lightweight, easy to move, and can be placed anywhere to spread festive cheer. What’s great is that this pattern is simple enough to try, and the finished decor looks very pretty – perfect for bringing that happy holiday spirit into your home. Whether you’re making it yourself or sharing with loved ones, this crochet Christmas tree decor adds a fun and beautiful touch that everyone will enjoy all season long.
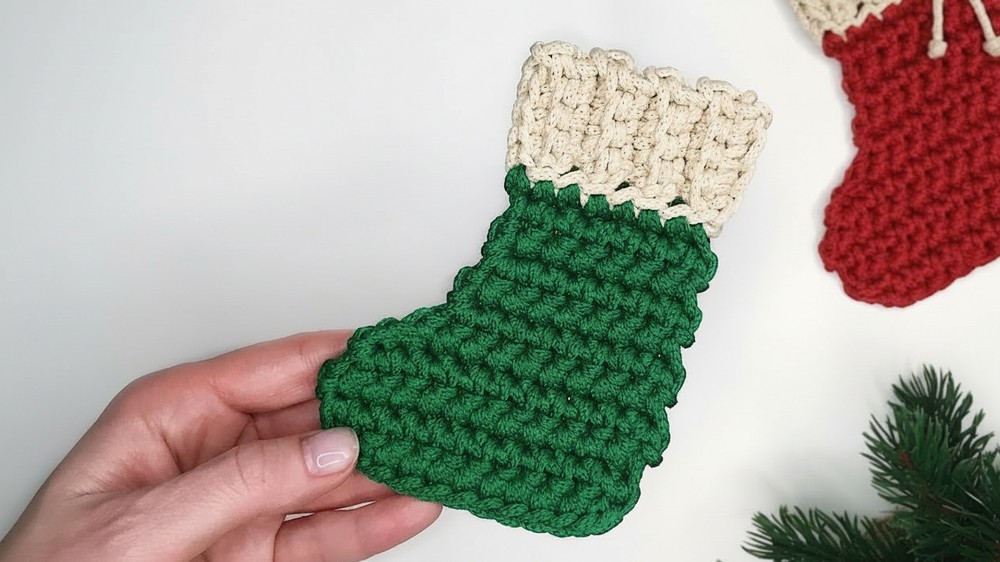
Crochet Pendant Sock (or Boot) Pattern
Special Features:
- Pendant shaped like a sock or boot
- Can also be used as a hot stand
- Worked with polyester cord (about 9 m for main part, 4 m for short part) or other yarn
- Practical and decorative
- Compact size approx. 12 x 10 cm
Difficulty Level:
Beginner to Intermediate – mainly single crochet stitches worked in rows and rounds with some seam finishing steps
Materials Needed:
- Polyester cord (or yarn of choice)
- Crochet hook (suitable for your cord, large-eyed needle for finishing)
- Scissors
Pattern Instructions
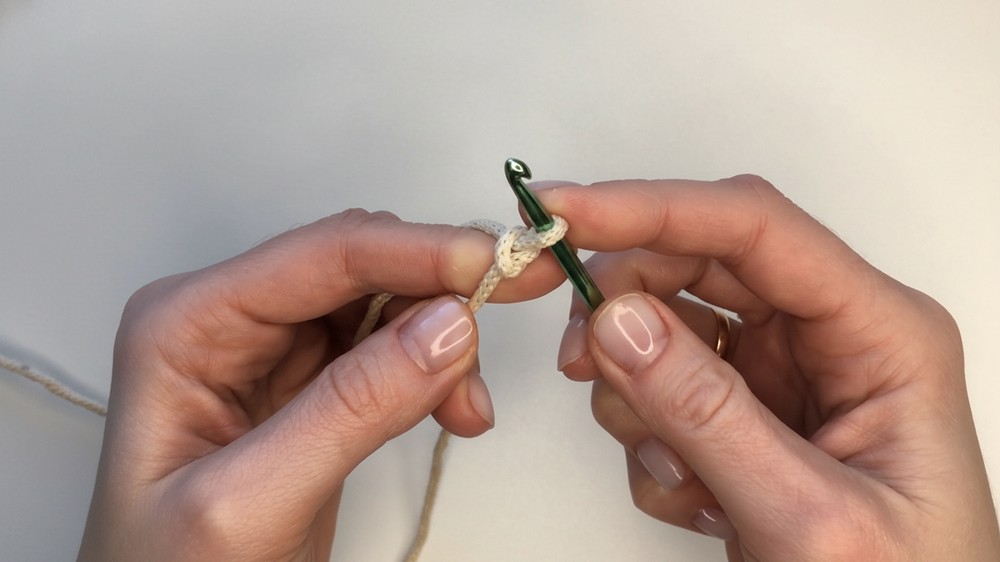
Preparation: Chain Base for Boot Loop
- Leave 20 cm thread tail for hanging loop at start (fold and keep aside).
- Make a slip knot on hook with the working thread over the tail loop to anchor it.
- Chain 4 air loops to start your foundation chain.
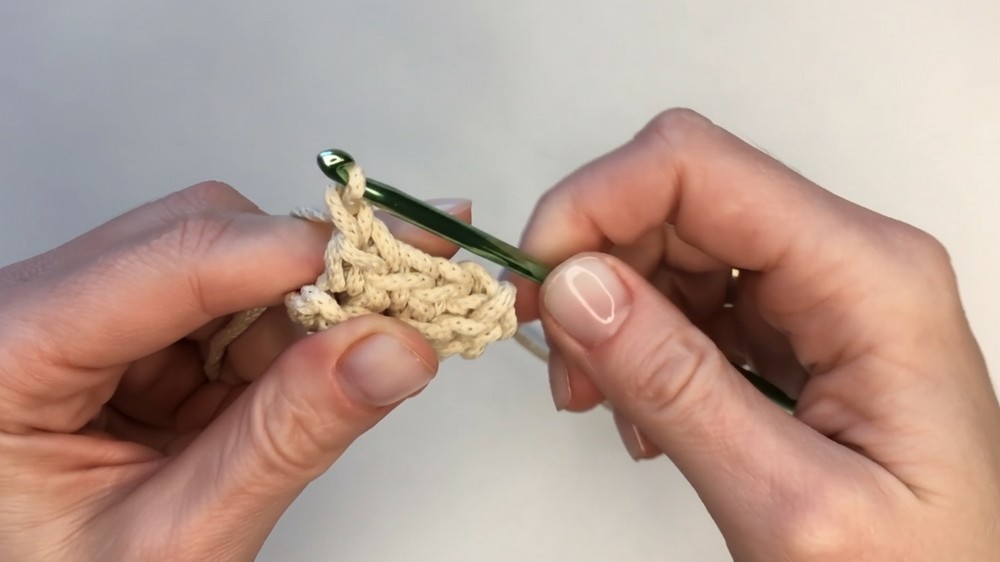
Row 1: Build Foundation Single Crochets
- You will work on the stitches formed on the chain (each loop has a jumper).
- Skip the first jumper from the hook and start crocheting into the second jumper.
- Work 4 single crochet (sc) stitches by inserting the hook under each jumper, yarn over, pull through, yarn over again, and pull through two loops.
- At the end of the 4th sc, make 1 chain stitch (ch 1) for turning.
- Turn your work to begin next row.
Rows 2 to 8: Work Rows in Back Loops
- Each new row will start by skipping the first loop on the hook and working into the second loop from the hook toward the back side, into the far arches of the braids.
- Work 4 single crochet (sc) in each row in this manner.
- Make a chain stitch (ch 1) at the end of each row for turning.
- Repeat this for 8 total rows (including first row).

Edge Binding
- After 8 rows, begin to bind the edge with slip stitches or connecting loops:
- Skip first loop (from the turning ch 1).
- Insert hook into the outermost loops on each edge row, pull up a loop, and slip stitch to create a neat edging.
- Continue slip stitching along one edge encompassing all loops at the edge rows until the last loop.
- Pull thread gently to tighten but keep the loop even.
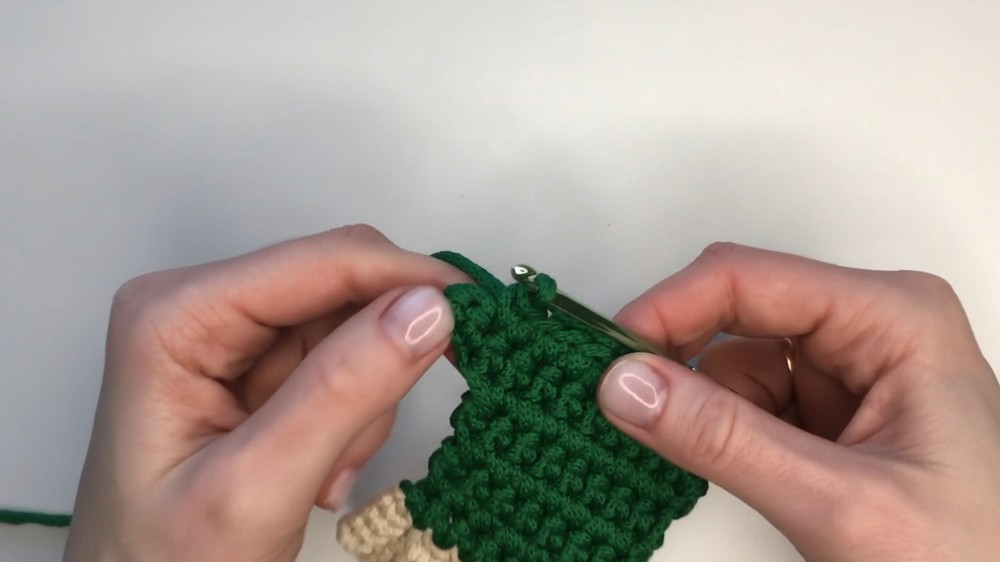
Main Boot Body – Attaching New Yarn and Working in Rounds
- Attach a new colored yarn or cord for the main body.
- Work single crochet (sc) stitches into the far arches of the braids and also a bit deeper behind the jumpers to hide the tail end as you crochet.
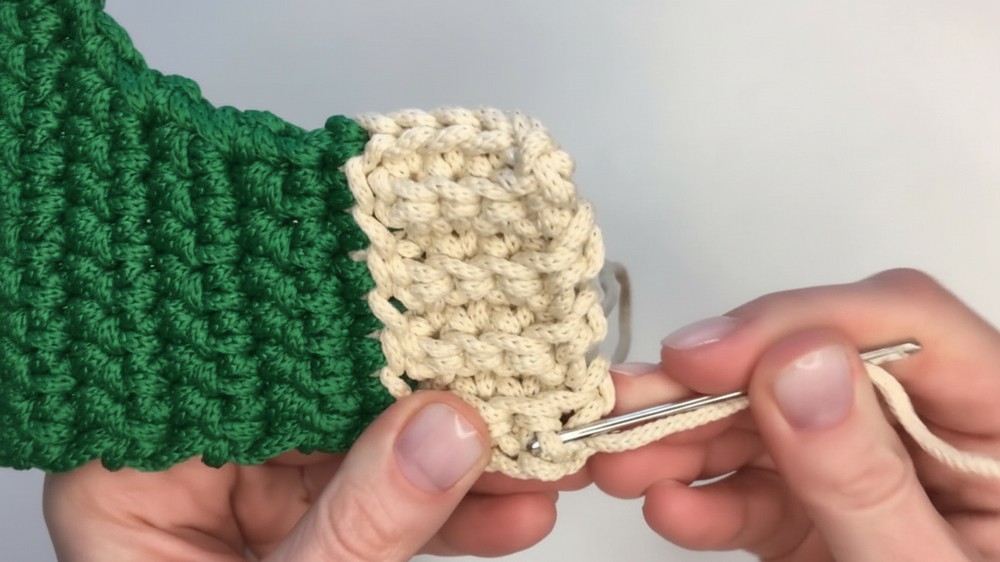
- Work around the rows creating columns of sc while concealing ends by inserting hook deeper under stitch legs.
- Continue single crocheting in rounds, working a specified number of stitches per round (typically starting with 8, increasing gradually).
Increasing Rounds and Shaping
- Rows include increases by making 2 single crochet stitches into one stitch to widen the sock or boot shape.
- Increase rows are interspersed with plain sc rounds.
- Count your stitches carefully as you progress to maintain shape – examples:
- Row with 7 sc;
- Row with 6 sc + an increase in the last stitch;
- Row with 8 sc;
- Row with 10 sc + increase;
- And so forth, shaping the boot.
Heel Formation
- For a rounded heel, begin shaping by working back loops only from the 3rd stitch from the hook and crocheting fewer stitches across the row (9 or 11 stitches).
- Continue making lifting loops (ch 1) at the end of each row for smooth transitions.
Final Rounds and Finishing
- Final rounds smooth the shape and finish the overall size.
- End the last row by making an imitation loop:
- Use a needle with a large eye, insert gently under the extreme loops and pull thread through to create a neat invisible knot.
- Hide ends by weaving under the legs of crochet stitches; trim excess thread.
Loop for Hanging
- Using the initial tail left from the start, create a loop by crocheting with it in the edge stitches to form a convenient hanging loop.
- Secure and hide the tail again under stitch legs.
Tutor’s Suggestions
- Maintain a consistent, not too tight tension especially when hiding tails.
- Use a needle with a large eye for easier weaving of ends.
- Use contrast colored yarn for decorative effect or match yarn for neat finishing.
- Feel free to decorate your boot pendant with ribbons, beads, or embroidery as desired.
Uses:
- Pendant charm (sock or boot shape)
- Hot stand or coaster
- Holiday decoration or gift tag
- Keychain or bag decoration
Pro Tip:
When hiding yarn tails and weaving ends, pull gently to avoid warping your stitches. Also, when increasing stitches to shape the boot, count carefully to keep your rounds even and your boot symmetrical.
Conclusion:
This crochet pendant sock/boot is a practical and charming project great for decoration or gifting. Follow the rows and increases carefully to shape your boot perfectly. If you have any questions, don’t hesitate to ask in the comments.