Dive into summer with this playful and stylish crochet bikini top pattern that’s perfect for beach days, pool parties, or rocking as a chic crop top.

Fun & Trendy Crochet Bikini Top Perfect for Every Summer Look
A sunny day at the beach, the waves crashing, and all eyes turning to admire your stunning handmade creation. This bikini top is a perfect blend of elegance and simplicity, designed to highlight your natural beauty with its flattering and playful look. Whether you’re lounging by the pool, enjoying a day at the beach, or mixing it as a chic summer crop top, this design has a unique charm.

Its elegant stitch details and tie-back style make it both comfortable and adjustable to suit every body shape. Made with soft, breathable yarn, it provides a snug yet airy fit, perfect for hot weather. The delicate design beautifully accentuates your figure, while the customizable pattern allows you to experiment with vibrant colors or keep it simple with neutrals. This piece isn’t just swimwear; it’s a statement of confidence, creativity, and unique style.
Lace-Up Crochet Crop Top Pattern
Materials Needed
- Yarn: Medium-size #4 cotton yarn (or material of choice; Fer suggests velvet or wool to vary the style).
- Crochet Hook: 5mm.
- Other Tools: Scissors, a wool needle, a tape measure, and at least 4–5 stitch markers.
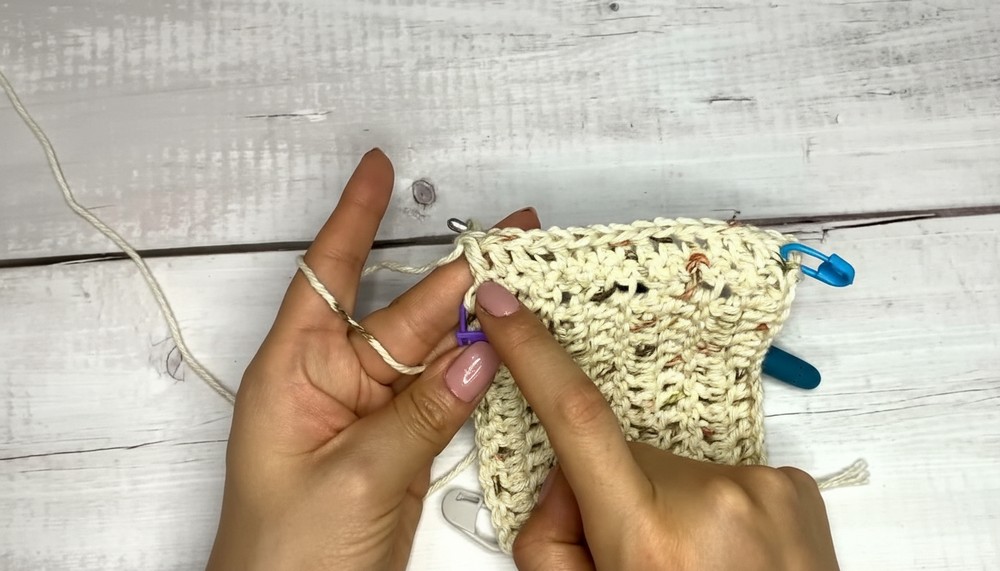
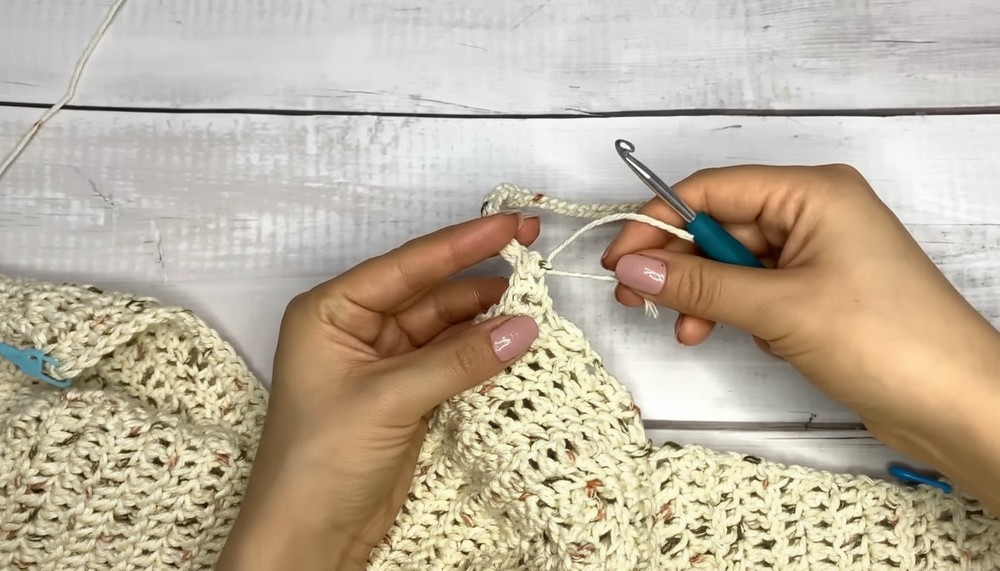
Step-by-Step Pattern
Bust Cups
Measurements: Begin by creating a square for each bust:
- Foundation:
- Start with Chain 14 (equals approx. 9cm; adjust as needed for coverage).
- Mark the first chain with a stitch marker.

- Row 1:
- Skip the chain immediately after your last stitch.
- Work 14 Double Crochets (DC), one in each chain from the foundation chain.
- Turn your work.
- Row 2–8:
- Chain 1, place a stitch marker (to secure your start).
- Work 14 DC across each row. Repeat for a total of 8 rows.
Tip: Your finished square should measure 9cm x 9cm.
- Side Work of Square:
- Turn the project to a side to begin Single Crochets (SC).
- Work 15 SC stitches evenly along the edge by inserting your hook into the gaps created by DC rows.
- Repeat this row, ending with 15 DC stitches.
- Increase Stitches:
- Chain 1, add a stitch marker, and work across all stitches (15 SC + 14 DC = 29 stitches total).
- Continue incrementing rows for 6 rounds while keeping a consistent stitch count (29).
- Second Bust Cup:
- Create an identical square for the second bust, ensuring alignment (vertical orientation). The vertical lines of both squares should point downward when worn.
- Joining Cups:
- Decide the coverage between the two bust cups based on your preference. Slip Stitch across the edges of both cups to join them seamlessly.

- Decide the coverage between the two bust cups based on your preference. Slip Stitch across the edges of both cups to join them seamlessly.
Side Panels
Add structure to the sides for the “bra-like” shape:
- Side Panel Width:
- Work along the edge of the cups where desired.
- Begin with 15 DC stitches. Repeat for multiple rows until your panel measures approximately 10cm.
- Decreases:
- Begin decrease rows to shape the sides:
- Row 1: Chain 1, decrease at the start (insert hook into 2 stitches and create a single DC), then work DC to the edge (total decreases = 2 per row).
- Row 2: Chain 1, no decreases; work DC across all stitches.
- Alternate decrease and regular rows for 8 rows total.
- Final width of the panel: 10 stitches wide (~3 inches).
- Begin decrease rows to shape the sides:
Body Section
Expand the crop top downward from the bust:
- Foundation:
- Join yarn at the base of the bust cups.
- Work a complete row of Single Crochet (SC) across the width of the bust.
- Lengthening Rows:
- Alternate between rows of SC, Half-Double Crochet (HDC), and decorative rows with chain spaces:
- Example: Row 1: SC, Row 2: HDC, Row 3: DC with chain spaces (skip one stitch, chain 1, and DC in the next).
- Repeat this sequence to add shape and length to the body of the crop top.
- Alternate between rows of SC, Half-Double Crochet (HDC), and decorative rows with chain spaces:
- Final Decorative Touch:
- Add small triangles to the bottom row:
- Begin with SC. Every 4 stitches, make 3 chains and Slip Stitch into the fourth SC. Repeat for the entire row.
- Add small triangles to the bottom row:
Straps
Create suspenders or neck straps:
- Suspenders: Work from the corner of each bust cup.
- Chain a length needed to fit your shoulders and back.
- Return with Slip Stitches into each chain for firmness.
- Neck Straps Option: Instead of suspenders, chain two straps long enough to tie behind the neck.

Cord for Back Closure
To ensure adjustability:
- Work long chains equivalent to the width of your back (plus extra to tie comfortably).
- Go back with Slip Stitches to form a firm cord.
- Weave the cord through the rings created along the sides of the crop top.
Special Features
- Fully adjustable for various sizes and styles.
- Option to customize bottom design using either SC or chain spaces.
- Includes versatile back cord for ideal fit without overstretching.
Uses
This crop top is perfect for:
- Beach days or poolside attire (adaptable into bikinis).
- Light summer wear paired with shorts or skirts.
- A personalized gift for friends or family.
Tutor’s Suggestions
- Material Choice: Try velvet for a luxurious touch or lighter cotton for summer-friendly wear.
- Measurement Adaptation: Use a tape measure to ensure coverage matches your preferences.
- Coverage Preference: Adjust how the bust cups are joined in the center for more modesty or openness.
Conclusion
Here’s your next favorite crochet project: a stylish lace-up crop top that’s as fun to make as it is to wear. Adaptable, elegant, and versatile, this crop top guarantees comfort and style for your sunny outings. Follow the step-by-step instructions and proudly flaunt your masterpiece.
Crochet Tip of the Day:
Never skip stitches unintentionally during decorative or chain rows; it can interrupt the symmetry and balance of your project. Keep stitch markers handy for tricky or decorative rows to avoid losing track.
