Carry a cute little heart with a bow on your keys with this free crochet bow heart keychain pattern that shows easy steps to make a soft and lovely charm.
Stylish Crochet Bow Heart Keychain Pattern for Your Keys & Bags
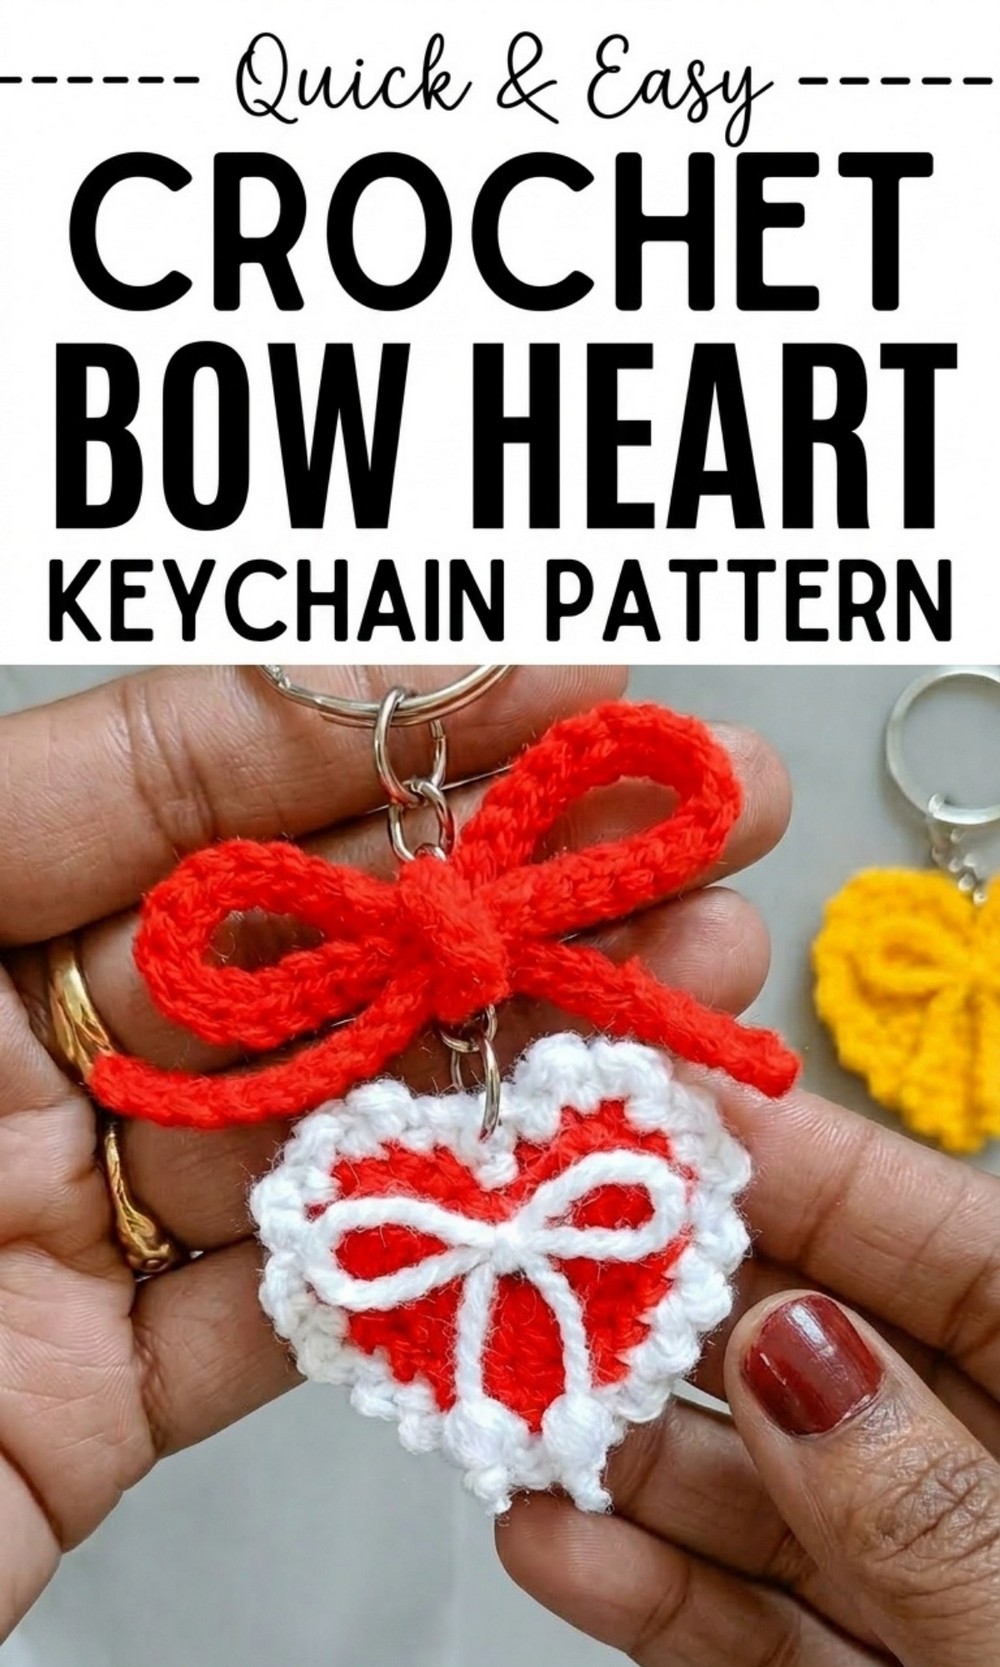
Wow Your Friends with This Free Crochet Bow Heart Keychain Pattern
A tiny and bright heart can hang on your bag so you can show your love to everyone while you walk to school. It features a beautiful red bow on top and two white strings with little pearls at the ends to make it look extra special. You can use this Free Crochet Bow Heart Keychain Pattern to keep your keys safe or give it to your best friend as a lovely gift.
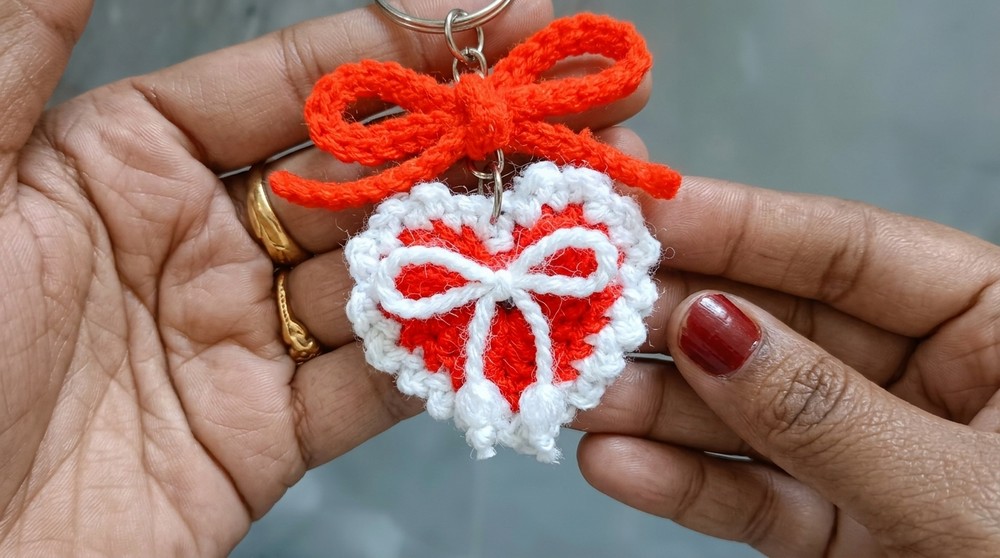
The appearance is very unique because the puffy heart feels cozy and the shiny beads add a lot of style to your favorite purse. You will love how this little heart stays colorful and happy while decorating your zipper every single day.
Crochet Bow Heart Keychain Pattern
Finished Size
- The finished heart bow keychain measures approximately 2–3 inches, depending on yarn thickness and stitches.
Materials Needed
- Yarn:
- Red yarn (main color for the heart shape).
- White yarn (for joining two hearts and decoration).
- Hook:
- 2.5 mm crochet hook.
- Needles:
- Tapestry needle for weaving ends.
- Other Supplies:
- Strong fabric glue (to attach pieces neatly).
- Keychain ring.
- Pearls or beads (optional, for embellishment).
Gauge
While gauge is not critical for this project, aim for tight stitches to maintain shape and structure. Practice stitches with your hook and yarn to create consistent, neat work.
Special Techniques
- Magic ring: Used to start the heart shape.
- Triple crochet: Adds volume to the heart.
- Slip stitch: Used for finishing edges and joining parts.
Detailed Pattern Instructions
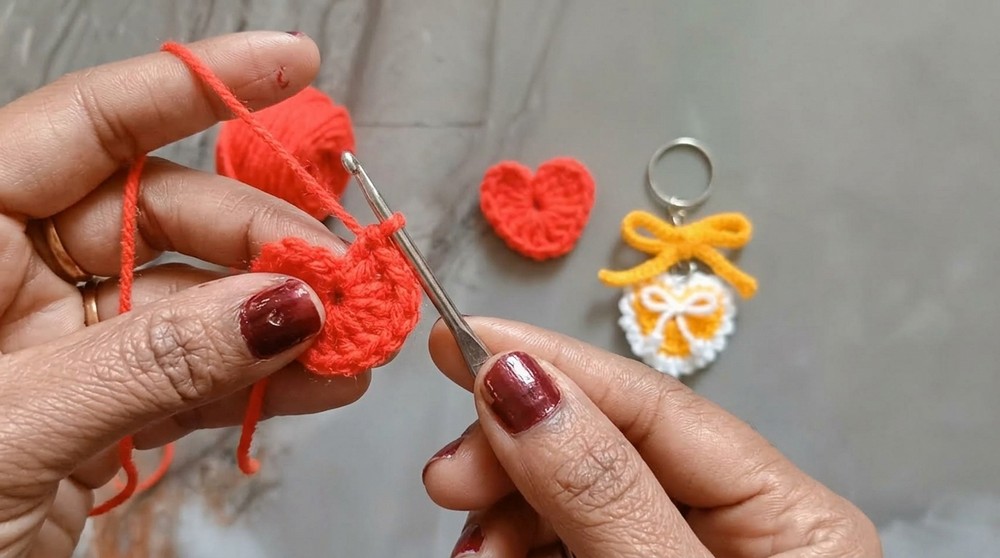
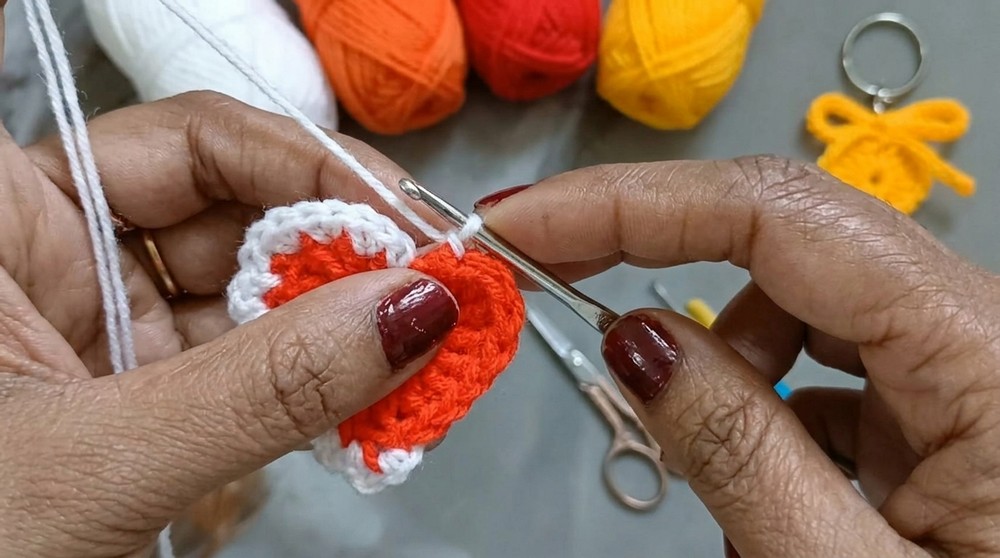
Step 1: Crochet the Heart Shape
- Start with the red yarn: Make a magic ring.
- Chain 3 inside the magic ring.
- Work 3 triple crochet stitches into the ring:
- Yarn over twice, insert the hook into the ring, pull through, and finish the stitch.
- Repeat two more times for 3 triple crochets.
- Make 3 double crochet stitches into the ring:
- Yarn over once, insert the hook, pull through, and finish a double crochet.
- Repeat two more times for 3 double crochets.
- Chain 1, then work another double crochet stitch.
- Repeat 3 double crochets followed by 3 triple crochets to complete the second side of the heart.
- Chain 3 and slip stitch into the ring to close the heart.
- Cut the thread and fasten off. Weave loose ends to the back using a tapestry needle.
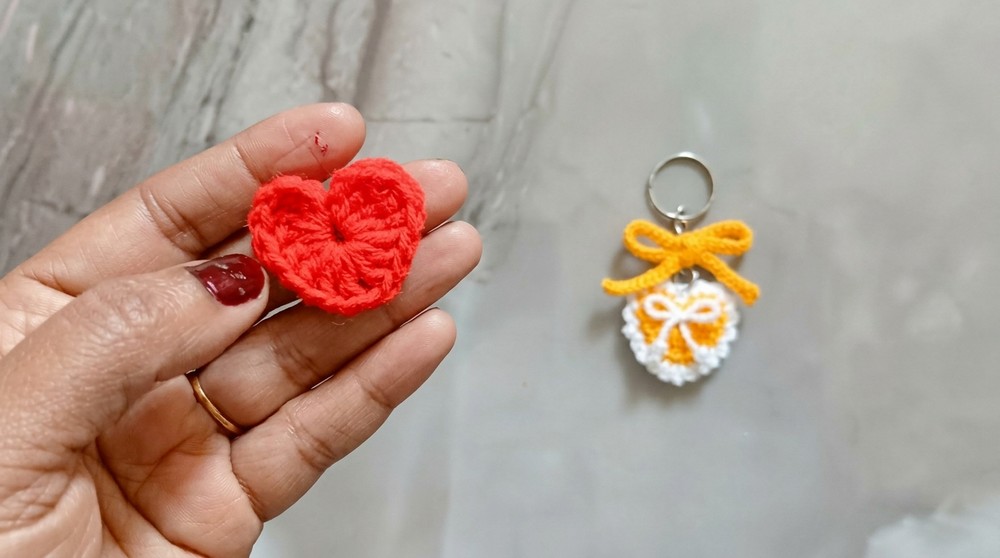
Step 2: Make the Second Heart
Follow the same instructions above to crochet the second heart.
Step 3: Join the Two Hearts
- Use white yarn to join both hearts together by only working through the back loop:
- Attach the white yarn with a slip knot.
- Work slip stitches into the back loops of both hearts, leaving the front loops untouched for a clean finish.
- Ensure neat and tight stitches as you join the hearts around the edges.
- Once joined halfway, begin working on sections where double crochet stitches meet. Place stitches carefully to avoid gaps.
- Continue until fully joined, leaving an opening for fiber stuffing if needed (optional for a plush look).
Step 4: Create the Bow
- Using red yarn, create a foundation chain:
- Chain 60 stitches (adjust length as desired).
- Start working slip stitches:
- Skip the first chain.
- Work slip stitches into each remaining chain.
- Once finished, loop the strip into a bow shape:
- Fold the strip in the center and secure it by wrapping yarn tightly around the middle or using glue.
Step 5: Assemble and Decorate
- Attach the bow to the center of the joined hearts using glue or stitching securely.
- Insert a keychain ring at the desired spot (center top or corner).
- Add embellishment:
- Glue pearls or beads to the bow for elegance.

- Glue pearls or beads to the bow for elegance.
Tips and Customization Ideas
- Color Variation:
Experiment with different yarn colors (pink, turquoise, or pastel shades). - Personalization:
Use metallic or shimmer yarn for a more festive look. - Stuffing:
Add soft stuffing between the heart pieces for a plush feel. - Border Style:
Choose decorative stitches like picot edging or scallops for the border. - Embroidery:
Add initials or small crocheted flowers on the heart for a personalized touch.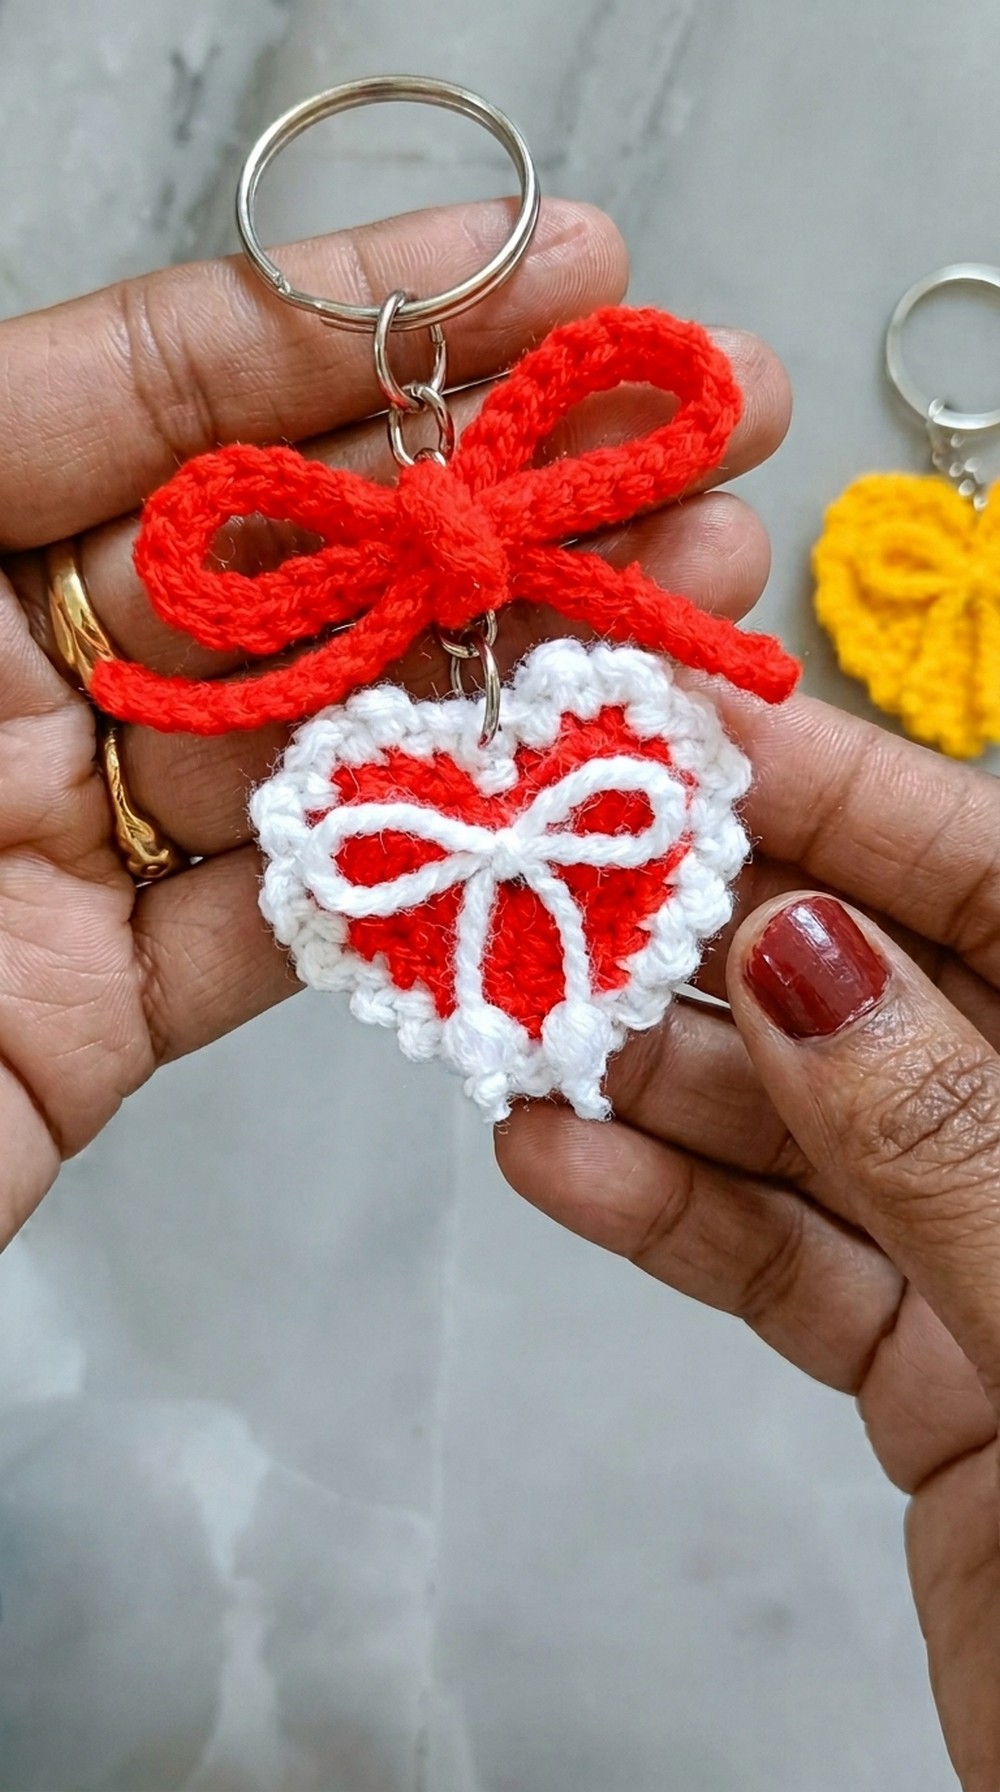
Conclusion
Crocheting this heart bow keychain is a delightful project suitable for beginners and advanced crocheters alike. The charming design makes it perfect as a gift or accessory for bags, keys, or even as home décor.
Final Remarks
Enjoy customizing the keychain with endless possibilities. Whether making it for yourself or gifting it to a loved one, this heart bow will surely bring joy and admiration.