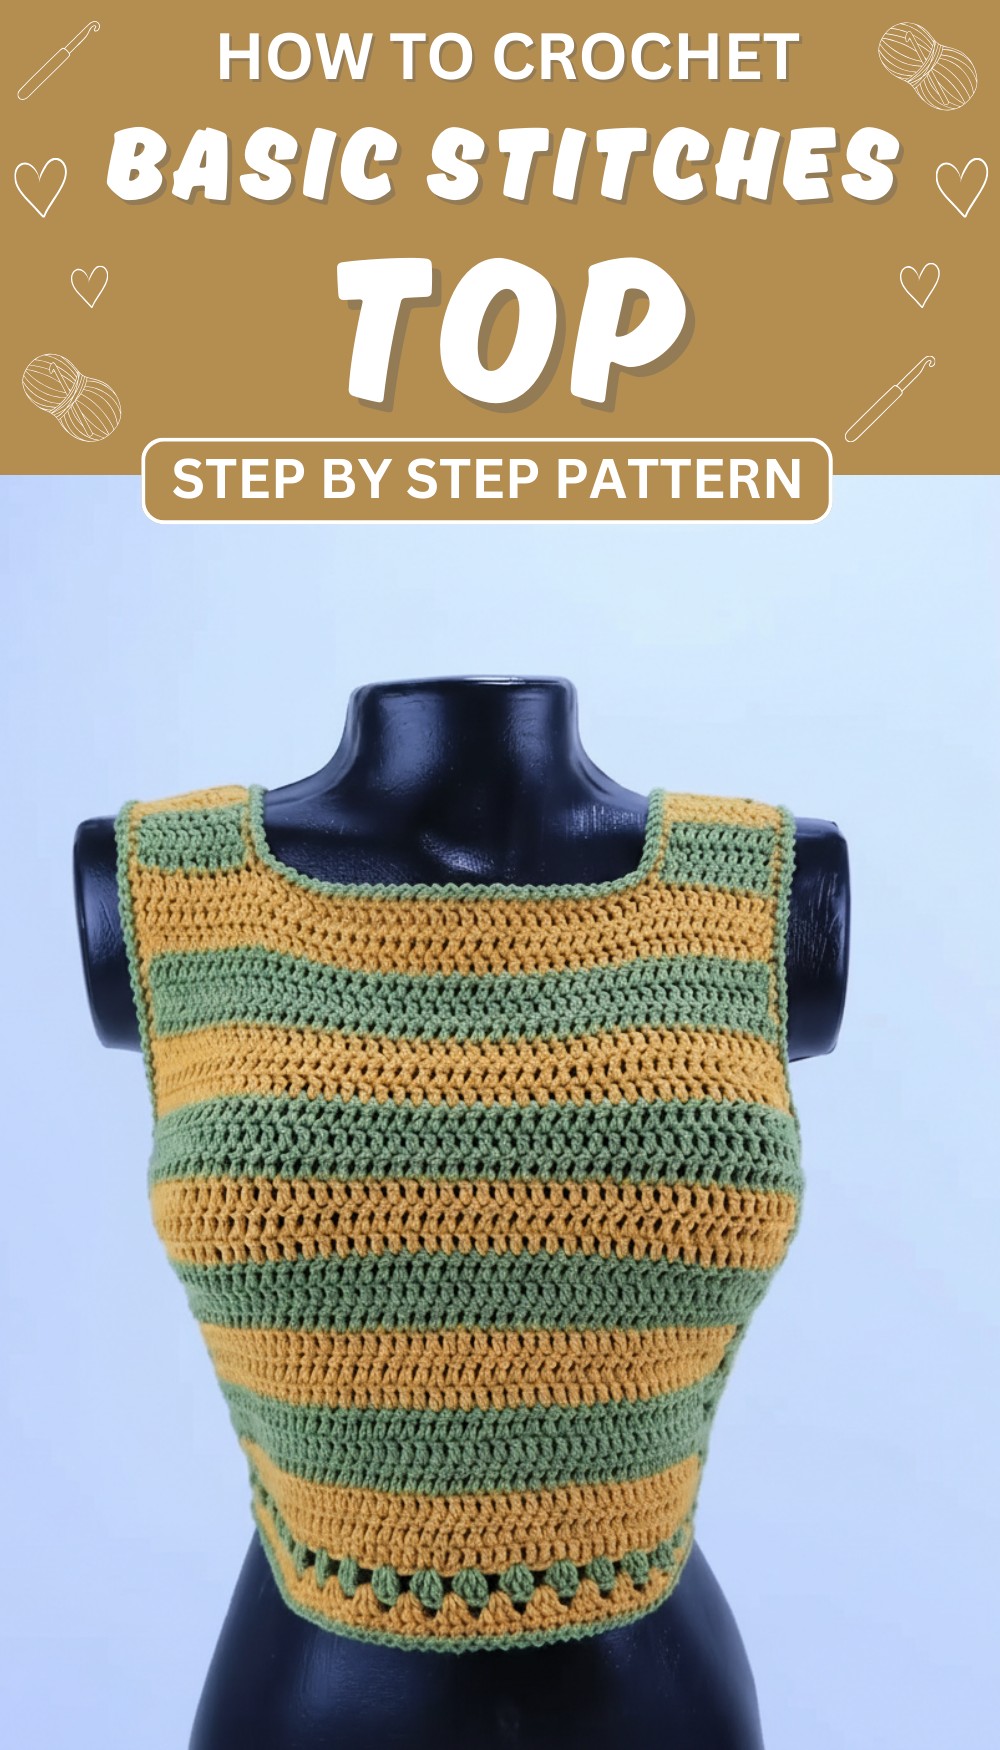
Create a charming Crochet Top Pattern that’s quick to follow, comfy to wear, and perfect for adding a splash of handmade style to your everyday wardrobe.
Wearing something light and lovely that feels like a gentle hug from soft clouds. A Crochet Top pattern gives you just that—a beautiful piece of clothing made with small loops of yarn, creating pretty shapes and textures. This top is easy to wear and perfect for warm days because it lets the air flow through the tiny holes in the crochet stitches. It looks simple but special, with patterns that can be flowery, lacy, or even bold.
Lightweight Crochet Top Pattern You’ll Love to Wear
People use crochet tops for all kinds of occasions—whether at the beach, casual outings, or even as a stylish layer over shirts. The handmade nature of the Crochet Top pattern means every piece is unique, full of charm and warmth. Wearing or making one not only adds beauty to your wardrobe but also shows patience and creativity, making it a favorite for many.
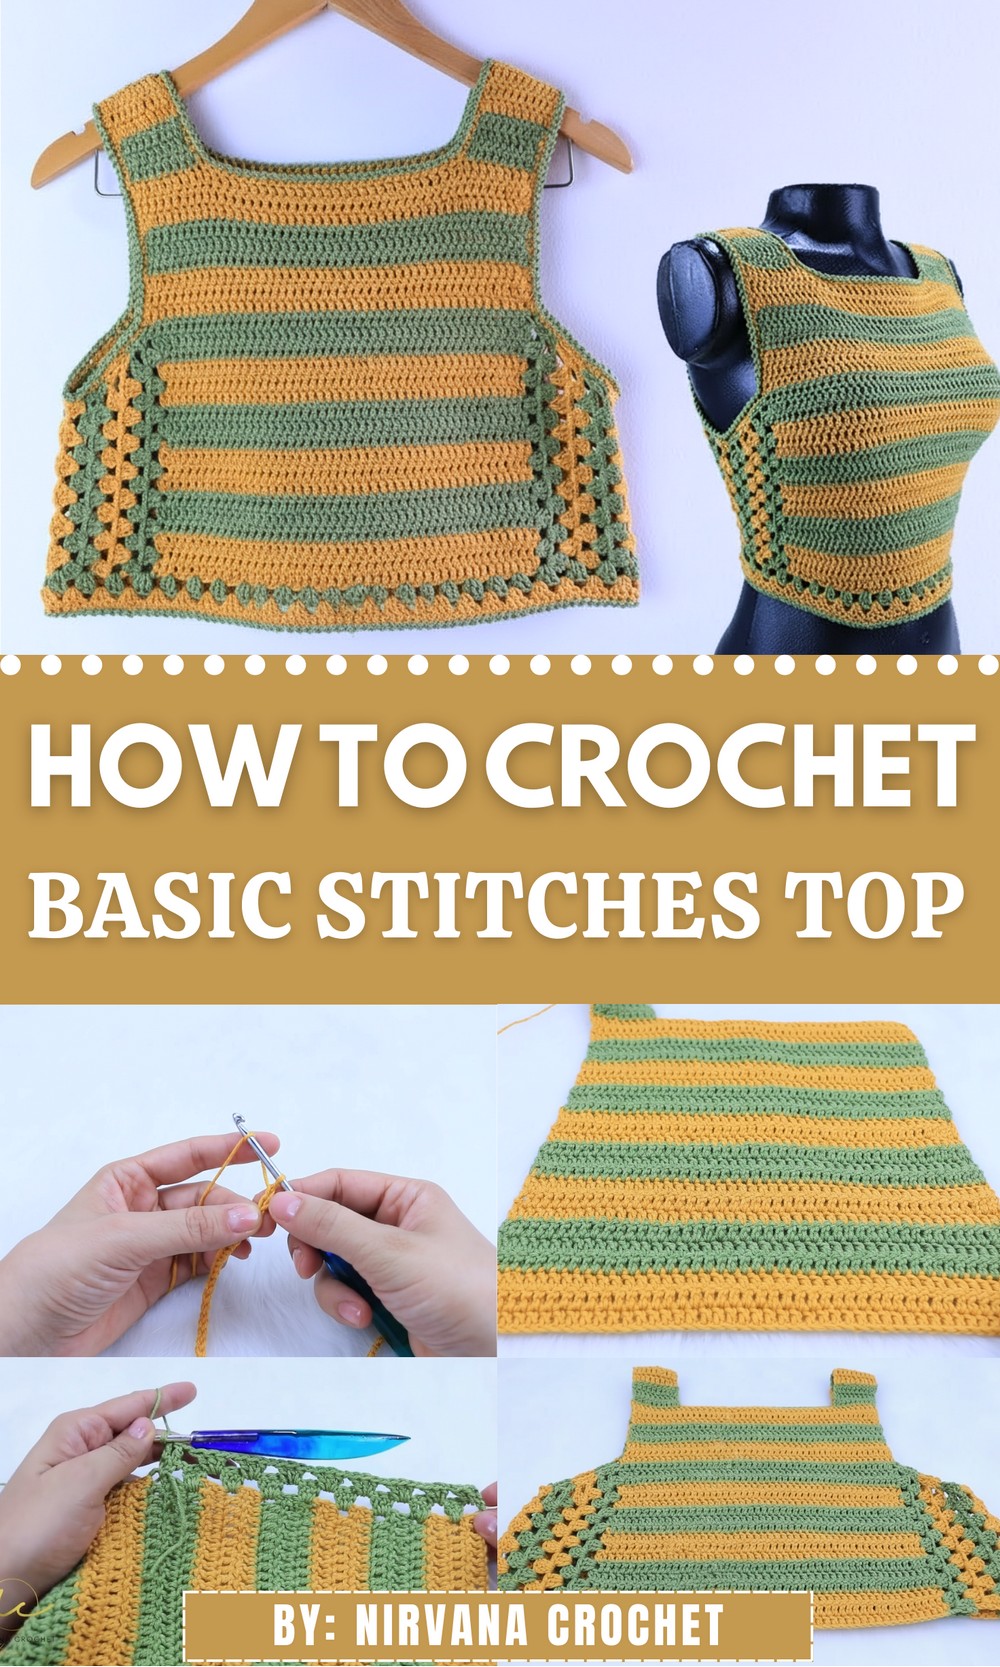
Crochet Colorblock Top – Step-by-Step Pattern
Materials Needed
- Yarn: 50% cotton / 50% premium acrylic blend (or preferred yarn)
- Crochet hook: 4mm (recommended for slightly loose stitches, modify for tighter fit)
- Tape measure
- Tapestry (yarn) needle for weaving ends and sewing
- Scissors
- Stitch markers (optional)
Size Guide and Measurements Reference
- Initial chain width for size S: approx. 29 cm (~47 chains in example)
- Chest/contour bust measurement + ease (3-4 cm added) to determine side extension
- Shoulder strip length varies by size from 7 cm (S/M) up to 9-10 cm (L/XL)
- Side panel length approx. 7.5 cm (customizable)
Step-by-Step Pattern
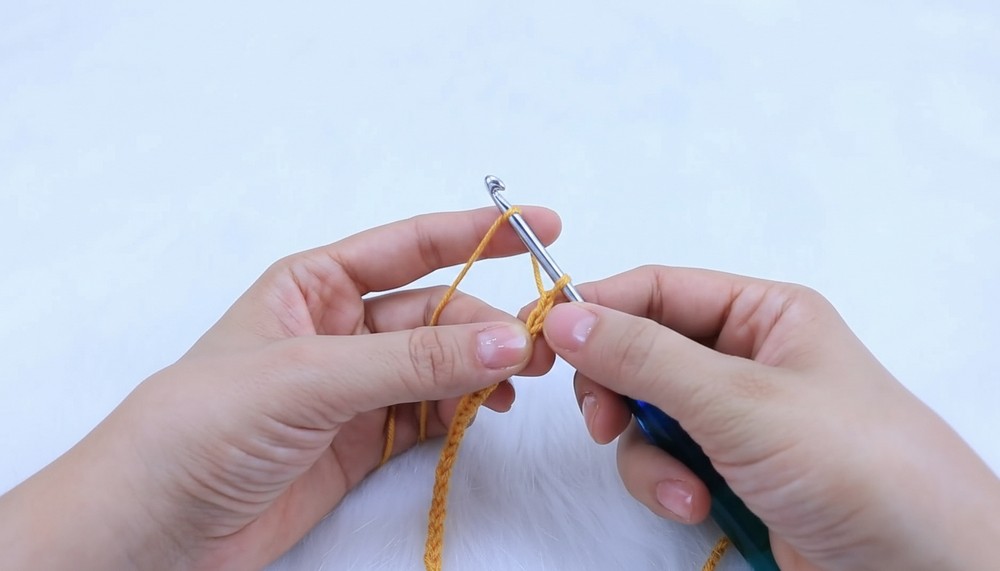
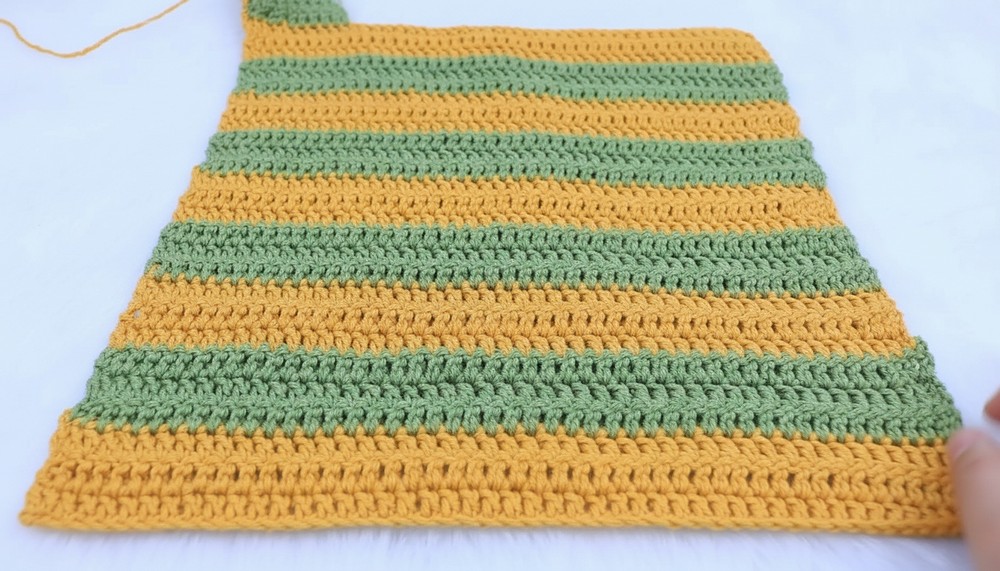
Step 1: Starting the Base – Foundation Chain
- Chain a strip long enough to measure bust width minus ease (example: 47 chains = approx. 29 cm for size S).
- Measure chain without stretching.
- Add 2 extra chains for turning; these count as the first double crochet (dc).
Step 2: Row 1 – Double Crochet Across
- Skip first 2 chains (those counted as first dc).
- Crochet 1 dc in each remaining chain.
- Total stitches: original chains + 2 turning chains = total dcs. (e.g., 48 dcs).
- Fasten off if changing color every 3 rows.
Step 3: Rows 2 and 3 – Double Crochet Repeats
- Chain 2 (counts as first dc), turn.
- Double crochet across each stitch in the row below, including last dc worked on the turning chains.
- Repeat for row 3.
- Maintain stitch count, keeping edges consistent.
Step 4: Color Change
- After every 3 rows, cut yarn leaving long tail (~10 cm) for weaving.
- Join new color with slip knot at start of new row.
- Chain 2, turn, then work dc across with new color.
- Leave tails to weave in later as you go or at the end.
Step 5: Repeat Stripes
- Continue alternating colors every 3 rows (or desired stripe thickness).
- Repeat until piece reaches desired length minus shoulder straps and side panels.
- Example: 27 rows = 28 cm length (for size S).
Step 6: Crochet Shoulder Straps
- Make two strips (one for each shoulder), approx. 10 stitches wide.
- Chain loosely to start, then work dc in rows to length approx. 7 cm for S/M, 9-10 cm for L/XL.
- Work color changes matching body for continuity.
- Verify first strip continuity (knit from outside edge toward center to match fabric flow).
- Repeat for second strap, starting color alternately for seamless look.
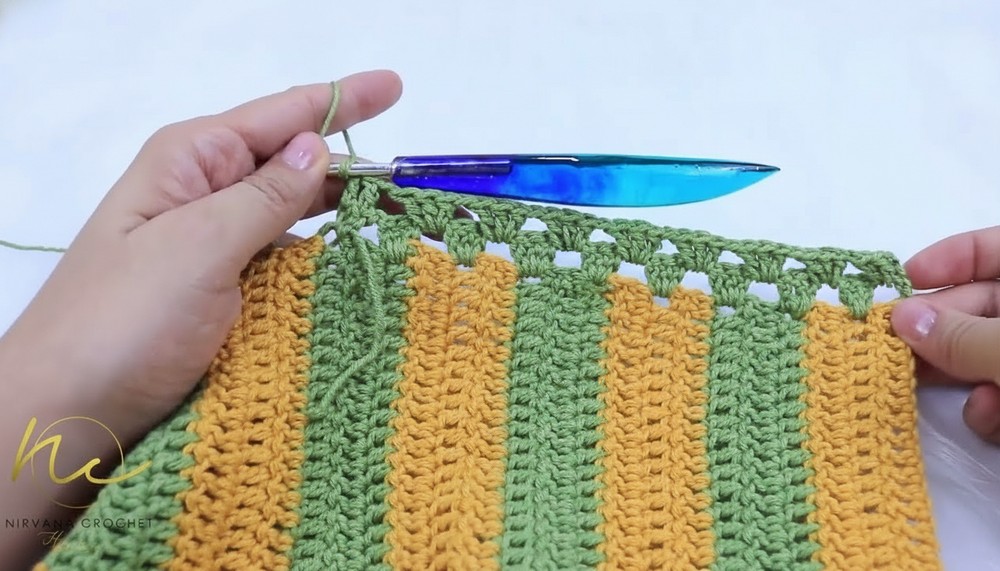
Step 7: Side Panels
- Measure bust contour + ease (recommend 3-4 cm ease) and subtract body strip width for side widths.
- Example: bust 85 cm + 3 cm ease = 88 cm total width; subtract 29 cm body = 59 cm; split sides = approx. 7.5 cm each.
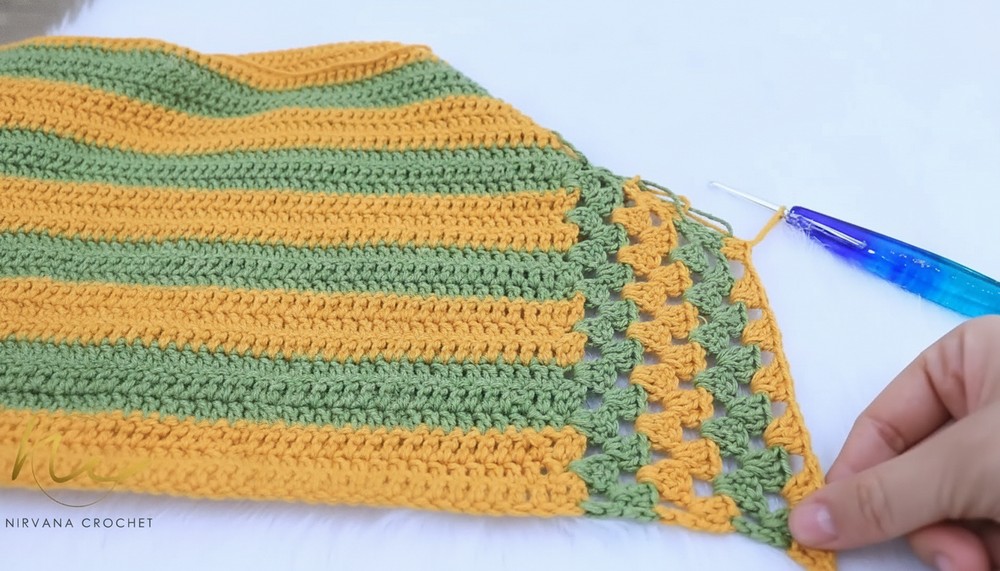
- Crochet side strips approx. 7.5 cm wide, using granny stitch:
- Granny stitch = 3 double crochets in one stitch, chain 2 separation, skip stitch, repeat.
- Work rows until side panel reaches length roughly matching underarms.
- Color change every 2 rows recommended for stripes.
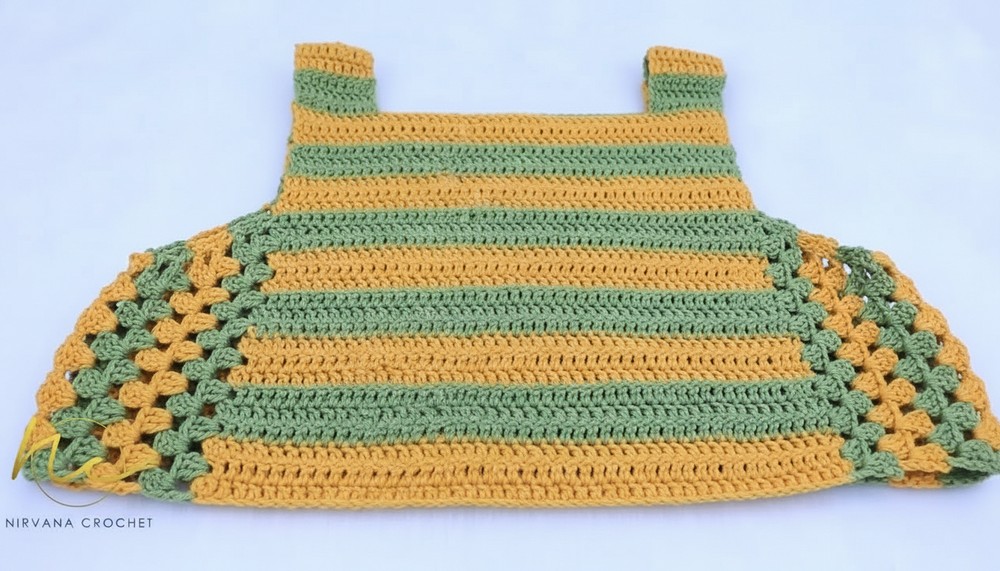
Step 8: Attach Shoulder Straps and Side Panels to Body
- Sew straps in place on shoulder edges aligning colors carefully.
- Attach side panels from body edge down under arms to hem.
- Use mattress stitch or whip stitch sewing technique slipping needle through middle of stitches for invisible seam.
- Leave space for armholes comfortable for movement.
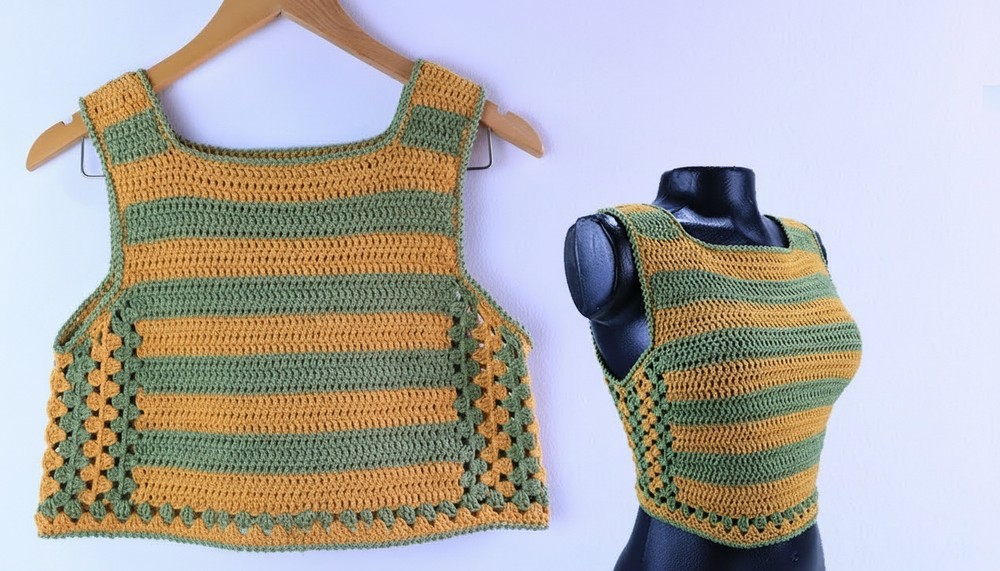
Step 9: Finish Bottom and Neck Edges
- Crochet a round of granny stitch blocks around bottom edge for a decorative finish.
- Work 1-2 rows alternating between colors (matching stripes) for a cohesive look.
- For neckline and armholes, work single crochet or a simple slip stitch border for clean edges.
Step 10: Final Weaving and Blocking
- Weave in all yarn tails neatly with tapestry needle.
- Block top gently to smooth stitches and set shape.
- Try on and adjust fit if needed.
Special Features
- Easy stripe pattern with minimal stitch types (double crochet, granny stitch).
- Customize width, length, and stripe colors to personal taste.
- Soft breathable fabric with cotton-acrylic blend yarn.
- Stylish and lightweight perfect for warm weather or layering.
Difficulty Level
Beginner-Intermediate: Great for those confident with double crochet, simple granny stitch, color changes, and basic shaping.
Tutor’s Suggestions
- Measure often to ensure correct fit especially after color changes.
- Weave in tails as you go to make finishing easier.
- Use stitch markers to maintain consistent stitch counts.
- Try on during construction to adjust side width and length.
- Maintain consistent hook tension for even fabric texture.
Uses
- Summer or spring layered top.
- Casual daywear or beach overlay.
- Easy customization or gift project.
- Utilize favorite colors and leftover yarns efficiently.
Final Tip
When starting new yarn colors, join with slip knot on wrong side and pull gently to avoid holes. Always chain 2 at beginning of rows to maintain stitch height and edge straightness.
Conclusion
This crochet colorblock top combines simplicity and style, allowing beginners to create a comfortable, custom-fit garment with colorful stripes. By following the pattern and paying attention to measurements, you’ll have a versatile top that’s perfect for many occasions.