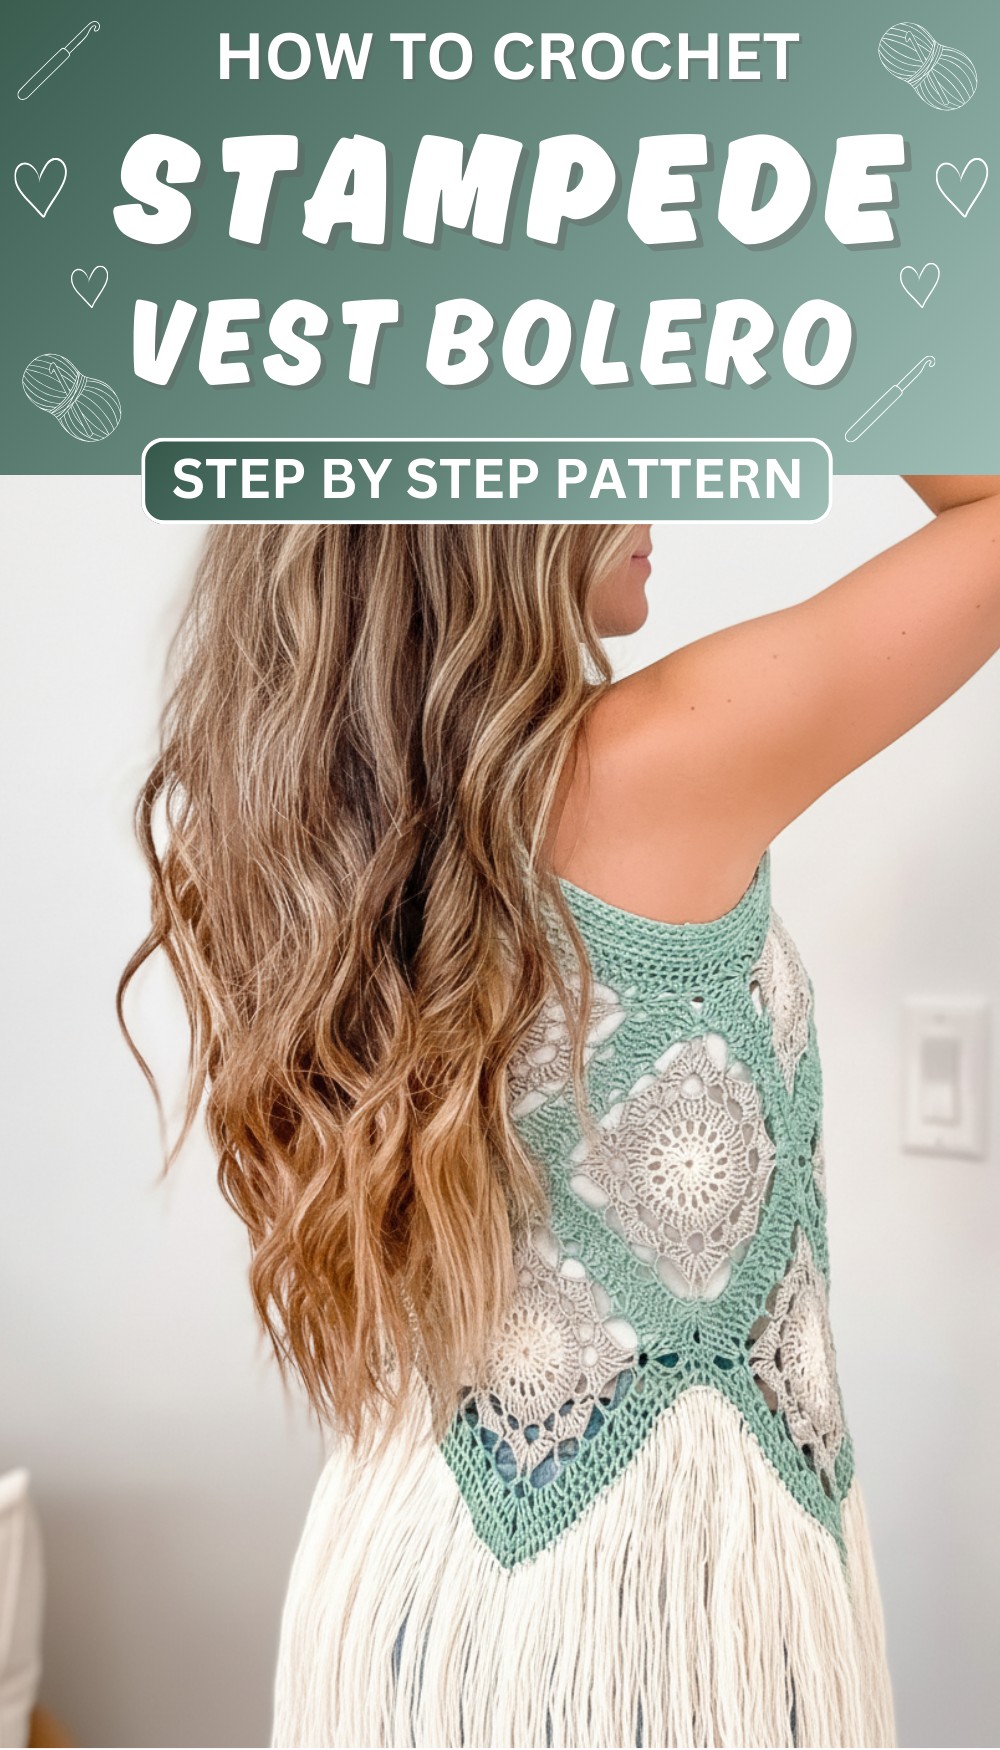
Snuggle into the cozy Crochet Stampede Vest Pattern that brings warmth, style, and a unique touch to your wardrobe for any season or occasion.
Putting on a cozy layer that feels just right, not too heavy but warm enough to keep you comfortable. A Crochet Stampede Vest pattern creates this perfect piece, combining style and function beautifully. This vest is made by looping yarn into neat stitches, forming a sturdy yet soft fabric that hugs your body gently. The design often features bold, eye-catching patterns that add character to any outfit.
Vibrant Crochet Stampede Vest Pattern to Rock Your Day
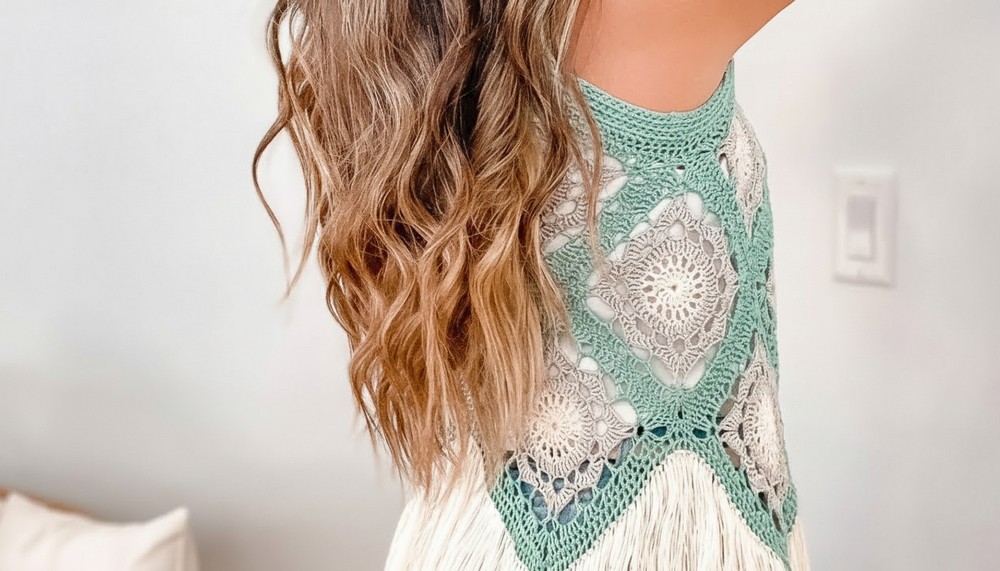
People love wearing this vest over shirts or sweaters because it adds warmth without bulk and looks fashionable for many occasions. Its handmade charm brings a personal touch, making each vest truly unique. Whether you wear it for casual outings or cozy evenings, the Crochet Stampede Vest pattern offers both practicality and a fresh, stylish appearance that anyone can enjoy. Making or wearing this vest shows creativity and care, turning simple yarn into a wardrobe favorite.
Colorful Granny Square Crochet Top Pattern
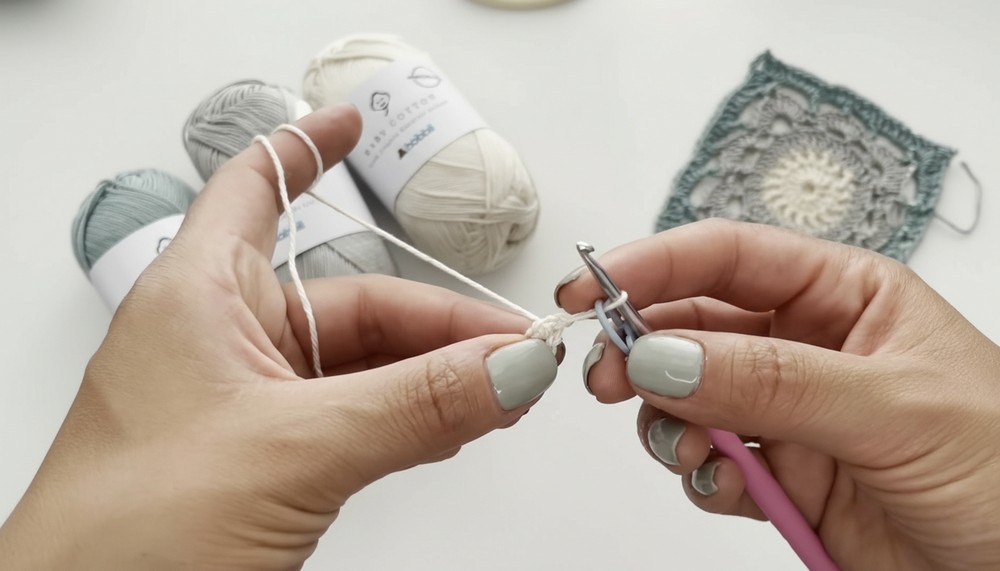
Materials Needed
- Mercerized 100% organic cotton yarn in multiple bright colors (Baby Cotton & Friends Cotton 8/4)
- 3 mm crochet hook
- Scissors
- Yarn/tapestry needle for joining and weaving ends
- Stitch markers (optional)
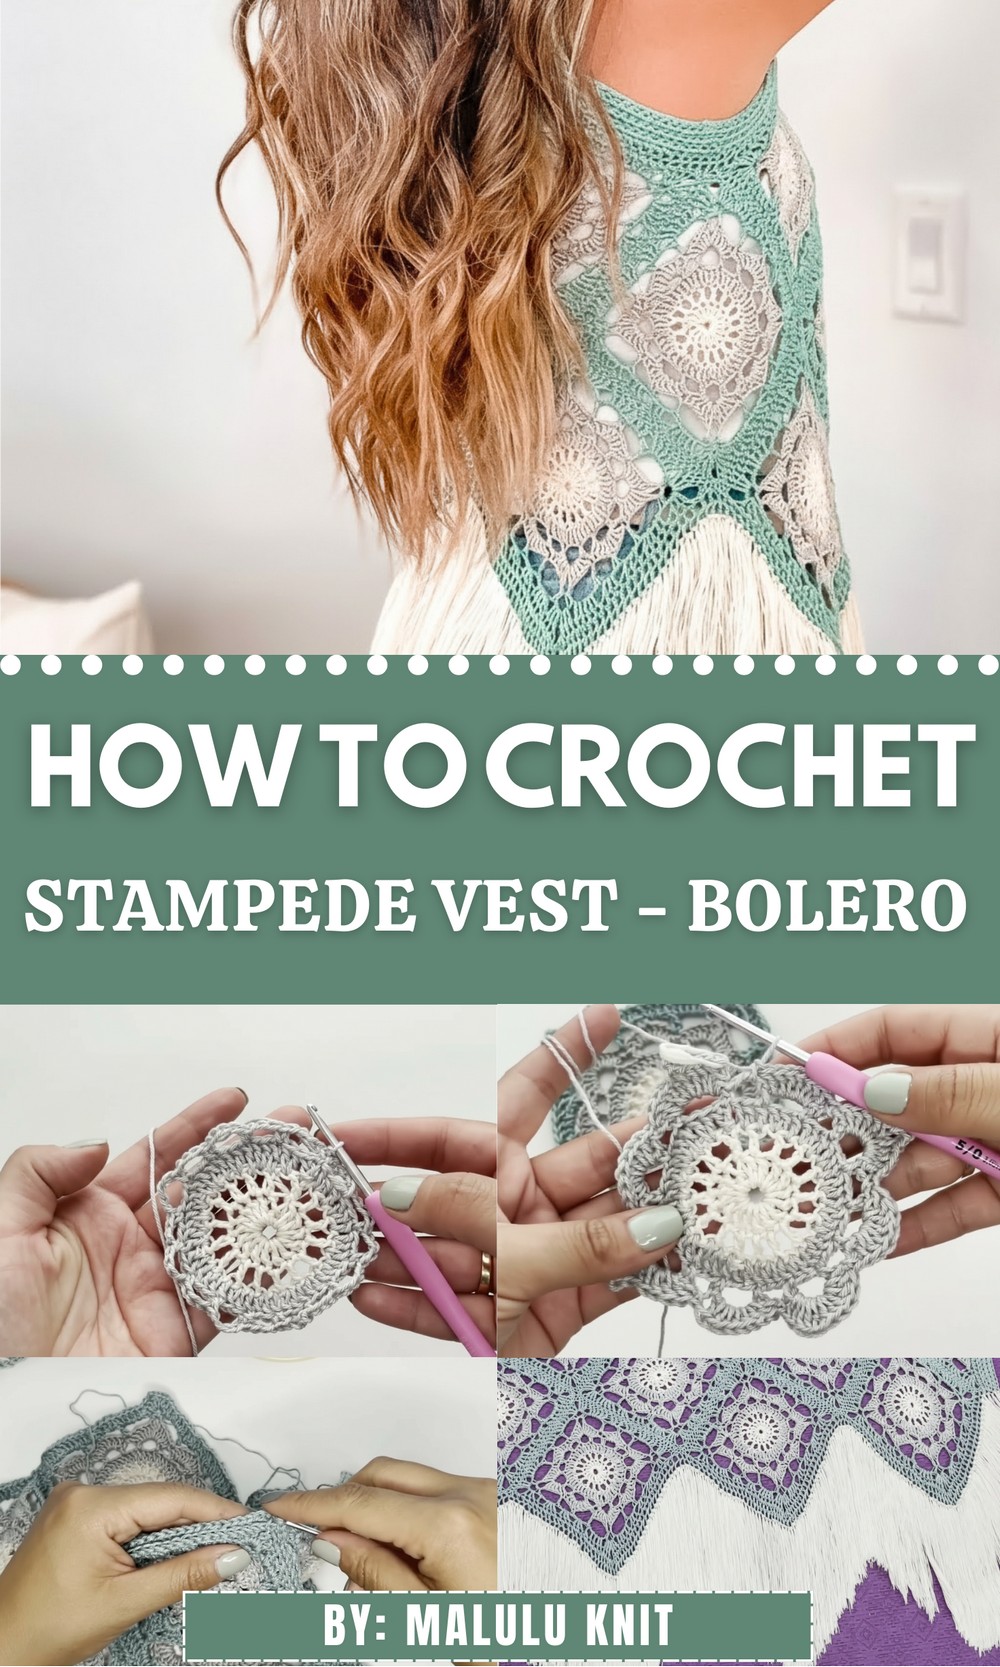
Detailed Step-by-Step Pattern
Step 1: Preparing Your Colors and Tools
- Select your colors: Light cream (e.g., color 15), gray (color 3), aquamarine (color 10), and others as desired. You will use these for squares, triangles, borders, and fringe.
- Gather tools: 3 mm crochet hook, scissors, yarn needle, stitch markers for marking rounds.
- Plan your layout with squares and triangles to form the shape of the top.
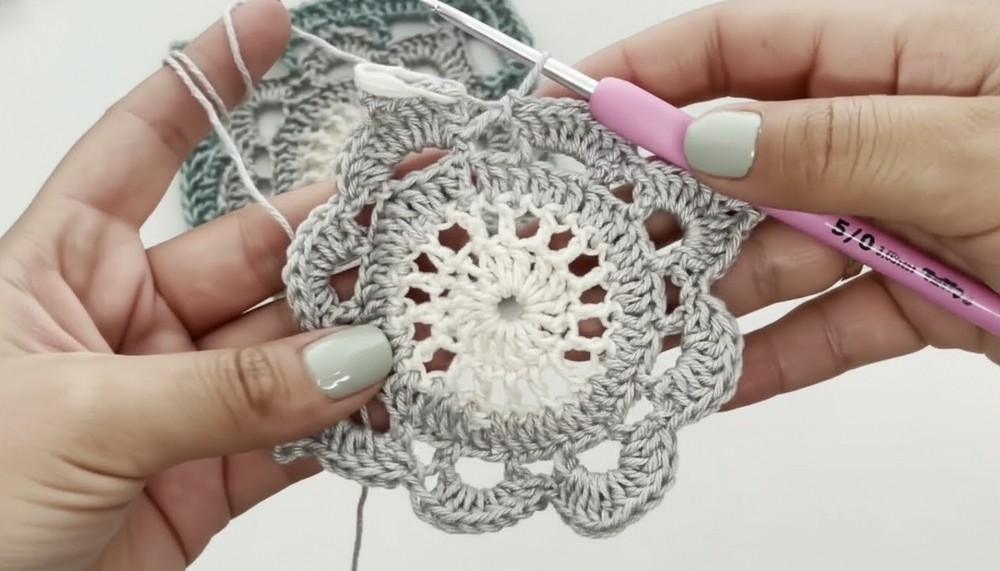
Step 2: Making the Foundation Circle for Granny Squares
- Chain 5, slip stitch into the first chain to form a ring. (Alternatively start with a magic ring.)
- Chain 3 (or do a false double crochet) to begin first round.
- Work 15 double crochet stitches (dc) into the ring total (including the initial chain 3 or false dc).
- Join with slip stitch back into the top of the chain 3 or false dc.
- Place stitch marker in the first stitch to mark the start.
Step 3: Round 2 – Increasing
- Chain 1 to start next round.
- (Dc, chain 1) in the next stitch; repeat around.
- Join with slip stitch into first dc.

- This creates small gaps for more color changes.
Step 4: Color Change and Pattern for Subsequent Rounds
- Drop yarn and join new color with slip knot in chain-1 space.
- Chain 3 (counts as first dc or false dc).
- Double crochet, chain 1, double crochet in each chain-1 space from previous round.
- Join round with slip stitch.
- Continue alternating colors as desired, increasing the side length with each round.
Step 5: Crochet Granny Triangles
- Use same starting ring method; chain 5, slip stitch to form ring.
- Chain 3 (or false dc).
- Make 8 dc inside ring.
- Slip stitch to join round.
- Work back and forth in rows with increases at ends using chain 1 spaces to create triangle shape:
- Chain 3 (or false dc)
- Dc, chain 1, dc in each chain 1 space and every side chain-1 to increase sides and form triangle.
- Repeat color changes with joined yarn similarly to squares.
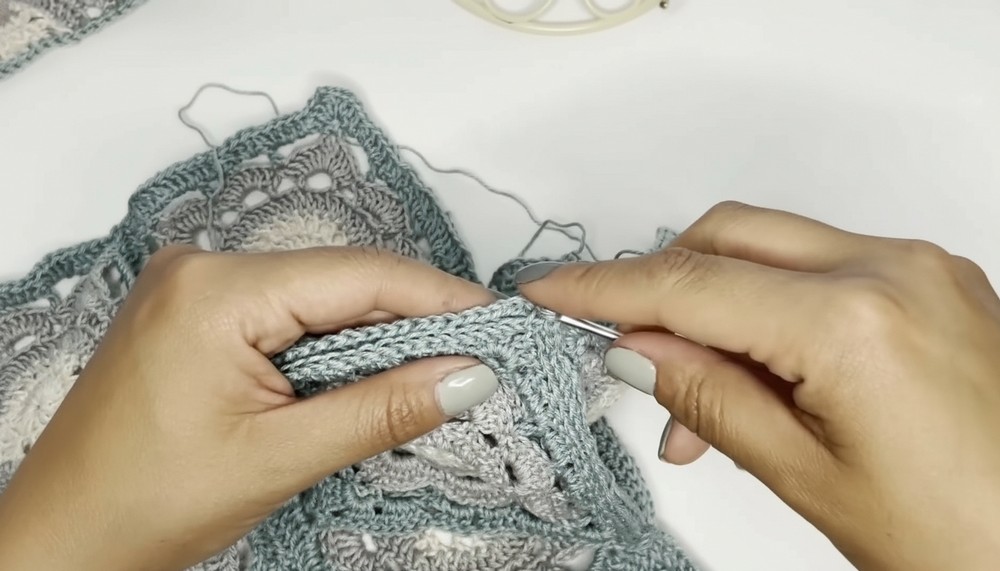
Step 6: Join Granny Squares and Triangles
- Lay out pieces and join right sides facing.
- Sew or crochet slip stitch join along corresponding edges matching chain-1 spaces and granny clusters for alignment.
- Join squares and triangles to create garment shape (notably triangle pieces to fill in the top corners or front).
- Tighten joins slightly but not stretched.
Step 7: Single Crochet Border Join and Edging
- Once squares/triangles are joined, work one round of single crochet stitches around all edges to reinforce and create clean lines.
- Next, do one round of half double crochet stitches for soft shaping and simple decoration.
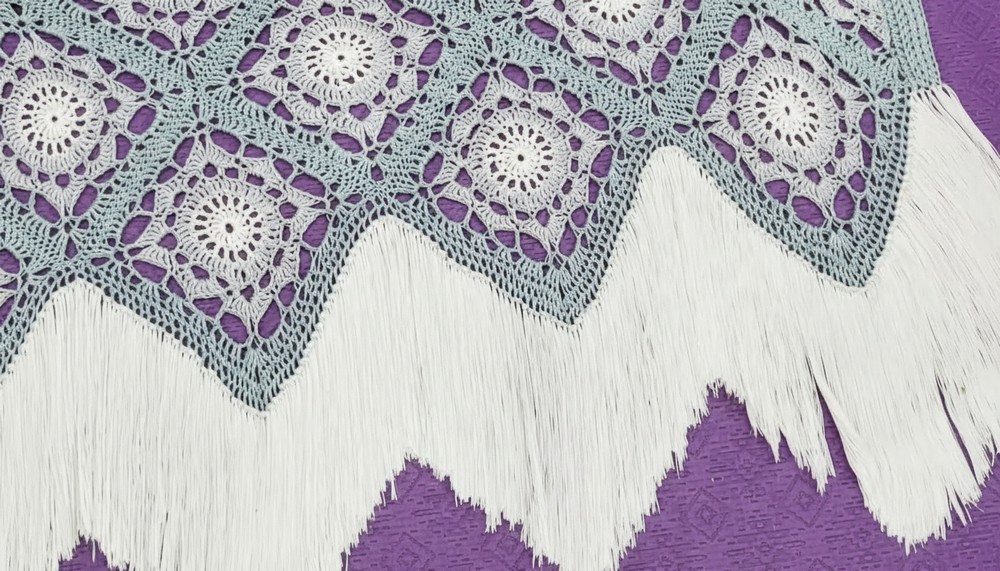
Step 8: Add Fringe (Optional)
- Use left-over yarn to create long fringes on bottom edge or other desired locations to add playful texture.
- Attach fringe strands using a knit/crochet hook or yarn needle, knotting securely.
Step 9: Crochet Sleeves
- Chain desired length for sleeves (e.g., 40 chains). Join with slip stitch to square corners on shoulder seams.
- Work single crochet stitches around chain loop for one round.
- Mark rounds and join with slip stitches.
- Next round: Work half double crochet stitches around for flexible sleeve band.
- Alternate rows of single crochet and half double crochet as desired for texture.
- Sew or join sleeve edges as needed.
Step 10: Block the Top
- Gently block by pinning garment to shape on flat surface.
- Spray with water or steam lightly until fabric is set and joins relax.
- This softens joins and evens out tension.
Special Features
- Uses mix of organic mercerized cotton yarns with soft sheen and vibrant colors.
- Modular granny squares and triangles allow customization of size and shape.
- Color changes create striking geometric effects.
- Decorative picot fan edging and optional fringe add texture and detail.
- Breathable and lightweight, ideal for summer.
Difficulty Level
Intermediate: Requires knowledge of granny squares, color changes, joining crochet motifs, and working consistent tension across shapes.
Tutor’s Suggestions
- Use stitch markers to mark round starts and centers for precise joining.
- Measure frequently and lay out pieces before joining.
- Weave in ends as you go to avoid tangles and bulky seams.
- Try on garment at stages to check fit, especially after joining motifs.
- For beginners, practice granny squares separately before assembling.
Uses
- Summer or spring lightweight top for casual or festive wear.
- Ideal for layering over tank tops or dresses.
- Lovely gift project showcasing color work.
- Explore modifications by mixing yarn weights or adding trims.
Final Tip
When changing colors, leave long tails and weave them securely along the edges inside chain-1 spaces to ensure clean joins and prevent unraveling.
Conclusion
This colorful granny square top combines traditional crochet motifs with modern styling for a fun, wearable project. Through color play and modular pieces, you create a custom, vibrant top embodying creativity and texture.