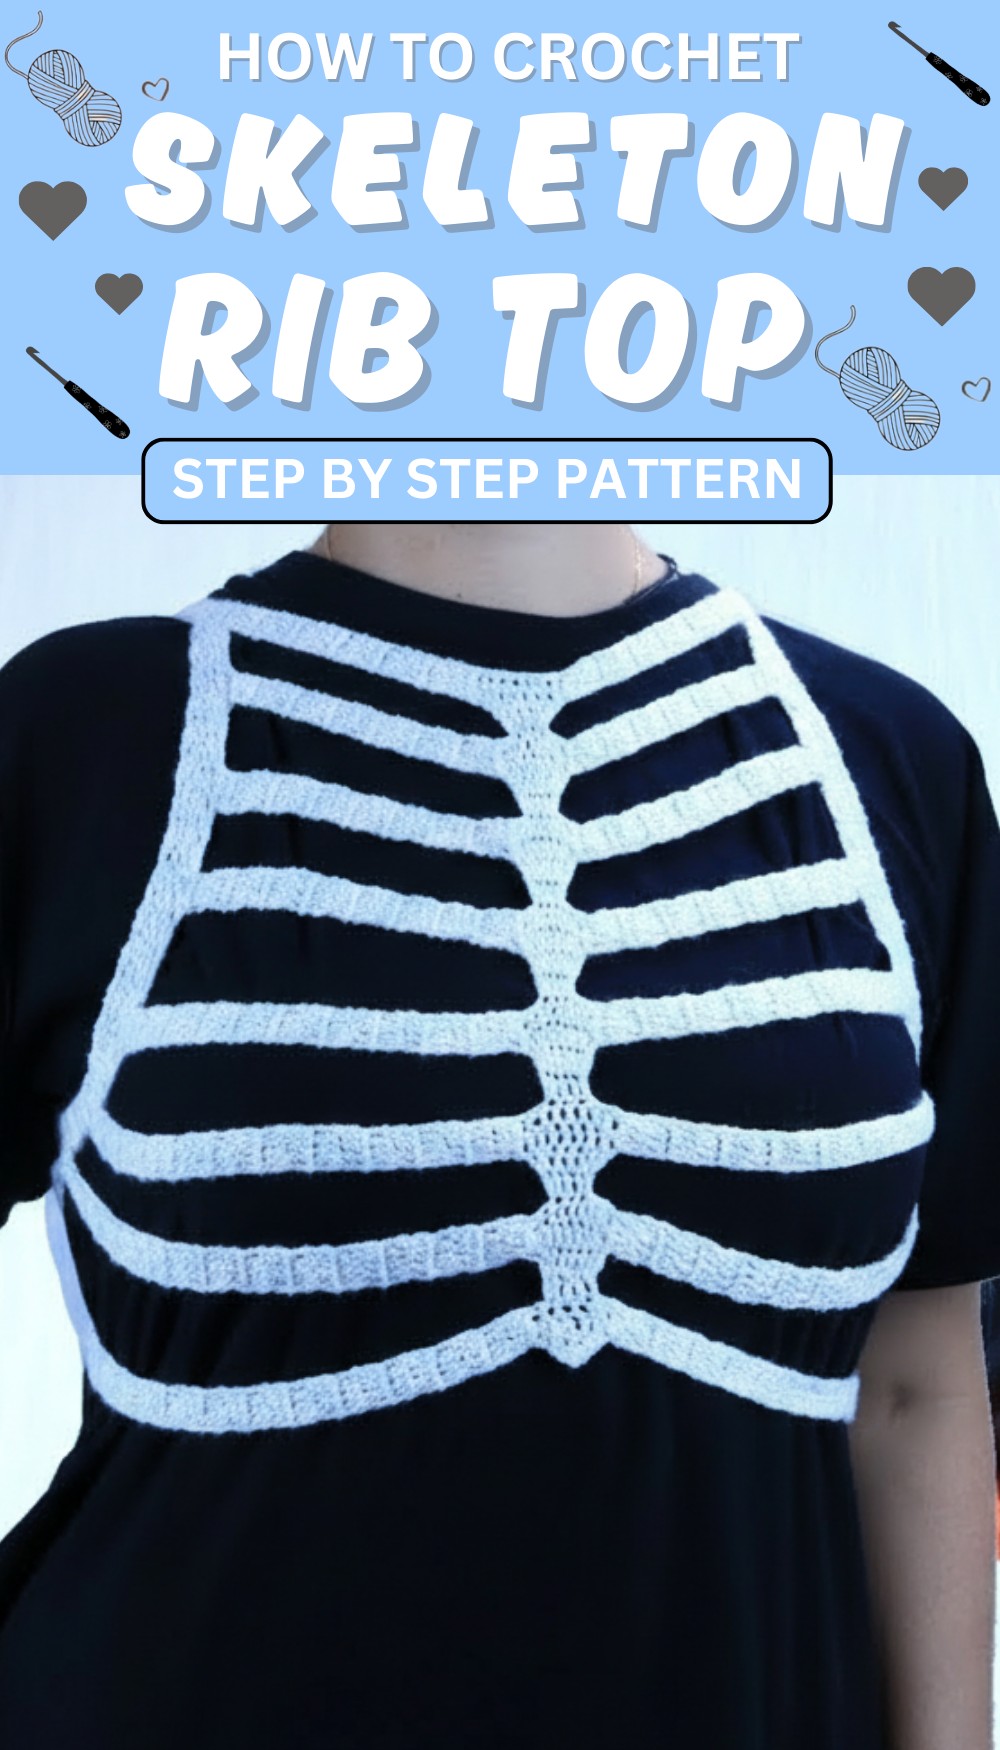
Grab attention with a unique Crochet Skeleton Top Pattern that’s simple, comfy, and perfect for showing off your edgy style anywhere you go.
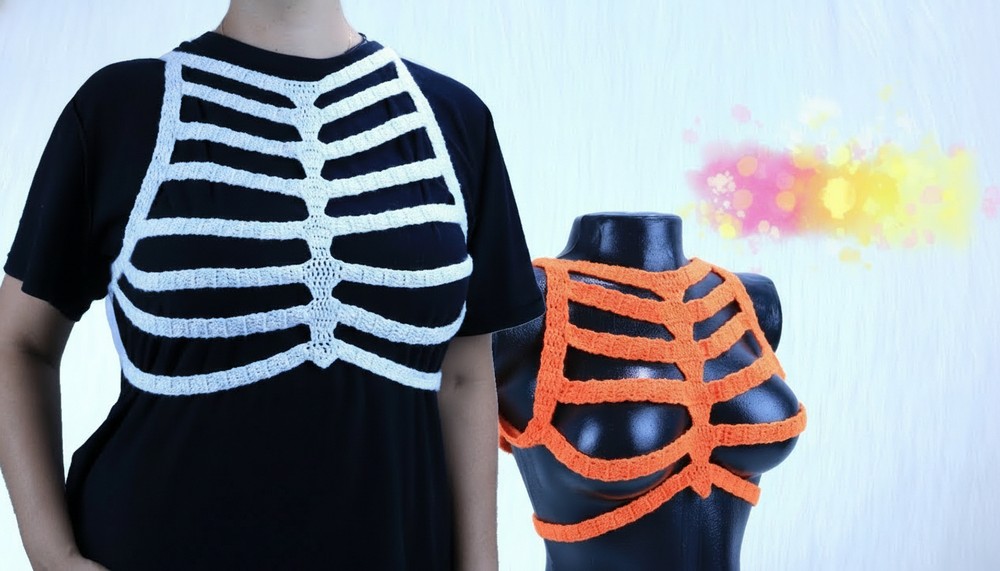
A top that catches everyone’s eye with its cool and unique look. The Crochet Skeleton Top pattern is just that—a fun and striking piece to add to your wardrobe. This top stands out because it features designs that look like bones, giving it a bold and edgy style. It’s perfect for parties, casual outings, or even themed events, making you feel special wherever you go.

Simple Crochet Skeleton Top Pattern for Halloween Flair
The pattern uses simple crochet techniques, which means it can be soft and light, perfect for warm days or layering on cooler evenings. Its open spaces and delicate stitches make the top breathable and comfortable. The Crochet Skeleton Top is not only stylish but also a conversation starter, showing off your creativity and unique taste. Whether you want to try something different or gift someone amazing, this top offers beauty, fun, and flair in one simple pattern.
Crochet Vest Pattern – Detailed Step-by-Step Guide
Materials Needed
- Acrylic yarn (weight/style as preferred; example yarn used)
- Crochet hooks: 3mm (main vest), 3.5mm (optional), 7mm for some finishing
- Tape measure
- Yarn/wool needle
- Stitch markers (optional but helpful)
- Scissors
Sizes and Measurements Reference
- Size S/M back width approx. 22 cm (6 bones)
- Size L approx. 25 cm (7 bones)
- Size XL approx. 28 cm (8 bones)
- Neck strip length for size S approx. 26 cm
- Underarm strip approx. 49 cm for size S
Adjust quantities and length according to your customized body measurements.
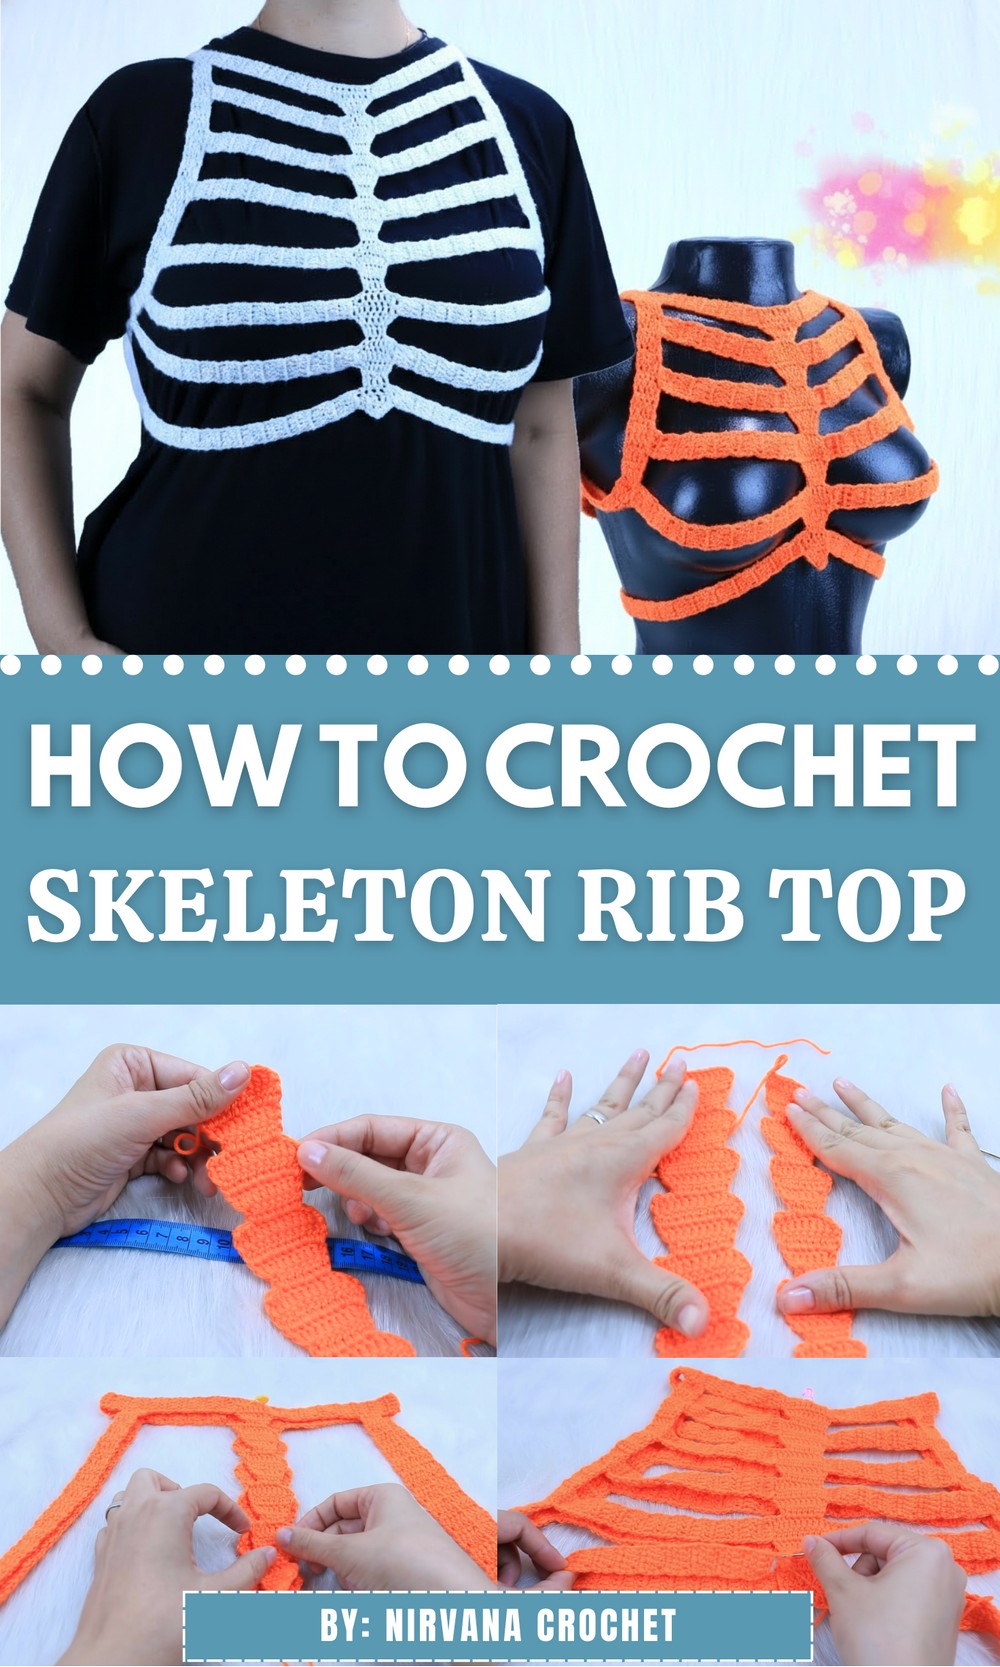
Step-by-Step Instructions
Step 1: Create the “Little Bone” Base – Magic Ring and Round 1
- Make a magic ring.
- Chain 2 (counts as first double crochet).
- Crochet 5 double crochets inside the ring (including the initial chain).

- Pull ring tight to close the center hole.
- You should have 6 double crochets (including initial chain counted).
Step 2: Round 2 – Increasing
- Chain 2 and turn.
- Make 1 double crochet increase in the base of the chain (two double crochets in same stitch).
- Double crochet in next stitch (no increase).
- Repeat: 2 double crochets in next stitch (increase), 1 double crochet in next.
- At the last two base chains, make an increase (2 double crochets) each.

- Total stitches after round 2 = 8 double crochets.
Step 3: Round 3 – Further Increases
- Chain 2 and turn.
- Increase at start and end of round (2 double crochets each).
- Double crochet in each stitch between increases.
- Total stitches after round 3 = 10 double crochets.
Step 4: Round 4 – Even Stitch Count
- Chain 2 and turn.
- No increases this round, one double crochet in each stitch from previous round.
- You will maintain 10 double crochets.
- This completes the first “little bone.”

Step 5: Starting the Next “Little Bone”
- Chain 1, turn.
- Slip stitch in the first stitch (skip completely).
- Slip stitch in next 3 stitches (skip these).
- Chain 2 (counts as first double crochet), then increase 4 times (2 double crochets in each stitch) for a total of 8 double crochets.
- Continue to round 2 for this “little bone.”
Step 6: Repeat Rounds for Consecutive “Little Bones”
- Round 2: Chain 2, turn, increase at beginning and end, double crochet in between = 10 stitches.
- Round 3: Chain 2, turn, increase at beginning and end, double crochet in between = 12 stitches.
- Round 4: Chain 2, turn, no increases, maintain 12 stitches.
- Slip stitch over first 4 stitches to start next strip.
- Continue making “little bones” repeating steps 5 and 6 until desired length for the back or front is reached (e.g., 6 bones for size S).
Step 7: Measuring and Adjusting to Size
- Measure the length of your “little bones” section (back or front).
- Example for size S = approx. 22 cm for back (6 bones), adjust number of bones and rounds if needed for larger sizes.
- For chest “little bones,” start with 3 double crochets in round 1 and follow same increase pattern but with fewer stitches (e.g., 5 double crochets max) as chest is narrower.

Step 8: Joining Front and Back Pieces
- Place front and back “little bones” sections right sides facing.
- Align edges and use yarn needle to sew pieces together along edges, stitching through middle of stitches (not full stitch) for neatness.
- Sew from bottom to top, ensuring matching stitch counts to avoid distortion.
- Use stitch markers to keep track of right side.

Step 9: Creating the Underarm Strip
- Crochet a strip of 5 double crochets wide.
- Length approx. 49 cm for size S (or underarm circumference).
- Attach strip from the back to the front underarm, sewing in place aligning with stitch markers for consistent spacing.
Step 10: Finishing All Edges and Seams
- After joining, weave in loose ends with yarn needle.
- Ensure all seams are secure but flexible enough for movement.
- Optionally, add edging or border to armholes and neckline for a clean finish.
Step 11: Final Adjustments
- Try on vest to check fit around head, arms, and chest.
- Adjust any loose ends, lengths, or stitches if necessary.
- Block garment if desired for better drape.
Special Features
- Modular “little bone” construction allows customizable size and shape.
- Combination of increases and slip stitches creates pleasant texture and design continuity.
- Uses magic ring starting rounds for seamless round base.
- Perfect for layering or standalone casual vest.
- Can be made with leftover yarn or in your favorite colors.
Difficulty Level
Intermediate: Requires knowledge of magic ring, double crochet, increases, slip stitches, working in rounds, and sewing pieces together.
Tutor’s Suggestions
- Use stitch markers to keep track of rows and right sides.
- Consistently measure as you crochet to ensure proper fit.
- Don’t hesitate to try on vest as you progress to make size adjustments.
- Keep tension even for uniform stitch size.
- Hide yarn ends as you go to simplify finishing.
Uses
- Stylish multiseason vest.
- Layering for casual outfits.
- Gift or personal wardrobe staple.
- Great project to use up scrap yarns with color variations.
Final Tip
When joining pieces, sew through the middle of the stitches (not entire stitch) for a flatter seam edge that enhances the vest’s comfort and appearance.
Conclusion
This crochet vest with modular “little bone” strips provides a unique texture and custom fit. With patience and attention to detail, you can easily create a garment that fits and flatters your body while showcasing your crochet skills. The design adapts well to different sizes and yarns, making it a versatile and rewarding project.