
Stay cool in style with a Free Crochet Backless Dress Pattern that gives you a light dress perfect for summer days and fun outdoor time.

Charming Free Crochet Backless Dress Pattern to Elevate Your Wardrobe
A crochet backless dress pattern offers a beautiful way to create a light and elegant outfit for any occasion. This handmade piece is designed with a stylish open back look that adds charm and uniqueness to your wardrobe. The soft and breathable cotton yarn makes it perfect for warm weather, while the flowy skirt ensures comfort and a flattering fit. 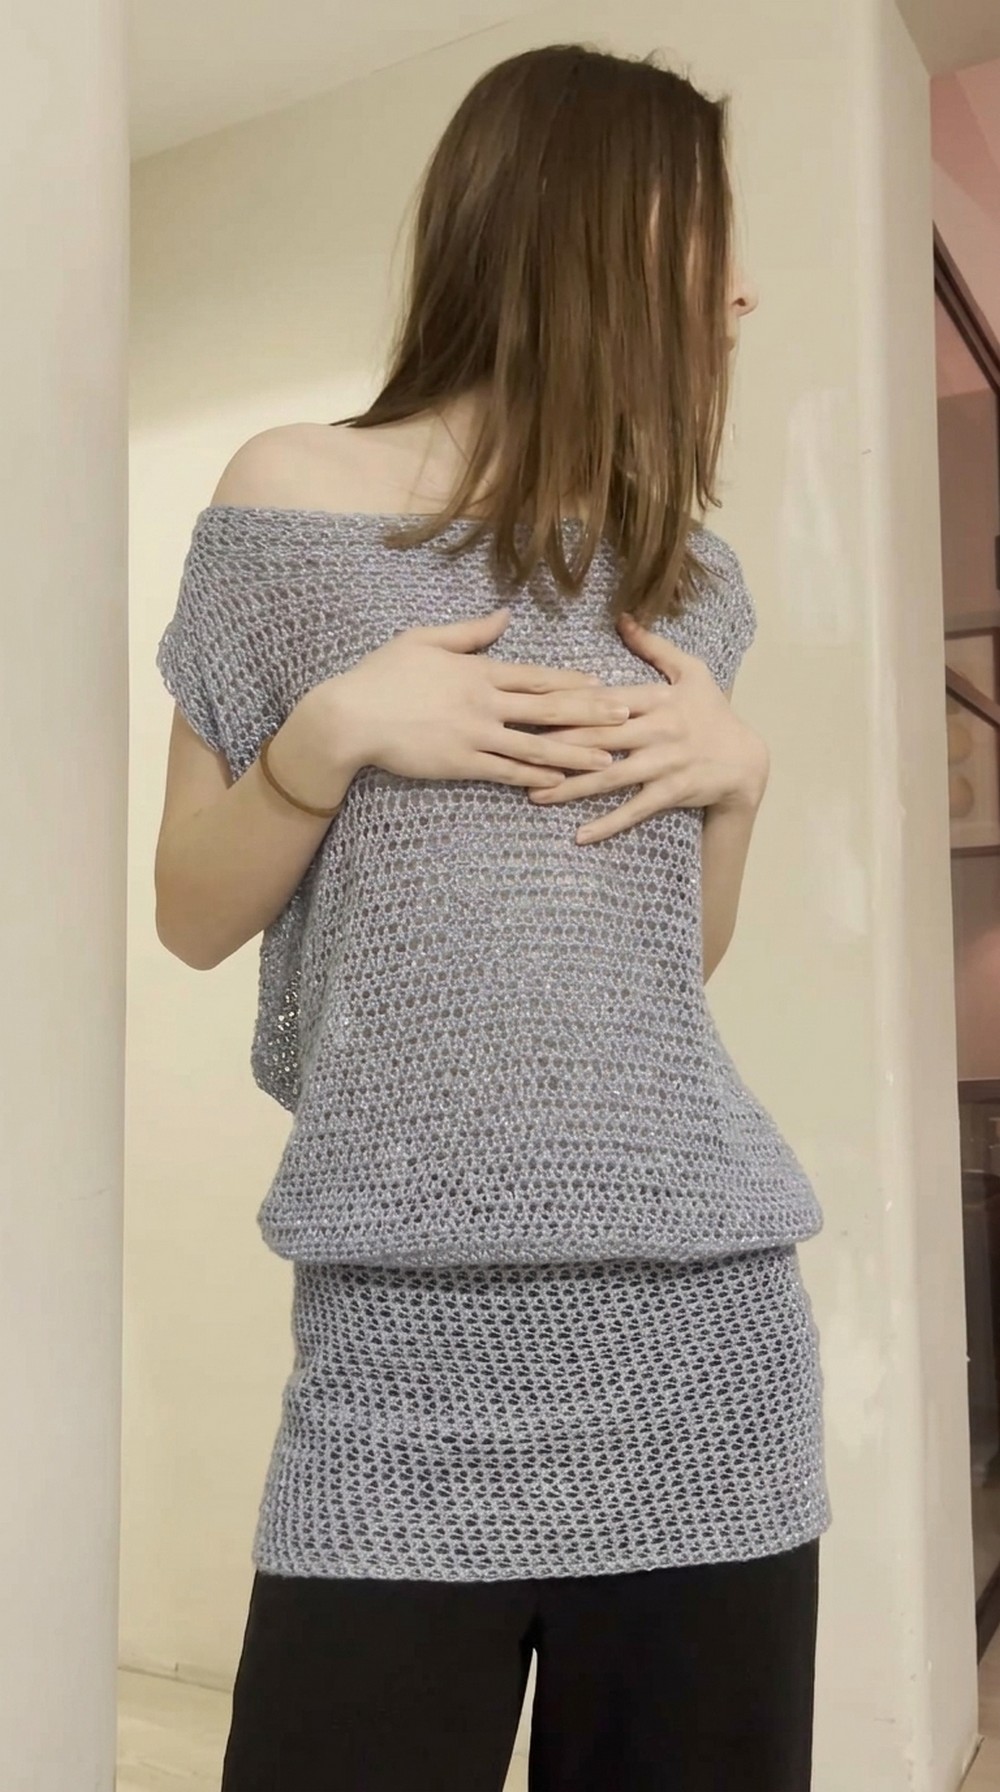
You can customize the color, size, and length to match your personal taste. This dress is perfect for casual outings, beach days, or even special gatherings. It’s truly a special project that lets you turn simple yarn into a stunning masterpiece, a dress made with care and creativity.
Stunning Crochet Backless Dress Pattern
Materials:
- Yarn: 100% cotton yarn (approximately 200g)
- Additional Thread (Optional): Glitter thread for added shimmer
- Hook Size: 4.0 mm (recommended yarn hook size was 3.0 mm, but a larger hook creates a flowy and airy effect)
- Stitch Markers: To keep track of beginning/ends of rows or important stitches (safety pins can work as alternatives)
- Scissors
- Measuring Tape
- Tapestry Needle: For sewing in ends
Gauge and Sizing:
To ensure correct fit:
- Measure number of stitches required to fit your waist by taking measurements of your waist and hips. Adjust base chain and increases accordingly.
- Example from video: For a 78 cm waist:
- Base chain: 80 chains around the waist.
Finished Size:
- Skirt length: Determined by personal preference.
- Front and back strap length: Customizable to the wearer’s shoulders/desired fit.
- Adjustable waist placement (low waist or high waist).
- Back closure created by tie straps ensures flexibility for most body types.
Pattern Overview:
The project is divided into two major sections:
- The Skirt
- The Top (Bust Panel and Straps)
Step 1: Crochet the Skirt
1. Make the Base Chain:
- Create a slip knot.
- Chain the number of stitches to fit your waist loosely. For a low-waist skirt, measure the portion of the waist where you want the skirt to sit.
Example: 80 chains for a 78 cm waist. - Slip stitch into the first chain to form a circle. Make sure the chain is not twisted.
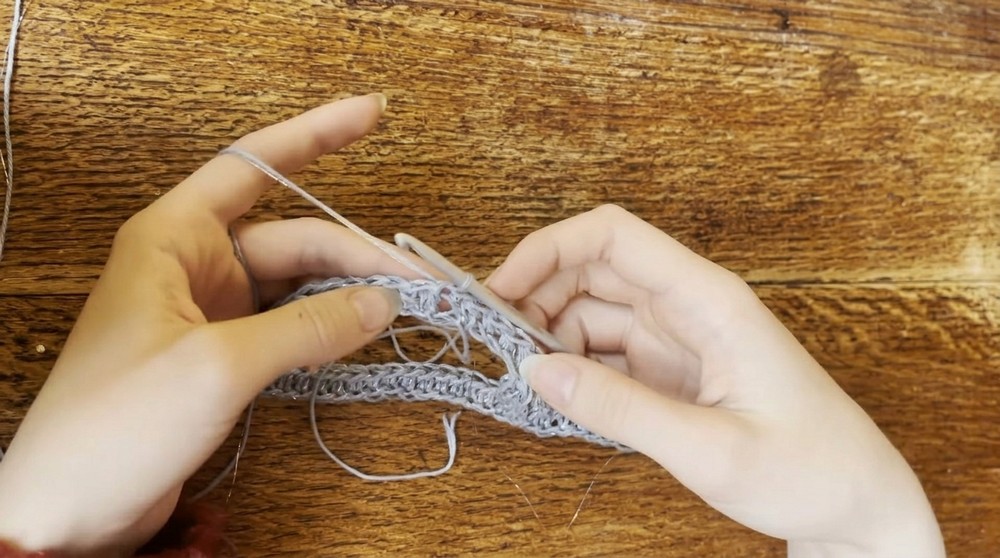
2. Work Row 1:
- Chain 1.
- Work 1 Half Double Crochet (HDC) in each chain around. Skip the very first chain to create a straighter seam.
- Slip stitch into the first HDC to join the row.
3. Work Row 2:
- Chain 1.
- Work 1 HDC in each stitch around.
- Slip stitch to join the last stitch to the first.
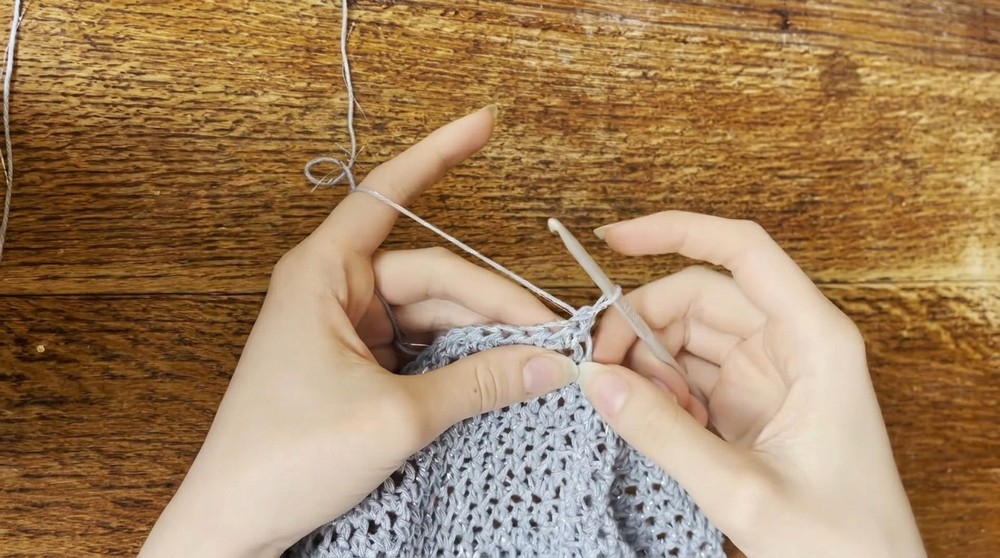
4. Add Increases (Row 3 Onwards):
You’ll gradually increase to fit the widest part of your hips.
- Chain 1 to begin the row.
- In Row 3, add 2 increases:
- Place 2 HDCs in the first stitch.
- Then place your second increase in the 40th stitch (if the total stitch count is 80).
- Continue with HDCs in each remaining stitch of the row.
- For following rows: Repeat the sequence of 1 increase row (2 extra stitches added) followed by 2 regular rows (no increases) until you reach the desired width.
5. Add Length to the Skirt Back:
To ensure the skirt doesn’t ride up at the back when worn:
- Begin extra rows at the back by working halfway around the skirt.
- Work back and forth (not in the round) on the back panels for a few rows. Turn your work without chaining 1 for a clean edge.
- This creates a longer back section for better overall fit.
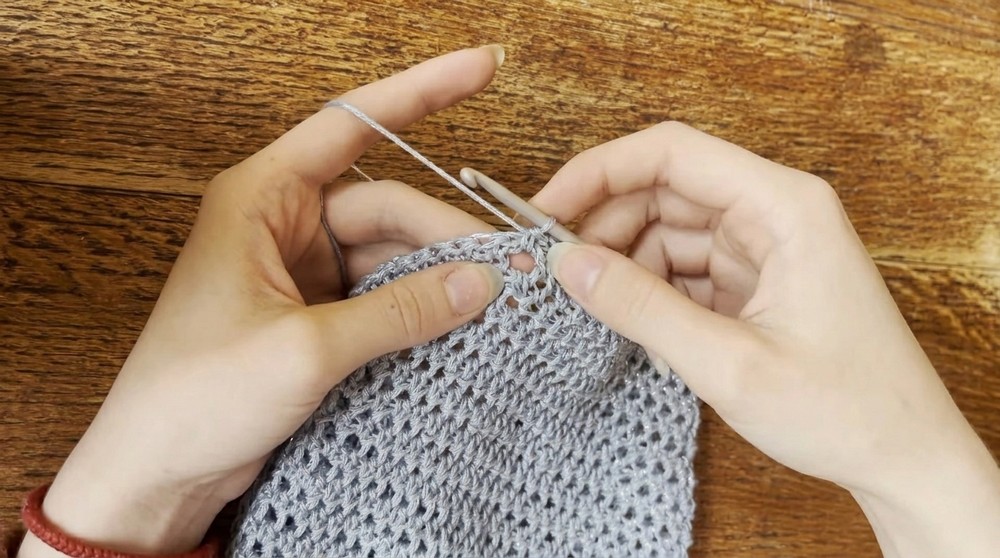
6. Finish the Skirt:
- Once the back rows are complete, move back to working in the round.
- Continue adding rows in HDC until the skirt reaches your desired length.
Special Tips for the Skirt:
- For curvier body types, add more increase rows for width.
- Use a measuring tape consistently to ensure proper sizing for your frame.
Step 2: Crochet the Top (Bust Panel and Straps)
1. Mark Stitch Placement for the Front Panel:
- Divide the waistband of the skirt into front and back sections.
- Attach yarn at the location where the front panel will begin. Adjust the placement based on how wide you want the back opening to be.
Example: 56 stitches for the front panel (leaving 24 stitches for the back opening).
2. Work the Front Bust Panel:
- Begin by attaching the yarn and working a row of HDC into the selected stitches for the front panel.
- Use the formula: One HDC in the first stitch, then one increase (two HDCs in the same stitch) in the next. Alternate this pattern across the row so the front panel sits flat.
- Example: Starting with 56 stitches, end with 84 stitches after the first row of increases.
3. Build Rectangle for the Bust Area:
- From the second row onward, work 1 HDC in each stitch (84 in total) without increases or decreases.
- Work rows back and forth (no longer in the round) until the center of the bust is reached when stretched, plus 10 extra rows for a comfortable fit.
4. Create Armholes:
- Divide the top into 3 sections: Small back straps and a wide front panel for the bust.
- Skip specific stitches on either side of the front panel to leave openings for arms.
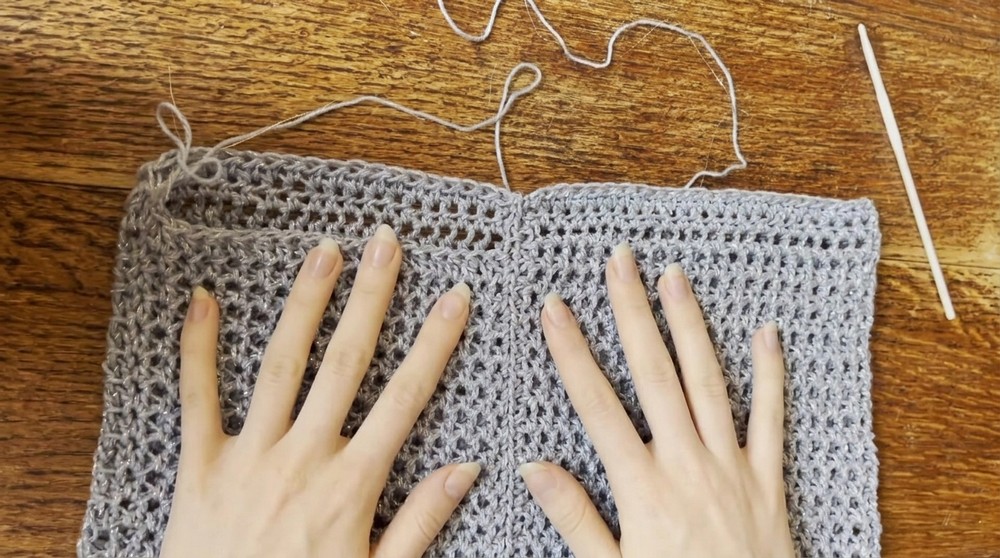
5. Crochet the Back Straps:
- Attach yarn to work the back straps directly onto the skirt.
- Work rows of 12 HDC (or your preferred width), going back and forth until the back strap matches the height of the front panel (example: 12 rows).
- Repeat for the second back strap.
6. Attach the Straps:
- Lay the front and back parts on top of each other with seams on the inside.
- Attach the back straps to the front panel using slip stitches. Align the stitches carefully for a clean look and a secure fit.
Step 3: Add Ties for Adjustable Fit
- After attaching each strap, do not cut the yarn. Instead, chain a length long enough to tie a bow. (Example: 70 chains for each strap).
- Work slip stitches along the chain back to the starting point, fastening off at the base of the strap.
- Repeat this for the second strap.
Special Techniques & Customization Ideas:
- Adding Glitter Thread: For a touch of glamour, combine the cotton yarn with glitter thread while crocheting.
- Varying Lengths and Fits: Adjust row counts for the bust panel, straps, and skirt length to create a perfect, customized fit.
- Alternate Stitches: Experiment with other lace or mesh stitch patterns to create unique textures for the bust panel.
- Color Changes: Incorporate color blocking or gradient yarn for a modern design.
- Additional Embellishments: Add crochet flowers, beads, or borders to enhance the visual appeal of the dress.
Conclusion and Final Remarks:
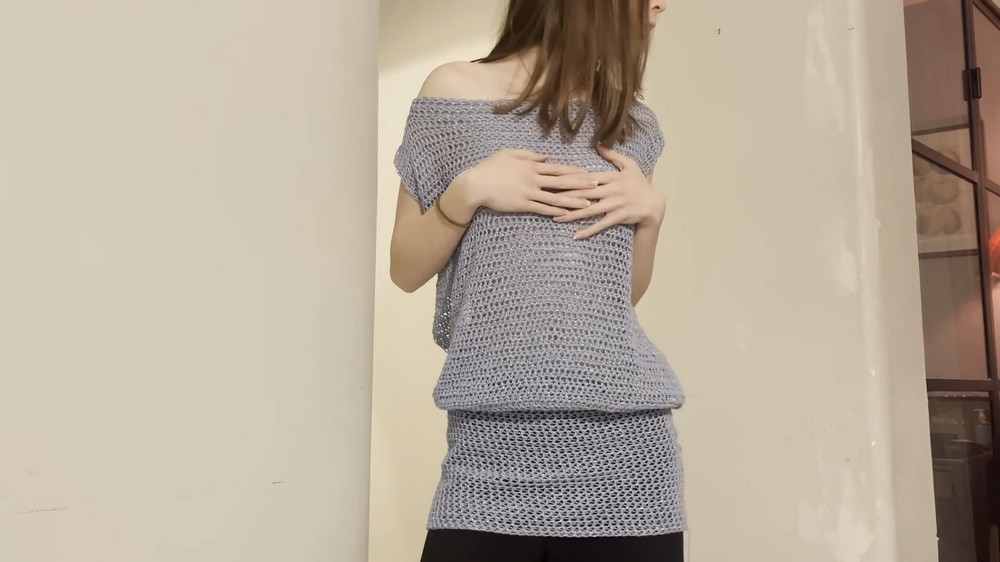
Your stunning crochet lace mesh dress is now complete. The light, breathable stitches make it perfect for summer outings, beachwear, or casual layering. The flowy skirt with its longer back section gives a well tailored and flattering look. The adjustable tie back straps make this pattern universally flattering for various body types. For best results, wash the garment gently and let it dry flat to maintain its shape. Customize the size, colors, or embellishments to make this dress uniquely yours. It’s time to show off your beautiful crochet skills with this trendy and elegant dress.