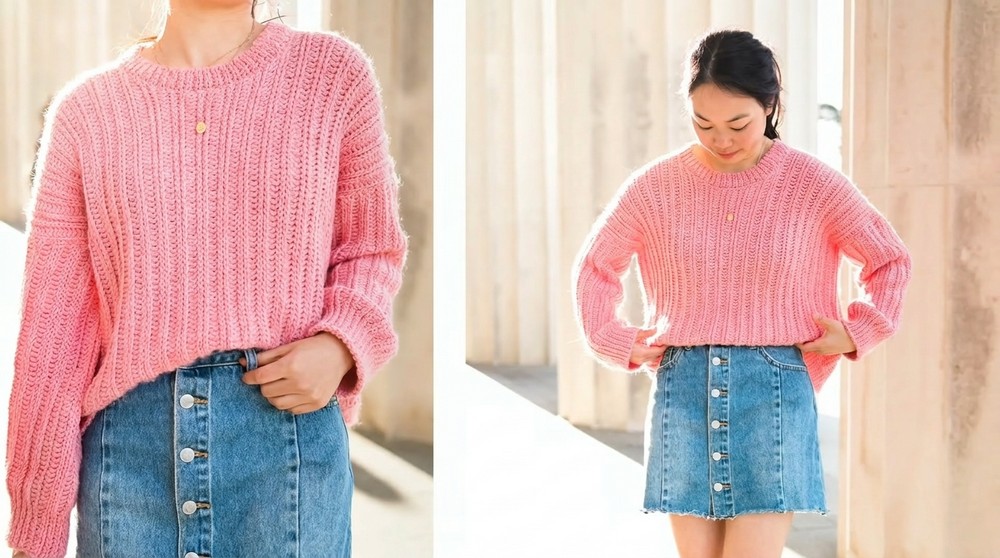
Feel cozy in cool weather with a Free Crochet Ribbed Sweater Pattern that gives you a soft sweater perfect for daily wear and simple style.
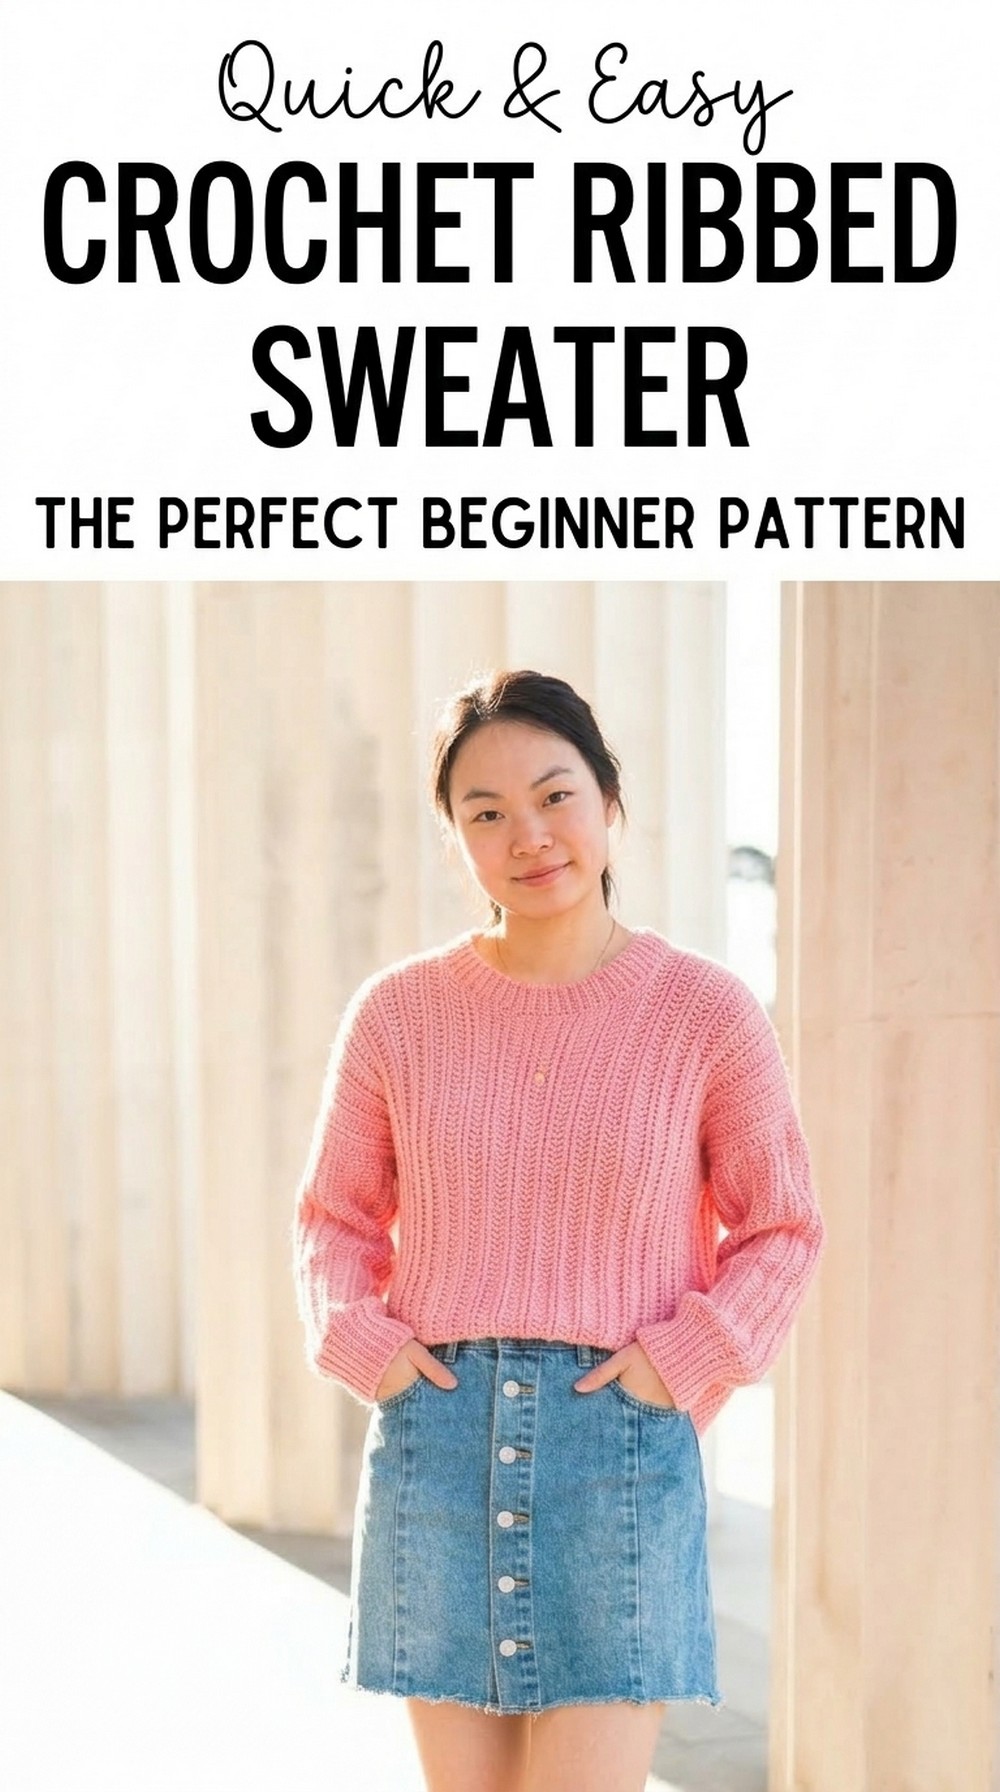
Free Crochet Ribbed Sweater Pattern that’s perfect for layering
If you want to make a cozy and stylish sweater that’s fun to crochet, this Free Crochet Ribbed Sweater Pattern is perfect for you. This sweater has a beautiful ribbed texture, making it stretchy, warm, and comfortable to wear.
It is made with lightweight yarn, so it’s soft and breathable, perfect for all seasons. The design is simple but looks modern, with panels worked lengthways to give it a sleek, unique look. The sweater comes in sizes ranging from extra small to 5XL, so anyone can make it fit just right. 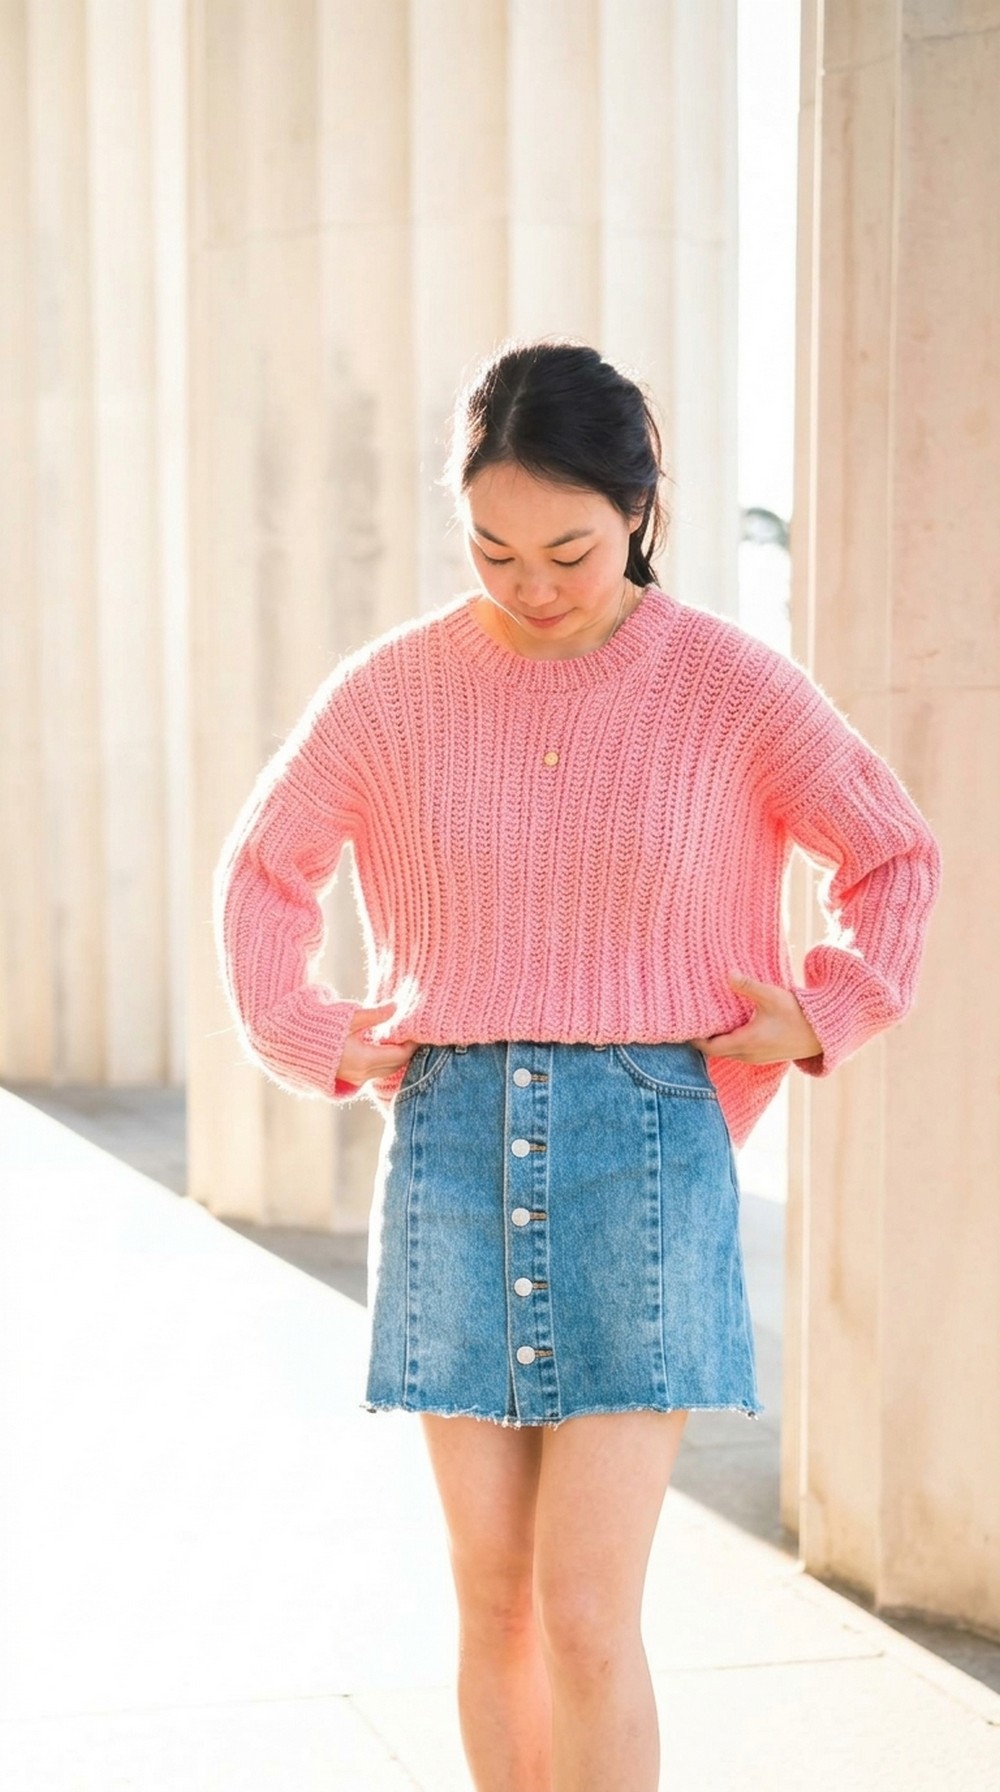
It has neat details like a ribbed neckline and cuffs that give it a polished finish. You can use this pattern to make the sweater for yourself or as a special gift for someone you love. With easy stitches and clear steps, this is a great project for both beginners and experienced crocheters.
Materials Needed
- Yarn: DK or Light #3 weight yarn
- Suggested: WeCrochet Andy and Treasure (Color: Dogwood Heather)
- Yarn quantities vary by size; refer to the blog post or approximate sizing table.
- Hook: 5mm crochet hook
- Additional Supplies:
- Darning needle
- Stitch markers or safety pins
- Scissors
- Optional: Blocking gear such as steam iron and blocking mats for a professional finish.
Key Techniques
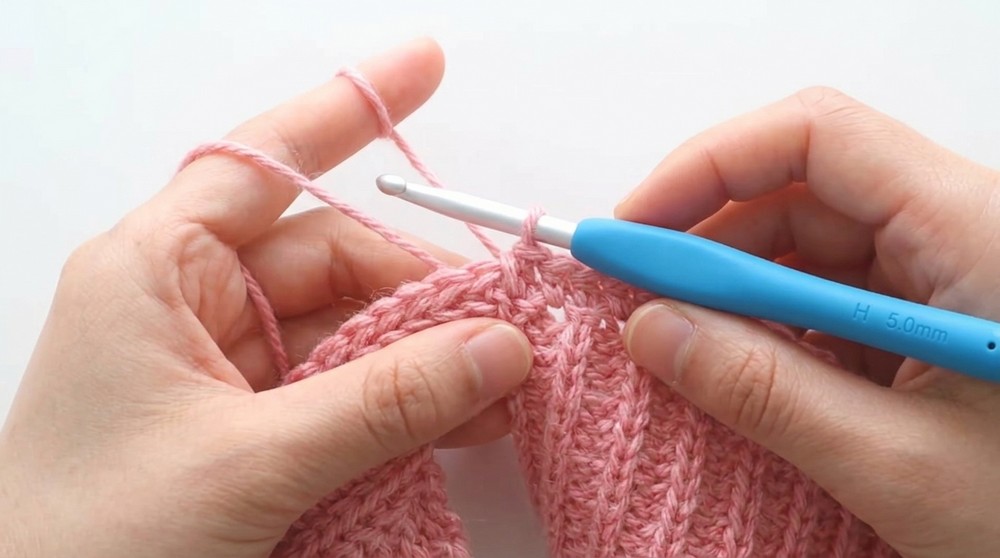
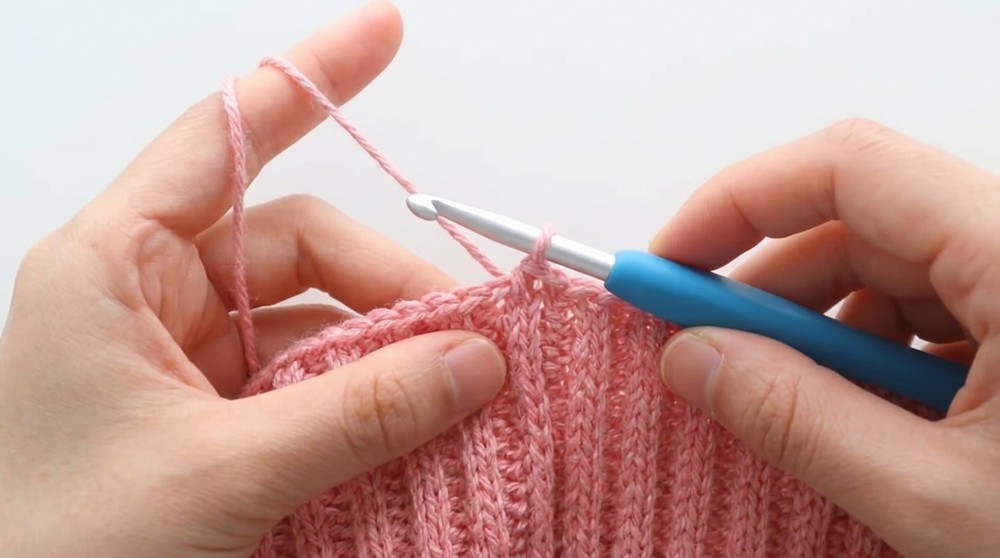
- Back Loop Slip Stitch: A key feature of this design which creates ribbing.
- Insert hook through the back loop (furthest loop from you) of each stitch; yarn over, pull loop through stitch, and then pull through on the hook.
- Back Loop Double Crochet: Ensures the sweater’s ribbed texture runs lengthways.
- Yarn over, insert hook into the back loop, yarn over again and pull up a loop, yarn over, pull through two loops; repeat until complete.
- Whip Stitching: Used for joining panels and sleeves. Always work evenly for a neat seam.
Pattern Overview
The sweater consists of three main parts:
- Front Panel
- Back Panel
- Sleeves
Both panels are worked lengthwise with a repeated sequence of slip stitches and double crochet rows, creating the ribbed appearance. The sleeves feature tapering and cuff shaping for added structure.
Pattern Instructions
Back Panel
- Begin with a slip knot, and chain 78 (this foundation chain will be equal to the length of the sweater).
- Row 1: Double crochet into the third chain from the hook. Continue double crocheting across the row. You should end with 76 stitches.
- Row 2: Chain 1, slip stitch into the back loop of each stitch across.
- Rows 3–4: Repeat Row 2.
- Row 5: Chain 2; double crochet into the back loop of each stitch across.
- Repeat Rows 2–5 until you reach Row 93.
- Once completed, fasten off and set aside.
Front Panel
- Follow the same instructions as the back panel until the end of Row 34.
- At Row 34 (when starting neckline shaping):
- Chain 1, back loop slip stitch across until 9 stitches are left (67 total stitches remaining).
- Row 2 (Neckline Shaping): Chain 1, back loop slip stitch in each stitch to the end of the row.
- Row 3: Chain 2, back loop double crochet in each stitch.
- Row 4: Repeat base slip stitch row (Row 2).
- Continue following instructions for shaping, adjusting stitches as noted:
- Reduce stitches to create neckline decreases (Rows 5–14).
- Increase stitches gradually until reaching original count (Rows 16–27).
- Return to the original ribbing pattern (Rows 2–5) and complete until Row 93.
- Fasten off.
Sleeves
- Start with a slip knot and chain 69.
- Row 1: Slip stitch into the second chain from the hook; slip stitch the next 11 stitches, then double crochet across the remaining chains (68 stitches total).
- Rows 2–4: Repeat the back loop slip stitch row.
- Row 5: Chain 1; work 12 back loop slip stitches, then back loop double crochet across remaining stitches.
- Rows 2–5: Repeat until Row 57.
- Fasten off.
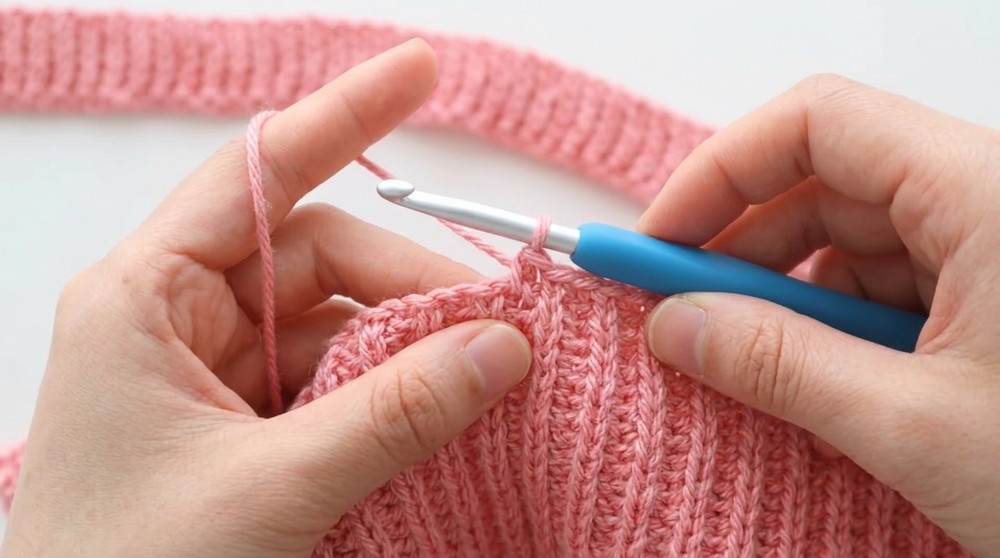
- Assemble the sleeves by folding them lengthwise, ensuring the wrong side is facing out. Seam the long edge with a whip stitch. Repeat for the second sleeve.
Assembly
- Lay the front panel on top of the back panel, ensuring the wrong side faces outward.
- Use a whip stitch to join the shoulder seams.
- Ensure ribbing aligns across seams for a polished look.
- Whip stitch the side seams, leaving gaps for the sleeves.
- Attach sleeves using a whip stitch along the armhole gaps.
Finishing Touches
Neckline Ribbing
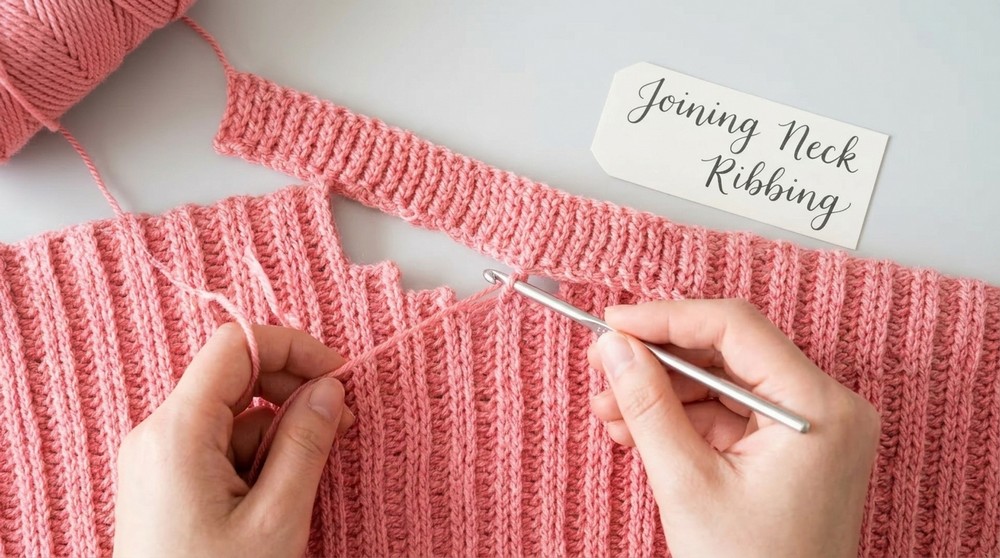
- Create a slip knot and chain 7.
- Row 1: Slip stitch into the second chain from the hook; slip stitch into each remaining chain (6 stitches total).
- Row 2: Chain 1, work back loop slip stitches across the row (6 stitches).
- Repeat Row 2 until ribbing equals the circumference of the neckline (approximately 41 cm/16 inches).
- Attach ribbing with a whip stitch seam to the neckline, ensuring even placement.
Optional Hemline Ribbing
- Follow the same procedure for bottom edge ribbing but start with 9 chains to form a slightly wider ribbing (8 stitches total).
- Join ribbing along the hemline and fasten neatly.
Final Tips
- Blocking: Steam block your panels before assembly to achieve smooth edges and proper shape.
- Alignment: Always check ribbing is aligned on shoulders and seams for a professional finish.
- Maintenance: Handwash or use gentle cycles with cold water to maintain the sweater’s texture and durability.
Final Words
This ribbed crochet sweater pattern combines function and style with intricate ribbing that falls lengthwise, forming a flattering and structured texture. The adaptable sizing and detailed instructions allow you to crochet a garment that fits perfectly while showcasing your crochet skills. Whether you’re making this sweater for yourself or gifting it, the final result is cozy, chic, and handmade with care.