
Celebrate the holiday season by making festive Crochet Christmas Bows that add a charming and handmade touch to your decorations and gifts.
With the holidays coming, I wanted to add something special to my decorations. That’s when I found the Crochet Christmas Bows for help on the Suenos en hilo channel. These cute bows are simple to make and bring a cozy feel to any holiday space.
Mini Crochet Christmas Bows Pattern for Christmas Decor
Crochet Christmas Bows for help are soft yarn bows with a little twine in the middle. They look warm and classic, great for hanging on Christmas tree, wreaths, or tying to gifts to make them extra nice. Their cozy look makes any room feel more festive.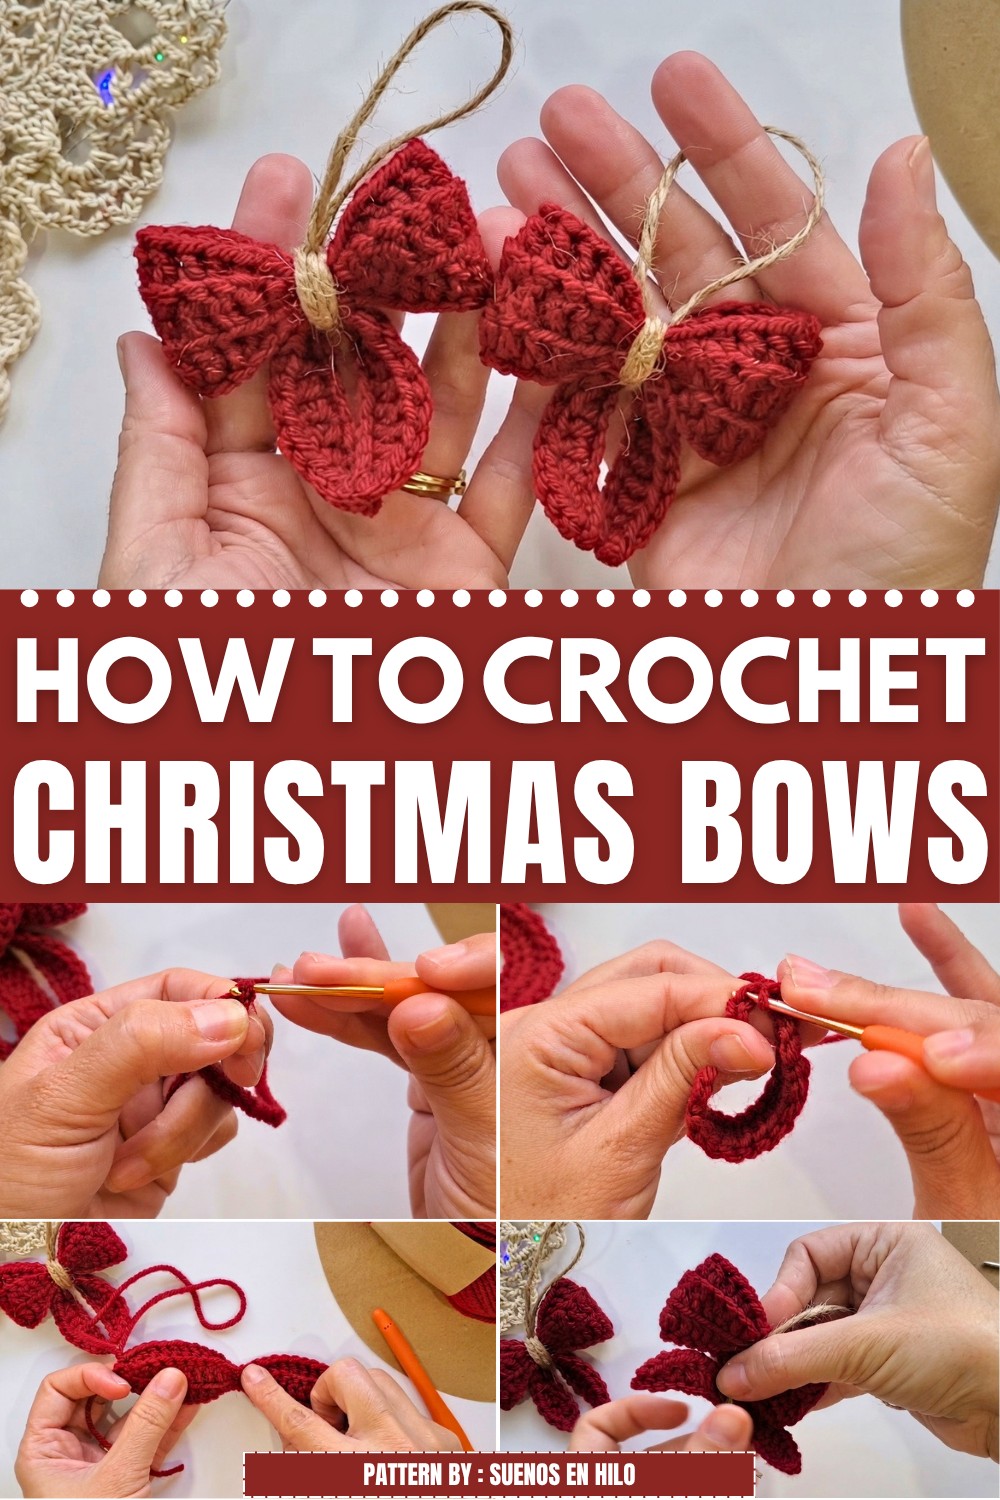
I like that these bows are easy to change too. You can pick different colors or sizes to fit your style. They aren’t just decorations — they can also be small gifts that show you care.
The Suenos en hilo channel shows each step clearly in the video (Link is below), so it’s easy for anyone to follow along. This little project is a nice way to add some holiday cheer around your home.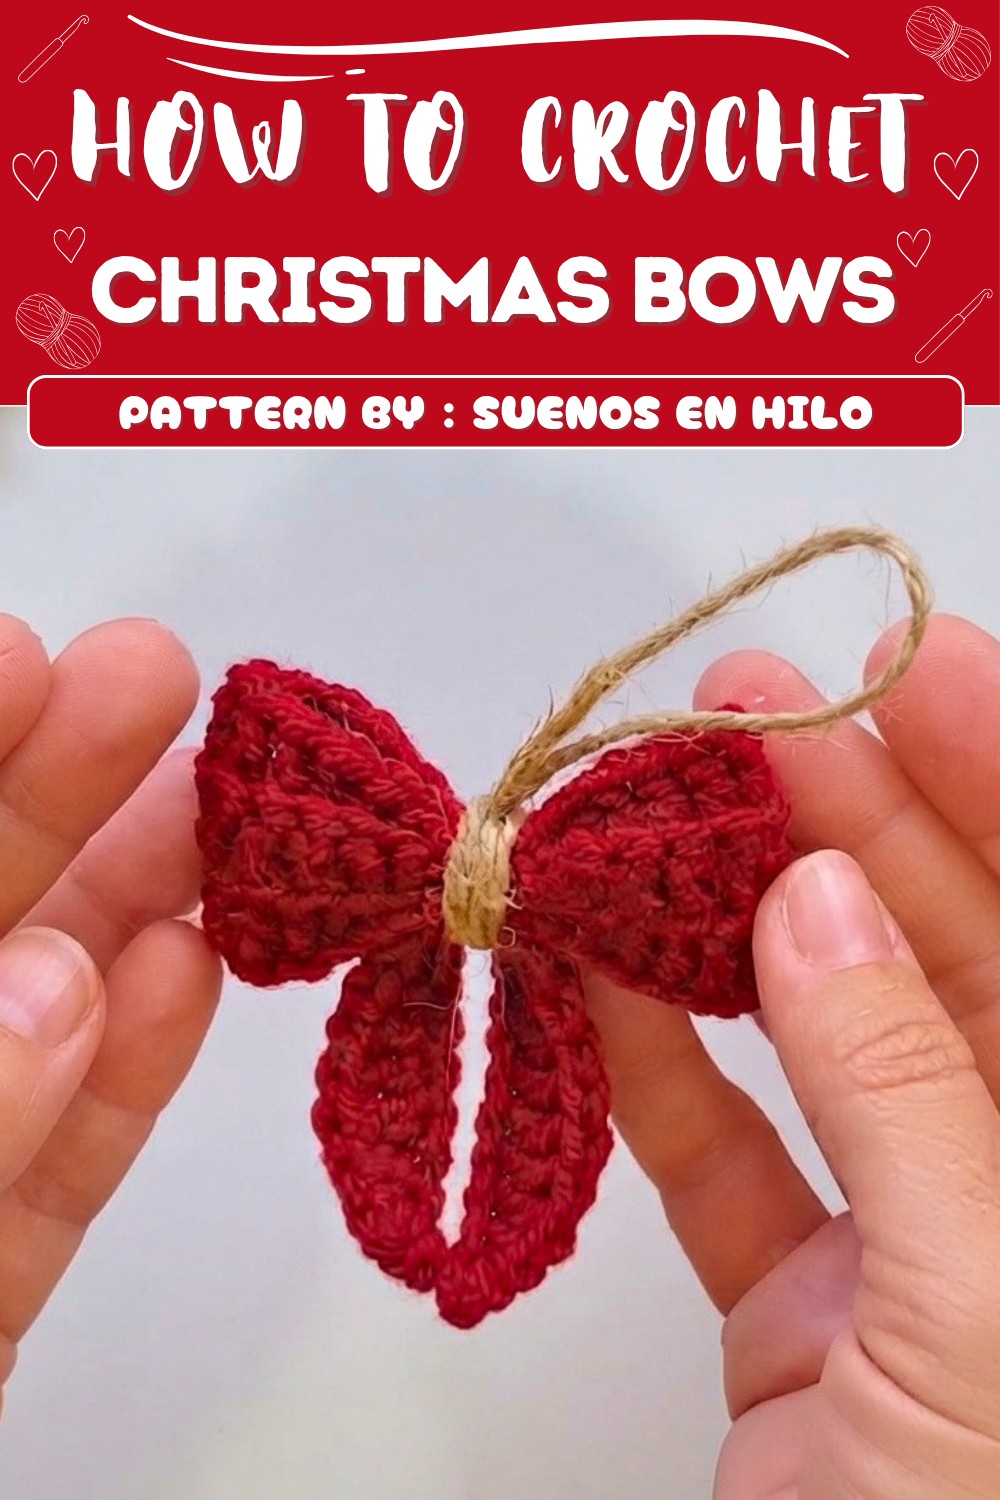
If you want to try these lovely bows, take a look at the free pattern on the Suenos en hilo channel. It’s a simple way to add something special this season!
Crochet Christmas Bow Ornament Pattern
This pattern features a charming crochet bow ornament, perfect for adorning your Christmas tree. The bow is created through simple foundational stitches and shaped with repetitive rows for structure. The center is cinched and tied with rustic jute for a classic finishing touch and hanging loop, giving the piece both beauty and function. The detailed instructions below guide you through every step, ensuring a neat and festive outcome.
Pattern Basic Points
– Bow Structure
- The main bow is made with three rows of shaped stitches, utilizing slip stitches, single crochets, half double crochets, and double crochets for a gentle curve and definition.
- Each row alternates between working in front loop only, and back loop only, to add subtle texture.
– Bow Tail
- A separate smaller segment is crocheted for the hanging “tail,” giving the bow its complete holiday look.
– Center Wrap & Hanging Loop
- Jute thread is used to tightly wrap the center, shaping the bow and also providing the strength to create the pendant loop.
– Seamless Assembly
- The bow and tail are joined securely, threads are neatly hidden, and the wrap is finished off with a knot.
Special Notes
- Pay careful attention to which loops you work into on each row for proper texture and shaping.
- The bow can be customized in color; metallic gold or silver threads work well for the center and loop for an added festive touch.
- Make sure your stitch count stays consistent from row to row to retain symmetry.
- Leave longer ends for sewing and wrapping if you use your main yarn for the bow’s center.
Skill Level
Beginner
This project uses basic stitches and techniques, making it accessible for those new to crochet. It is also suitable for intermediate crafters seeking a quick and decorative accessory.
Materials
- Red yarn (main bow) – medium weight recommended
- Jute thread (for center wrap and hanging loop)
- 3 mm crochet hook
- Scissors
- Tapestry/wool needle
Measurements / Sizing
- Bow width: Approximately 4–5 inches (10–13 cm)
- Bow tail length: Approximately 2–3 inches (5–8 cm)
- Center wrap width: 0.5 inch (1–1.5 cm)
- Hanging loop length: custom, as desired
Gauge (and Stitch Pattern if applicable)
- Gauge is not critical but maintain consistent tension for neatness.
- Stitches used: slip stitch, single crochet, half double crochet, double crochet.
- Rows alternate between working in front loop only and back loop only.
Stitch Abbreviations
| Abbreviation | Stitch |
|---|---|
| ch | chain |
| sl st | slip stitch |
| sc | single crochet |
| hdc | half double crochet |
| dc | double crochet |
| FLO | front loop only |
| BLO | back loop only |
Special Stitches
- Slip Stitch (sl st): Insert hook, yarn over, pull through both loops.
- Half Double Crochet (hdc): Yarn over, pull up a loop, yarn over, pull through all three loops.
- Double Crochet (dc): Yarn over, pull up a loop, yarn over, pull through two loops, yarn over, pull through two remaining loops.
Pattern
Main Bow
Round 1:
- Make a slip knot.
- Ch 30.
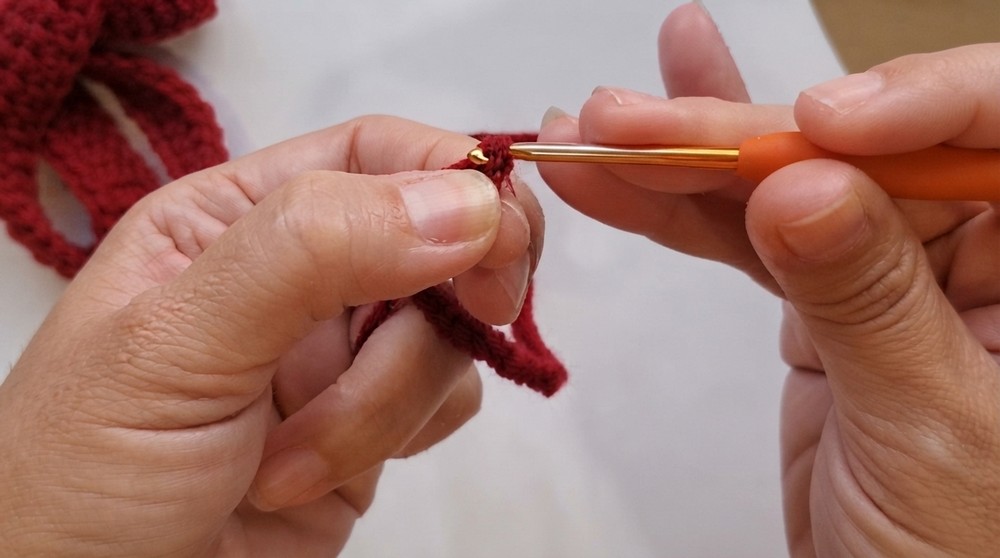
- Ch 1 additional for height.
- Begin in the 30th chain (second chain from hook).
- Work as follows:
- Sl st in first st.
- Sl st in second st.
- Sc in third st.
- Hdc in fourth st.
- 7 dc in next 7 st.
- Hdc in following st.
- Sc in next st.
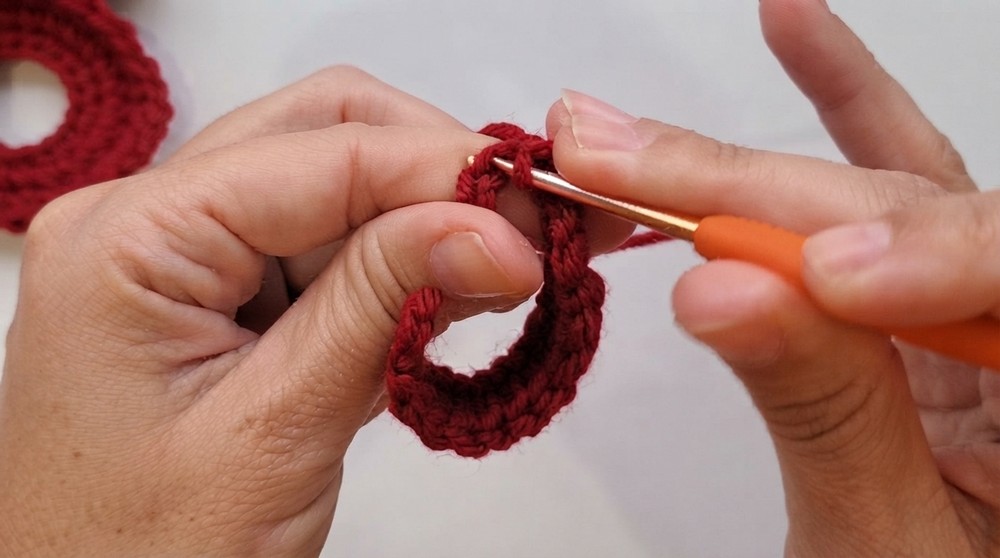
- 2 sl st in next 2 st.
- Repeat sequence to the end:
- 2 sl st, 1 sc, 1 hdc, 7 dc, 1 hdc, 1 sc, 2 sl st.
- At end, ch 1, turn.
Round 2 (FLO):
- Work only in front loop of each stitch.
- Repeat identical sequence as Round 1:
- Sl st, sl st, sc, hdc, 7 dc, hdc, sc, 2 sl st.
- Repeat for second side.
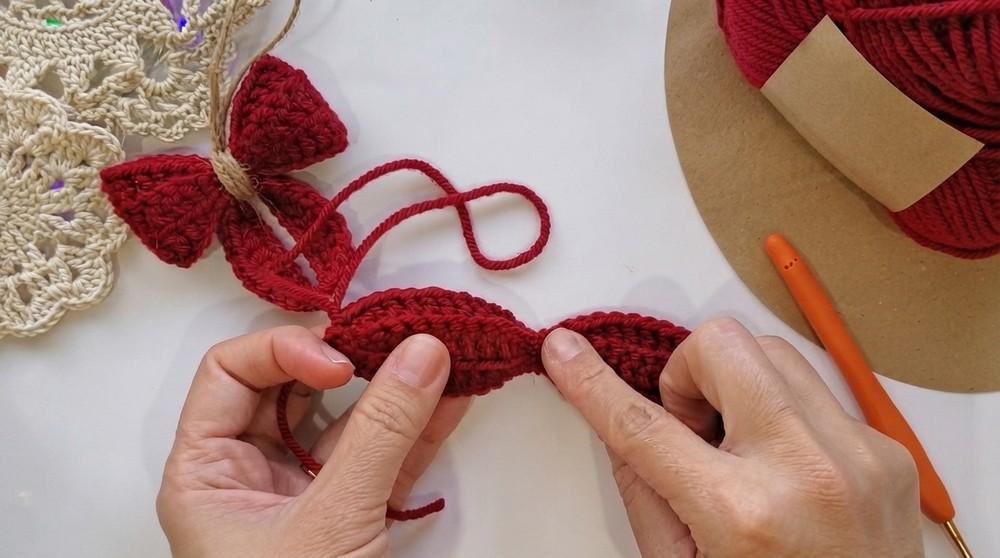
- Ch 1, turn.
Round 3 (BLO):
- Work only in back loop of each stitch.
- Repeat same sequence as previous rounds:
- Sl st, sl st, sc, hdc, 7 dc, hdc, sc, 2 sl st.
- Mirror for second side.
- Cut thread, leaving a longer end if you plan to use main yarn for wrapping (optional).
Bow Tail
Round 1:
- Make a slip knot.
- Ch 20.
- Begin in second chain from hook.
- Work the following sequence:
- Sl st in first st.
- Sc in next st.
- Hdc in following st.
- 13 dc in next 13 st.
- Hdc in next st.
- Sc in following st.
- Sl st in final st.
- Cut thread.
Assembly & Finished Size
- Hide all yarn ends on the back of each piece using a tapestry needle.
- Place the tail behind the bow, so the chains form the lower edge.
- Thread remaining yarn end onto tapestry needle and sew tail securely to bow, making sure textured ridges face outward.
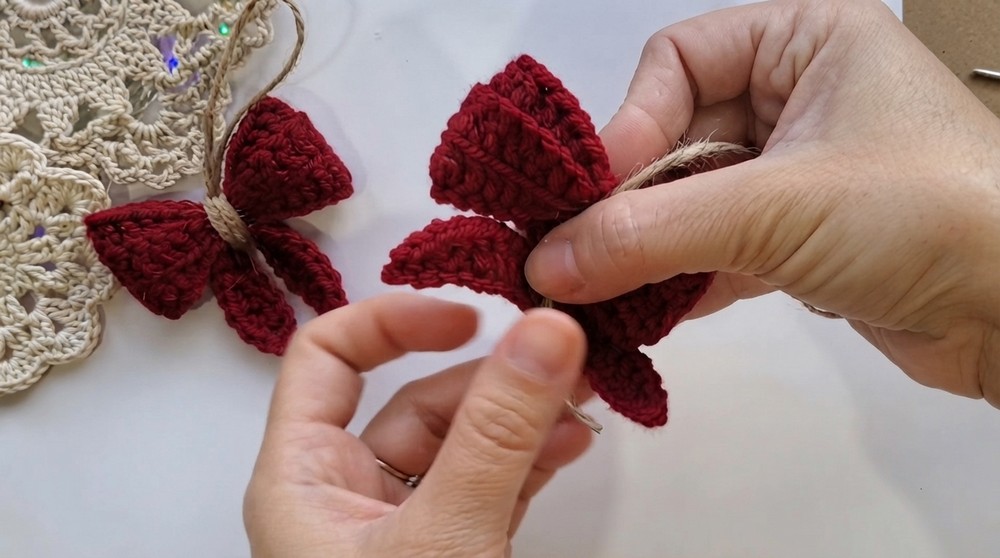
- Place bow and tail flat, then use jute thread to wrap tightly around the bow’s center, creating defined sections.
- Knot the jute to hold wraps in place, leaving a tail for hanging.
- Pass the hanging thread between the knot and the bow for a pendant loop, knot again and hide thread in the back.
- Adjust bow for symmetry and fullness, ensuring wraps are snug and located at the true center.
Conclusion
This crochet Christmas bow pattern offers a festive and creative way to decorate for the holiday season. The easy sequence of basic stitches ensures a manageable project for beginners, while the textured details and neat shaping deliver professional results. With options for color and center thread, the ornament can be personalized to fit any decor style or tree theme. The assembly process ensures durability and classic style, making this bow a standout addition to your annual celebrations.
