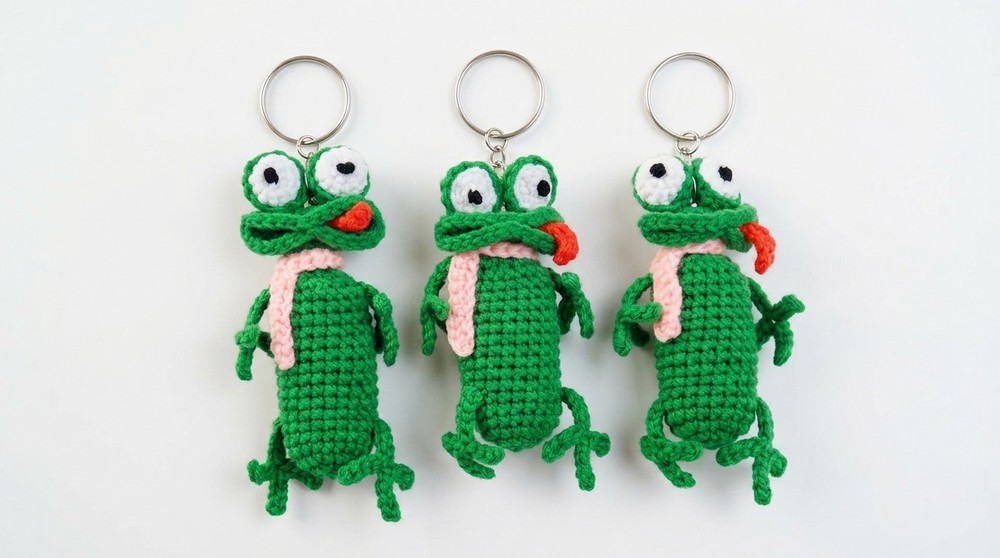
Let a happy little frog sit with your keys, brighten your day, and bring a big smile to your face with this super easy and fun free crochet frog keychain pattern.
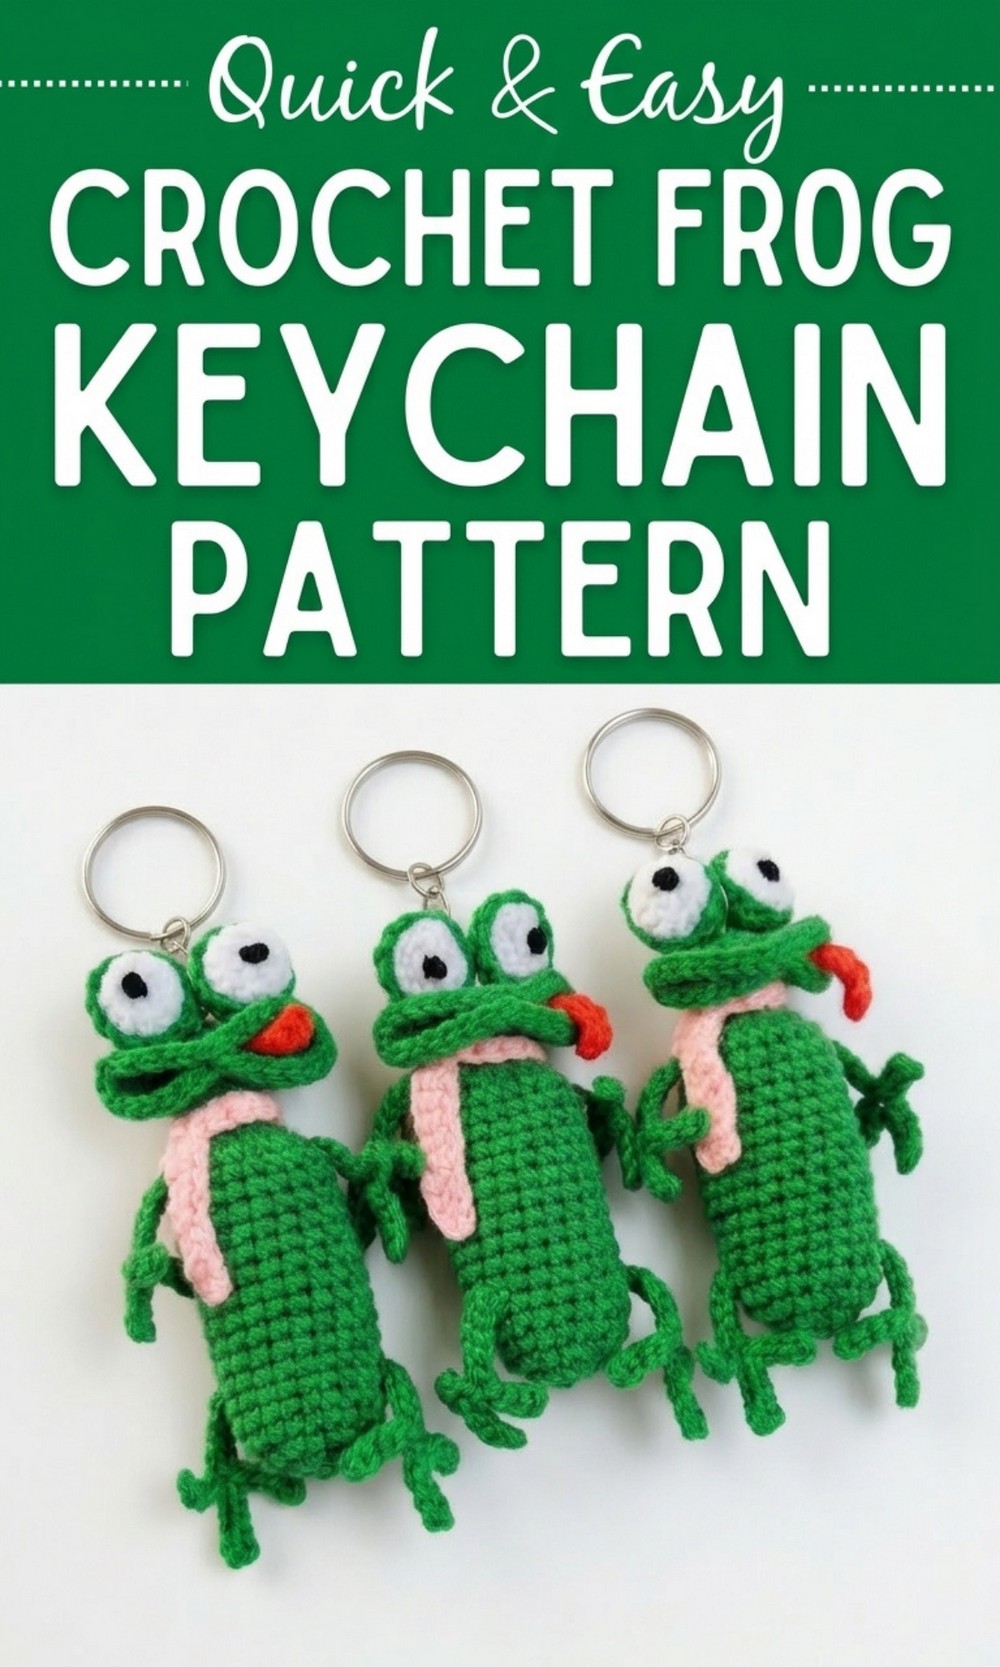
Make your own Free Crochet Frog Keychain for cheerful vibes
Hop into the world of creativity with this super fun and free crochet frog keychain pattern. This little frog is not just adorable but also super easy to make, making it a perfect project for beginners and crochet lovers lovers alike. With its big, cheerful eyes and a cute smile, this frog can bring a little joy wherever you go. You can use it to add a pop of color to your school bag, organize your keys, or gift it to someone special.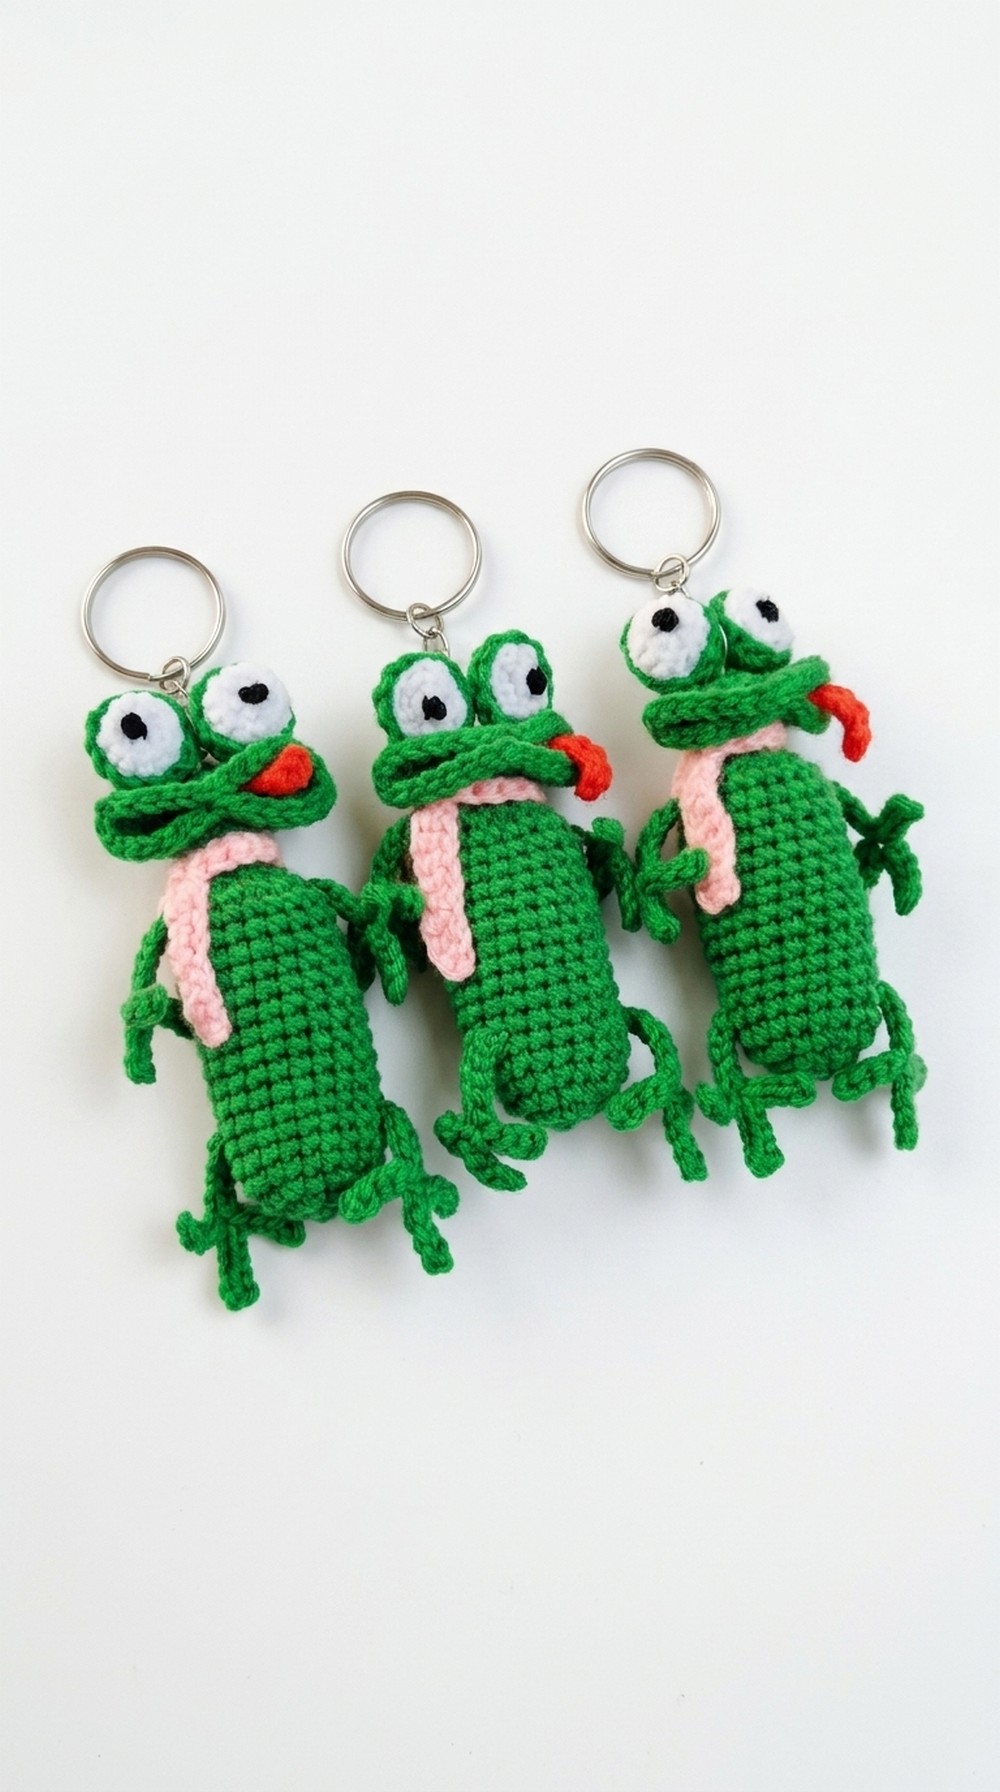
What makes it extra special is its fidget friendly design. This project uses colorful yarn and simple steps, and the results are as unique as they are practical. It’s fun to use, and perfect for anyone looking for a charming and playful project.
Cheerful Crochet Frog Keychain Pattern
Finished Size:
Approximately 2 inches (5 cm) wide and 3 inches (7.5 cm) tall (excluding keychain ring), depending on the yarn and hook used.
Materials Needed:
- 4 ply acrylic yarn (or equivalent) in the following colors:
- Light Green (main body)
- Light Pink (scarf)
- White (eyes)
- Red (tongue)
- Black (eye details or optional safety eyes)
- Size 2.5 mm crochet hook
- Polyfill stuffing/cotton (for filling the body and securing the clip)
- Ribbon clicker clip (approximately 2 inches or 5 cm in size)
- Keyring (optional, for keychain attachment)
- Sewing needle
- Beads for eyes (optional) or safety eyes—if available, use instead of black yarn.
- B7000 glue or an equivalent, for attachment (optional—most assembly can be done with sewing).
- Scissors
Gauge:
Gauge is not critical for this project. However, ensure your stitches are tight enough to prevent stuffing from showing through.
Special Techniques Used:
- Magic Ring (MR): Wrap yarn around two fingers to create a loop. Insert hook, pull through a loop, and chain 1 to secure the circle.
- Single Crochet (SC): Insert hook into stitch, yarn over, pull up a loop, yarn over, pull through both loops on the hook.
- Increase (Inc): Work 2 single crochets into the same stitch.
- Decrease (Dec): Insert hook into the front loop of two stitches, yarn over, pull up a loop, yarn over, pull through all loops.
- Slip Stitch (Sl St): Insert the hook into the stitch, yarn over, and pull through both loops.
- Basic Sewing/Stitching Techniques: To join pieces using yarn and a needle.
Pattern Instructions:
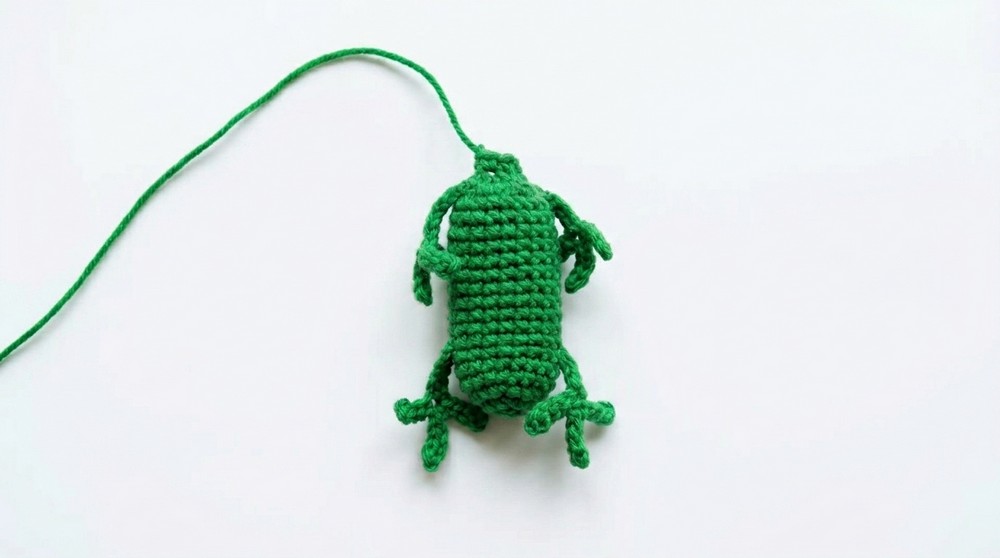
Body (Start with the main body in light green):
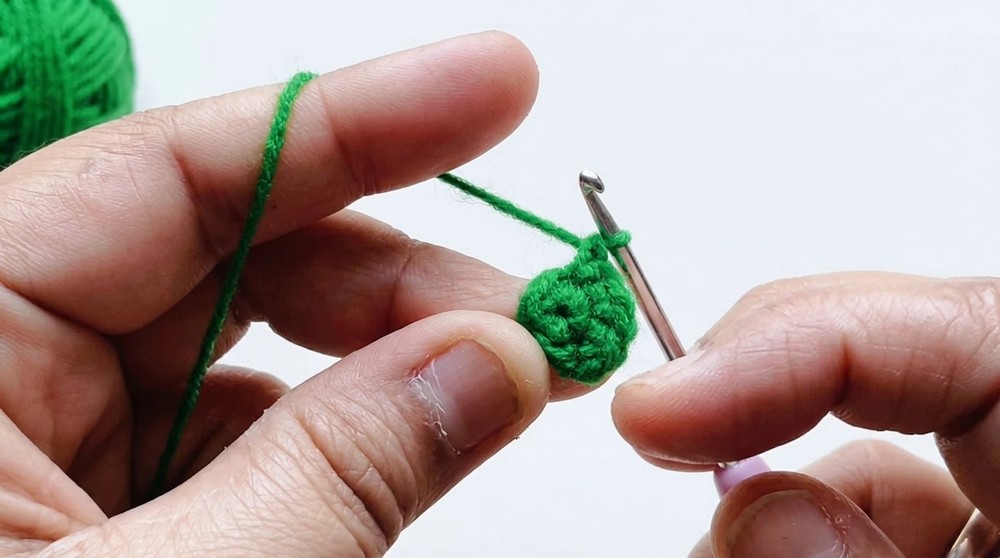
- Round 1 (Base):
- Start with a magic ring (MR).
- Work 6 SC into the magic ring.
- Pull the tail to close the ring and join with a Sl St to the first SC. (6 SC)
- Round 2 (Increase):
- Ch 1 (does not count as a stitch).
- Work 2 SC in each stitch around.
- Join with a Sl St to the first SC. (12 SC)
- Round 3 (Inc Pattern):
- Ch 1.
- Work 1 SC in the first stitch, then 2 SC in the next stitch (repeat across).
- Join with a Sl St. (18 SC)
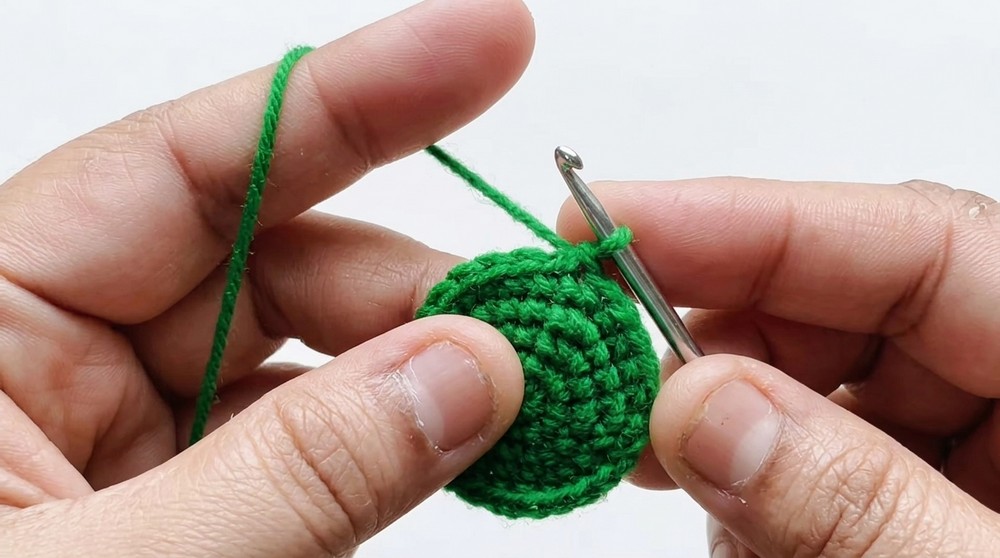
- Rounds 4 to 17 (Build Height):
- Ch 1 at the start of each round.
- Work 1 SC in each stitch around.
- Join with a Sl St at the end of each round. (18 SC)
- Tip: Lightly stuff the body as you go using polyfill or cotton.
- Round 18 (Decrease):
- Ch 1.
- Follow the pattern: 1 SC, Dec (repeat across). (12 SC)
- Round 19 (Final Decrease):
- Ch 1.
- Work Dec across every 2 stitches. (6 SC)
- Stuff the body completely and add the clicker clip.
- Round 20 (Seal the Bottom):
- Ch 1. Work SC in each stitch around to secure the clip inside the stuffed body.
- Fasten off, leaving a long tail for sewing.
Head (Light Green):
- Follow Rounds 1 to 5 of the body pattern. This will create a smaller spherical shape.
- Stuff lightly and attach the head to the body using the long tail.
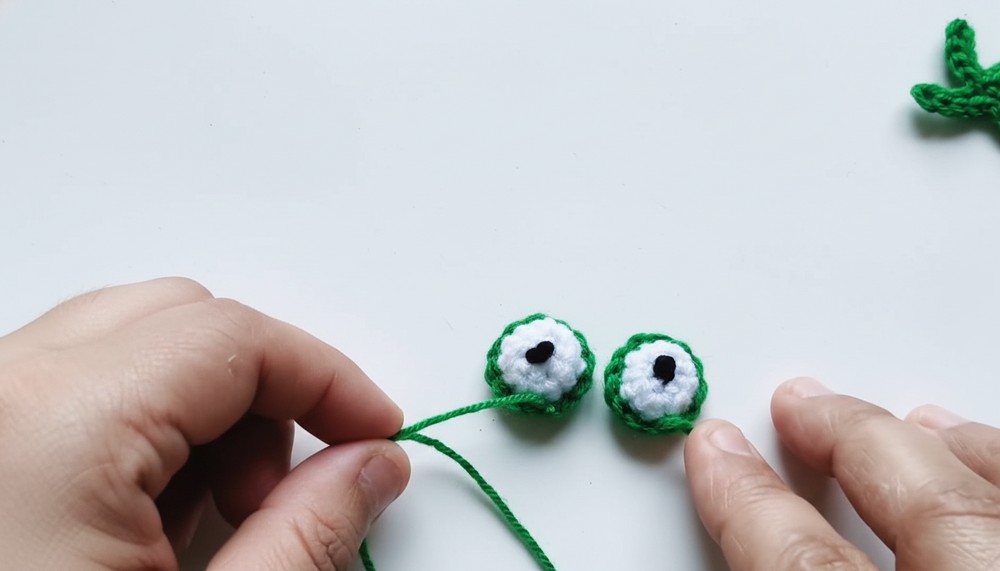
Eyes (Make 2—Green and White Parts):
Green Part:
- Start with an MR.
- Work 6 SC into the ring. Join with a Sl St. (6 SC)
White Part:
- Follow the same instructions as the green part but only complete Rounds 1–2 (or stop at 12 SC). This will keep the white part smaller.
- Use black yarn (or safety eye) for the dot. Use a simple embroidery stitch or wrap yarn around 3to 4 times to create a small, tight knot.
- Glue or sew the white part on top of the green part to assemble the eyes.
Legs (Make 4—Green):
- Leave a long tail for sewing and Ch 10.
- Starting in the 2nd Ch from the hook, work Sl St in the next 4 stitches to create the first toe.
- Ch 5 (toe 2), then work Sl St in the next 4 stitches.
- Repeat for the third toe.
- Slip stitch back down the chain to connect the toes.
- Fasten off, leaving a long tail for sewing.
Tongue (Red):
- Ch 8.
- Starting from the 2nd chain from the hook, work 1 SC in each stitch across.
- Fasten off, leaving a long tail for sewing.
Scarf (Light Pink):
- Ch 30 (adjust depending on your desired length).
- Work 1 SC in every chain starting from the 2nd chain from the hook.
- Fasten off, leaving a long tail for sewing/attachment.
Assembly:
- Attach Legs: Use the long tail on each leg to sew them to the body, placing the front legs slightly above the back legs.
- Attach the Head: Sew the head onto the top of the body securely with a few stitches around the edges.
- Add Eyes: Sew or glue the eyes onto the head evenly spaced apart.
- Sew the Tongue: Position the tongue below the eyes, letting it hang slightly out.
- Attach the Scarf: Wrap the scarf around the neck and sew the ends together or glue them for a snug fit.
- Add Keychain: Sew or attach the keyring to the top of the frog for portability.
Customization Ideas:
- Change Colors: Experiment with bright or pastel colors for a unique look.
- Add Accessories: Create a mini hat or tiny bow tie for added charm.
- Scale Pattern: Use larger hooks and thicker yarn to create a bigger fidget frog.
Tips for Success:
- Always stuff lightly but firmly, ensuring the frog retains its shape without bulging.
- Use a steady stitch tension for an even finish.
- If using glue, only apply small amounts to avoid stiffening the fabric.
Conclusion:
With its adorable design and fun clicker sound, this Crochet Clicker Fidget Frog is a fantastic project suitable for crocheters of all skill levels. It’s perfect as a keychain, gift, or desk companion.