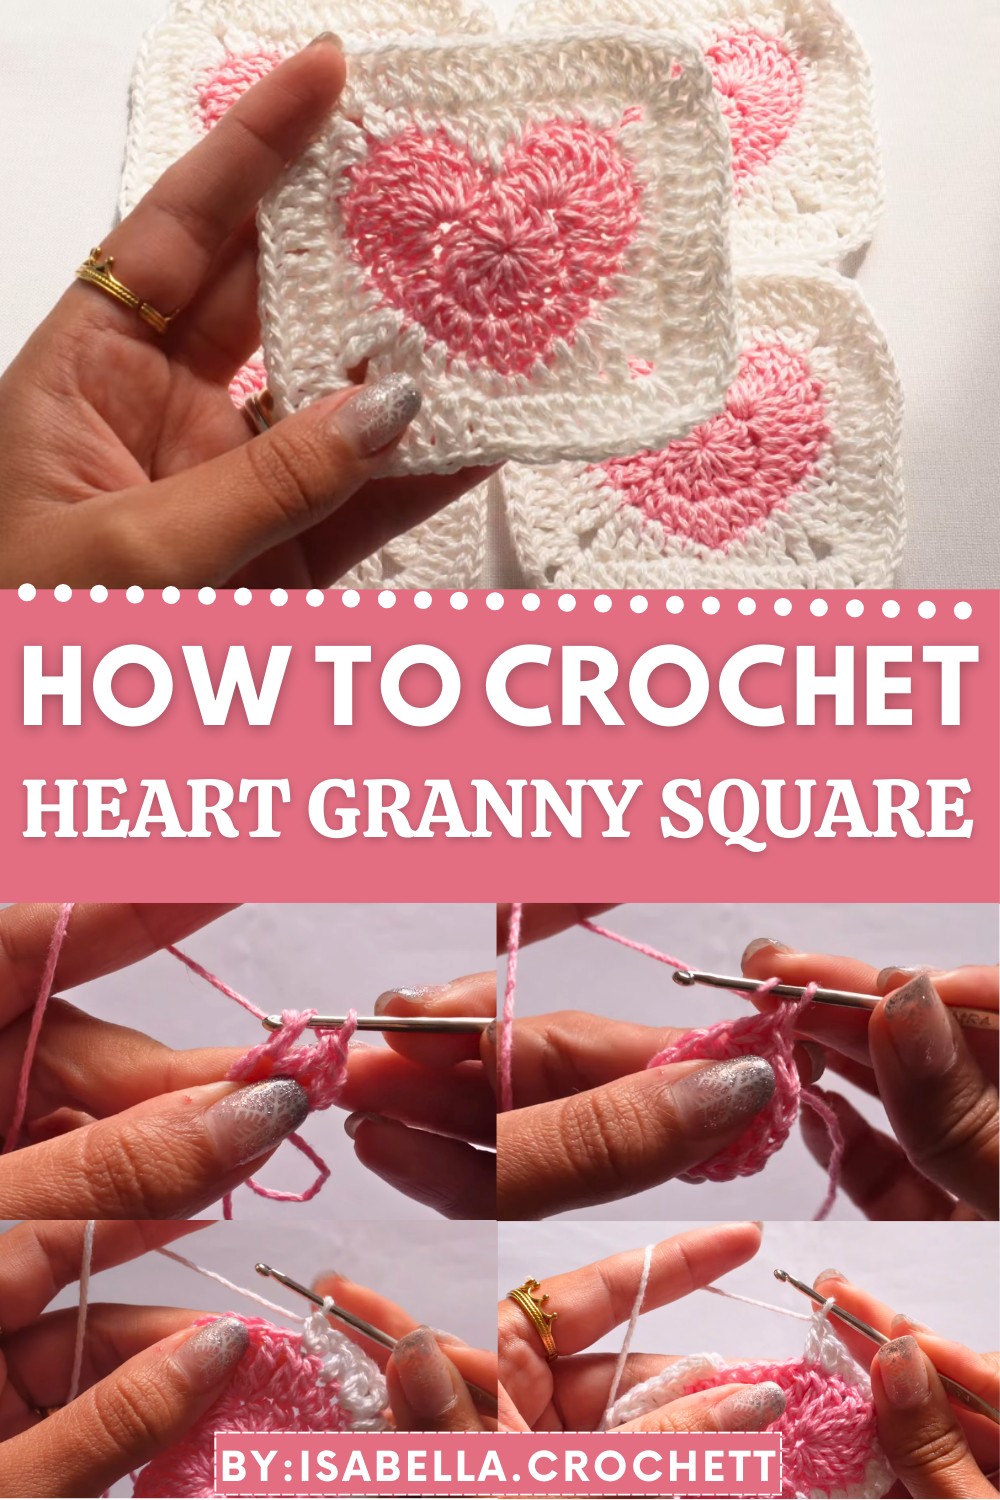
Add charm to your projects with this crochet heart granny square pattern which is for blankets, bags, or gifts that’s full of creative possibilities.
Adding a touch of love to your crochet projects with a timeless design that stands out beautifully. The Crochet Heart Granny Square pattern combines the simplicity of classic granny squares with the charm of a delicate heart at the center. Its captivating appearance makes it perfect for creating heartfelt gifts like blankets, cushions, bags, or even wall hangings.
Simple and Beautiful Heart Granny Square That Shine
Featuring a lovely balance of colors and intricate details, this pattern radiates warmth and coziness. Whether you’re decorating a nursery, crocheting for a special occasion, or adding personal flair to your space, the heart granny square brings happiness and meaning to every creation.
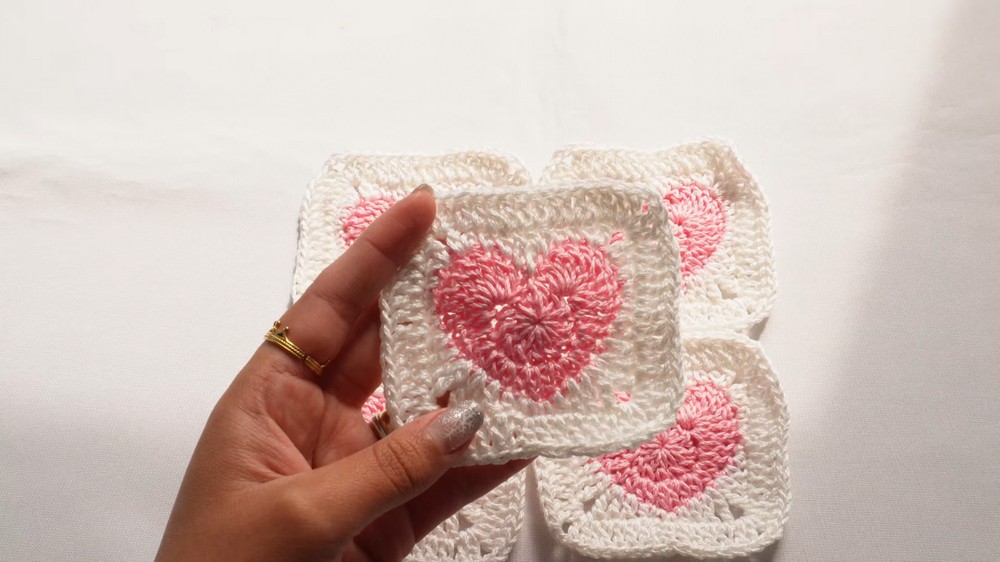
Its versatility allows you to mix and match colors effortlessly to suit any theme or mood. With its eye-catching design and endless uses, this delightful pattern turns every piece into a fun and thoughtful masterpiece, making it a favorite for crocheters of all skill levels.
Crochet Heart Granny Square Pattern
Materials Required
- Yarn:
- Type: Cotton, mercerized yarn.
- Brand (Optional): Omega (or any lightweight cotton yarn).
- Colors: Light pink (for the heart) and white (for the square base).
- Yarn Thickness: Thin yarn is recommended.
- Hook:
- Crochet hook size 2 mm.
- Additional Materials:
- Scissors: For cutting the yarn after rounds are completed.
- Measuring Tape (Optional): To ensure your square is uniform.
Abbreviations
| Abbreviation | Meaning |
|---|---|
| ch | Chain |
| sc | Single Crochet |
| hdc | Half Double Crochet |
| dc | Double Crochet |
| tr | Treble Crochet |
| sl st | Slip Stitch |
| inc | Increase (two stitches in one stitch) |
| sp | Space |
Special Technique
Magic Ring
This technique creates a secure and tight center for the beginning of your heart motif.
- Wrap the yarn around your fingers twice to form a ring.
- Insert the hook into the ring, grab the working yarn, and pull up a loop.
- Yarn over, pull through, and create a ch 1 to secure the ring.
- Work the first round’s stitches into the ring. Once complete, pull the loose end to tighten the ring.
Pattern Instructions
Step 1: Create the Magic Ring and Round 1
- Make a magic ring (refer to technique section).
- Inside the ring, ch 3 (counts as the first dc).
- Work 11 dc into the ring (total = 12 dc, including the initial ch 3).
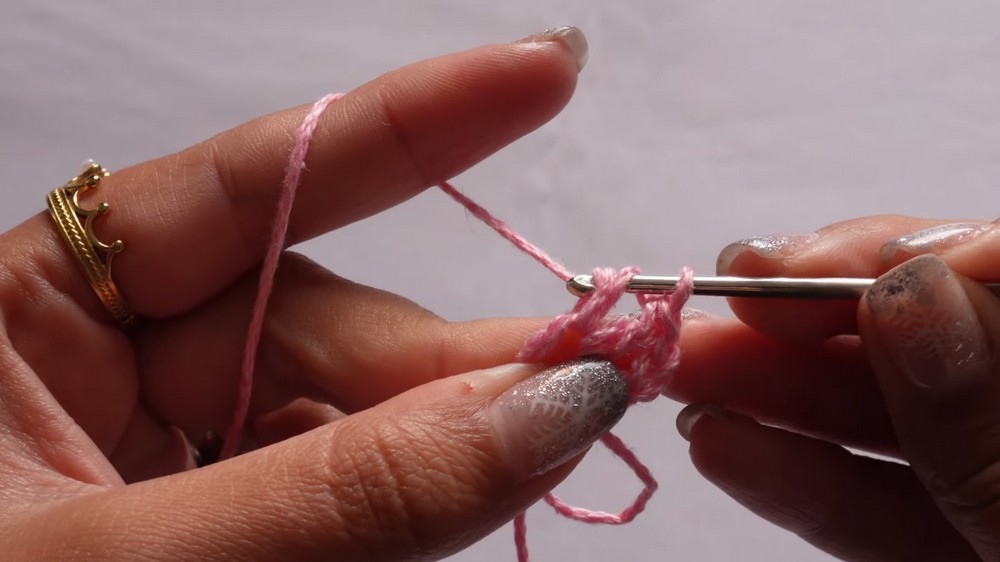
- Pull the loose tail to close the ring tightly.
- Join the round with a sl st into the 3rd chain of the starting ch 3.
Step 2: Round 2 – Shaping the Heart
- Start shaping the heart:
- Ch 3, then work 1 dc and 7 tr into the first st (this creates one rounded curve of the heart).
- 1 dc into the next st.
- Move to the next st:
- Work 1 dc and 1 hdc together in the same st.
- In the next st, work 2 hdc (increase).
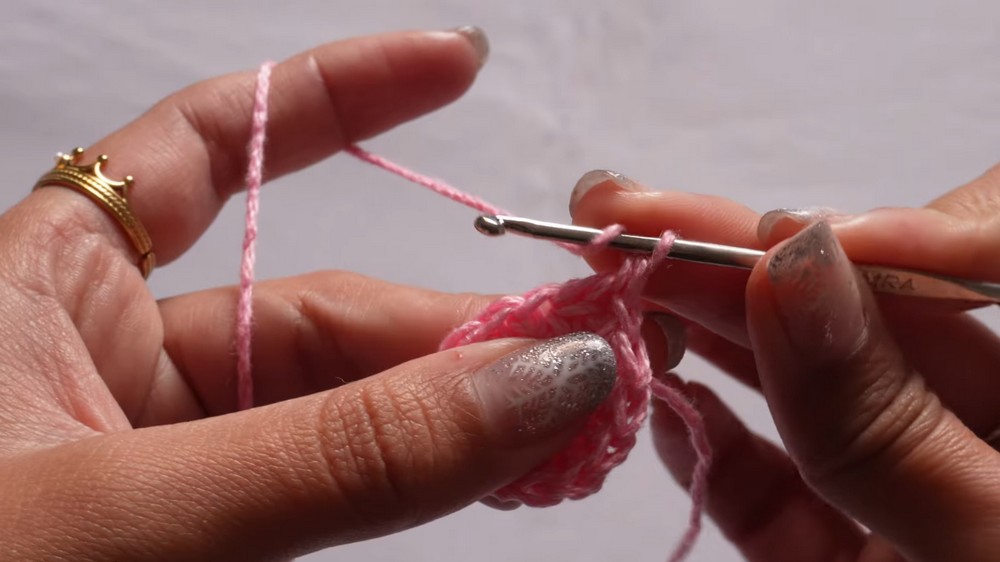
- Create the bottom point of the heart:
- Work 1 hdc and 1 dc in the same st to form the bottom point of the heart.
- Mirror the pattern:
- Repeat the steps in reverse to form the other half of the heart.
- 1 dc and 1 hdc in one st.
- 2 hdc in the next st.
- 1 hdc and 1 dc in the following st.
- Work 7 tr, 1 dc in the last st to complete the other curve.
- Close with a sl st at the center.
- Repeat the steps in reverse to form the other half of the heart.
- Fasten off the first color (light pink). Pull the yarn tightly and cut.
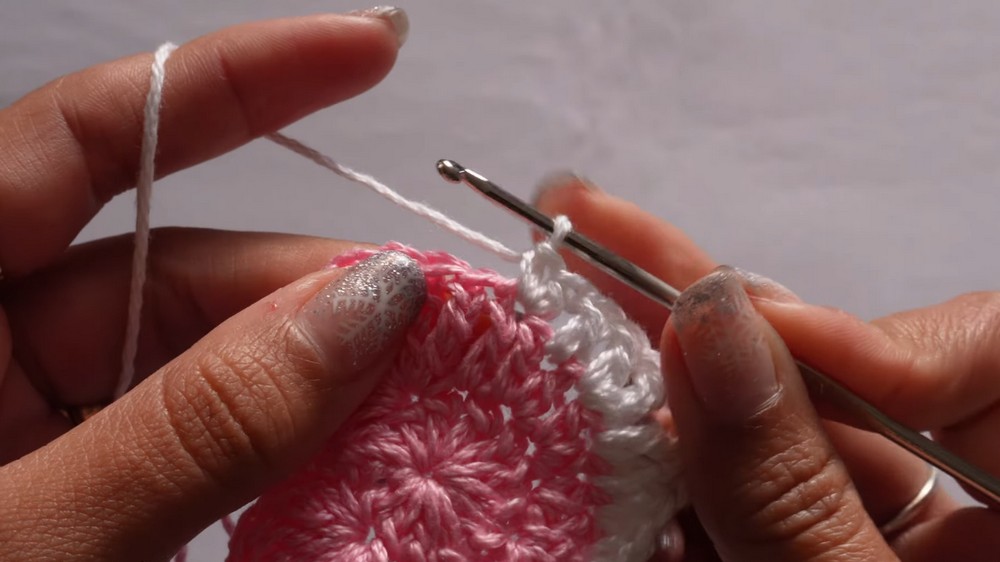
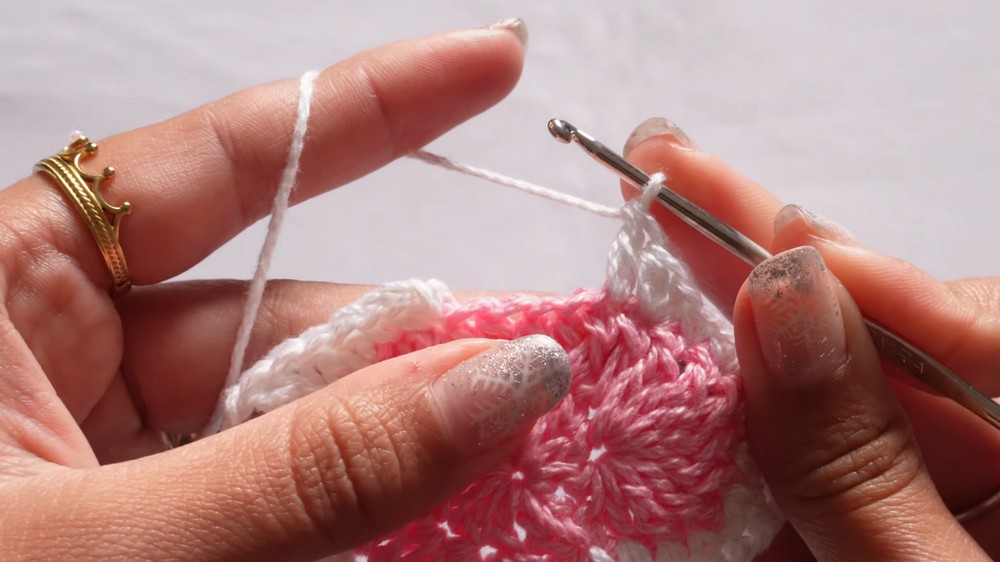
Step 3: Round 3 – Adding White Background
- Join the white yarn:
- Introduce the white yarn at the bottom point of the heart (center of the two middle stitches at the bottom).
- Tie two knots to secure it. Ch 1.
- Begin working sc into each st around:
- Work 1 sc in each st along the edges.
- Inside increases (e.g., corners), adjust with hdc or dc as follows.
- Work 1 sc in each st along the edges.
- For the rounded edges at the heart’s top:
- Work 1 hdc in the sides and 2 dc for smoother curvature.
- At the dip in the heart’s upper center, work an increase of 2 sc in the same st.
- Create corners for the square:
- On the outer edge (top/sides of the heart), work 2 dc + 3 ch + 2 dc to define corners.
- Continue sc along the remaining edges, working into every st.
- At the start-point of the round, join with sl st.
Step 4: Round 4 – Forming the Square Outer Border
- Ch 3 (counts as first dc):
- Work 1 dc in each st along flat sides.
- When reaching corners, work 2 dc + ch 2 + 2 dc into the ch-2 sp (corner space).
- Keep working around the square, maintaining consistent stitches along edges and corners.
- Join the round with sl st into the 3rd ch of the starting ch 3.
Step 5: Finishing the Heart Square
- Fasten off: Cut the white yarn and pull through the last loop to tighten.
- Hide Loose Ends: Use a smaller hook or needle to weave in all loose ends at the back of the square.
- Trim any excess yarn to tidy the piece.
Tips for Customization
- Size Adjustments:
- To enlarge the square, add additional rounds of dc around the edges, consistently working 2 dc + ch 2 + 2 dc in each corner.
- The heart size can also be adjusted by using thicker yarn and a larger hook.
- Color Variations:
- Use multiple colors for the heart and square background to create a gradient or ombre effect.
- Edging:
- Add a decorative border (like picots or scallops) around the square to give a polished, intricate look.
Finishing and Final Words
Congratulations on completing your beautiful crochet heart square! This versatile motif can be used in various projects such as throws, cardigans, tote bags, pillowcases, or even decorative wall hangings. The vibrant colors and heart detail add a playful yet elegant touch to your crafts.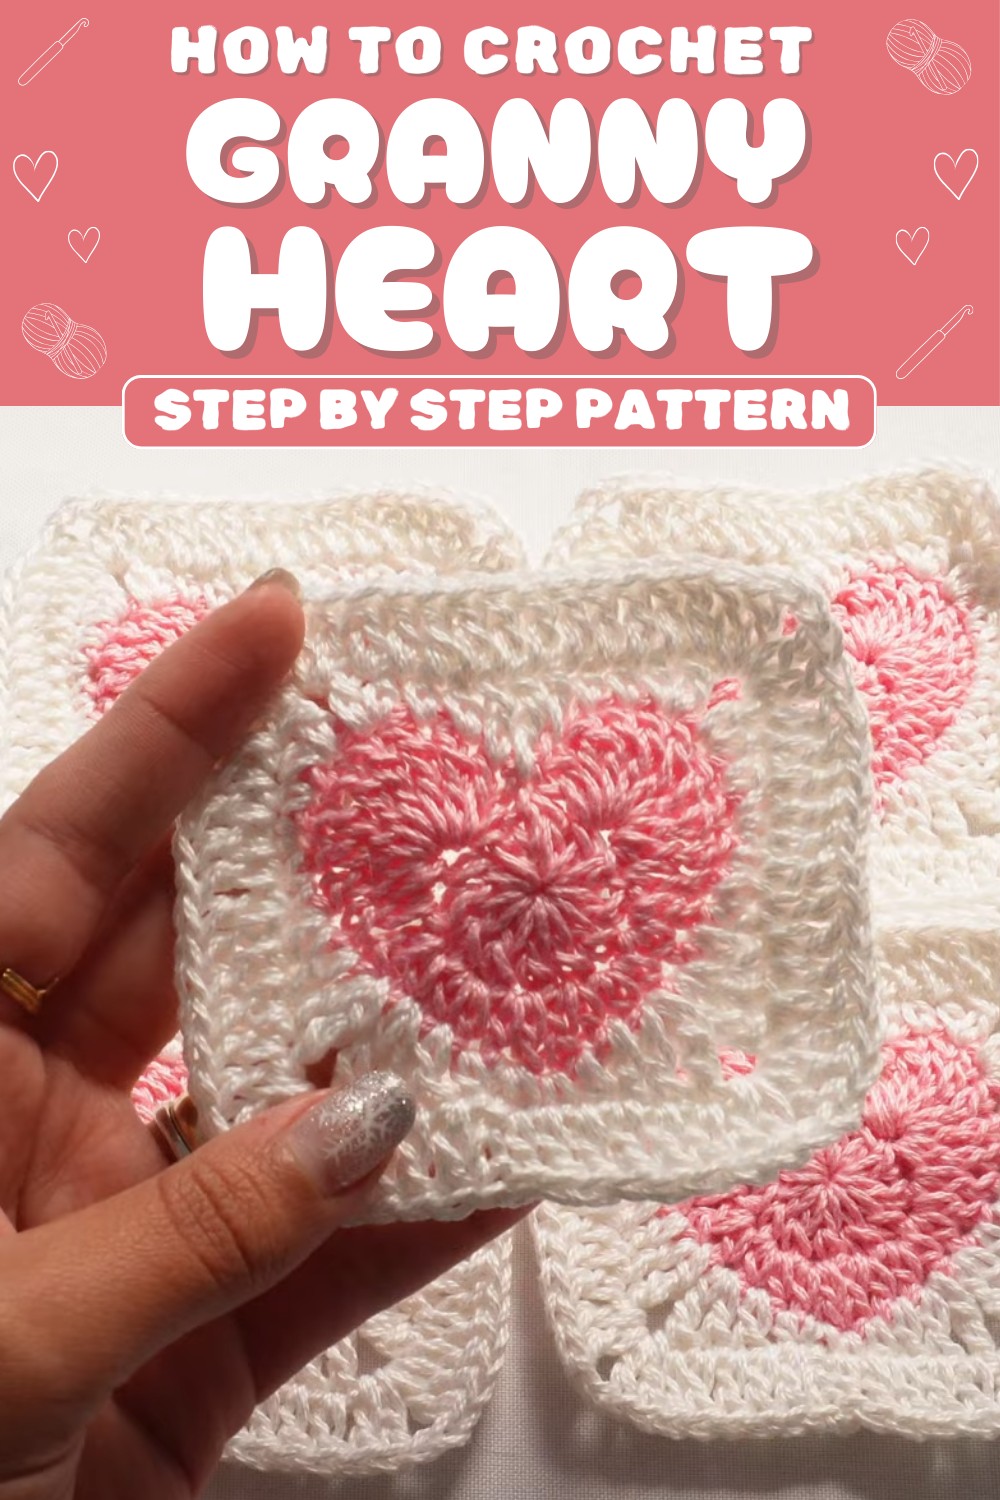
Maintenance Tips
- Handwash or machine-wash gently to preserve the stitches and yarn quality.
- Block the finished square for sharp edges and consistent shapes. Pin to size and steam lightly.