Try this free crochet scrunchie pattern to make a soft, cute, and stylish hair scrunchie that adds charm and comfort to your everyday style effortlessly.
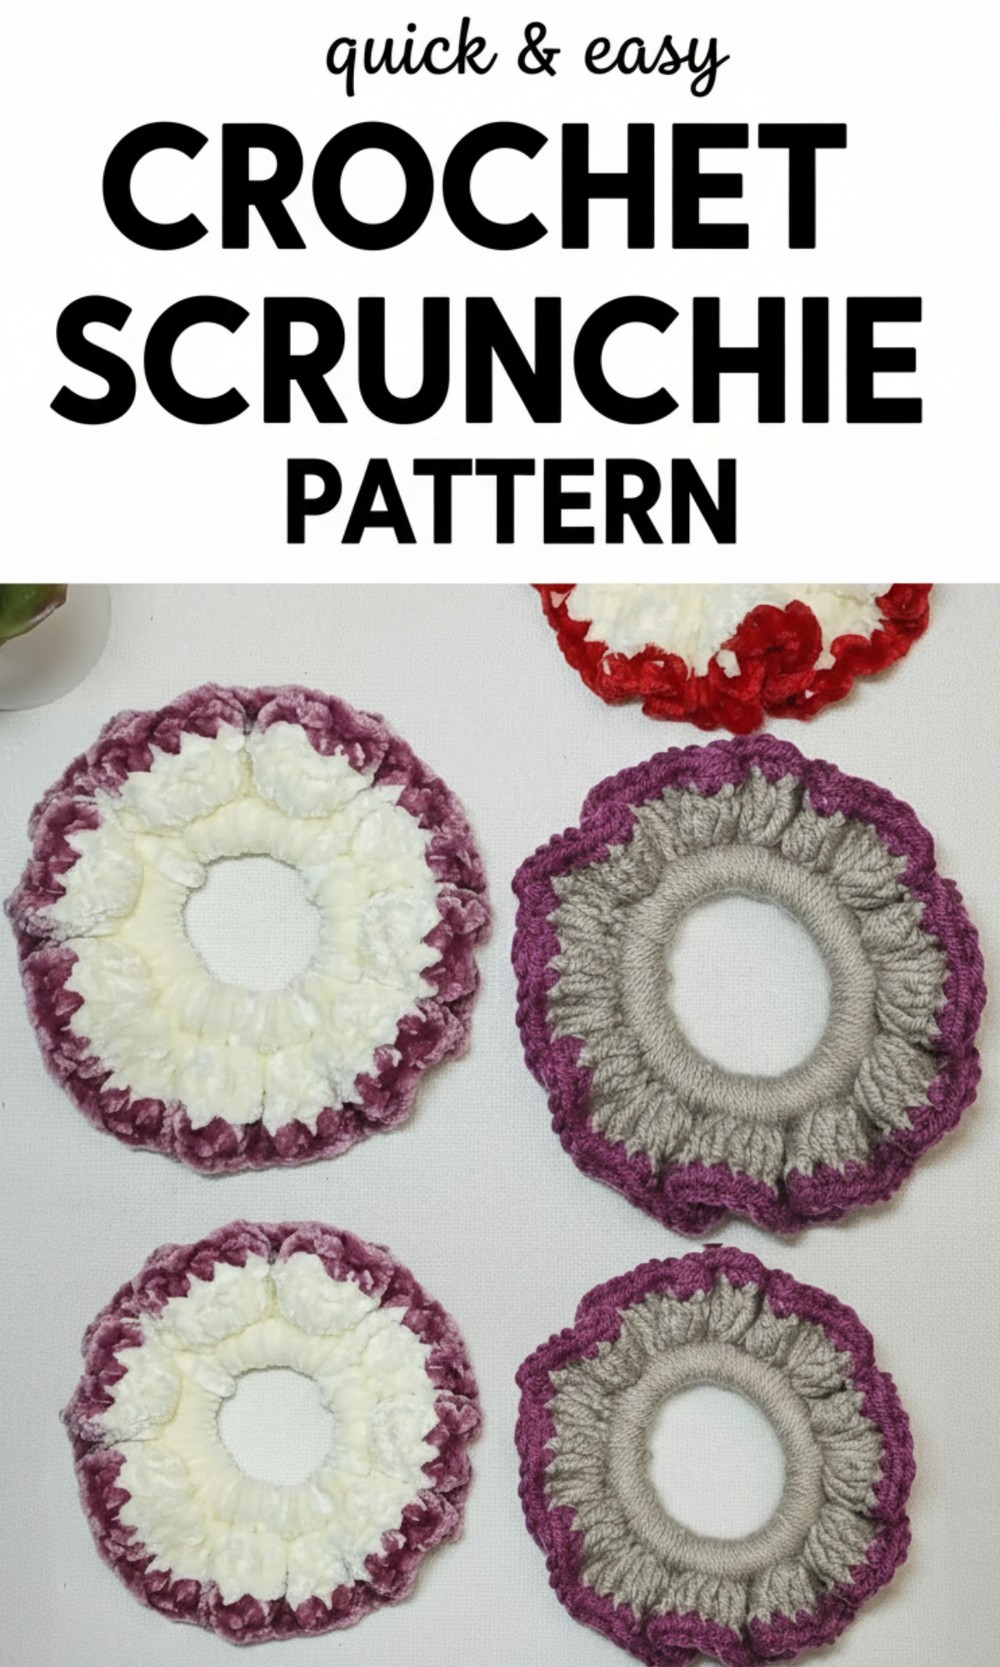
Soft Free Crochet Scrunchie Pattern to Add Style to Your Hair Game
Your hair needs something soft and beautiful, and a crochet scrunchie is the perfect choice. This handmade accessory is gentle on your hair while adding a stylish and personal touch to your look. With this free crochet scrunchie pattern, you can create a soft, fluffy, and stretchable scrunchie that’s both practical and pretty. It feels comfortable to wear and works perfectly for any occasion, whether casual or formal. 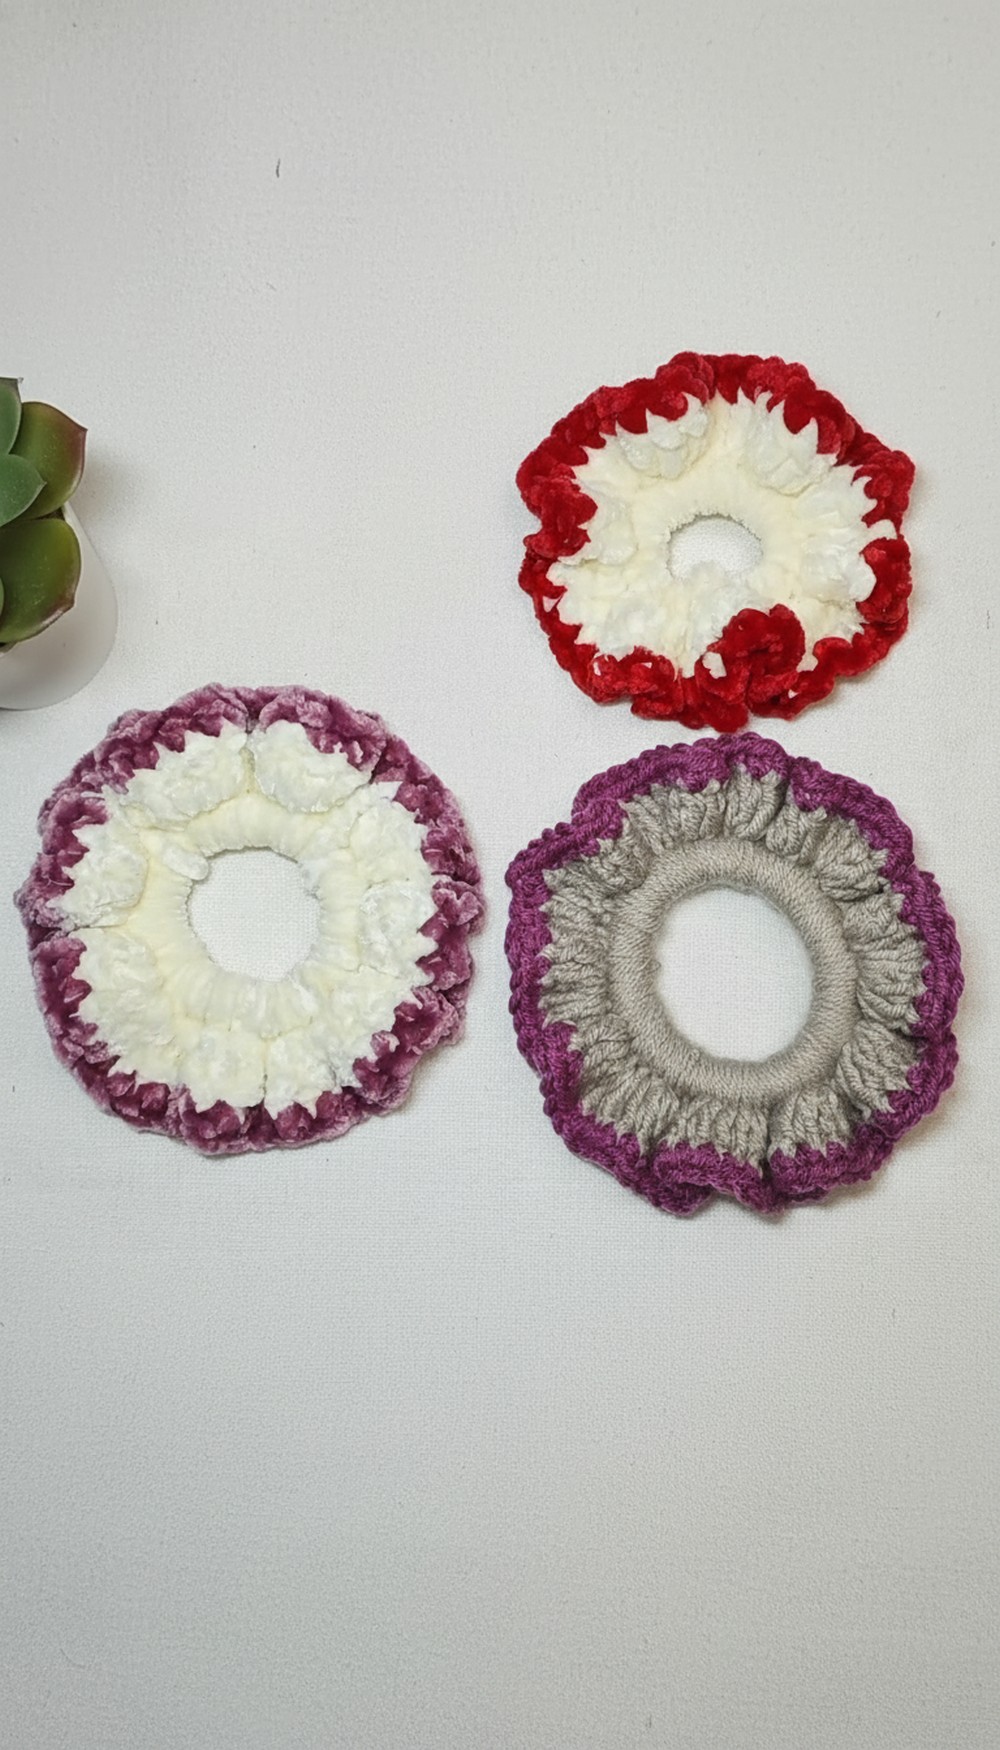
You can customize it with your favorite colors, giving it a unique and personalized charm. Simple to make and beginner friendly, this scrunchie is a fun way to upgrade your hair accessories while enjoying the beauty of something handmade. Treat your hair to creativity and comfort with this special crochet scrunchie.
Crochet Scrunchie Pattern
Materials Required
- Yarn: Use either velvet or cotton yarn; both work well. You can also use blanket yarn if you want a fluffier texture. Choose a color that matches or complements the rubber band.
- Rubber Band: Any standard rubber band will work; smaller or thicker bands can be used based on preference.
- Crochet Hook: Select a hook size that matches the yarn you are using. For velvet yarn, the video suggests a 4.5 mm hook; always check the yarn label for its recommended hook size.
- Scissors: For cutting the yarn ends neatly.
- Needle (optional): To weave in loose ends for a clean finish.
Step by Step Crochet Pattern
Preparing the Rubber Band
- Slip Knot:
- Create a slip knot using your yarn. Hold the yarn, twist it into a loop, and pull the larger tail through the loop. Tighten gently to secure the knot.
- Attach Yarn to Rubber Band:
- Insert the crochet hook into the slip knot. Wrap the yarn around your fingers and hold the rubber band in place firmly.
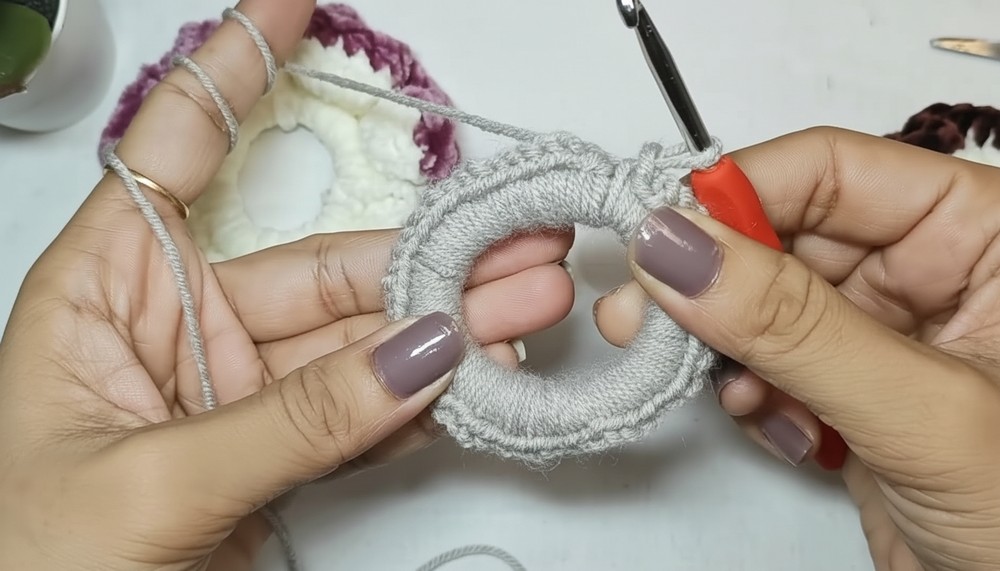
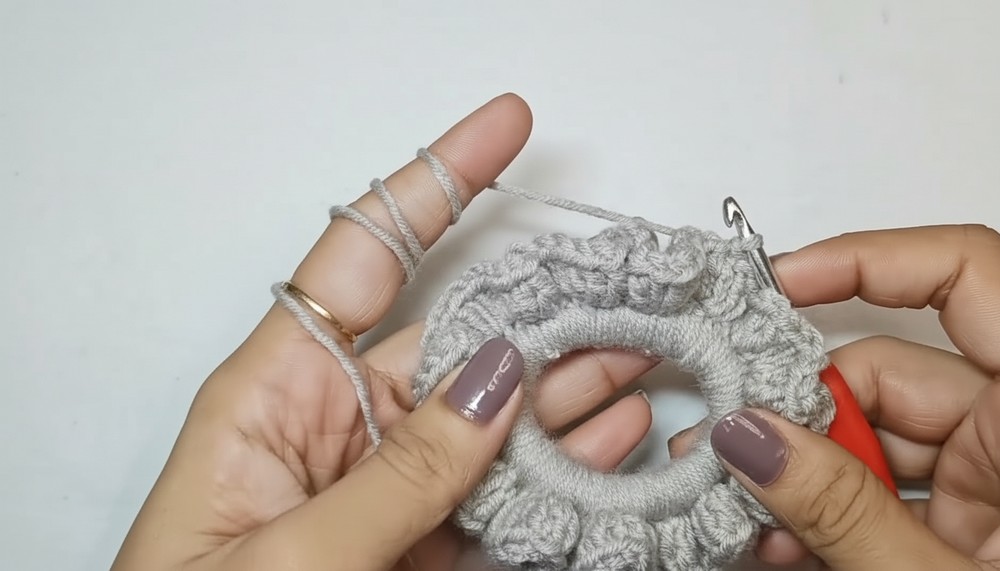
Single Crochet Round
- Starting the Stitches:
- Begin single crochet stitches around the rubber band. To do this, insert the hook under the rubber band, pull the yarn through, and complete the stitch. Ensure stitches are spaced closely together to completely cover the rubber band without showing gaps.
- Continue Stitching:
- Work single crochet stitches all around the rubber band, keeping the yarn tension consistent—not too tight or too loose. Adjust if you see any gaps or spaces showing the rubber band.
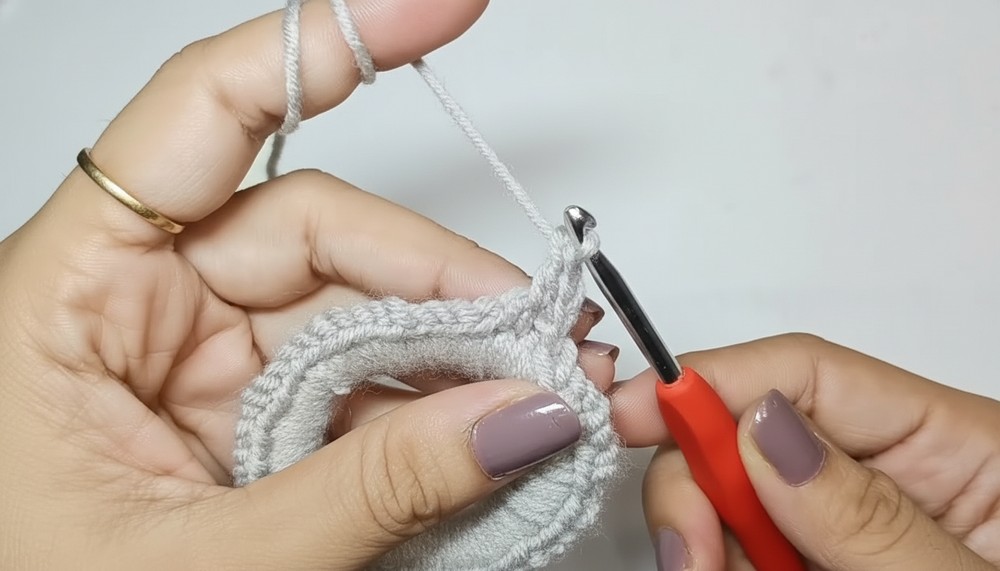
- Finish the Round:
- After completing single crochet stitches around the entire band, end with a slip stitch. Insert the hook into the first single crochet stitch, pull the yarn through, and then through the loop on your hook.
- After completing single crochet stitches around the entire band, end with a slip stitch. Insert the hook into the first single crochet stitch, pull the yarn through, and then through the loop on your hook.
Double Crochet Round
- Chain 2 for Height:
- After the slip stitch, chain two to create height for the next round.
- Double Crochet Stitches:
- In each single crochet stitch from the previous round, work two double crochet stitches.
- To make a double crochet: Yarn over, insert the hook into the stitch, pull the yarn through (you’ll have three loops on the hook), yarn over again, pull through the first two loops, yarn over once more, and pull through the remaining two loops.
- Complete the Round:
- Continue working double crochet stitches in pairs (two in each stitch) around the rubber band. Once done, use a slip stitch in the top of your first double crochet stitch to finish the round.
- Continue working double crochet stitches in pairs (two in each stitch) around the rubber band. Once done, use a slip stitch in the top of your first double crochet stitch to finish the round.
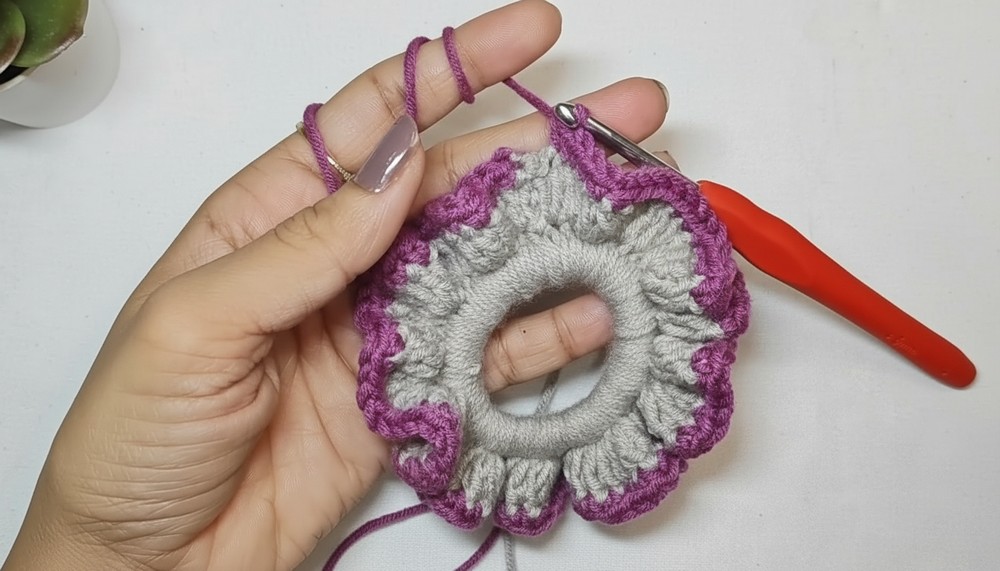
Adding a Border
- Change Yarn Color (Optional):
- If desired, switch to a different yarn color for the border. Attach the new yarn with a single crochet stitch and secure it properly.
- Single Crochet Border:
- Work single crochet stitches in every double crochet stitch around the rubber band to create a neat and contrasting border. Finish with a slip stitch at the end to join.
- Work single crochet stitches in every double crochet stitch around the rubber band to create a neat and contrasting border. Finish with a slip stitch at the end to join.
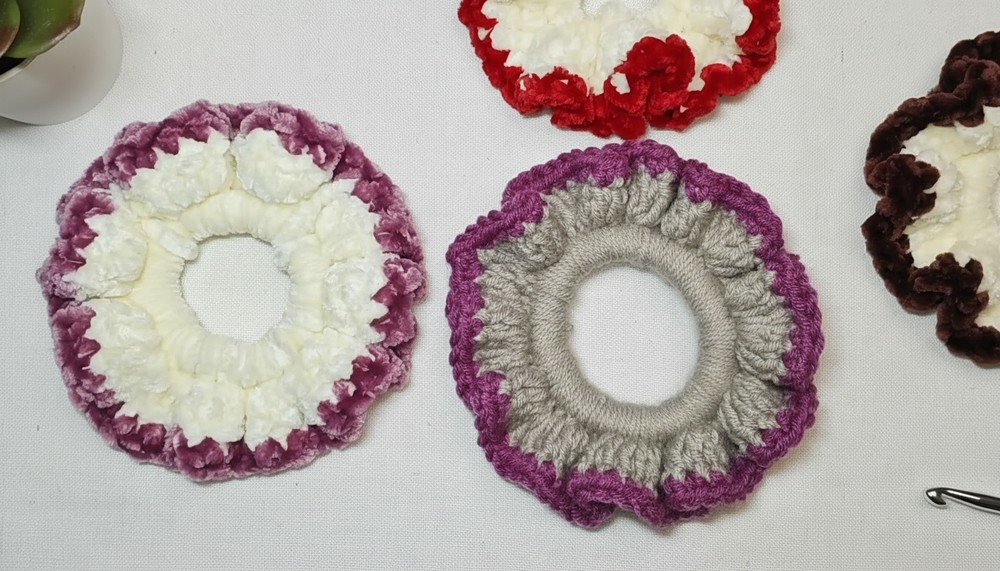
Finishing the Pattern
- Cut Yarn and Secure:
- After finishing the final round, cut the yarn, leaving a short tail. Pull the tail through the last loop to secure it.
- Use scissors to trim any extra yarn ends.
- Weave in Loose Ends (Optional):
- With a needle, weave the yarn tails into the stitches for a polished look.
- With a needle, weave the yarn tails into the stitches for a polished look.
Final Words and Tips
- Maintain Consistency: Keep your stitches close together to ensure the rubber band is fully covered and looks neat.
- Color Coordination: Choose yarn colors that match or complement the rubber band for a seamless appearance. Experiment with contrasting colors for a fun design.
- Softness: Using velvet or blanket yarn results in a softer texture, making the rubber band more comfortable to use.
- Size Customization: Adjust the number of single and double crochet stitches to fit larger or smaller bands.
- Gift Idea: These crocheted rubber bands make perfect small gifts or accessories for hair or wrist bands.
By following these steps, you can create beautifully designed rubber bands that are soft, unique, and easy to customize. Practice patience, especially if you are a beginner, and enjoy the joy of creating handmade items.