Enjoy the fun of a Free Crochet Granny Square Sweater Pattern that lets you stitch a cozy and colorful sweater perfect for any casual or chilly day.
You might think sweaters are boring or plain, but a granny square sweater will completely change your mind. This crochet masterpiece is anything but ordinary, bursting with vibrant colors, eye-catching patterns, and a unique handmade charm. Created from small squares stitched together, it’s like wearing colorful tiles of art that make every sweater special.
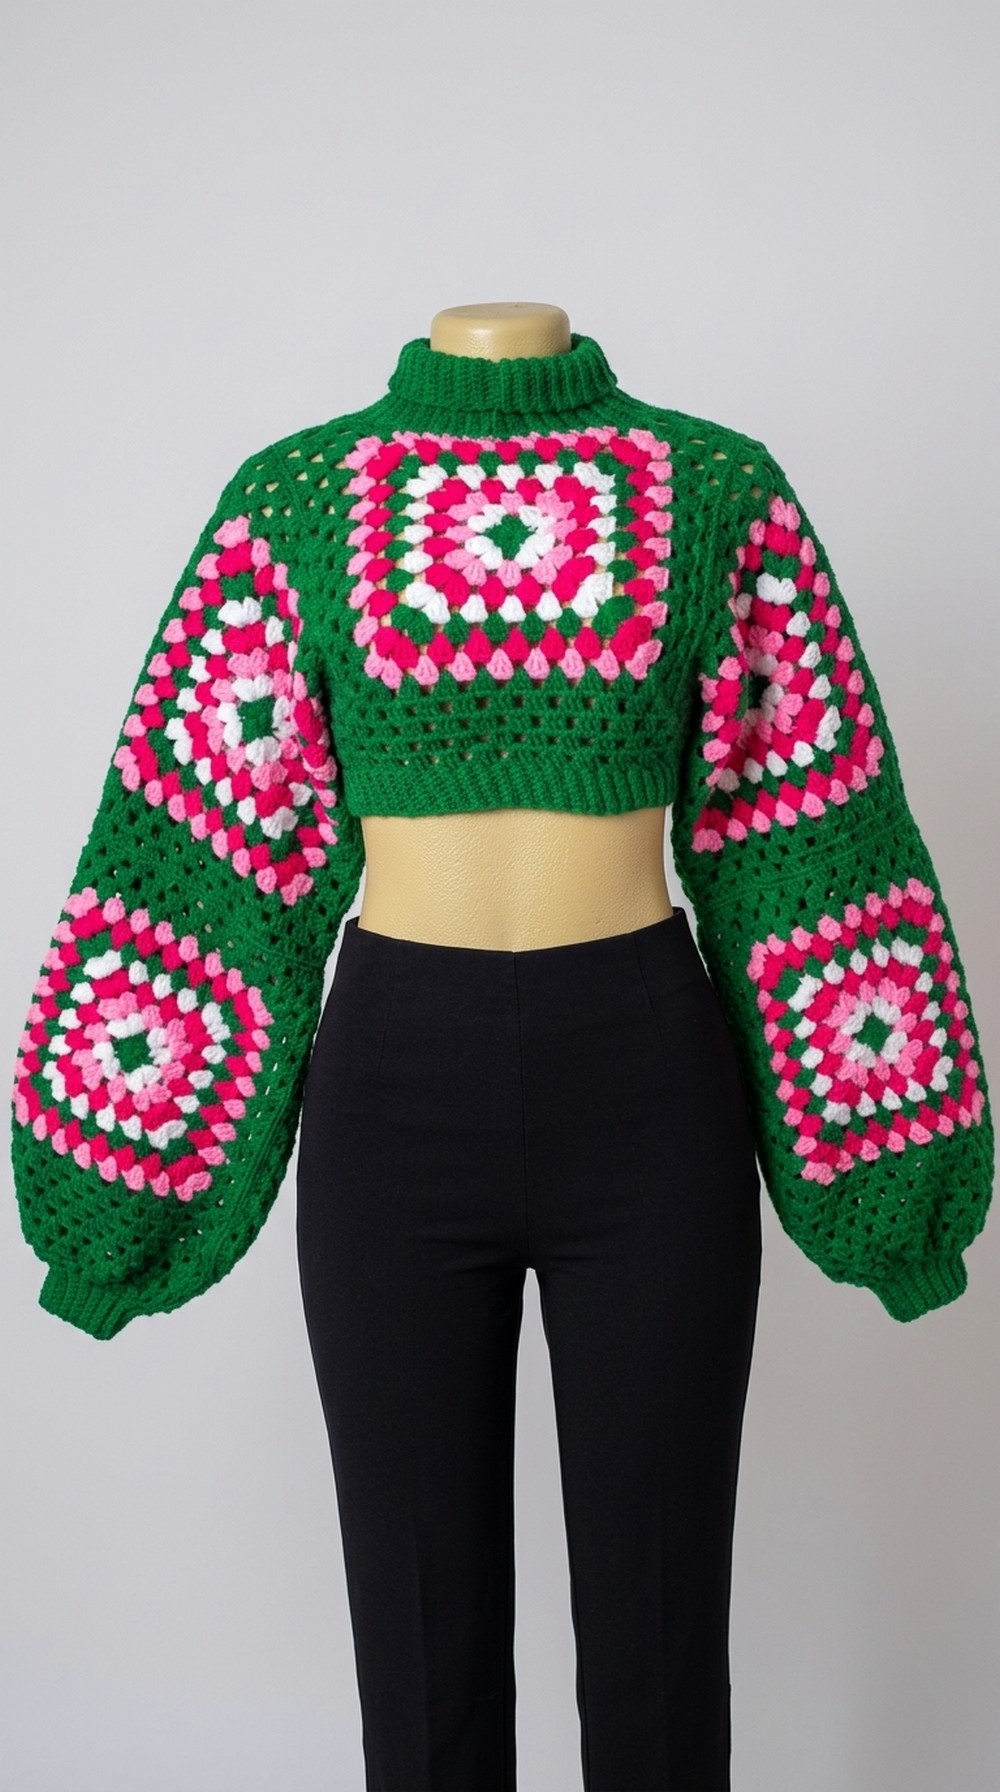
Crochet Granny Square Sweater with This Free Pattern
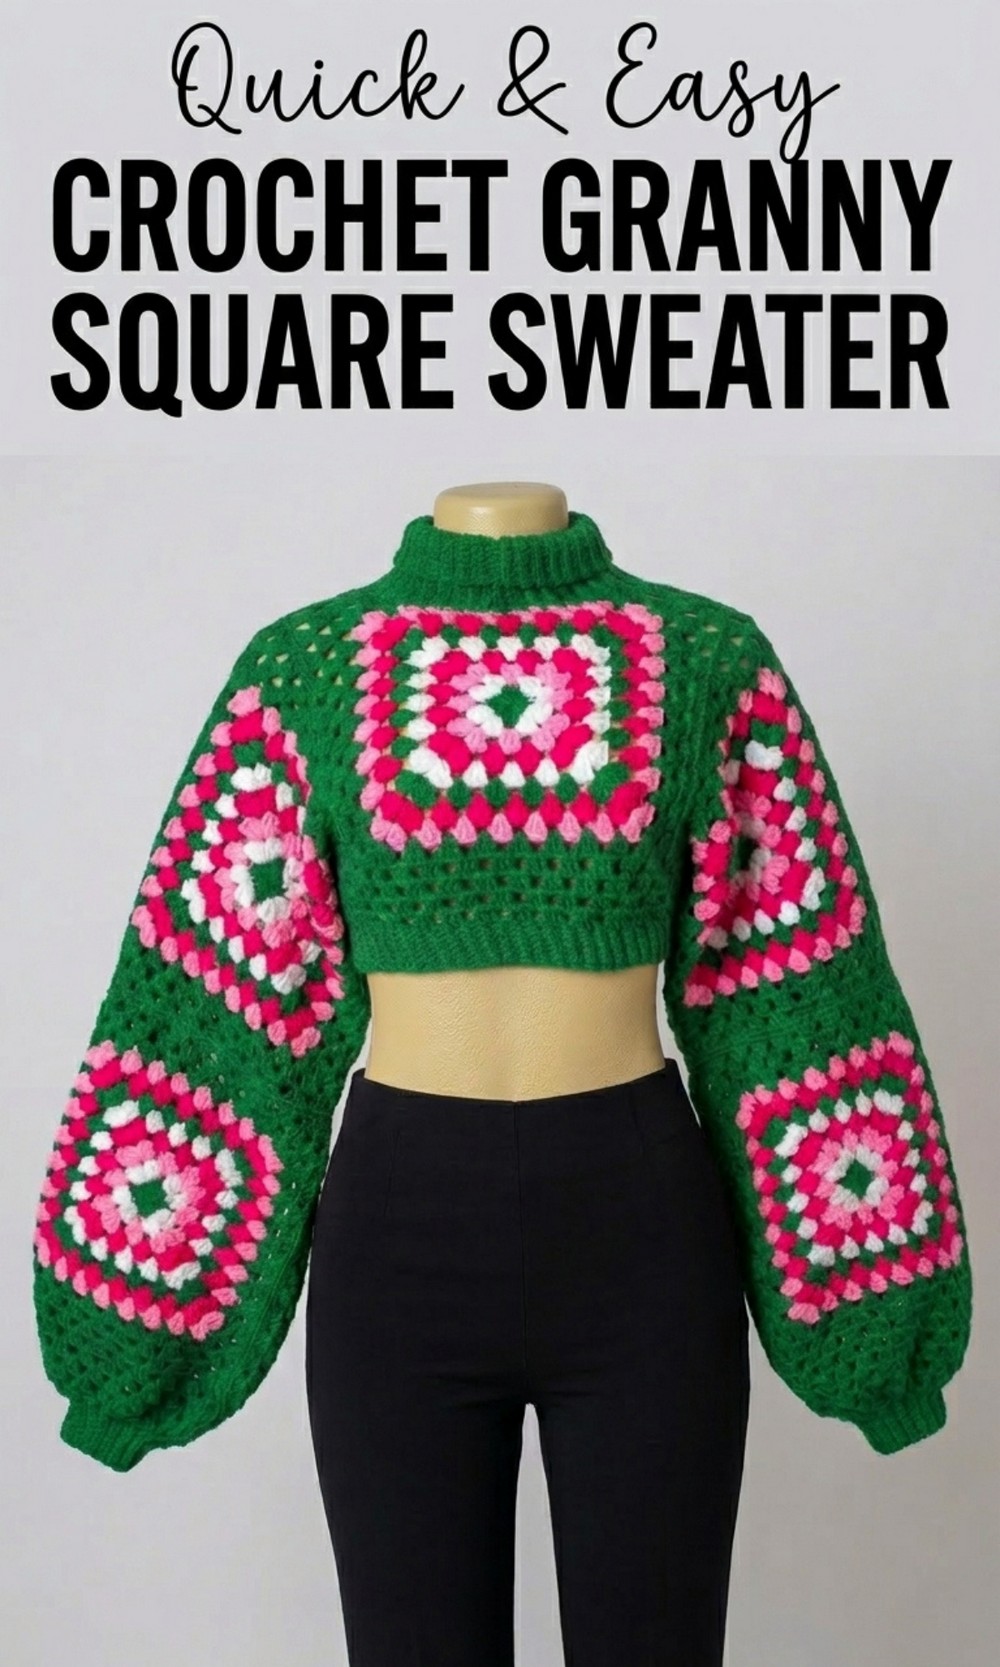
Its lightweight design ensures all-day comfort, while its softness wraps you in warmth during chilly days. Granny square sweaters aren’t just cozy—they’re playful, stylish, and perfect for adding a creative touch to any outfit. You can pair them with jeans for a casual look or layer them over dresses to stand out. Each sweater is a story woven with joy and individuality, proving that something practical can also be a beautiful piece of wearable art.
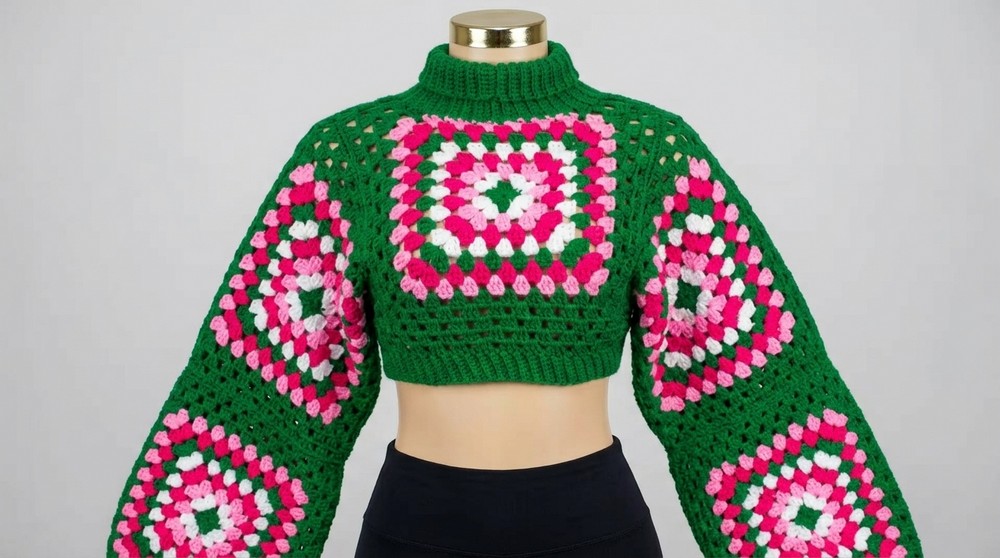
Crochet Granny Square Sweater Pattern
Finished Size
The sweater can be customized to match various sizes. Ensure that measurements for the granny squares and body panels align with your bust, sleeve, and shoulder-to-shoulder measurements.
- Example Measurements:
- One square measures approx. 10.2 inches x 10.2 inches.
- Finished cropped sweater length: depends on chosen customization and lower ribbing placement.
Skill Level
Beginner to Intermediate.
Gauge
Gauge is not critical for this project. However, for consistency:
- 4.5mm hook with doubled fingering weight yarn: Granny square measures approx. 10 inches x 10 inches after completing desired rows.
Materials Required
Yarn
- Fingering Weight Yarn, 100% acrylic:
- Colors: Baby pink, green, white, and hot pink (or any colors of your choice).
- Yarn example: Robin brand (Kenyan), 50g skeins.
- You can substitute with medium-weight yarn, using a single strand instead of doubled strands.
Tools
- Crochet Hooks:
- 4.5mm hook: For granny squares and main body construction.
- 3.5mm hook: For ribbing sections (neckline, cuffs, hem).
- Tape Measure: To measure and customize the size.
- Darning Needle: To weave in loose ends and join panels.
- Scissors: To cut yarn.
Key Abbreviations (US Crochet Terminology)
| Abbreviation | Definition |
|---|---|
| ch | Chain |
| dc | Double Crochet |
| sc | Single Crochet |
| sl st | Slip Stitch |
| inc | Increase |
| BLO | Back Loop Only |
| FLO | Front Loop Only |
Pattern Instructions
Step 1: Granny Squares
Square Overview
- Construct 10 granny squares for this sweater:
- 8 identical squares for the body and sleeves.
- 2 neckline squares shaped for front and back panels.
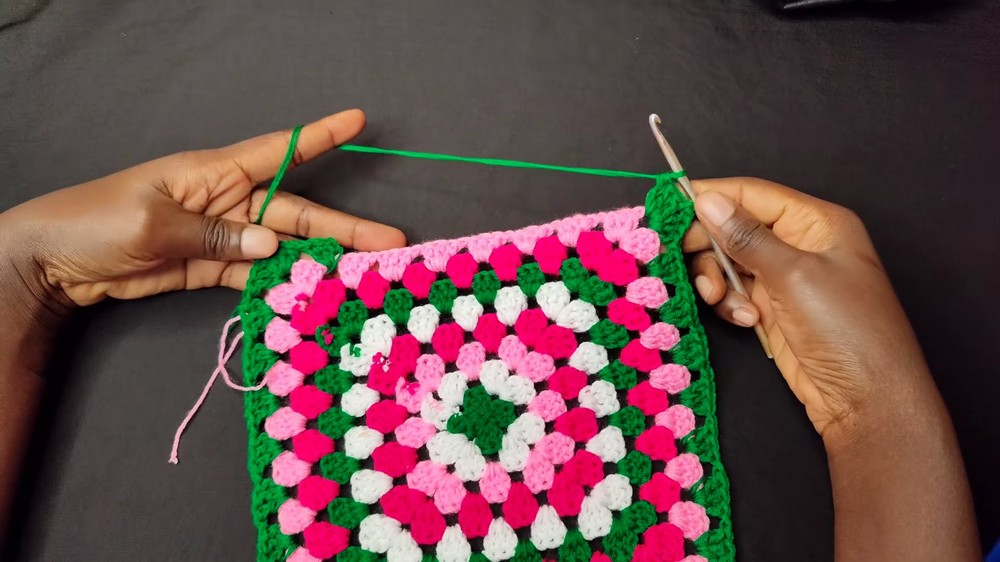
Basic Granny Square
- Begin with a magic ring to create the center:
- Insert hook, make a knot, and create the ring.
- Chain 3 (counts as 1 dc).
- Work 12 dc inside the ring, separated by 2 chains between every group of 3 dc clusters:
- For example: 3 dc, ch 2, 3 dc, ch 2, 3 dc, etc.

- Tighten the ring when finished.
- For example: 3 dc, ch 2, 3 dc, ch 2, 3 dc, etc.
- Slip stitch into the first dc to join the round.
- Change colors (optional) and repeat the following sequence for each new row:
- Go into the corner space via a slip stitch.
- Chain 3, and place 2 dc into the corner space.
- Chain 2, and add 3 more dc into the same corner space.

- Chain 1, work 3 dc into each chain 1 space, and repeat corner cluster at corner spaces:
- Corner clusters are: 3 dc, ch 2, 3 dc.
- Continue adding rows until the square measures approximately 10.2 inches.
- Use a tape measure to confirm dimensions.
- Use a tape measure to confirm dimensions.
Shaped Squares (Neckline Panels)
- Follow the same instructions for the basic granny square up to the eighth row.
- Begin shaping by working partial rows:
- Slip stitch until reaching the first chain 1 space.
- Turn the work and crochet along the row without completing the entire square.
- Work two shaping rows for the back panel.
- For the front panel, work three shaping rows instead.
- This helps create a deeper neckline for the front panel.
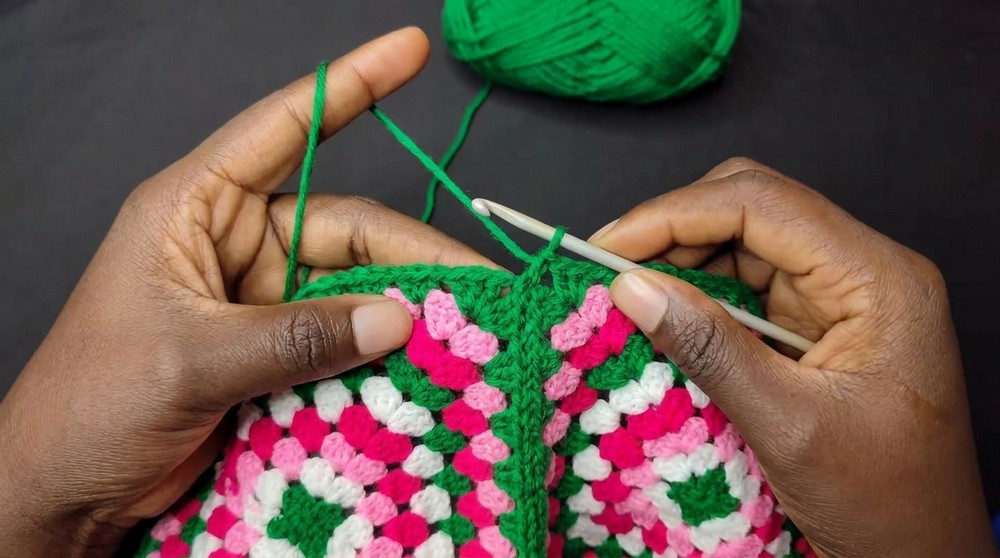
Step 2: Assembly
Panel Join
- Arrange the squares:
- Let the right sides face each other.
- The wrong sides will be facing up for joining.
- Using a darning needle and matching yarn:
- Join squares by sewing through the back loops of the stitches.
- Align each corresponding stitch carefully.
- Join the sleeves:
- Form two long rectangles with joined squares for each sleeve.
- Form two long rectangles with joined squares for each sleeve.
- Create the body and neckline:
- Combine 6 squares for the body section (3 front and 3 back).
- Attach the shaped squares for the neckline carefully.
Step 3: Neckline Ribbing
Turtleneck or Round Neck
- Switch to 3.5mm hook.
- Attach yarn at any stitch along the neckline edge.
- For a turtleneck, chain 20 chains:
- Work sc into each chain (20 sc total).
- At the base, attach to the neckline edge using sl st.
- Work back loops only for single crochet rows:
- Repeat sc rows until the turtleneck encircles the entire neckline edge.
- Join the edges with sl st on the wrong side.
- For a round neckline, reduce the chain length to 7 or 10 chains.
Step 4: Sleeves
- Attach yarn to the sleeve edge.
- Work the following sleeve pattern:
- Begin with 4 rows of normal granny clusters.
- Decrease the stitch count for 1–2 rows to taper the sleeve.
- Switch to 3.5mm hook and work ribbing as described above.
- Join the ribbing edges on the wrong side using sl st.
Step 5: Lower Hem Ribbing
- Ensure the lower edge aligns with your bust size. Add extra rows if required.
- Attach yarn and work sc stitches across the bottom edge.
- Use back loops only for ribbing rows:
- Chain 8–10 for ribbing depth.
- Work sc across and join at the edge using sl st.
- Complete ribbing rows in the round. Join with sl st when done.
Customization Ideas
- Color Pairing: Use festive combinations (red, white, green) or neutrals for a subtle aesthetic.
- Extension: Add more granny squares to make a longer sweater.
- Decorative Elements: Incorporate contrasting applique details on squares or edges.
Conclusion
Congratulations! Your granny square cropped sweater is complete, combining elegance, comfort, and vibrant crochet details. Wear it as a cozy layer or a bold fashion statement. By following this pattern and assembling your squares with care, you’ve created a unique piece suitable for various occasions.
Final Remarks
- Ensure loose ends are woven in neatly for durability.
- Block completed squares before assembly to achieve uniform shape.
- Experiment with colors and measurements for a truly personalized sweater.