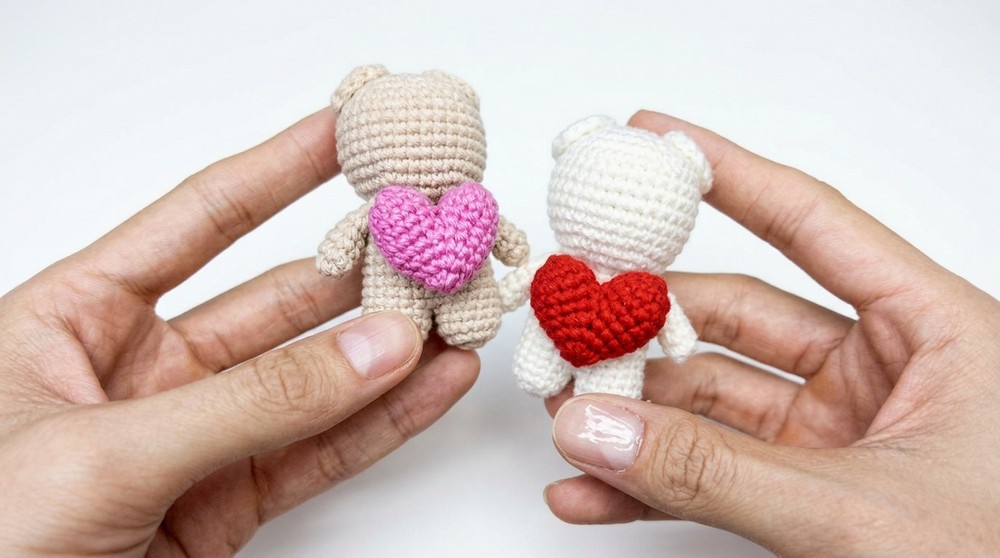
Light up your toy shelf today with this cute free crochet teddy bear heart pattern to create a beautiful and firm bear that looks like a fancy and expensive gift.
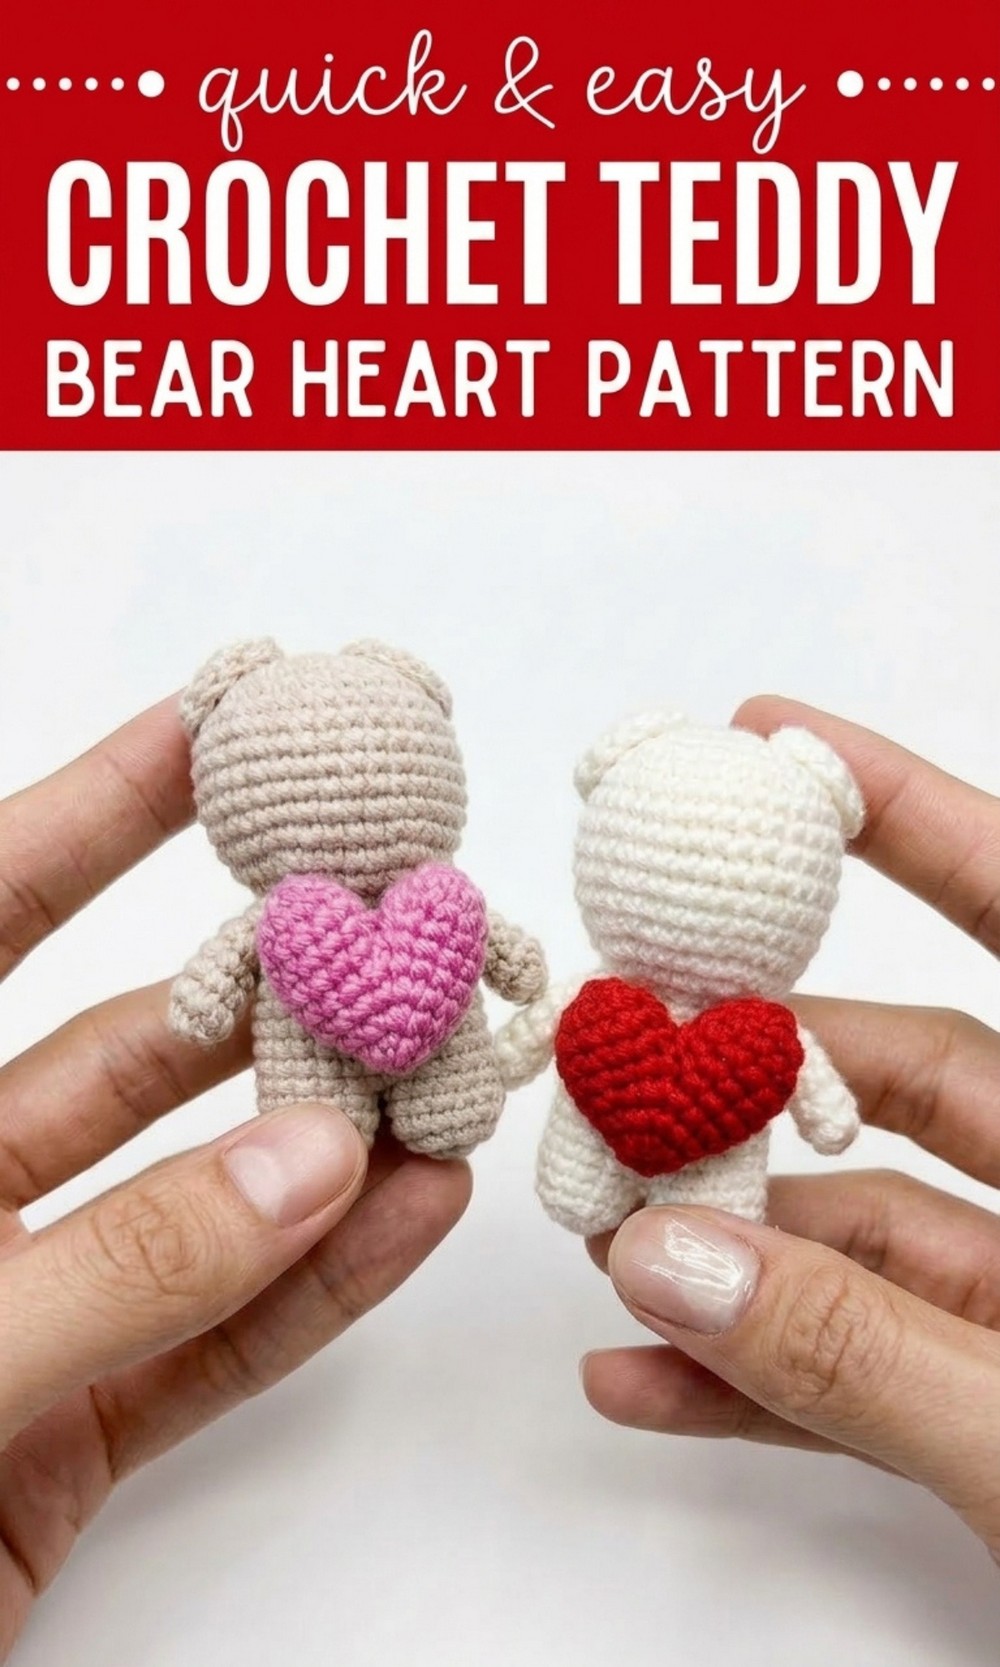
Delightful Free Crochet Teddy Bear Heart Pattern for Seasonal Themes
Snuggle up with the cutest handmade teddy bear that’s perfect for spreading love. With this Free Crochet Teddy Bear Heart Pattern, you’ll create an adorable, soft toy holding a bright red heart to show how much you care for your family and friends.
This teddy bear is packed with charm, Its round tummy, sweet little ears, and thoughtful design make it look beautiful. The simple and easy steps ensure anyone can crochet it, even if you’re just starting out. The bear’s cuddly feel and lovable face will instantly bring warmth to your heart.

This tiny buddy fits perfectly in your hands and makes a perfect decoration for your bed or desk. It’s sturdy enough for playtime and special enough to be a memorable gift for birthdays, Valentine’s Day, or any occasion.
Lovely Crochet Teddy Bear Heart Pattern
Materials Needed
- Yarn: Approx. 6 to 7 grams of yarn in colors of your choice (e.g., gray or beige for the bear, red or pink for the heart).
- Crochet Hook: Use a hook size suitable for your yarn (e.g., 2.5mm or 3.0mm).
- Stuffing: Polyester fiberfill stuffing.
- Tapestry Needle: For sewing and finishing.
- Stitch Marker: To keep track of your rounds.
- Wooden Skewer or Chopstick: For pushing stuffing into small areas.
- Scissors: For cutting the yarn.
- Hot Glue Gun (Optional): For attaching accessories like ears or heart.
Abbreviations
- MR: Magic Ring
- sc: Single Crochet
- inc: Increase (2 sc in the same stitch)
- dec: Decrease (combine two stitches into one)
- sl st: Slip Stitch
- ch: Chain
Pattern Instructions
1. Legs (Make 2)
- Round 1: Create a magic ring and crochet 7 sc into it. Pull to close. (7 stitches)
- Round 2: Inc in every stitch around. (14 stitches)
- Rounds 3 to 4: Sc in each stitch around. (14 stitches)For the first leg: Fasten off, leaving a short tail of 2 to 3 cm.
For the second leg: Do not fasten off; you will continue from here to join the legs.
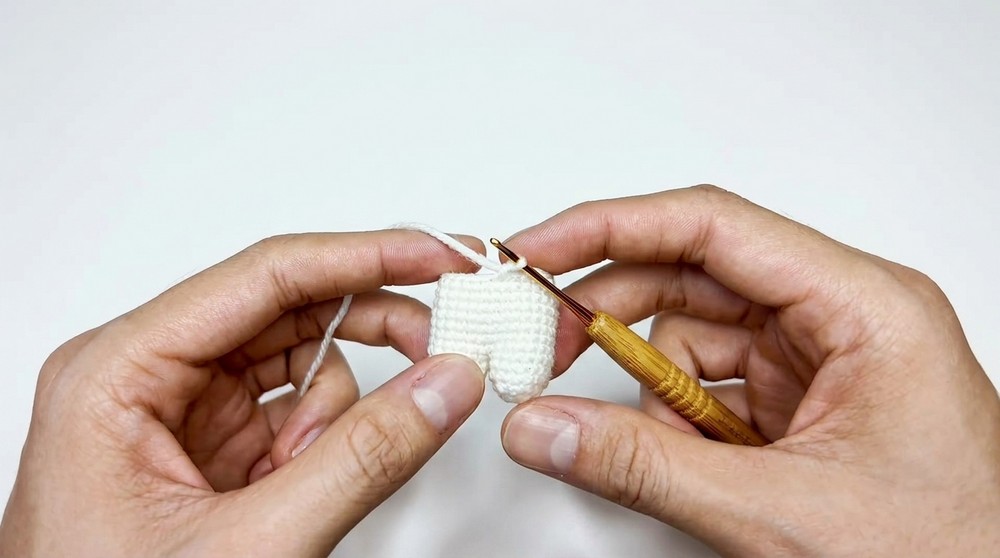
2. Body
- After completing the second leg, count 2 stitches backward to the starting point for joining. Insert the hook into the second stitch and begin working around the first leg.
- Round 5 (Joining Round): Sc 14 stitches around the first leg, then sc 14 stitches around the second leg, combining both legs. (28 stitches total)
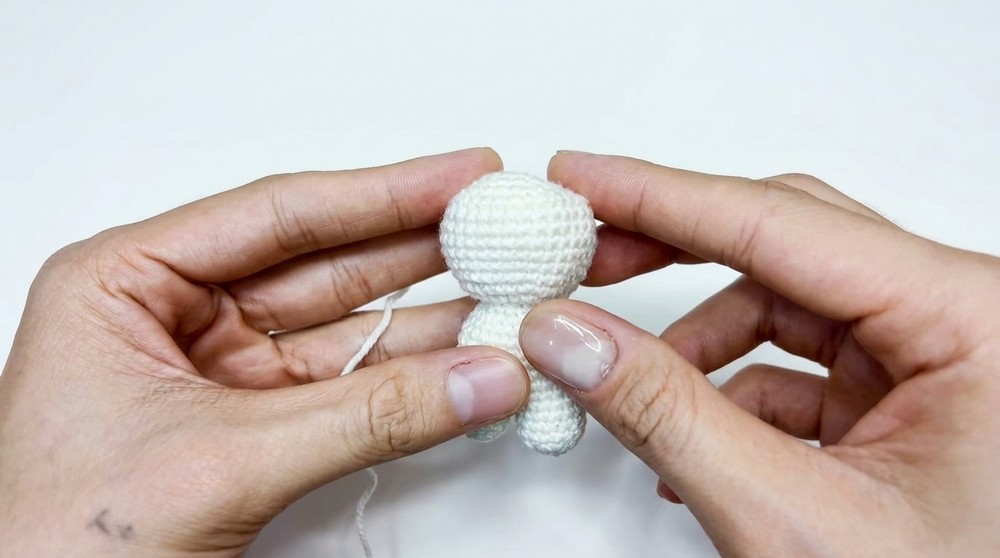
- Rounds 6 to 12: Sc in each stitch around. (28 stitches)Tip: Begin stuffing the legs and lower part of the body. Use a wooden skewer or chopstick to push the stuffing securely.
3. Torso Shaping and Head Base
- Round 13: Sc 5, dec. Repeat around. (24 stitches)
- Round 14: Sc 2, dec. Repeat around. (18 stitches)
- Round 15: Sc 1, dec. Repeat around. (12 stitches)Pause and Stuff: Begin stuffing the body and neck area. Avoid overstuffing to maintain shape and prevent fiber from showing.
4. Head
- Round 16: In the front loop only, inc in each stitch around. (24 stitches)
This creates a separation, making the head appear like it is joined separately. - Round 17: (Sc 3, inc) around. (30 stitches)
- Round 18: (Sc 4, inc) around. (36 stitches)
- Rounds 19 to 25: Sc in each stitch around. (36 stitches)Final Rounds for Decreasing the Head:
- Round 26: (Sc 4, dec) around. (30 stitches)
- Round 27: (Sc 3, dec) around. (24 stitches)
- Round 28: (Sc 2, dec) around. (18 stitches)
- Round 29: (Sc 1, dec) around. (12 stitches)
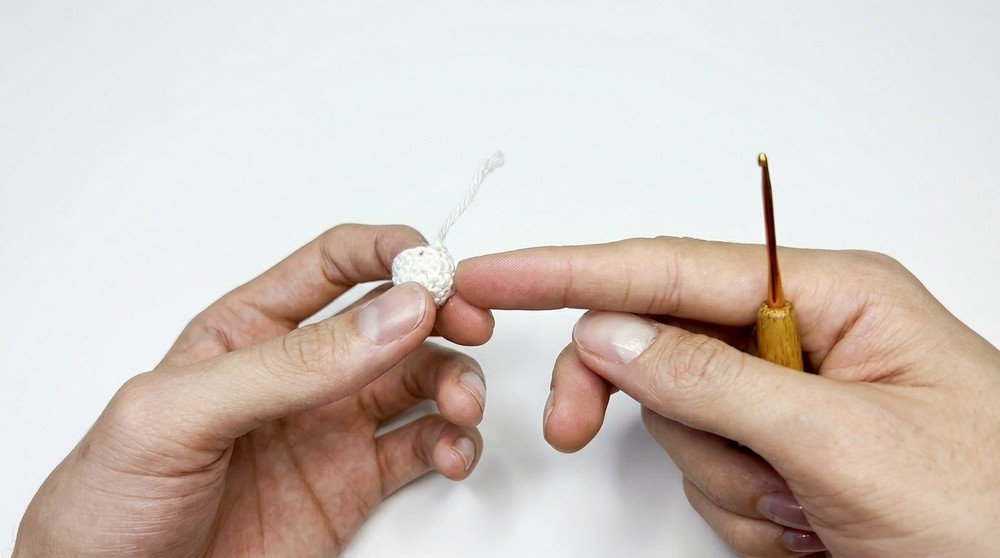
- Round 30: Dec around until the opening closes.Finishing: Cut the yarn, leaving a 15 cm tail. Thread the tail with a tapestry needle, weave through the front loops of the last 6 stitches, and pull to close. Secure the end by weaving it into the body.
5. Arms (Make 2)
- Round 1: Create a magic ring and crochet 8 sc into it. (8 stitches)
- Rounds 2 to 6: Sc in each stitch around. (8 stitches)
- Do not stuff the arms. Flatten the open end and join the edges together with 3 sc.Tip: Leave a long tail of about 10 cm for sewing the arms to the body.
6. Ears (Make 2)
- Start with a magic ring. Ch 2, then crochet 6 dc into the ring. (6 stitches)
- Ch 2 and sl st into the starting stitch to close. Pull the magic ring tight.
- Leave a short tail for sewing the ears to the head.Placement: Sew the ears between rounds 1 and 2 of the head, diagonally aligned with the arms.
7. Heart
Make Two Halves:
- Round 1: Create a magic ring and crochet 6 sc. (6 stitches)
- Round 2: Inc in each stitch. (12 stitches)
- Rounds 3-4: Sc in each stitch. (12 stitches)For the first half: Fasten off.
For the second half: Do not fasten off.
Joining the Halves:
- Place the two halves together. Sc around the first half (10 stitches), move to the second half, and sc around it (10 stitches). (20 stitches total)
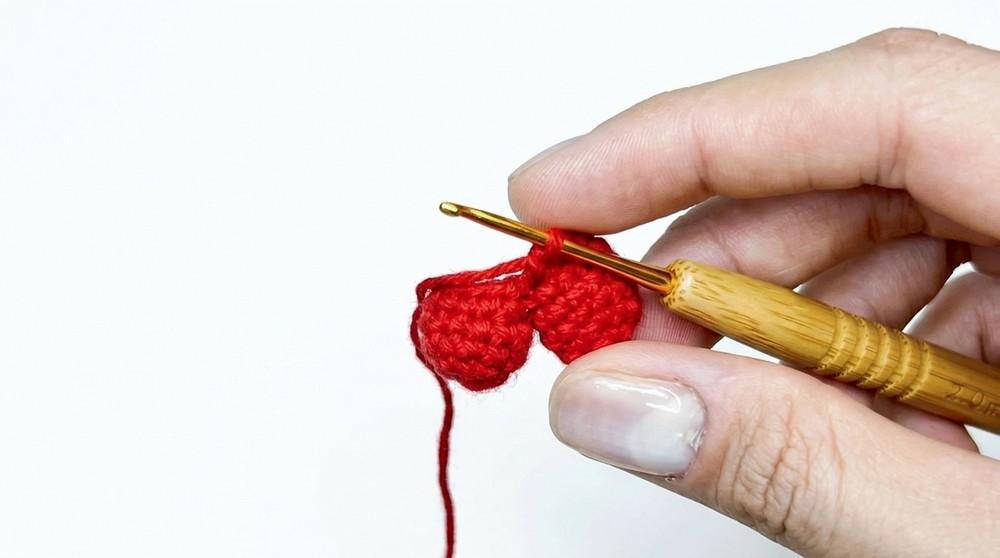
Shaping the Heart:
- Round 5: Sc around. (20 stitches)
- Round 6: Sc 8, dec, sc 8, dec. (18 stitches)
- Round 7: (Sc 4, dec) around. (15 stitches)
- Round 8: (Sc 3, dec) around. (12 stitches)
- Round 9: Dec around. (6 stitches)Finishing: Stuff the heart lightly and close it with a tapestry needle using the same method as the head.
Finishing and Assembly
- Attach the Arms: Sew the arms to the sides of the bear’s torso using the long tails. Ensure symmetry.
- Attach the Heart: Position the heart in the bear’s hands. Use glue or sew it securely. Adjust the arms to “hug” the heart.
- Attach the Ears: Sew the ears to the head based on placement instructions above.
- Tuck and weave in any loose ends to maintain neatness.
Final Words and Tips
- Material Management: Use lightweight yarn to keep your bear soft and easy to crochet.
- Stuffing: Avoid overstuffing to maintain the bear’s shape and avoid fiber peeking through.
- Alignment: Ensure that the arms, ears, and heart are sewn symmetrically for a polished look.
- Versatility: You can embroider initials on the heart for personalization or use it as a keychain, gift, or decor item.
Enjoy creating this adorable Valentine’s Day bear, This project is perfect for gifting and spreading love. Be patient, and don’t rush through the steps—small details make a big difference.