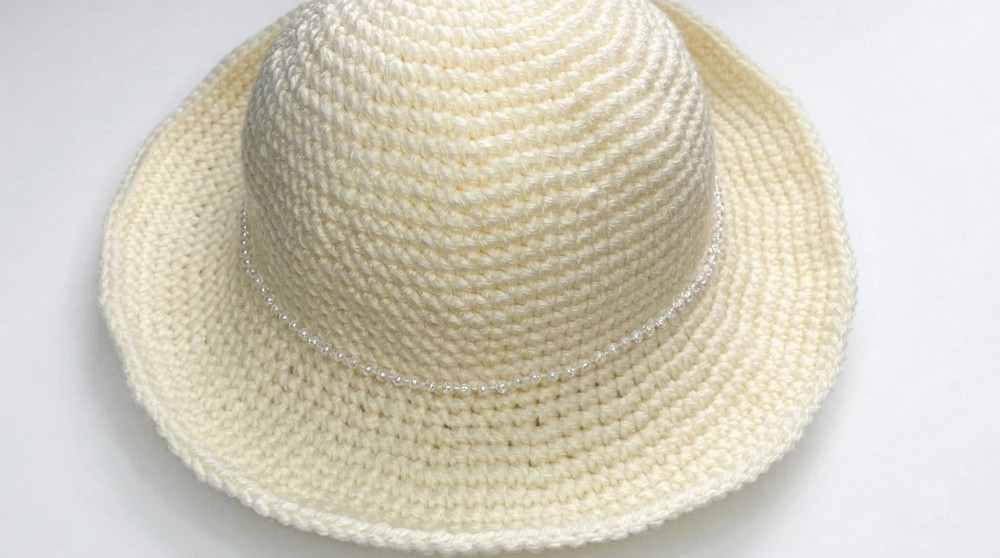
Level up your cool summer style with this easy free crochet bucket hat pattern to make a soft and cozy sun hat that looks totally incredible on you.
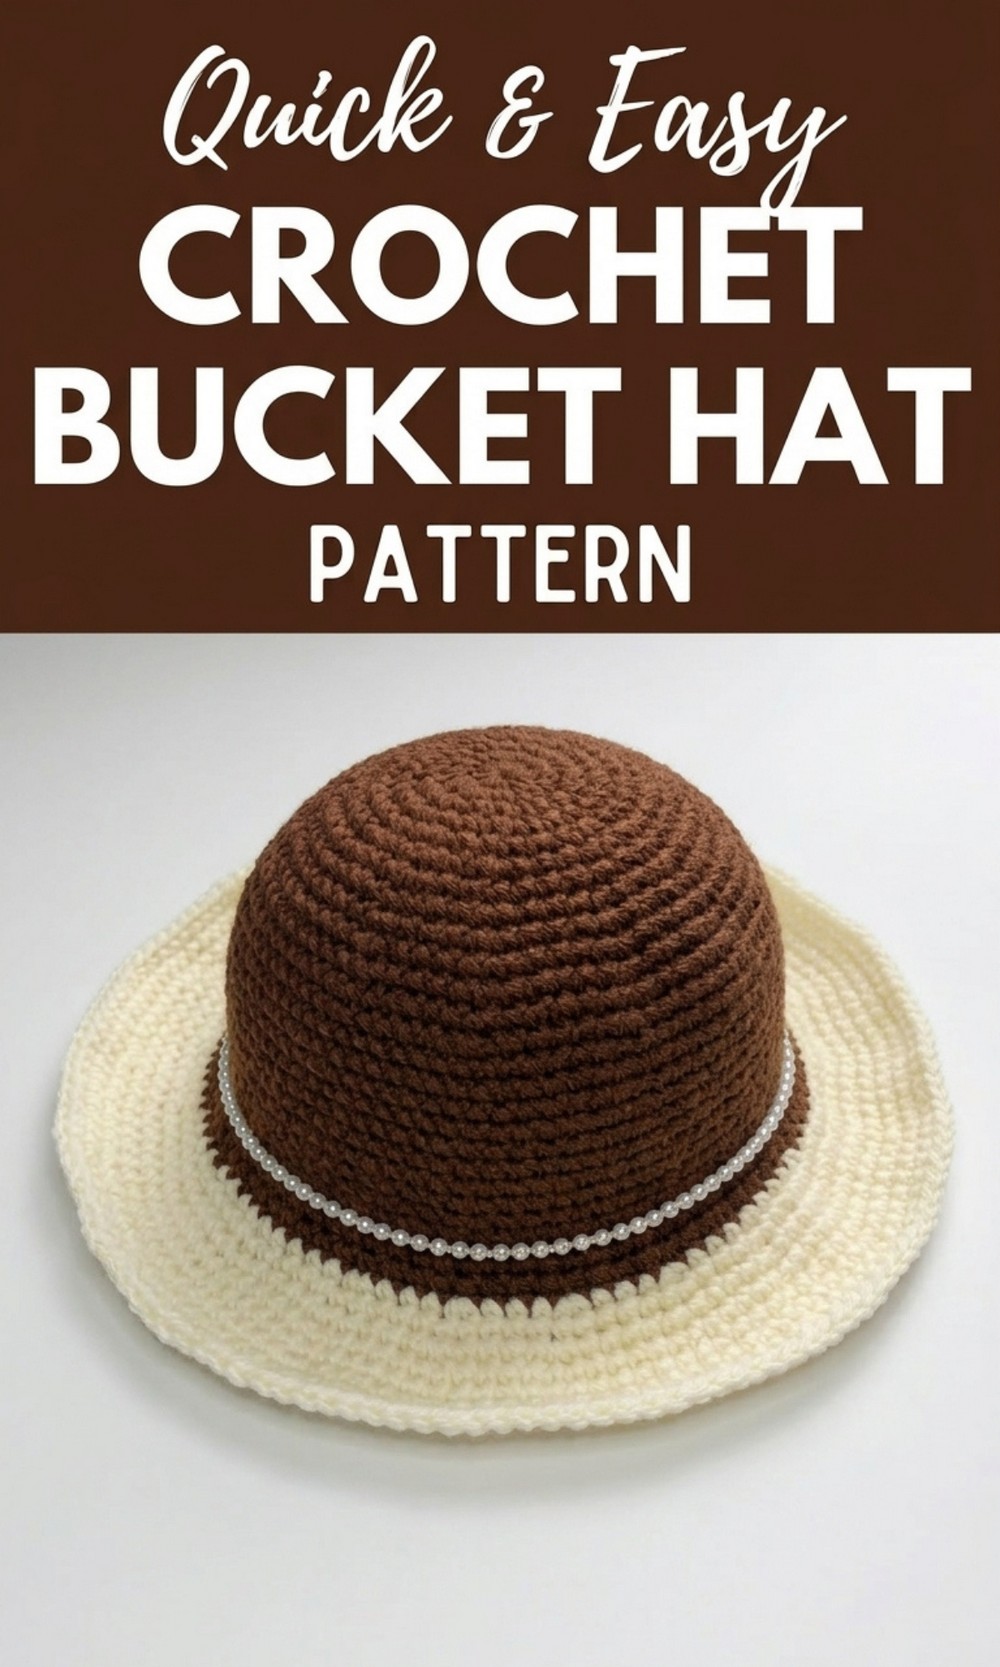
Bring Out Your Creative Side with This Free Crochet Bucket Hat Pattern
Here is a fun and simple project that anyone can enjoy—a crochet bucket hat. This free crochet bucket hat pattern helps you crochet a stylish and practical hat perfect for any season. The design is super comfortable, light, and fashionable, making it an ideal accessory for sunny summer days or crisp winter evenings. You can crochet it tight with snug stitches using soft yarn or keep it flexible and airy with crochet twine. The hat has a perfectly rounded crown and a soft brim, giving it a charming look that complements any outfit. It’s easy to adjust the size, whether you’re making it for kids, teens, or adults. You can get creative with bright shades, soft pastels, or even multicolored yarn to match your personality. This beginner friendly pattern doesn’t require advanced skills, so anyone can make a beautiful bucket hat and have fun with crocheting.
Crochet Bucket Hat Pattern
Materials:
- Yarn (Hat for Winter/Fall):
- Bernat Premium 100% acrylic yarn.
- Weight: Medium #4.
- Yarn (Hat for Summer/Spring):
- Craft twine (150 meters required for one hat, available at dollar stores).
- Note: The twine is stiffer and requires a looser stitch.
- Hook Sizes:
- Depending on your yarn, select a hook size that complements the material.
- Markers:
- To designate the beginning of each round.
- Darning Needle:
- For weaving in ends.
- Scissors:
- For cutting yarn.
Special Techniques:
- Magic Circle:
A technique for starting projects in the round. Find a method that works best for you. - Yarn Under vs. Yarn Over:
- Yarn Under: Creates a tighter weave (ideal for acrylic yarn).
- Yarn Over: Creates a looser weave (suitable for stiffer materials like twine).
Pattern Details:
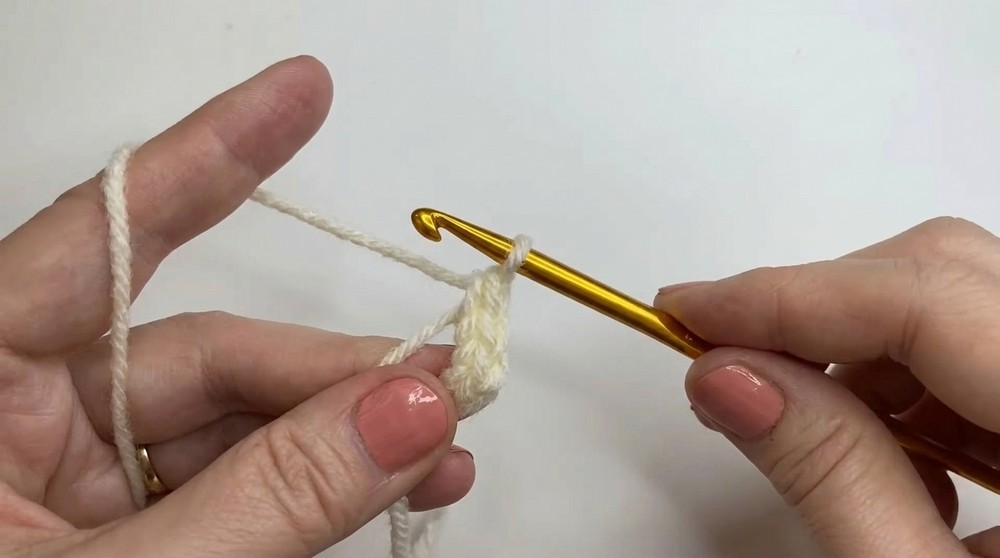
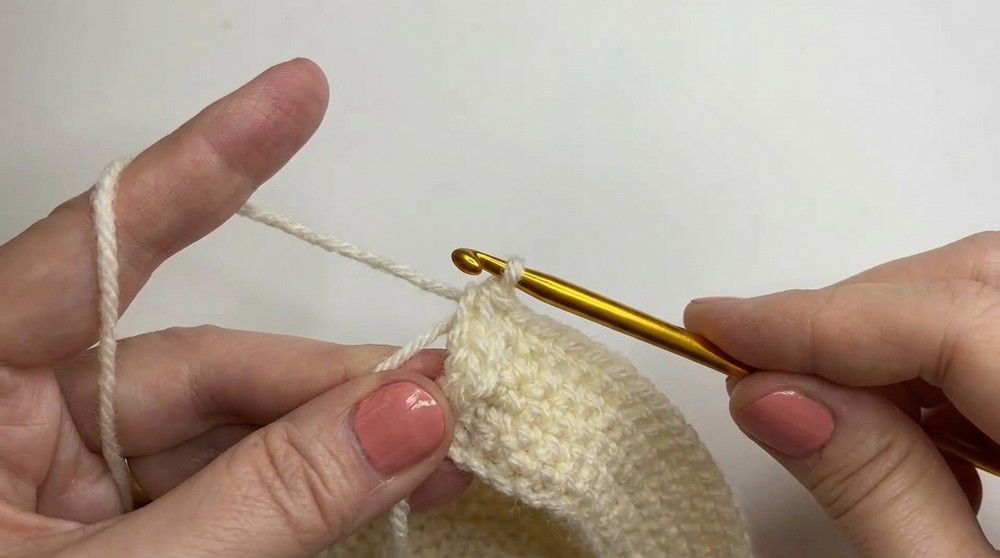
Step 1: Starting the Hat (Crown Formation)
- Create a magic circle.
- Chain 1.
- Place 6 single crochets (SC) into the magic circle.
- For yarn under: Insert the hook, yarn under, pull through, yarn over, pull through both loops.
- For yarn over: Insert the hook, yarn over, pull through, yarn over again, and pull through both loops.
- For yarn under: Insert the hook, yarn under, pull through, yarn over, pull through both loops.
- Pull the circle snug to close, but do not join. Work continuously in spirals.
Step 2: Increasing the Circle
To form the top of the hat, work in rounds and follow the increase pattern below:
- Round 1: Place 2 single crochets in each stitch around. (12 stitches total)
- Round 2: (2 SC in the first stitch), (1 SC in the next stitch). Repeat to end. (18 stitches total)
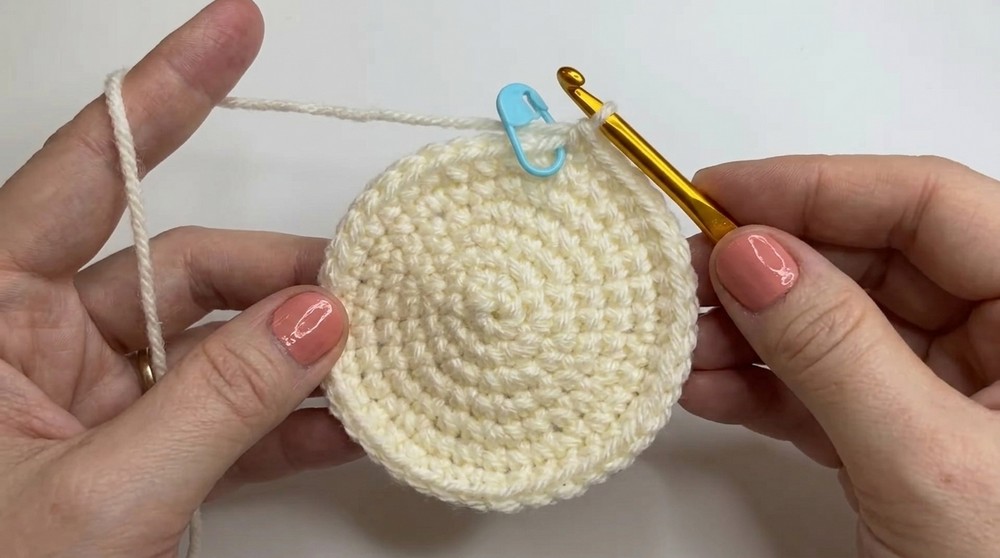
- Round 3: (2 SC in the first stitch), (1 SC in the next 2 stitches). Repeat to end. (24 stitches total)
- Round 4: (2 SC in the first stitch), (1 SC in the next 3 stitches). Repeat. (30 stitches total)
Step 3: Alternating Increases
- To create a smoother curve, move the center of increases:
- Example for Round 5: Move over to the center of the previous increase by adding 3 SCs. Begin increases from there:
- (Increase), (1 SC in the next 4 stitches). (36 stitches total)
- Example for Round 5: Move over to the center of the previous increase by adding 3 SCs. Begin increases from there:
- Continue this increment pattern:
- Round 6: (Increase), (1 SC in the next 5 stitches). (42 stitches total)
- Round 7: (Increase), (1 SC in the next 6 stitches). (48 stitches total)
- Round 8: (Increase), (1 SC in the next 7 stitches). (54 stitches total)
- Repeat until you’ve reached 7 inches (or 18 cm) across for an adult sized hat. Adjust diameter for different sizes.
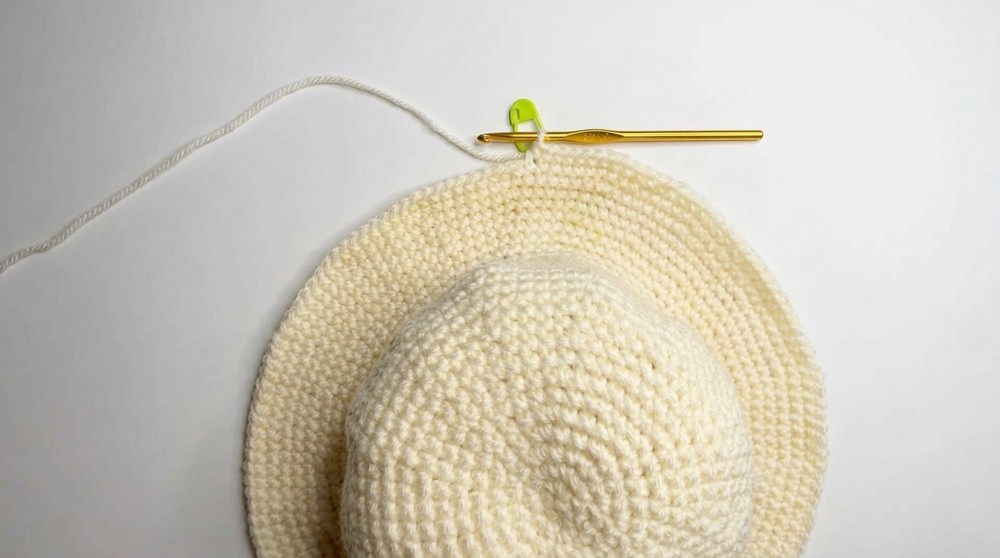
Step 4: Creating the Body
- Switch to single crochet rows:
- Crochet 1 single crochet in each stitch without increasing.
- Work about 10 rows or until the length reaches 6 inches (15 cm). The edge should sit just above the ears.
- Take note of adjustments depending on the size of the hat.
Step 5: Forming the Brim
- First Brim Increase Round:
- (2 SC in the first stitch), (1 SC in the next 3 stitches). Repeat around.
- Next Rounds for Brim:
- Alternate between increase rounds and 1 SC in each stitch rows.
- Suggested Increases:
- Row 1: (2 SC in the first stitch), (1 SC in the next 3 stitches). Repeat.
- Row 2: (2 SC in the first stitch), (1 SC in the next 4 stitches). Repeat.
- Row 3: (2 SC in the first stitch), (1 SC in the next 5 stitches). Repeat.
- Work an additional 2 single crochet rows to finish off the brim. Measure to ensure the brim has the desired width.
Finishing the Hat
- To finish the last stitch:
- Slip stitch into the next stitch and pull the yarn through.
- Weave in all loose ends with a darning needle.
- For an invisible edge:
- Insert the needle from the front to the back of the next stitch, and loop back through the slip stitch. Tighten gently for a seamless finish.
- Insert the needle from the front to the back of the next stitch, and loop back through the slip stitch. Tighten gently for a seamless finish.
Final Words & Maintenance Tips
- Adjustments: Change the number of rows for the body to fit children or smaller sizes. Keep adding increases to enlarge the crown if needed.
- Washing: If using acrylic yarn, machine washable is generally safe. For craft twine hats, spot clean with a damp cloth to maintain the structure.
- Storage: Store the hat flat to maintain its shape. Avoid folding to prevent creases.
Thank you for following this detailed guide. This pattern is versatile, easy, and perfect for every season. Experiment with colors or materials to create your own unique design.