Keep your keys neat and stylish with this free crochet pumpkin keychain pattern that shows simple steps and helps you make a soft and fun accessory.
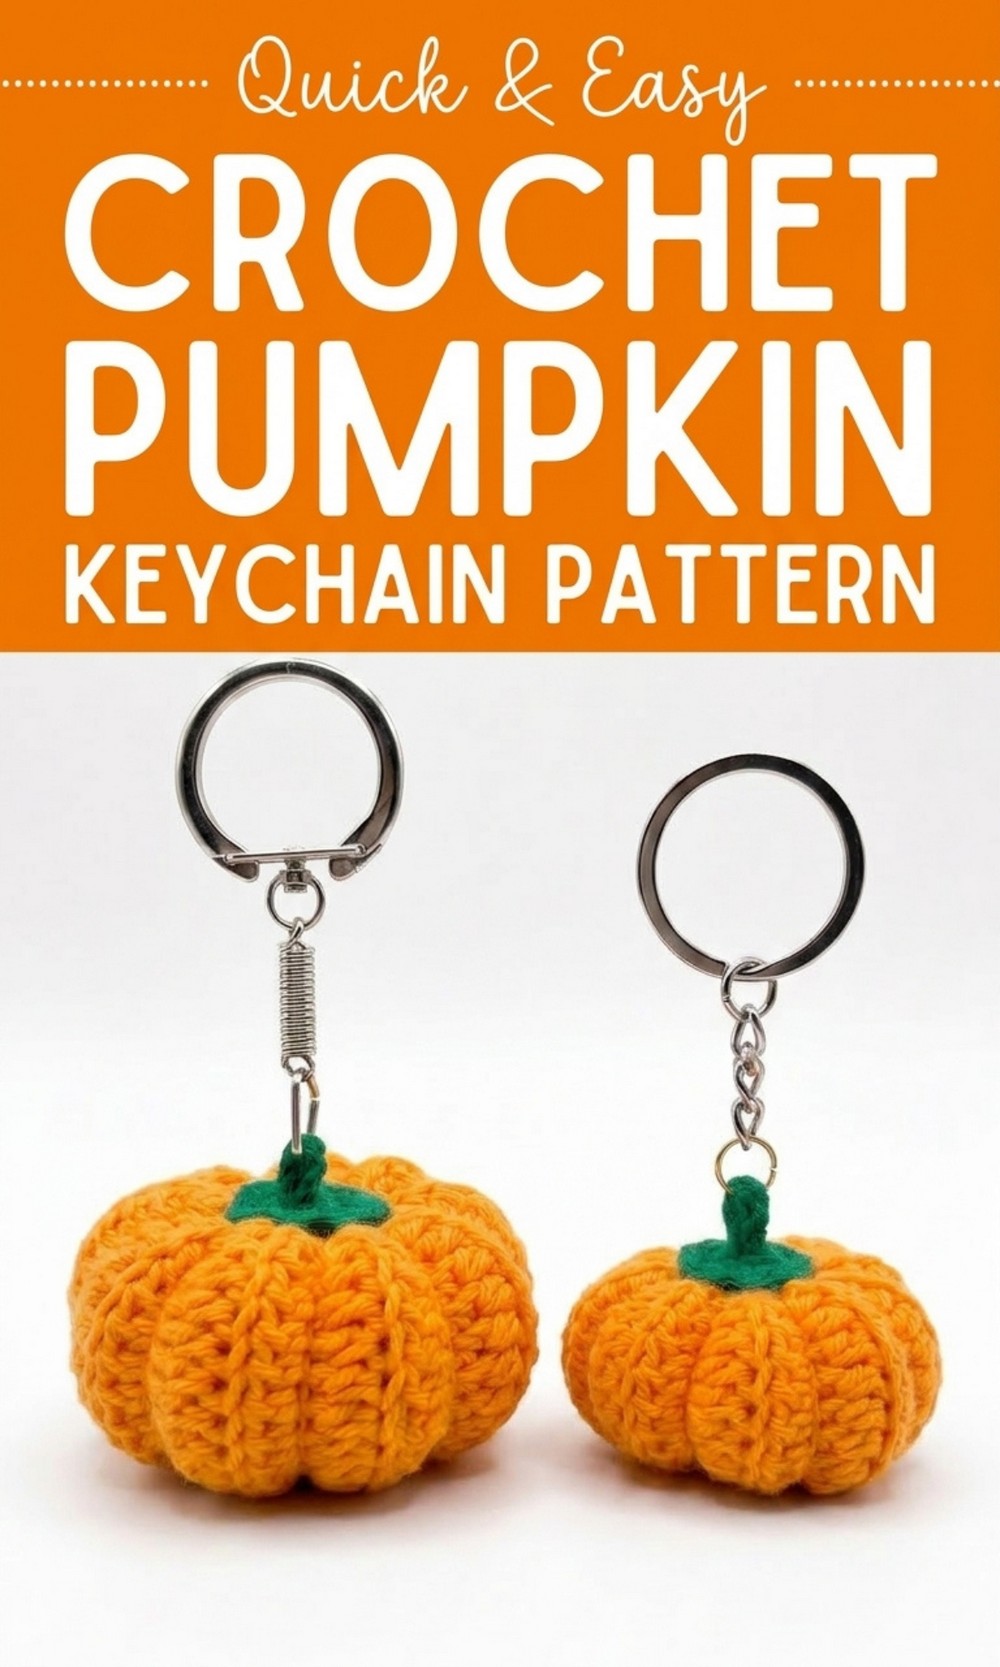
Brighten Your Day with This Free Crochet Pumpkin Keychain Pattern
Upgrade your accessories with a crochet pumpkin keychain that’s both adorable and functional. The pumpkin is small, round, and soft, with charming details like raised lines along the sides that create a realistic pumpkin look. Its little stem at the top adds to its beauty and doubles as the spot where you attach the keyring. This delightful crochet will add a touch of coziness to your keys, backpacks, or handbags. Use it to jazz up your everyday items or gift it to friends and family as a thoughtful handmade present. It’s ideal for fall décor, Halloween vibes, or anytime you want something playful and unique. Plus, it’s a great way to use up leftover yarn and enjoy a quick, rewarding project.
Crochet Pumpkin Keychain Pattern
Materials Needed
- Yarn: Two colors of yarn (one orange for the pumpkin body and green for the stem and vines). Cotton yarn works best for durability and neatness.
- Crochet Hook: Size 2.5 mm.
- Stuffing: A small amount of siliconized fiberfill or polyester stuffing to fill the pumpkin.
- Tapestry Needle: For assembling and sewing.
- Keychain Hardware: A keyring or keychain clip to attach to the pumpkin.
- Scissors: For cutting yarn.
Gauge (Optional)
- Gauge is not critical for this project. However, a tight stitch is recommended to ensure the stuffing does not show through the stitches.
Finished Size
- The finished pumpkin measures approximately 2 inches in diameter (depending on your yarn and tension).
Pattern Instructions
Step 1: Create the Pumpkin Body
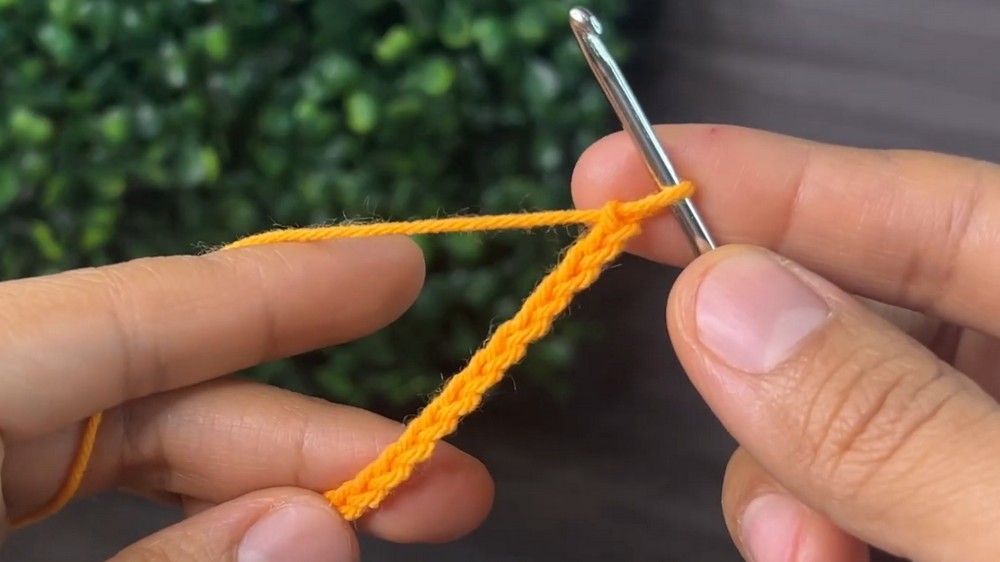
- Foundation Chains
- Begin by chaining 15 chains. This will serve as the foundation for your pumpkin.
- Row 1:
- Start by making a half-double crochet (hdc) in the second chain from the hook. Yarn over, insert the hook, pull through the loop, and pull through all three loops on the hook.
- Continue working hdc across the entire row. You should have 14 half-double crochets in total.
- Row 2 onward:
- Chain 1, turn your work.
- Work into the back loops only (BLO) of each stitch to create a ribbed texture.
- Continue with hdc across the row. Each row should have 14 hdc.
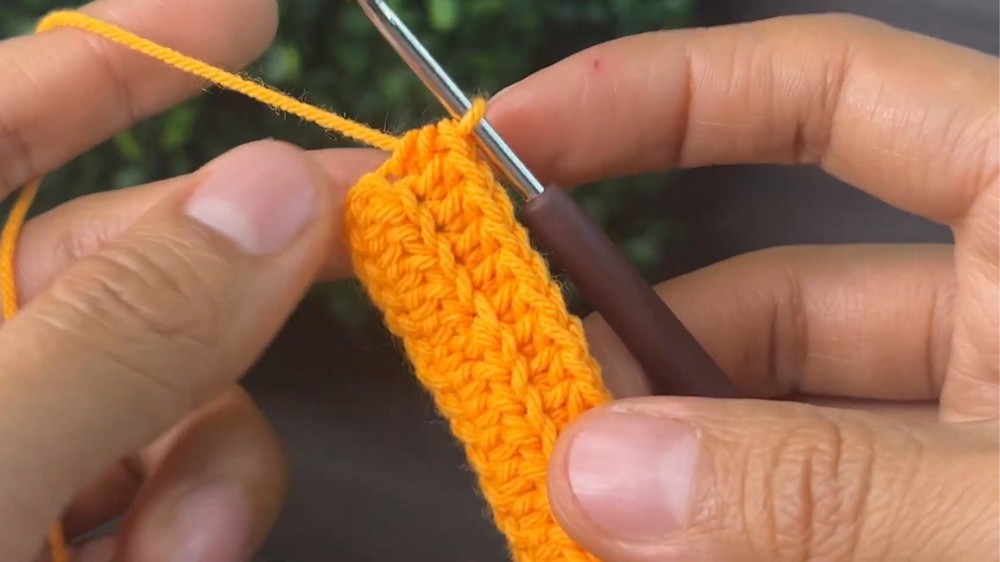
- Repeat Row 2 until you have a total of 18 rows (or until the piece reaches the desired length to wrap around and form the pumpkin).
Step 2: Assemble the Pumpkin
- Close the Sides:
- Fold the rectangle in half and slip stitch along the short edges to join them and form a tube shape.
- Cut the yarn and fasten off.
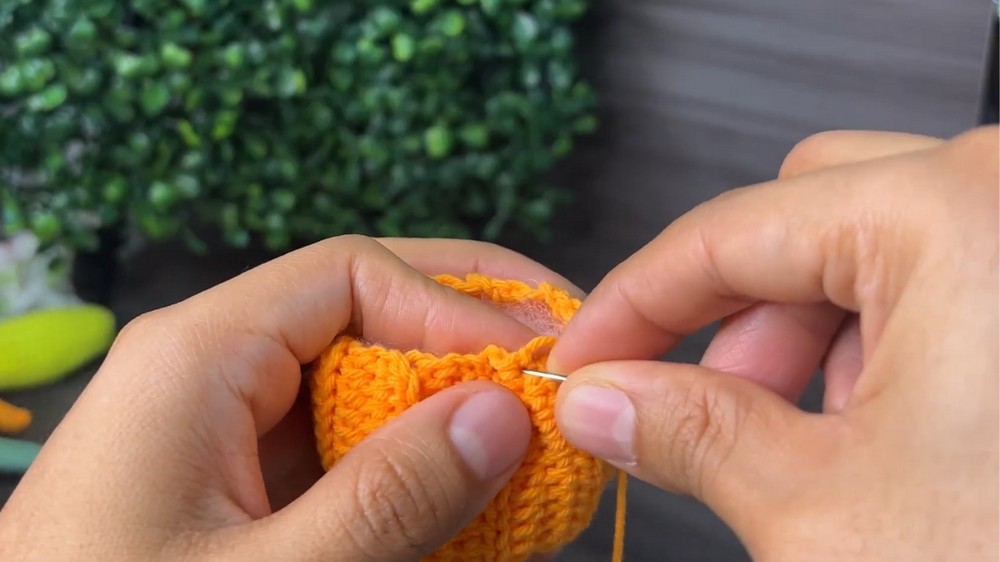
- Close the Bottom:
- Take a long strand of yarn and the tapestry needle, then sew around the bottom edge of the tube using a running stitch.
- Pull tightly to close the bottom, knot securely, and weave in the ends.
- Stuff the Pumpkin:
- Turn the tube right side out and fill it with siliconized fiberfill or stuffing.
- Make sure to stuff enough to give the pumpkin a nice, round shape.
- Close the Top:
- Similarly, sew around the top edge with a running stitch. Pull the thread tight to close the top, knot securely, and weave in the ends.
- Shape the Pumpkin:
- Use a length of yarn (the same color as the pumpkin body) and thread it through the bottom and top-center of the pumpkin.
- Repeat threading several times around the pumpkin, cinching tightly to create pumpkin ridges. This gives the pumpkin its distinct shape.
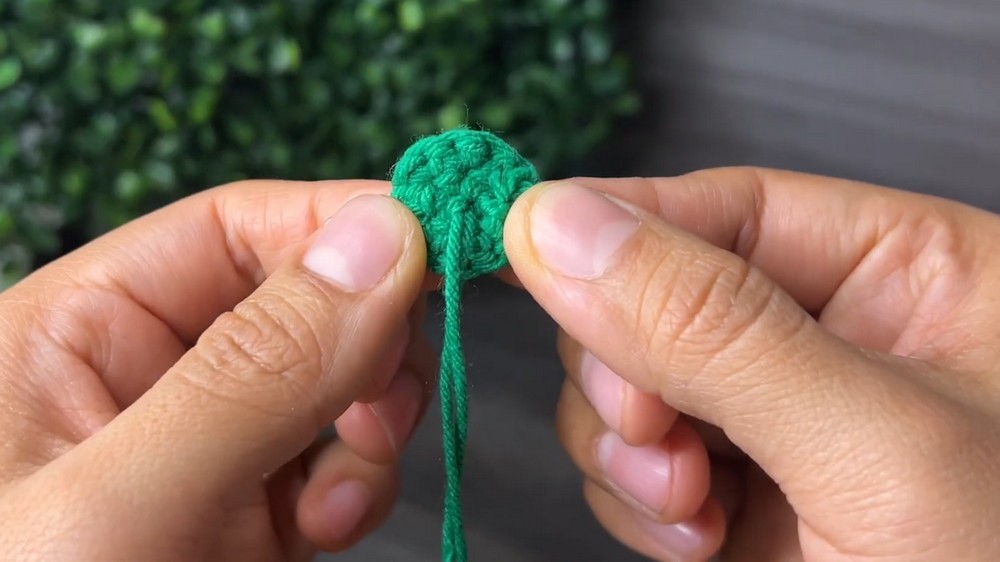
Step 3: Add the Stem and Vine
- Stem:
- Create a magic ring and work 6 single crochets (sc) into the ring.
- Tighten the magic ring and continue making single crochets for one or two additional rounds to build a short stem.
- Fasten off and leave a long tail for sewing.
- Vine:
- Chain 8 (or desired length).
- Starting in the second chain from the hook, work 2 single crochets in each chain to create a curled vine.
Step 4: Attach Keychain Hardware
- Insert the chain or a small loop of yarn through the top of the pumpkin and attach the keyring or keychain hardware securely.
Customization Ideas
- Colors: Experiment with different colors to make unique pumpkins. For example, use white for a ghost pumpkin or yellow for fall vibes.
- Decor: Add beads, embroidery, or a small tag to personalize the pumpkin.
- Size Adjustment: Increase or decrease the foundation chain or rows to make pumpkins of varied sizes.
Special Techniques
- Back Loop Only (BLO): Working in the back loop of stitches creates a ribbed texture essential for the pumpkin’s body.
- Magic Ring: A foundational technique to begin circular pieces like the pumpkin’s stem.
- Shaping with Yarn: Threading yarn through the top and bottom of the pumpkin helps create its characteristic segments.
Tips for a Perfect Finish
- Keep your stitches tight to avoid gaps in the pumpkin.
- Ensure the stem is sewn on tightly to prevent it from coming loose.
- Test your keychain hardware to ensure it’s securely attached.
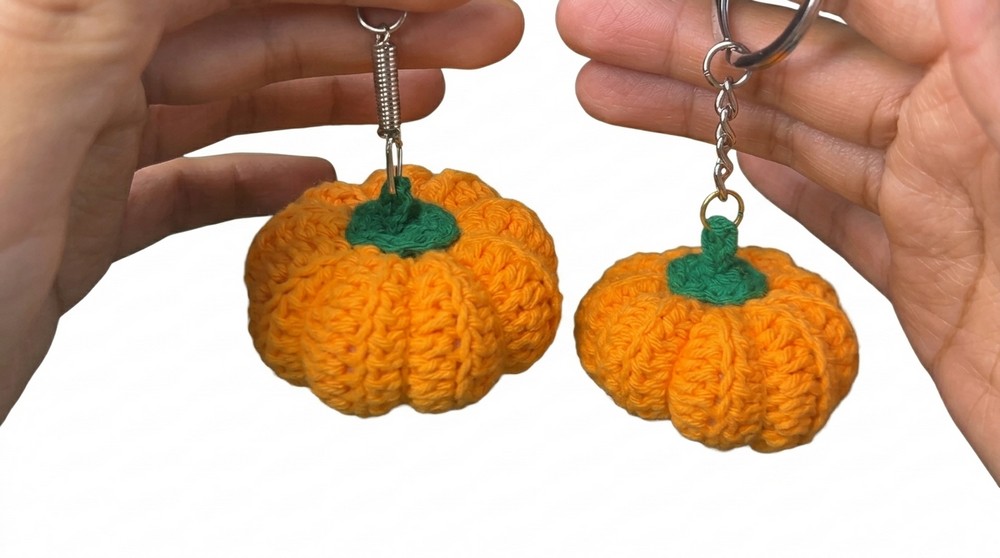
Conclusion and Final Look
Once complete, your crochet pumpkin keychain will be a delightful little accessory with an adorable ribbed design, a cute curly vine, and a sturdy stem. Whether you’re making it for personal use, gifting it to a loved one, or selling it, this pumpkin keychain is sure to bring smiles. Have fun customizing and creating your pumpkins.