
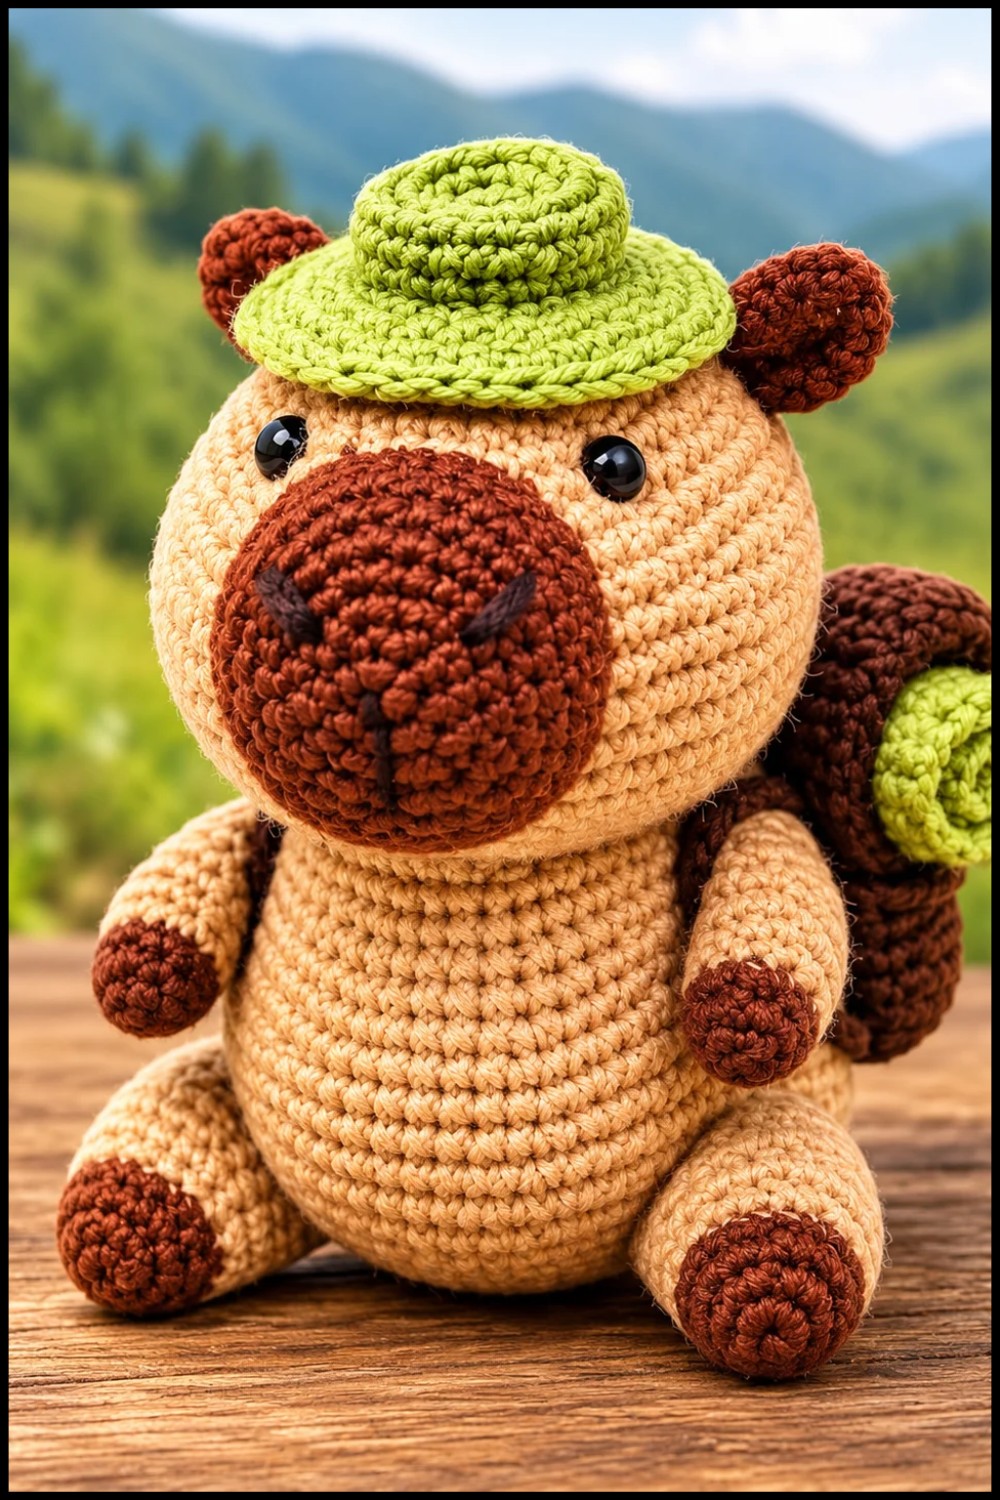
Create a cute Crochet Traveler Capybara amigurumi with this free pattern that guides you through each simple step to complete your charming soft toy.
Hooks & Needles By Mita shares a lovely tutorial that introduces Crochet Emi The Otter Amigurumi, a charming project filled with personality and warmth. This talented creator has developed a pattern that captures the sweet and playful nature of an otter in a small crochet toy.
Cute Crochet Traveler Capybara Amigurumi Free Pattern For Animal Lovers
Crochet Emi The Otter Amigurumi is a soft, stuffed animal made with yarn and simple stitches. The finished toy is small and fits easily in your hand, making it a nice decoration, gift, or keepsake. The otter features a round body, tiny limbs, a cute face, and a signature tail that looks just like the real animal. This project works well for those with beginner to intermediate crochet skills and is a great way to practice shaping and sewing small parts together.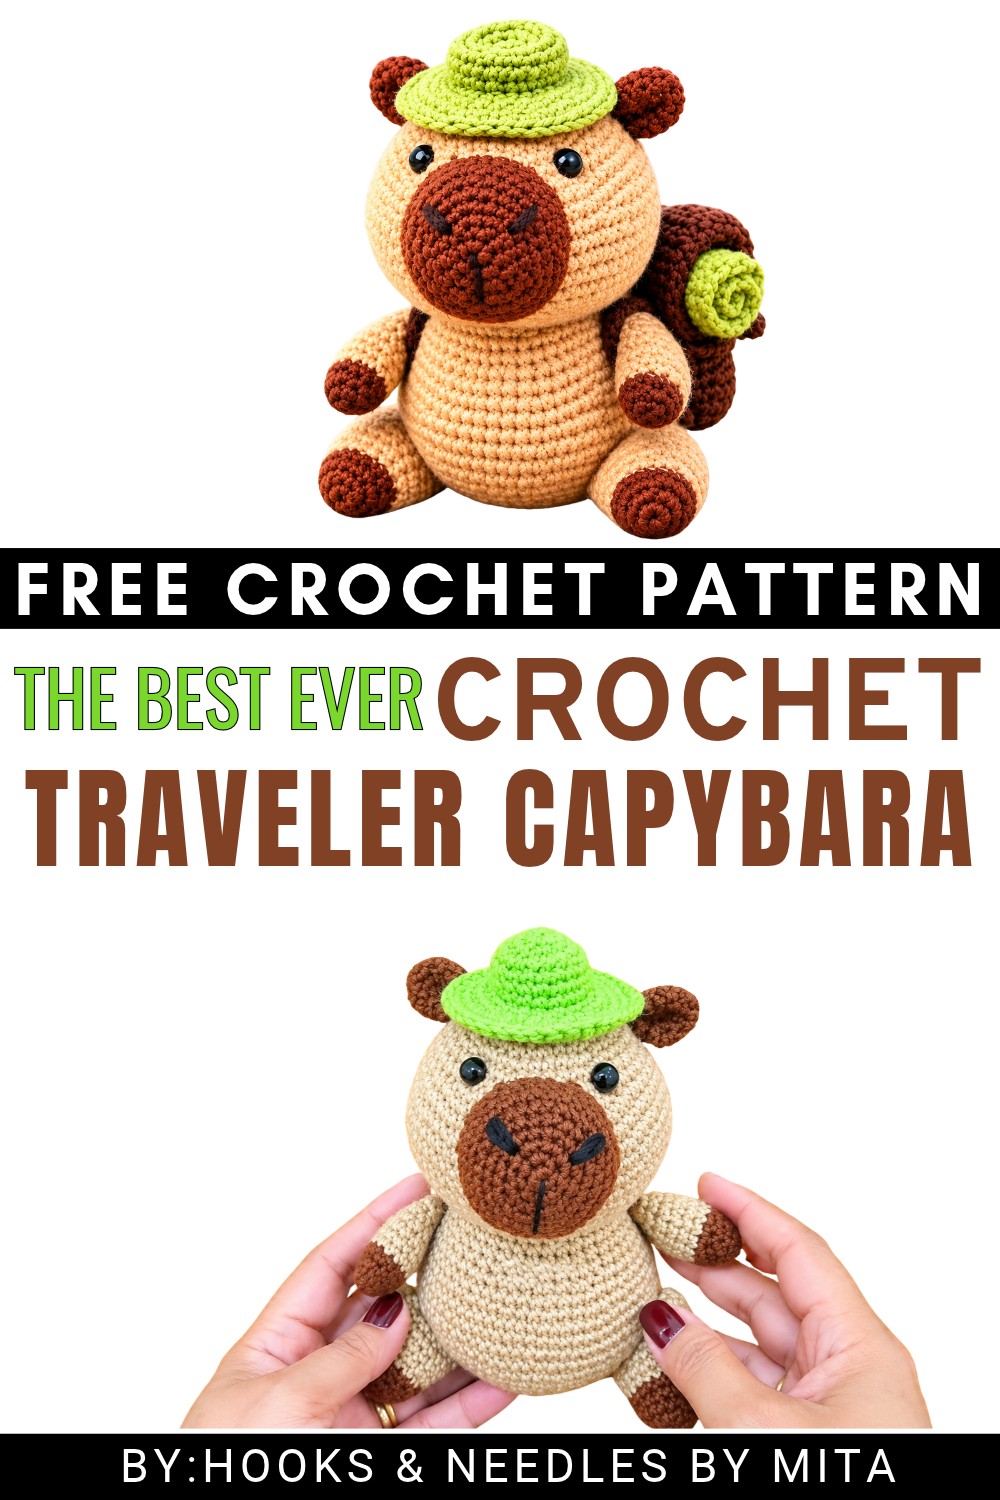 The process starts with a magic ring, followed by rounds of single crochet to build the body. You then crochet the limbs, ears, and tail separately and carefully attach them. Adding details like eyes and the nose gives the otter its lovable character. The steps are simple and offer a focus on fundamentals such as crocheting in the round, increasing and decreasing stitches, and assembling the toy.
This project offers a fun and satisfying experience for anyone who enjoys making cozy little figures. Try this free pattern and bring a sweet Capybara friend to life in your hands today!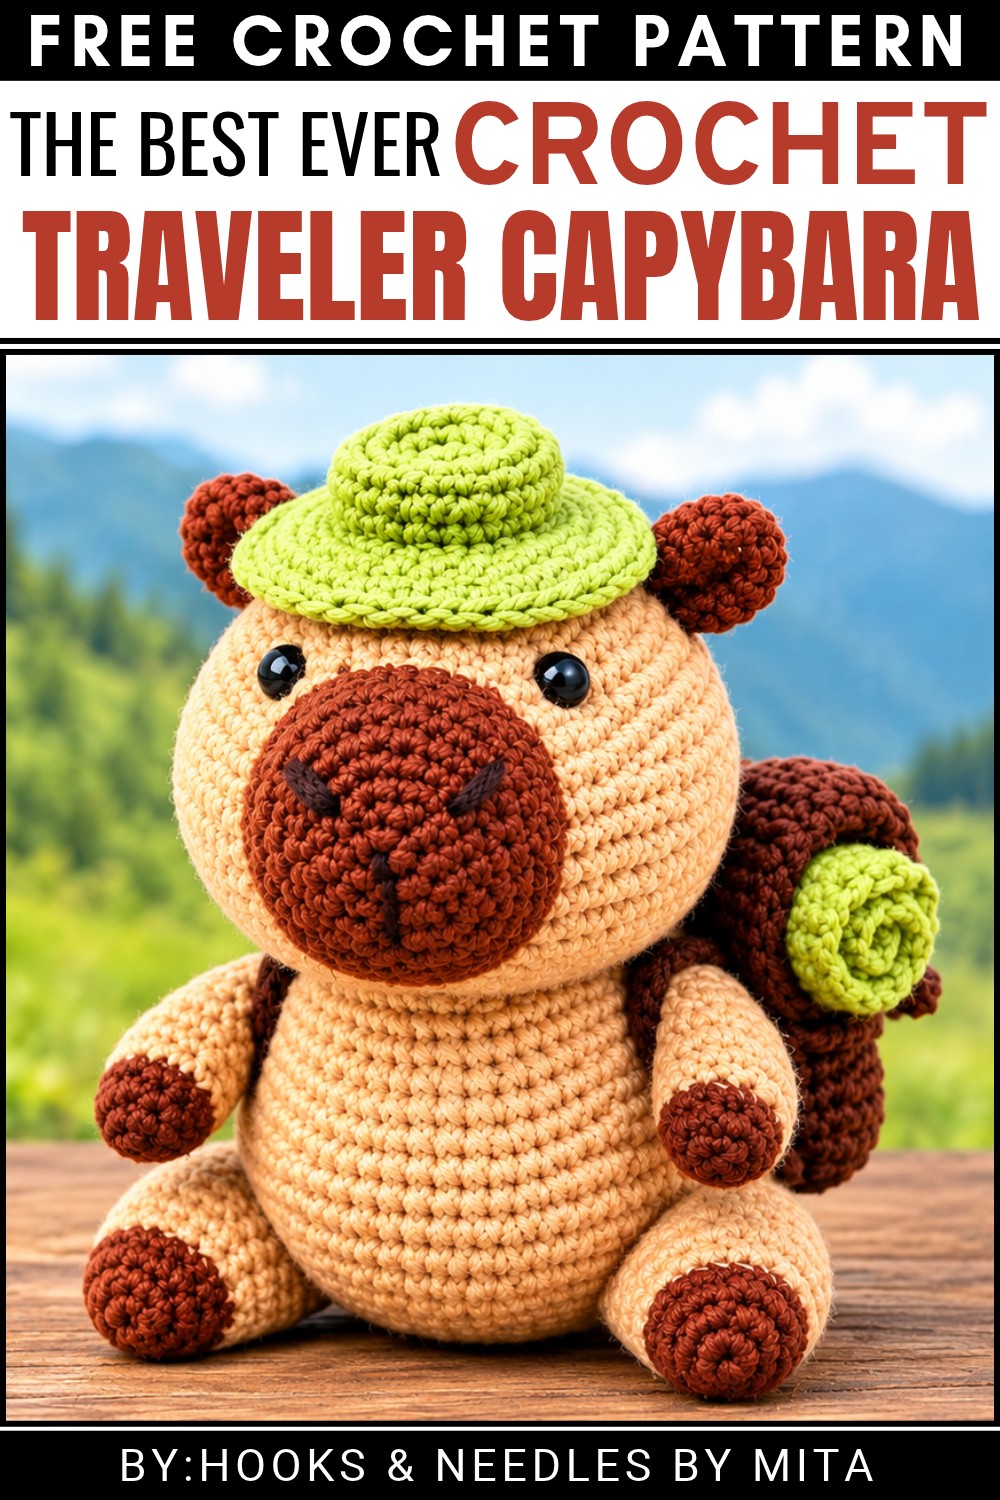
About the Pattern
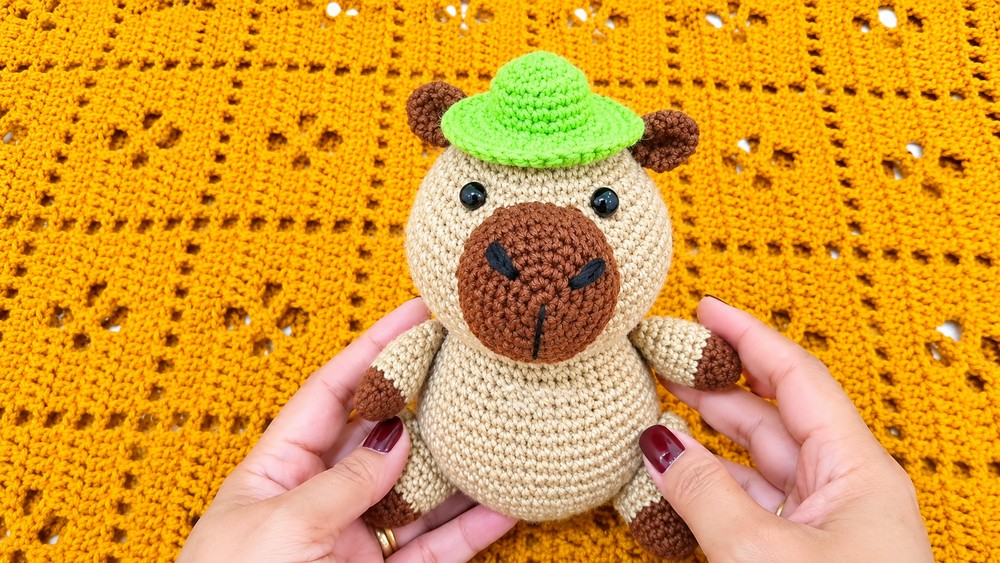
This meticulously designed crochet pattern results in a charming capybara, well-suited for travelers or amigurumi enthusiasts. Constructed in segmental rounds, the pattern focuses on detailed shaping of the snout, head, body, limbs, and ears, concluding with careful embroidery and strategic assembly. Demonstrating classic increases and decrease techniques for shaping, the pattern ensures a realistic and proportionate toy, measuring comfortably for decorative or gifting purposes.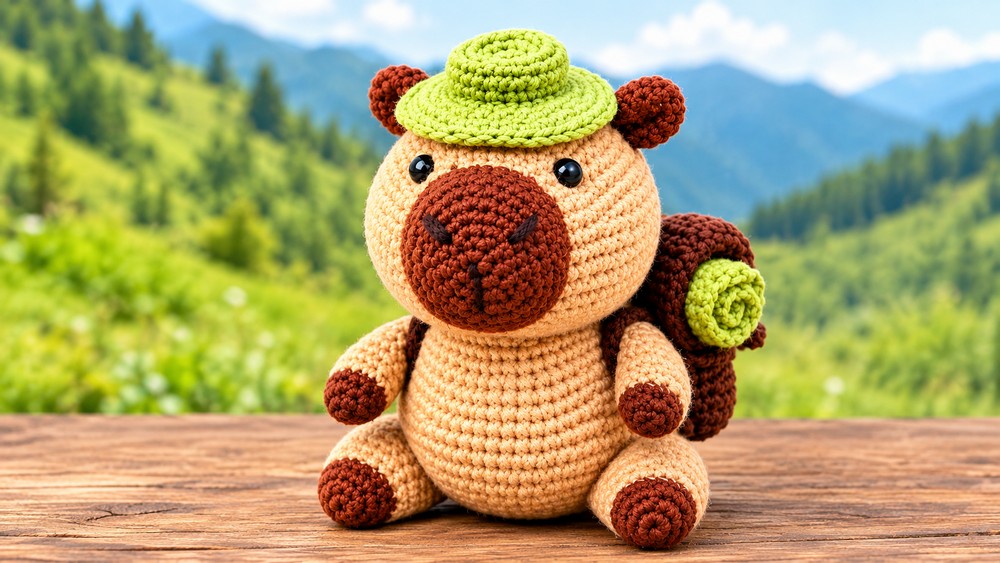
Pattern at a Glance
- Form: Amigurumi capybara with poseable limbs and expressive facial features.
- Construction: Individual segments (snout, head/body, ears, arms, legs) joined through detailed sewing and embroidery techniques.
- Stitches Used: Single crochet, increase, decrease, magic ring; foundational embroidery for finishing.
- Attributes: Realistic proportions, sturdy shaping, and seamless joins enhance both durability and visual appeal.
Important Notes
- Stitch count accuracy is crucial throughout increasing and decreasing rounds for optimal shaping.
- Color changes for limbs must be executed cleanly for a uniform finish.
- Segments are stuffed before final closure when applicable; limbs and ears are flattened and sewn for a plush effect.
- Assembly order greatly influences overall appearance—placement of facial features and limbs should be aligned precisely.
Difficulty Level
This project is suitable for intermediate crocheters who are comfortable working in the round and can manage shaping through increases and decreases. Experience with basic embroidery and sewing for amigurumi assembly is encouraged.
Supplies Needed
- Yarn: Worsted weight or amigurumi-specific yarn in beige (main body), brown (limbs and snout accent), and embroidery floss for nose/mouth.
- Hook: 2.5–3.5 mm crochet hook (adjust for yarn thickness and desired tightness)
- Stuffing: Polyester fiberfill or similar
- Tapestry needle: For sewing parts and embroidery
- Scissors
- Pins: For positioning segments before sewing
- Optional: Stitch markers for tracking rounds
Size & Measurements
Using worsted weight yarn and a 3mm hook, the finished capybara stands about:
- Height: 6–7 inches (15–18 cm)
- Width: 4–5 inches (10–13 cm) across the body
Actual size may vary with yarn, hook, and stuffing density.
Gauge & Stitch Details
Gauge is not critical, but a tight, consistent stitch is necessary for stuffing and maintaining shape.
- Single crochet should be firm and close to prevent stuffing from showing.
Crochet Abbreviations
- mr: magic ring
- sc: single crochet
- inc: increase (2 sc in one stitch)
- dec: decrease (sc two stitches together)
- st(s): stitch(es)
- sl st: slip stitch
- rep: repeat
Special Stitch Guide
- Magic ring (mr): Make a loop, work six sc into the ring, then pull tight to close.
- Increase: Two single crochets in the same stitch.
- Decrease: Single crochet two stitches together, invisible decrease for best appearance.
- Flatten and join: Press ends together and sc or sew across for closed segments.
- Embroidery: Use back stitch and/or satin stitch to form nose and mouth features.
Complete Crochet Pattern
Snout
- Round 1: Create a mr with 6 sc.
- Rounds 2-7: Increase as follows: (R2: sc inc around = 12 sts, R3: [sc, inc] rep = 18 sts, R4: [2 sc, inc] rep = 24 sts, R5: [3 sc, inc] rep = 30 sts, R6: [4 sc, inc] rep = 36 sts, R7: [5 sc, inc] rep to 32 sts).
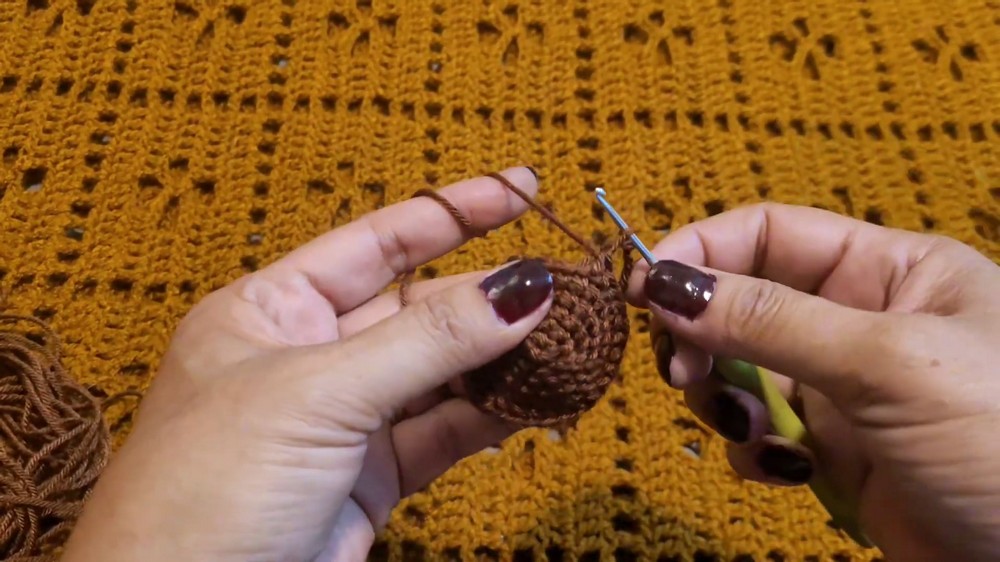
- Rounds 8-9: Work 34 sc each round, keeping the stitch count steady.
Head & Body
- Round 1: Begin with a mr and 6 sc.
- Increase to Round 13: Work increases in each round (R2: inc to 12, R3: inc to 18, continue pattern up to 60 sts by round 13).
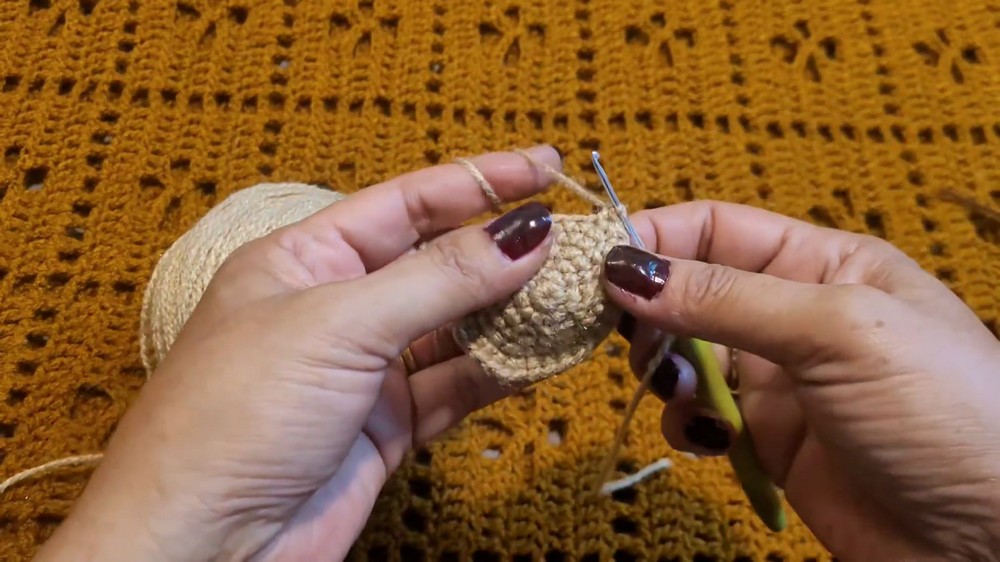
- Rounds 14-17: Work straight (60 sc) each round.
- Rounds 18-22: Begin decreases, shaping the head (e.g., R18: [8 sc, dec] rep, continue reducing in each round as guided, down to 48, 42, etc.).
- Body Rounds 23-42: Resume increases to return to 60 sc, then work straight rows as indicated. Begin decreases from round 37 to shape to 12 sts by round 42.
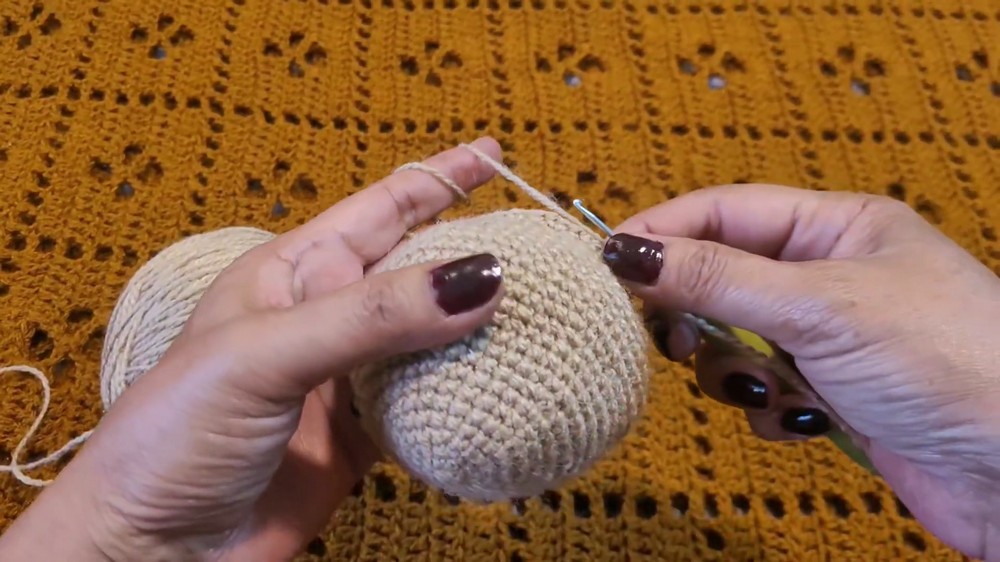
- Closing: Work 6 dec in the final round to close.
Ears
- Round 1: Begin with a mr and 6 sc.
- Round 2: Inc in each stitch (12 sc).
- Rounds 3-5: Work 12 sc each round.
- Flatten: Fold ear in half, sc or sew edges together for a flat ear shape.
Arms
- Round 1: With brown, mr and 6 sc.
- Round 2: Inc to 9 sc.
- Color Change: Switch to beige/body color.
- Round 3: Inc to 12 sc.
- Rounds 4-10: Continue straight (12 sc per round).
- Flatten and close: Press together and join edges by sc or sewing.
Legs
- Round 1: Begin with brown, mr and 6 sc.
- Round 2: Inc to 12 sc.
- Color Change: Switch to beige/body color.
- Rounds 3-8: Inc up to 24 sc as follows: (R3: inc to 14, R4: inc to 16, etc., reaching 24 by round 8).
- Rounds 9-14: Decrease down to 12 sc (R9: [sc, dec] rep, etc.).
- Flatten and close: Press ends, join by sc or sewing.
Assembly & Finished Size
Once all segments are crocheted and stuffed as needed:
- Nose & Mouth: Use embroidery techniques (back stitch, satin stitch) to form the nose at the tip of the snout and shape the mouth beneath.
- Ears: Position by counting 7 stitches from the top center. Attach firmly with tapestry needle and yarn.
- Snout: Secure with pins for alignment; sew firmly to the head and stuff lightly for shape.
- Arms: Align on the body sides, sew securely with tapestry needle, using matching yarn.
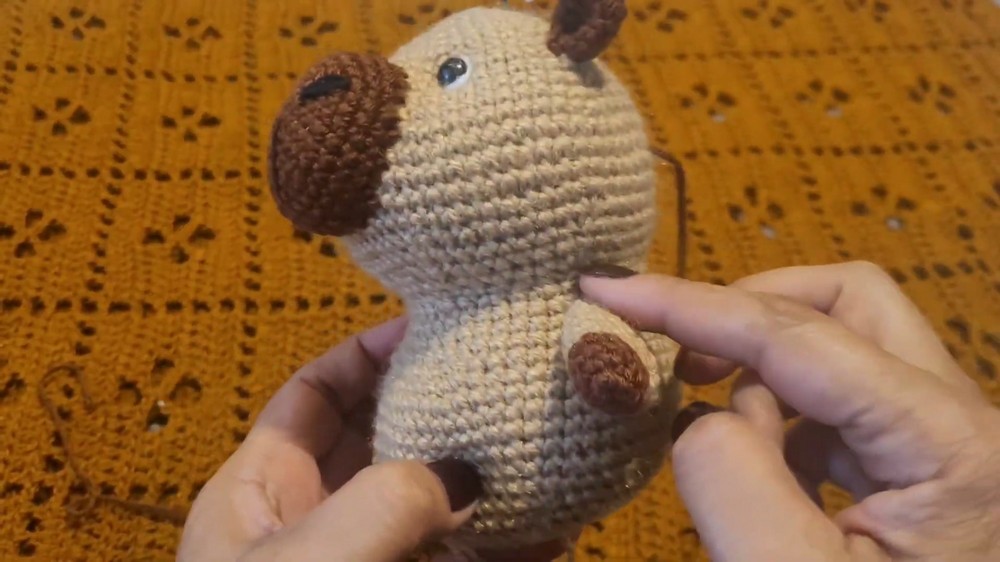
- Legs: Place 3 rows below the arm placement for anatomical accuracy, sew securely.
Gently shape work with your hands, making sure all pieces are symmetrical. Trim any excess threads and weave ends neatly for a clean finish.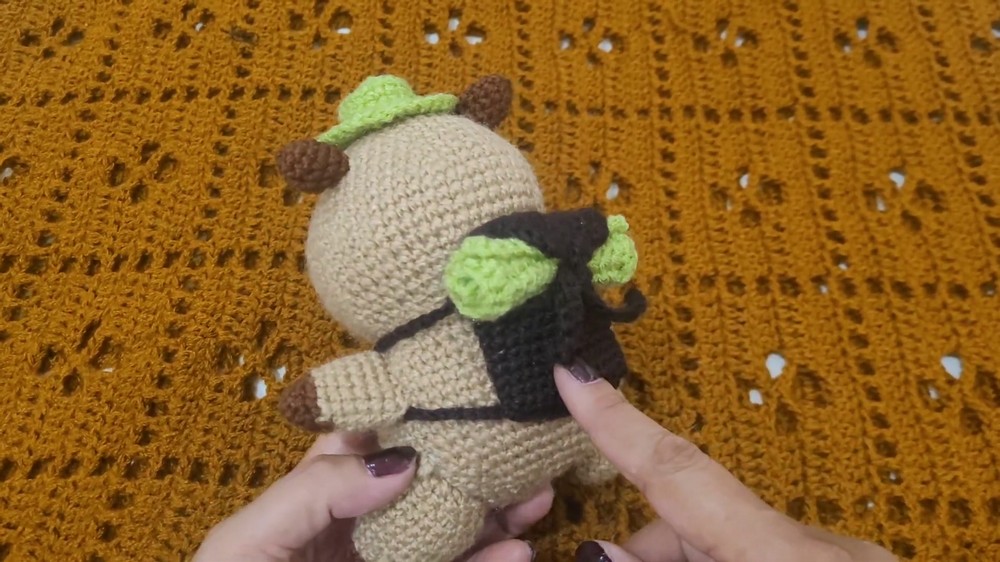
Conclusion
The traveler capybara amigurumi pattern offers a balanced combination of shaping, color changes, and detailed assembly. Its stepwise increases and decreases refine proportions and structure, resulting in a compact, irresistibly cute soft toy. Flexible in sizing and adaptable in color, this pattern serves as both a delightful gift and a staple project for amigurumi collections. With careful attention to detail and assembly, each capybara reflects craft and charm, making it suitable for display or play alike.
