
Keep a playful pup on your bookshelf with the Crochet Puppy Amigurumi Free Pattern, a fun animal toy that adds a cheerful touch to your room.
A little dog sitting quietly beside its owner is a lovely sight, especially when its playful personality shows through its tiny movements. The Crochet Puppy Amigurumi captures this familiar feeling in an adorable yarn figure that has a friendly appearance and a lovable character. Hooks & Needles By Mita presents this delightful puppy idea, offering crochet lovers a wonderful animal project for their free time.
Free Crochet Puppy Amigurumi Pattern To Try at Home
The puppy has a lovely appearance with its rounded face, small snout, and neatly shaped body. Its ears give the head a natural dog-like outline, while the tiny feet add a playful touch. The eyes and nose help define its expression, giving the puppy an attentive look. Soft beige, golden brown, or light gray yarn can suit this animal beautifully.
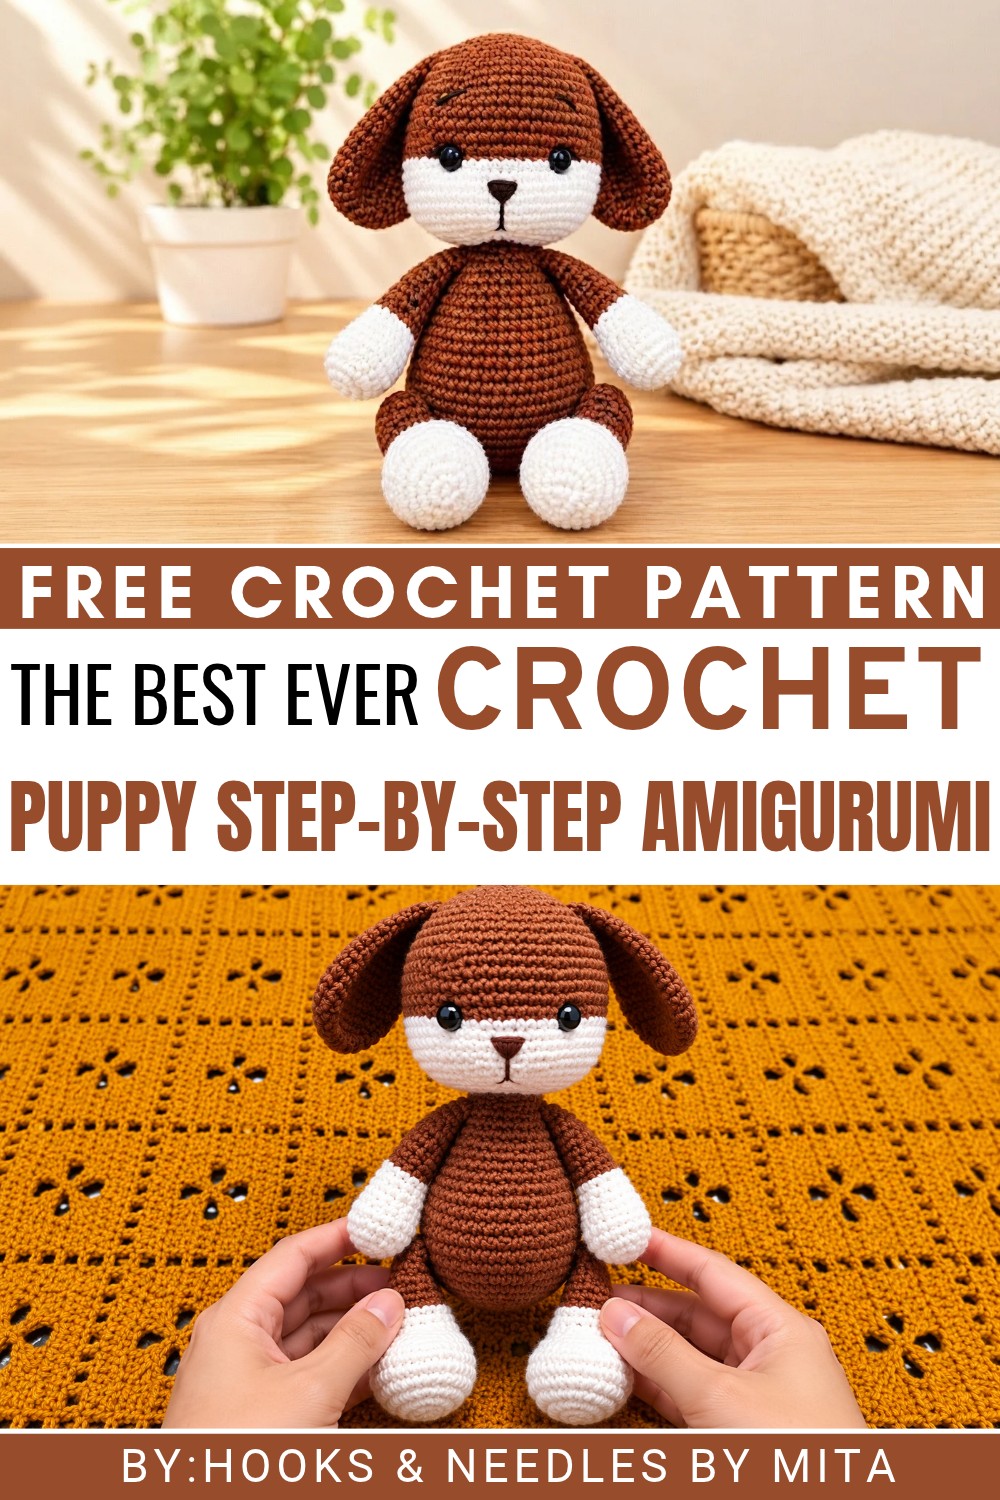 One interesting part of this project is how the puppy’s shape develops through crochet stitches. The head and body can be formed using increases and decreases, while the smaller sections help complete the animal’s outline. Carefully securing the yarn ends gives the finished piece a tidy appearance.
This puppy can decorate a living room cabinet, sit on a child’s playroom shelf, or become a lovely addition to a pet-themed bedroom. It is also suitable for a birthday present, a small gift for a dog-loving neighbor, or a cheerful decoration on a side table.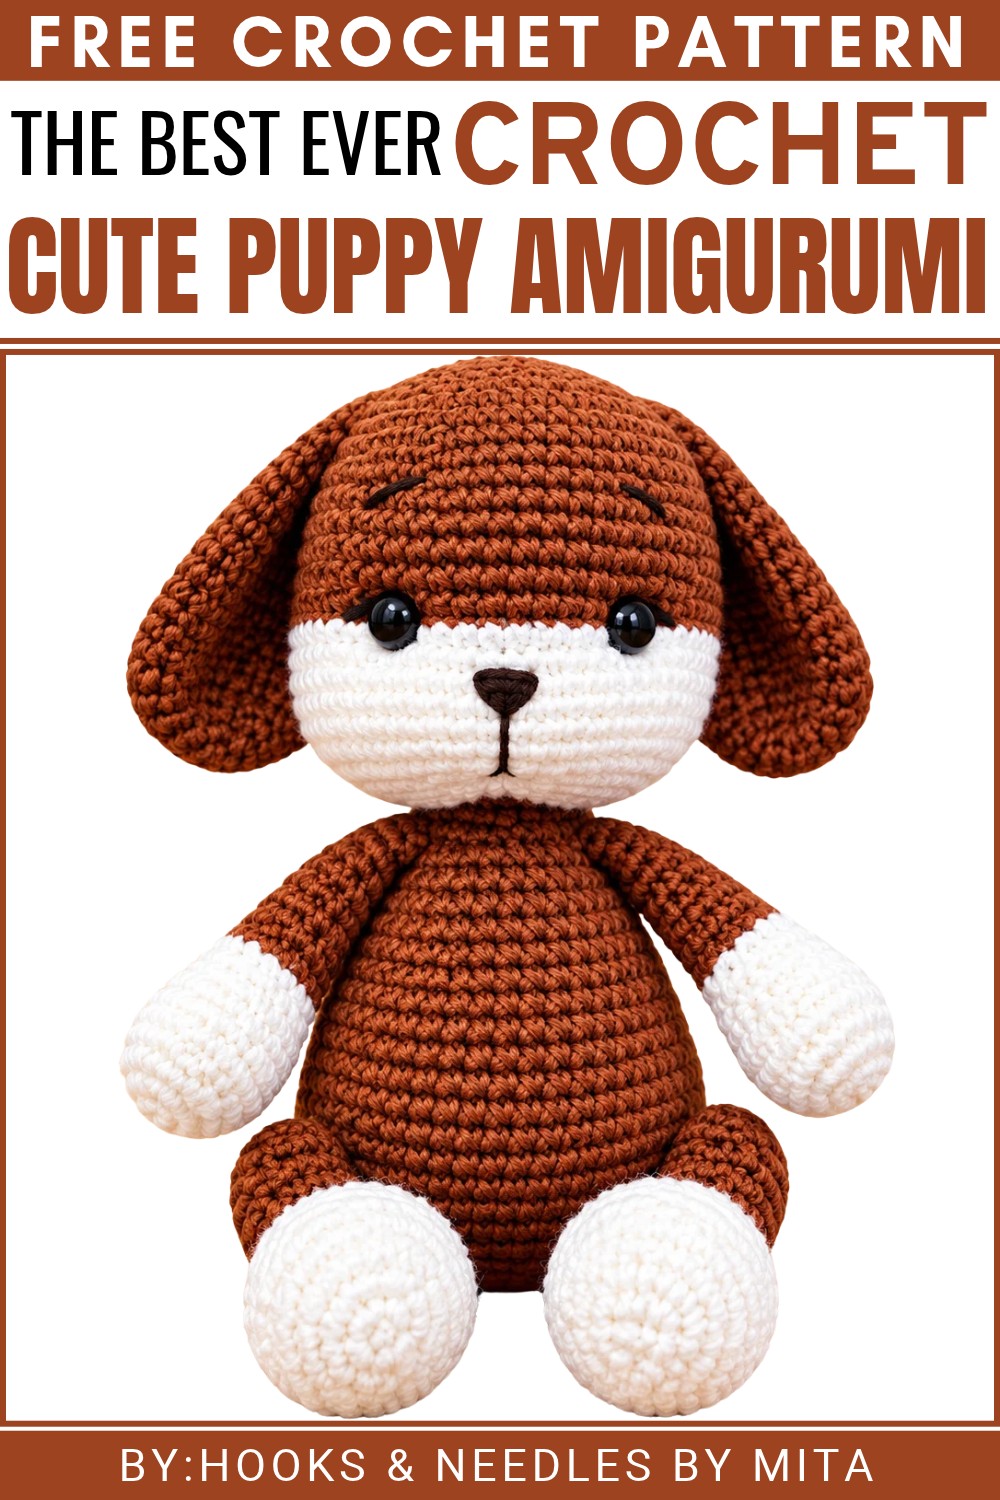 The finished puppy has a pleasant appearance that feels familiar to anyone who loves dogs. Its simple body shape and carefully worked details give it a friendly character, making it a nice addition to everyday home decoration.
About the Pattern
This amigurumi puppy pattern uses a blend of colorwork, gentle shaping, and simple embroidery to create a friendly, cuddly stuffed dog. The design features clear distinctions between the head, body, and limbs, as well as a smooth color transition for a realistic snout and a playful tail. Each segment is worked in the round using basic single crochet techniques and strategic increases and decreases to bring the puppy’s character to life.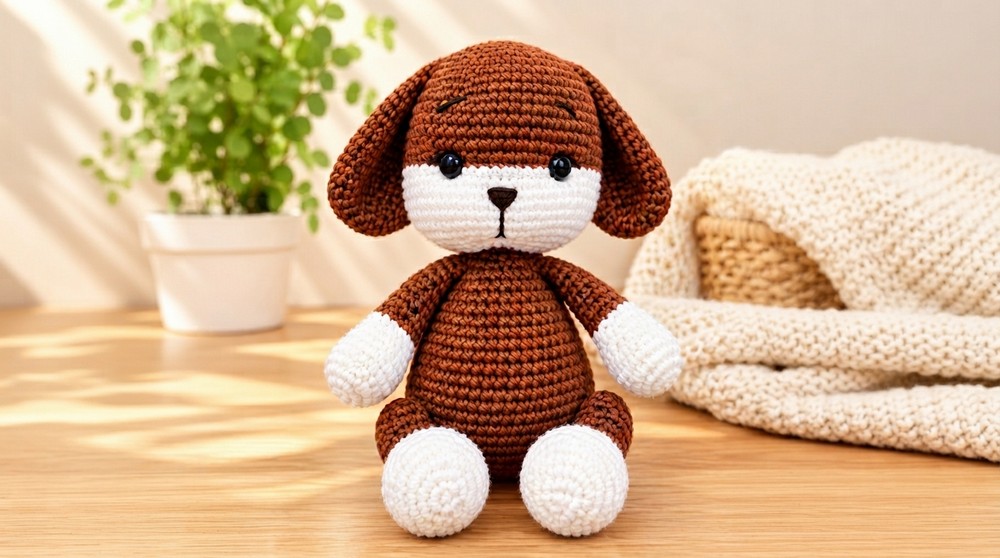
Pattern at a Glance
The pattern covers the entire process of making an amigurumi puppy, detailed from the head (with color transition and shaping for facial features), through the body, legs, arms, ears, and tail. The final steps include adding facial features and sewing the puppy together with correct placements. Multiple color changes, especially around the face and paws, enhance the whimsical charm and make assembly intuitive.
Important Notes
- All stitches are single crochets (sc) unless otherwise stated.
- Rounds are worked in a continuous spiral—use a stitch marker to keep track of the round start.
- Change colors as indicated, on the last yarn over of the last stitch before switching.
- Stuff pieces as directed, using just enough polyfill for a soft but sturdy feel.
- Assembly order is important for symmetry. Pin parts before sewing for correct placement.
- Safety eyes and embroidery can be substituted to make the project child-safe.
Difficulty Level
The pattern is ideal for confident beginners and intermediate crocheters comfortable with color changes, sewing pieces together, and managing shaping using increases and decreases. Skill with basic embroidery is helpful for adding the puppy’s nose and facial details.
Supplies Needed
- Worsted weight yarn in brown (main), white (secondary), and black (nose/facial features)
- 3.0–3.5 mm crochet hook
- 10 mm safety eyes
- Polyester fiberfill stuffing
- Yarn needle and embroidery needle
- Scissors
- Stitch markers
- Pins
Size & Measurements
Finished size ranges from 7 to 9 inches in height when made with a 3.5 mm hook and standard worsted weight yarn. Size may vary slightly based on tension and yarn choice.
Gauge & Stitch Details
Gauge is not critical for amigurumi but should be tight:
- 10 rounds x 10 stitches (single crochet) = 2 inches square (5 cm)
- Adjust hook size if stuffing is visible through stitches.
Crochet Abbreviations
- MR: Magic Ring
- sc: single crochet
- inc: increase (2 sc in same stitch)
- dec: invisible decrease (sc 2 together)
- ch: chain
- st(s): stitch(es)
- R: round
Special Stitch Guide
- Magic Ring (MR): Begin with a loop, work specified number of single crochets into the loop and pull tight.
- Invisible Decrease (dec): Insert hook through front loops of next two stitches, yarn over, draw through both, yarn over again, and pull through both loops.
- Color Change: On last yarn-over of last stitch in previous color, draw new color through to finish stitch.
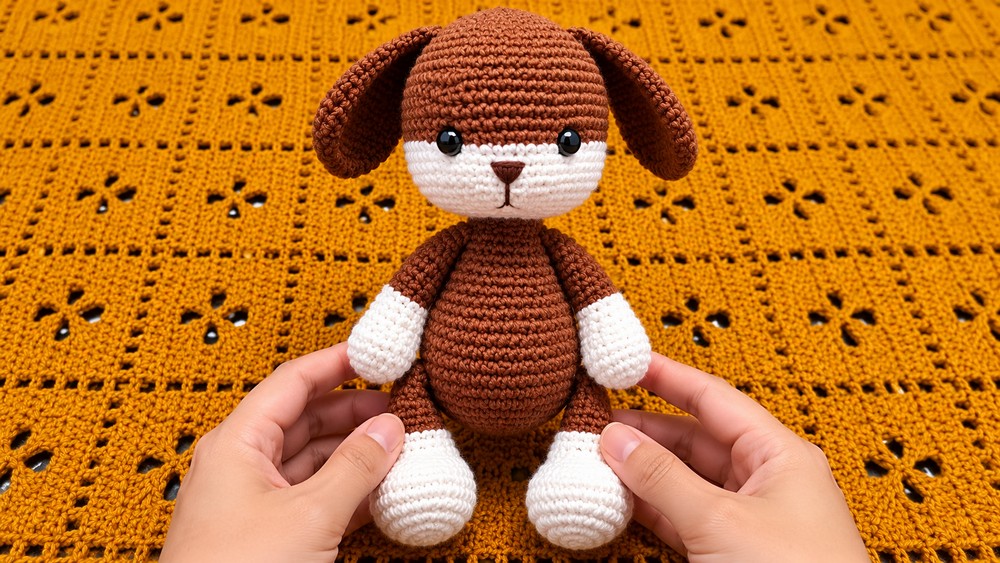
Complete Crochet Pattern
Head (Brown to White Transition)
- R1: MR, 6 sc
- R2: inc in each st (12 sts)
- R3: (1 sc, inc) x 6 (18 sts)
- R4: (2 sc, inc) x 6 (24 sts)
- R5: (3 sc, inc) x 6 (30 sts)
- R6: (4 sc, inc) x 6 (36 sts)
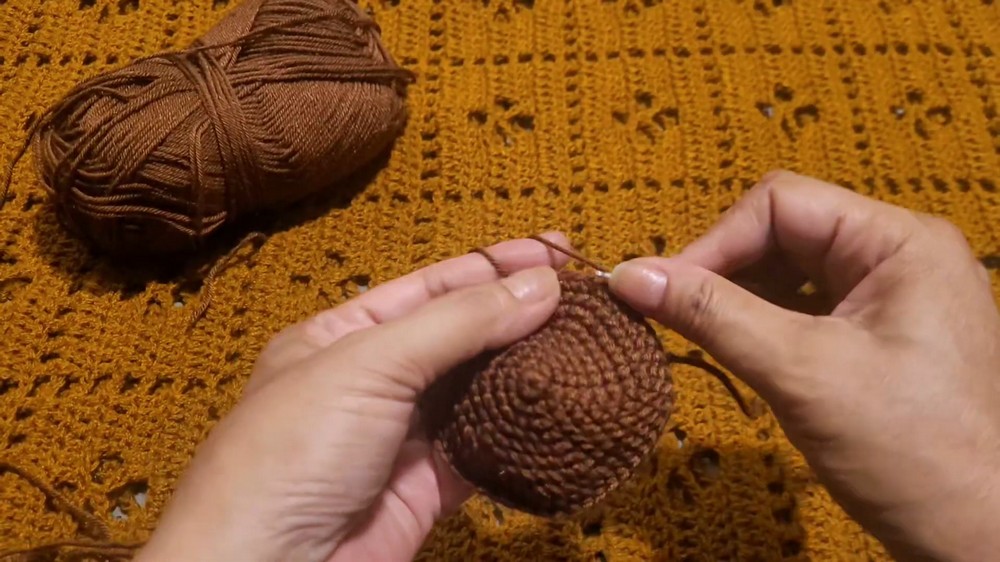
- R7: (5 sc, inc) x 6 (42 sts)
- R8: (6 sc, inc) x 6 (48 sts)
- R9–R10: sc in each st (48 sts per round)
- R11: (7 sc, inc) x 6 (54 sts)
- R12–R16: sc in each st (54 sts per round)
- Transition to White: Change to white yarn.
- R17–R21: sc in each st (54 sts per round)
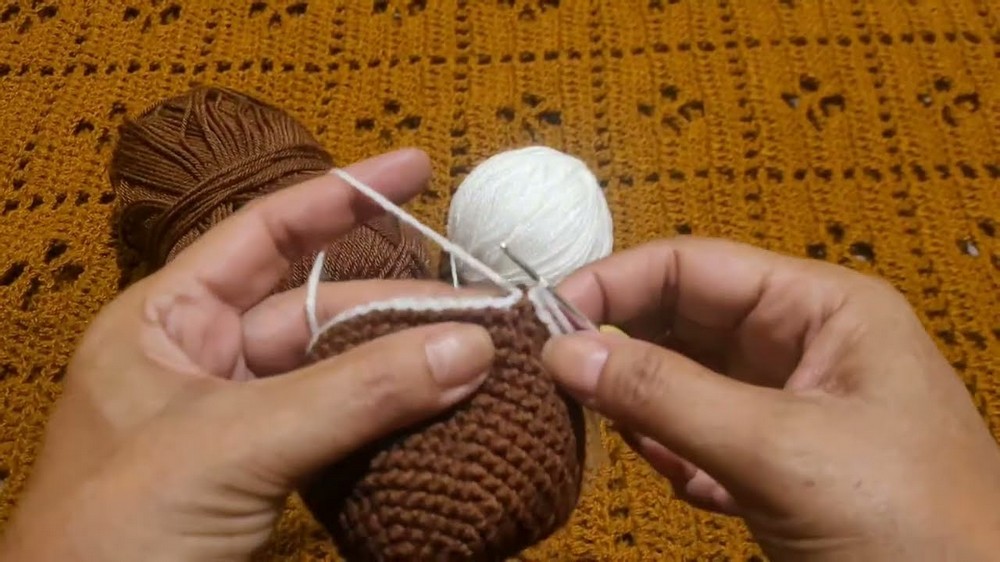
- Eye Attachment: Insert safety eyes, spacing them 11 stitches apart.
- R22: (7 sc, dec) x 6 (48 sts)
- R23: (6 sc, dec) x 6 (42 sts)
- R24: (5 sc, dec) x 6 (36 sts)
- R25: (4 sc, dec) x 6 (30 sts)
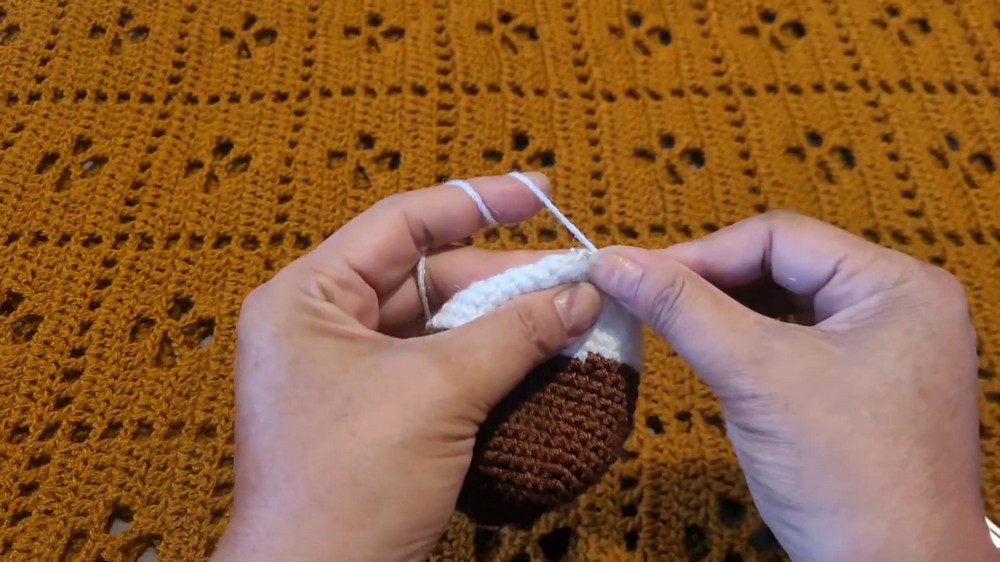
- R26: (3 sc, dec) x 6 (24 sts)
- Stuff Head Firmly
- R27: (2 sc, dec) x 6 (18 sts)
- Fasten off, leaving a tail for sewing.
Body
- R1: MR, 6 sc
- R2: inc in each st (12 sts)
- R3: (1 sc, inc) x 6 (18 sts)
- R4: (2 sc, inc) x 6 (24 sts)
- R5: (3 sc, inc) x 6 (30 sts)
- R6: (4 sc, inc) x 6 (36 sts)
- R7: (5 sc, inc) x 6 (42 sts)
- R8: (6 sc, inc) x 6 (48 sts)
- R9–R16: sc in each st (48 sts per round)
- R17: (6 sc, dec) x 6 (42 sts)
- R18: sc in each st (42 sts)
- R19: (5 sc, dec) x 6 (36 sts)
- R20: sc in each st (36 sts)
- R21: (4 sc, dec) x 6 (30 sts)
- R22–R23: sc in each st (30 sts per round)
- Stuff Body Firmly
- R24: (3 sc, dec) x 6 (24 sts)
- R25–R26: sc in each st (24 sts per round)
- R27: (2 sc, dec) x 6 (18 sts)
- R28: sc in each st (18 sts)
- Fasten off, leaving a long tail.
Legs (Make 2)
- Use White for the base.
- R1: MR, 6 sc
- R2: inc in each st (12 sts)
- R3: (1 sc, inc) x 6 (18 sts)
- R4: (2 sc, inc) x 6 (24 sts)
- R5–R11: sc in each st (24 sts per round)
- Switch to Brown.
- R12–R19: sc in each st (24 sts per round)
- Lightly stuff as you go.
- Fasten off, leaving a tail for sewing.
Arms (Make 2)
- Use Brown for the entire arm.
- R1: MR, 6 sc
- R2: inc in each st (12 sts)
- R3: (1 sc, inc) x 6 (18 sts)
- R4: (2 sc, inc) x 6 (24 sts)
- R5–R10: sc in each st (24 sts per round)
- R11–R19: sc in each st (24 sts per round)
- Stuff lightly.
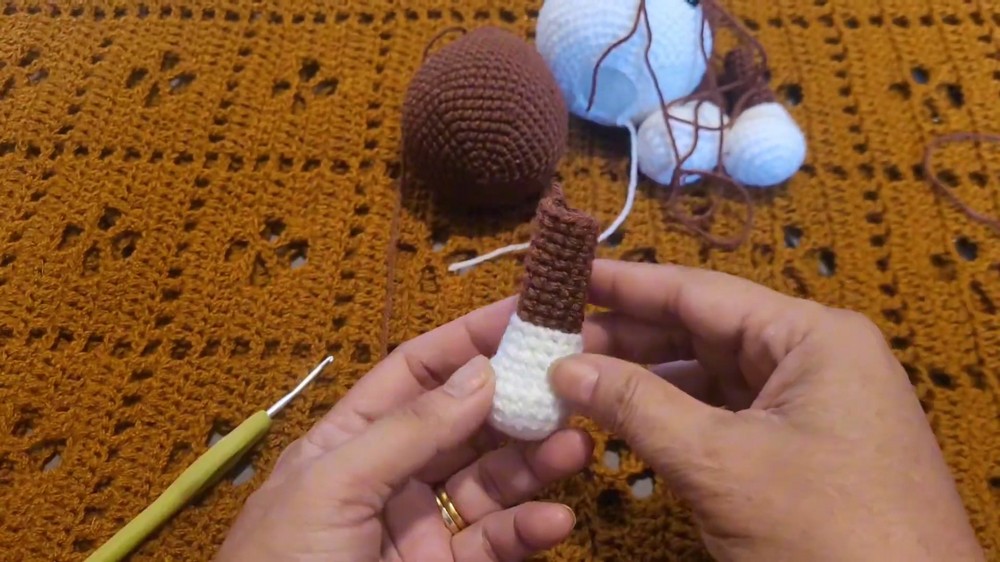
- Fasten off, leaving a tail.
Ears (Make 2)
- With Brown.
- R1: MR, 6 sc
- R2: inc in each st (12 sts)
- R3: (1 sc, inc) x 6 (18 sts)
- R4: (2 sc, inc) x 6 (24 sts)
- R5–R21: sc in each st (24 sts per round)
- Fold ear in half and sew base closed.
Tail
- With Brown.
- R1: MR, 6 sc
- R2–R7: sc in each st (6 sts per round)
- Fasten off, leave a tail for attaching.
Assembly & Finished Size
- Sew the nose using black yarn with small stitches at the front center of the face, between the eyes and just above the color transition.
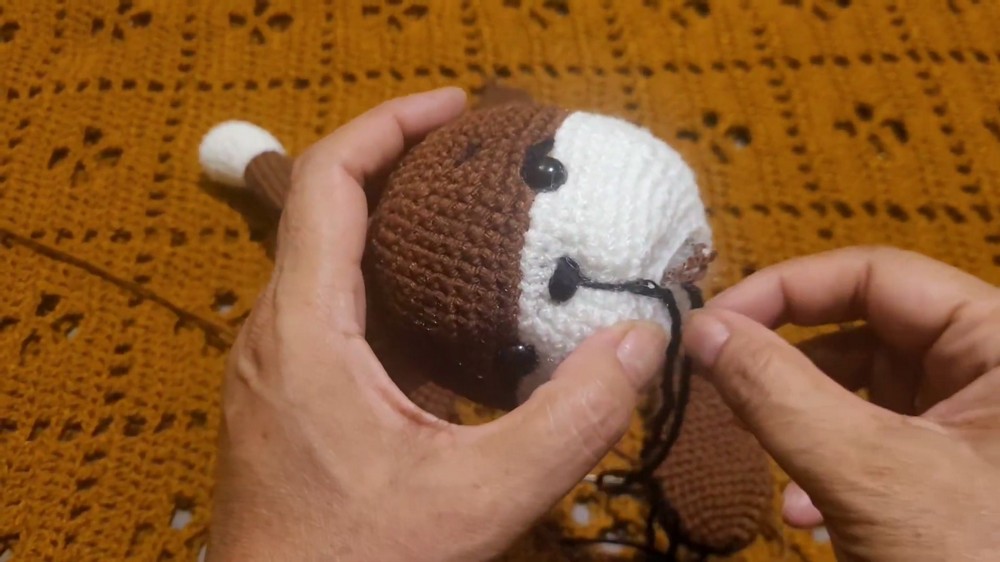
- Add any additional embroidery to define the mouth or features as desired. Attach the eyes securely if not already done.
- Pin and sew the ears to the sides of the head, slightly back and angled down.
- Carefully attach the head to the body, ensuring it sits securely and evenly.
- Sew both arms symmetrically to the body, slightly below the neck join.
- Sew both legs evenly at the bottom of the body, enabling the puppy to sit. Stitch through several stitches along the base for a sturdy attachment.
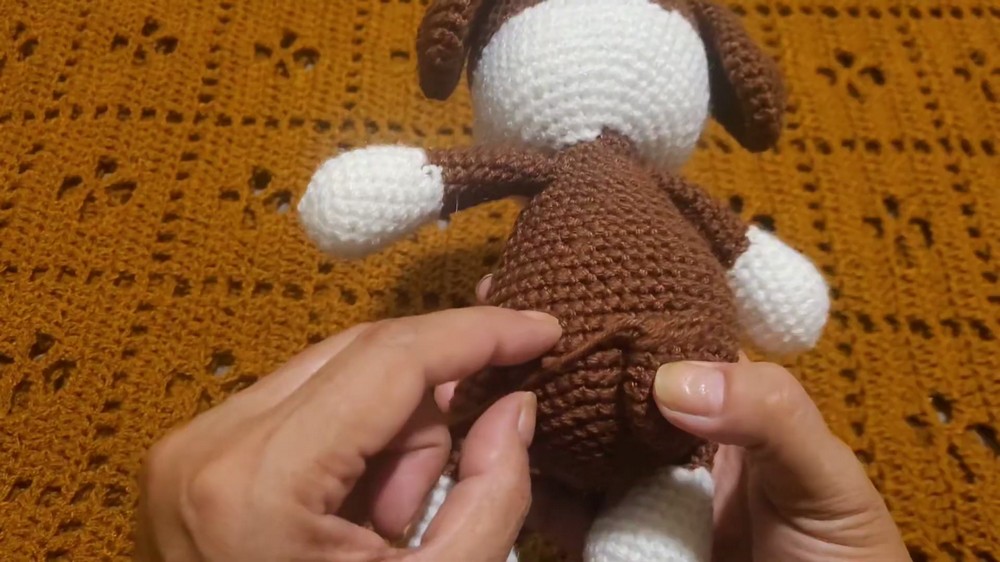 Sew the tail to the back, centered horizontally and at the base of the body for balance.
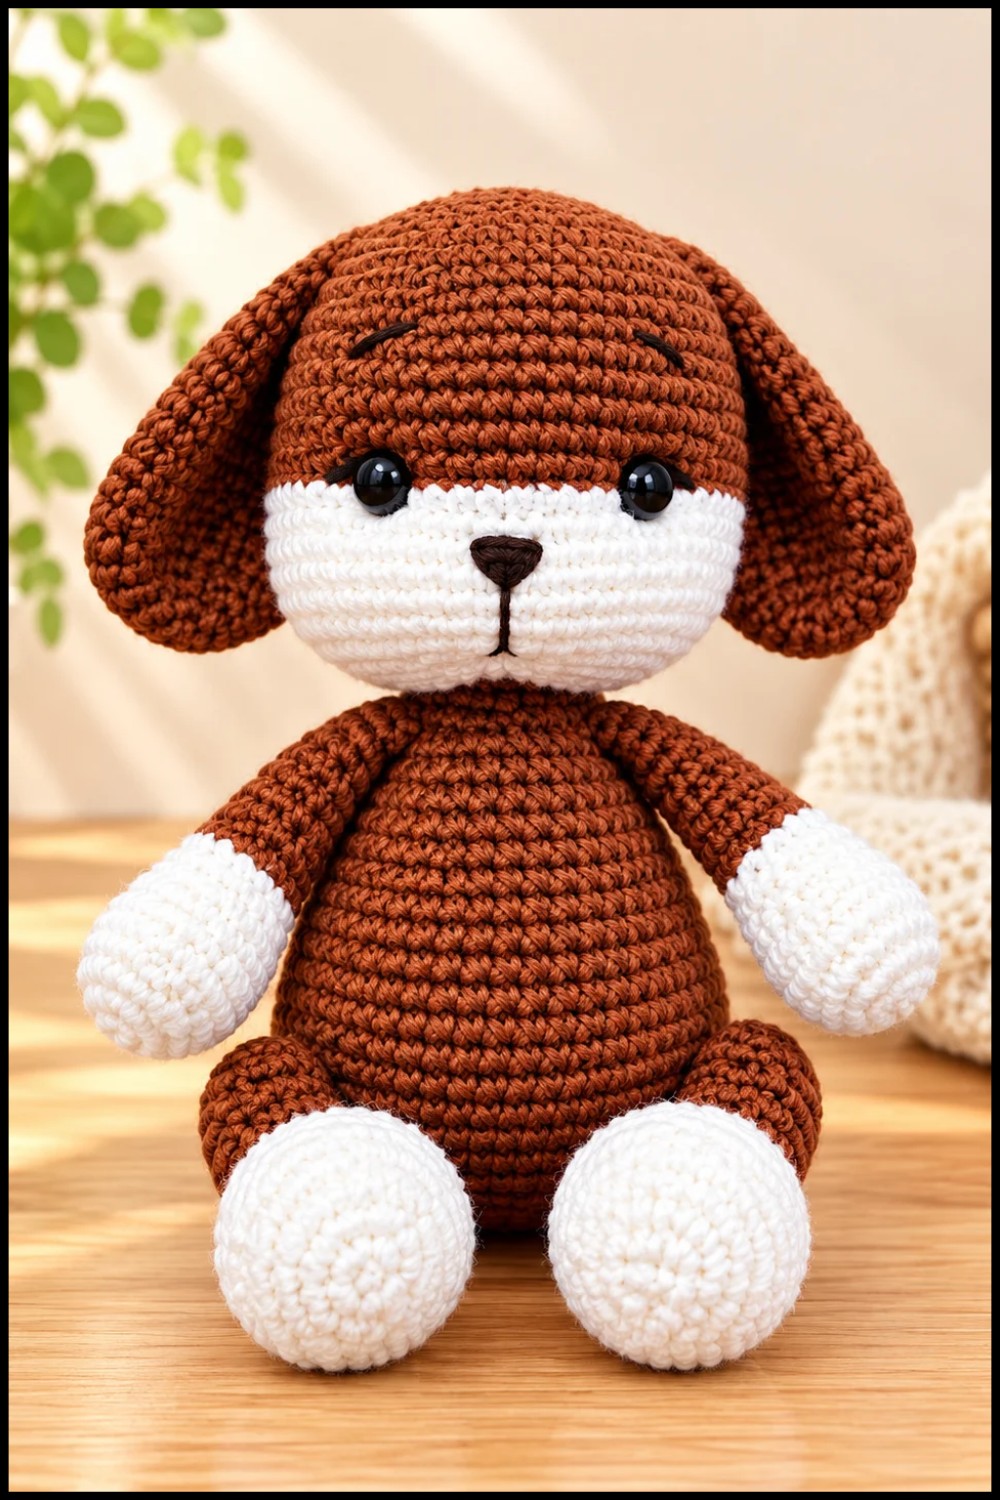
The finished amigurumi puppy is engaging, soft, and expressive, with well-defined color transitions and reliable shaping. Its sitting pose and floppy features make it a beloved companion for display or play. The straightforward yet effective construction technique supports consistent, attractive results for crocheters of all experience levels, and the simple color customization allows each puppy to develop its own personality.
