Make beautiful and festive New Year’s boots with this free crochet pattern, perfect for decorations or gifting during the holiday season.
How to Crochet New Year’s Boot Step-by-Step Pattern
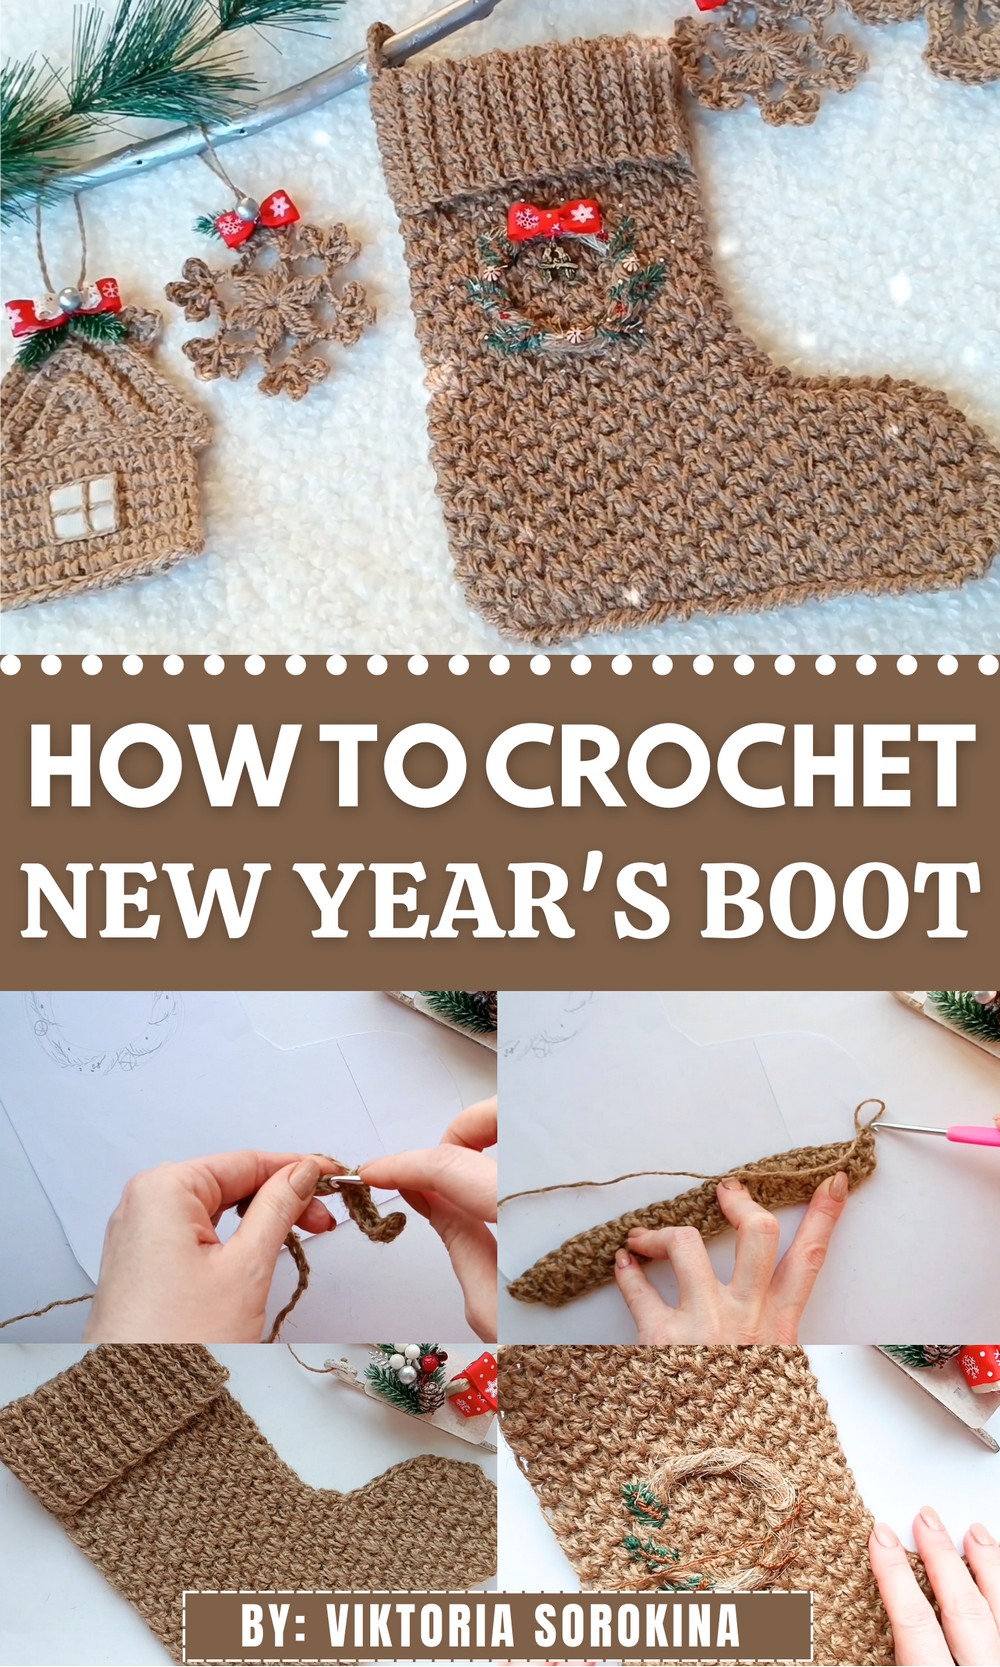
With its festive charm and handmade elegance, this crochet New Year’s boot is a true delight for the holiday season. Perfect for gifting or decorating, these small jute boots can hold sweets, small presents, or add character to garlands, wreaths, and mantelpieces.

The rustic beauty of the design comes from the natural jute twine, which gives the boots a sturdy texture and classic appeal. Embroidery adds a creative touch, with green and brown thread used to mimic branches and needles, creating a nature-inspired look.
Crochet Pattern: New Year’s Jute Boot (Decorative Sock)
Skill Level
- Intermediate: Requires working in rows, working with jute or similar stiff cords, using elongated single crochets, shaping, and working with decorative elements like embroidery and beads.
Finished Size
- Boot Length: Approximately 22 cm (toe-to-heel).
- Boot Height: Approximately 25 cm.
- Boot Shaft Width: Approximately 13.5 cm.
Gauge
- In single crochet, 5 stitches = 2.5 cm and 5 rows = 2.5 cm, using 2 mm thick jute twine and a 4 mm crochet hook.
Note: Gauge variations may affect the final size depending on yarn or cord thickness, hook size, and tension.
Materials
- Jute Twine: Approximately 200 meters of two-strand jute twine, 2 mm thick (1100 Tex density).
- Alternate Yarn (optional): Replace jute with cotton cord or similar material of equivalent thickness.
- Hook: 4 mm crochet hook.
- Embroidery Floss:
- Brown (for branches).
- Two shades of green (for needles).
- White (for snow accents).
- Decorative Materials:
- Red beads (for berries).
- White beads (for snow).
- Sisal fiber (optional, for the wreath structure).
- Ribbon for the bow.
- Metal pendant (e.g., festive bird or bell).
- Monofilament or Matching Thread: For sewing decorations and wreath.
- Tapestry Needle: For weaving and embroidery.
- Scissors: For cutting yarn.
- Stiffening Material (optional): To shape finished boots during blocking.
- Paper: For creating a boot pattern/outline (optional).
Special Techniques
1. Elongated Single Crochet:
Work the stitch into the base of the stitch from the previous row, pulling the loop up to reach the height of the working loop on the hook. Yarn over and pull through both loops on the hook to complete the stitch.
2. Monofilament Stitching:
Use monofilament (clear thread) to attach decorative elements without visible stitching. For a more traditional approach, use threads matching the colors of jute or embellishments.
Customization Ideas
- Use different materials such as cotton, raffia, or wool to adjust the look and feel of the boot.
- Create a smaller or larger boot by adjusting the number of stitches and rows in the base and bootleg.
- Add more embroidery details like snowflakes, stars, or festive phrases.
- Experiment with various color combinations for a more personalized look.
Crochet Pattern Instructions
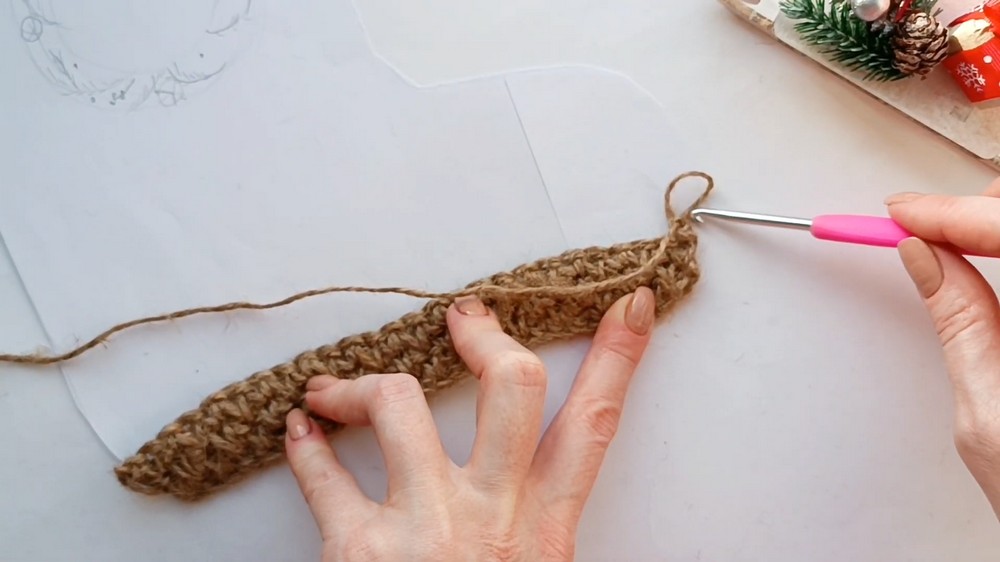
Step 1: Boot Sole
- Create a Base Pattern: Draw a boot outline on paper (17 cm long for this design). This pattern acts as the guide for crocheting and shaping.
- Chain Foundation: Create a chain measuring 17 cm. For the given design, chain 23 loosely. Add 1 turning chain. [23 chains + 1 turning chain].
- Row 1:
- Starting in the 2nd chain from the hook, work 1 sc in each chain. Work evenly.
- Always pull up the loop to match the working loop height for even stitches. [23 sts]
- Row 2:
- Make 1 turning chain and turn.
- Begin working an alternating pattern: 1 elongated sc (worked into the base of the st from the previous row) and 1 normal sc (worked into the top of the stitch as usual). Repeat until the end of the row. [23 sts]

- Row 3:
- Continue the alternating pattern, ensuring rows are worked in a checkerboard style: elongated sc is worked over normal sc of the previous row, and vice versa.
- At the end of Row 3, work an increase at the heel with 1 additional sc in the last st. [24 sts]
- Rows 4-12:
- Continue working in the checkerboard pattern without increases. [24 sts per row]
- Continue working in the checkerboard pattern without increases. [24 sts per row]
Step 2: Toe and Decreasing Rows
- Decrease Row 12:
- At the end of Row 12, decrease as follows: Insert the hook into the penultimate st, pull up a loop. Insert the hook into the last st, pull up a loop. Yarn over and pull through all 3 loops.
- This reduces the stitch count by 1. Add 1 turning chain and turn.
- Continue working the checkerboard pattern from Row 13, remembering to start the next row with the correct stitch type (sc or elongated sc).
- Row 14 and Row 15:
- Decrease 1 st at the end of each row in the same manner as Row 12.
- Row 16 and Row 17:
- Work 15 sts. Use decreases to shape a smooth transition to the bootleg.
- Work 15 sts. Use decreases to shape a smooth transition to the bootleg.
Step 3: Bootleg
- From Row 18 onward: Work 15 sts per row in the checkerboard pattern.
- Continue making turning rows until the bootleg reaches your desired height. In this pattern, 25 additional rows were worked for a total of 38 rows.
Step 4: Wet Blocking
- Perform wet-heat treatment to shape the boot. Use an iron on medium steam and temperature, applying through a cotton fabric. Flatten and shape edges while the boot is still slightly damp.
Step 5: Cuff
- Foundation Chain: Chain 10 + 1 turning chain. [11 chains]
- Row 1:
- Work slip stitches with a yarn over in the 2nd chain from the hook and in each chain across. Pull up the loop slightly before completing the stitch for a knit-like appearance. [10 sts]
- Work slip stitches with a yarn over in the 2nd chain from the hook and in each chain across. Pull up the loop slightly before completing the stitch for a knit-like appearance. [10 sts]
- Row 2 and on:
- Work slip stitches with a yarn over in back loops only, starting in the 2nd loop from the hook. Repeat until you have enough rows to fully wrap around the bootleg.
- Attachment: Sew the cuff to the bootleg using a crab stitch.
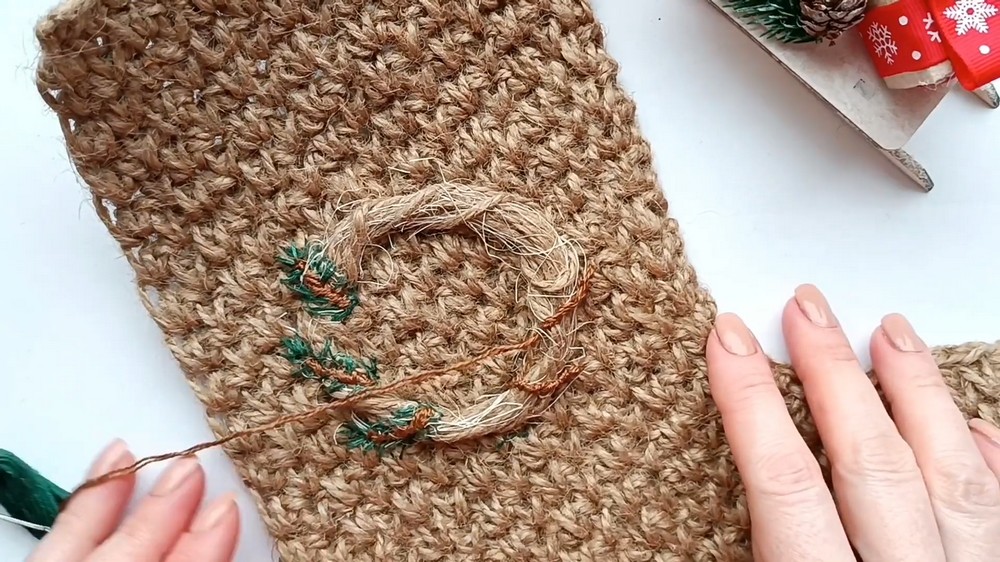
Step 6: Wreath
- Form the Wreath Base:
- Take jute twine and wrap it around your hand 7–10 times.
- Add sisal fiber for texture (optional).
- Tie the wreath securely using excess jute twine.
- Fix Shape with Monofilament: Use monofilament to secure the loops together, sewing through the layers.
- Embroidery on the Wreath:
- With brown floss, embroider branches in long stitches extending outward.
- Add needles using two shades of green, stitching along each branch.
- Optionally, add red and white beads (as berries and snow).
- Sew the Wreath: Use monofilament to attach the wreath to the boot. Ensure the back remains neat.
Step 7: Decorations
- Add embellishments such as bows, metal pendants, or jute snowflakes.
- Experiment with other festive decorations, like stars or snowmen, to match your theme.
Step 8: Finishing
- Use a crab stitch to seam the edges of the boot and attach the cuff neatly.
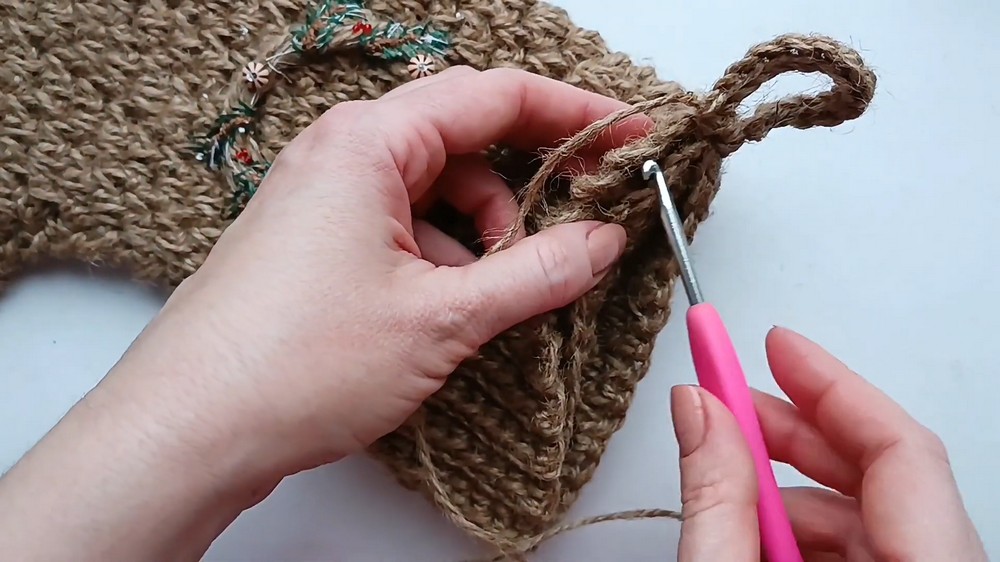
- Add a hanging loop by chaining 12 sts and working slip stitches along the chain. Attach the loop securely near the top of the cuff.
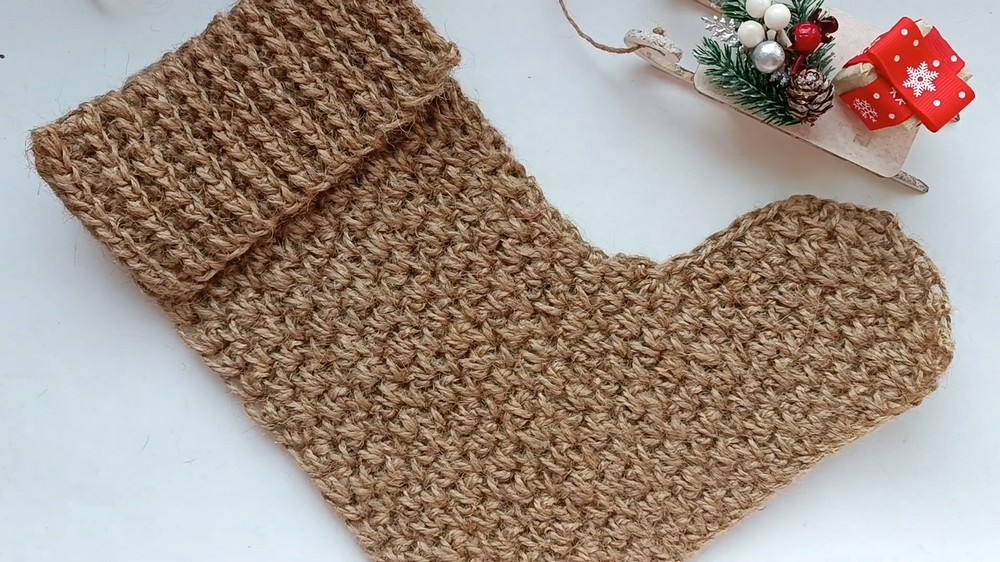
Final Look
After completing the boot and decorations, you’ll have a rustic yet elegant New Year’s decoration, perfect for gifting or displaying. The detailed textures of the jute boot contrast beautifully with the embroidered wreath and festive details.
Tips for Success
- Work Loosely with Jute: Jute twine is stiffer than most yarns, so take frequent breaks to avoid hand fatigue.
- Even Stitching: Always pull loops to an even height, especially when working elongated stitches.
- Experiment with Embroidery: Don’t stress about precision—simple, natural stitches work well for this rustic theme.
Conclusion
Celebrate the magic of the New Year with this beautifully crafted jute boot. Its blend of natural materials, intricate patterns, and festive embellishments will add a warm and rustic charm to any home. Have fun personalizing it, and don’t hesitate to share your creations!