
Learn how to crochet a heart cactus pot pattern with this creative design, perfect for handmade gifts or adding charm to your home decor.
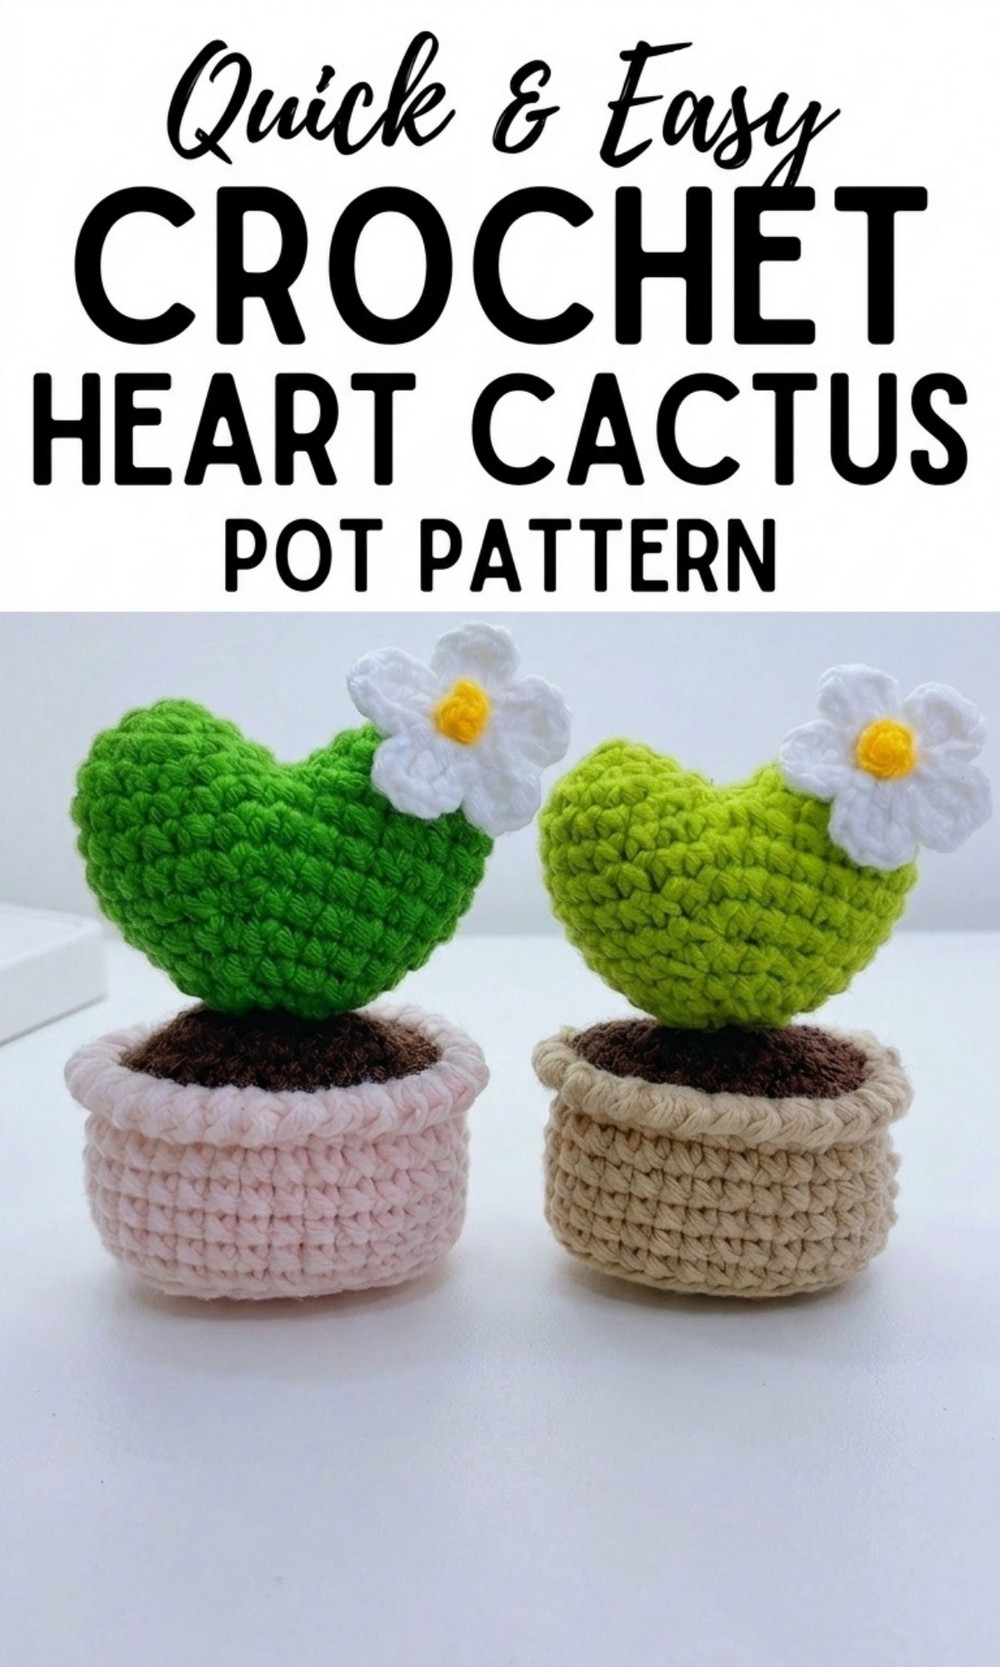
Super Sweet Free Crochet Heart Cactus Pot Pattern You’ll Be Completely Obsessed With
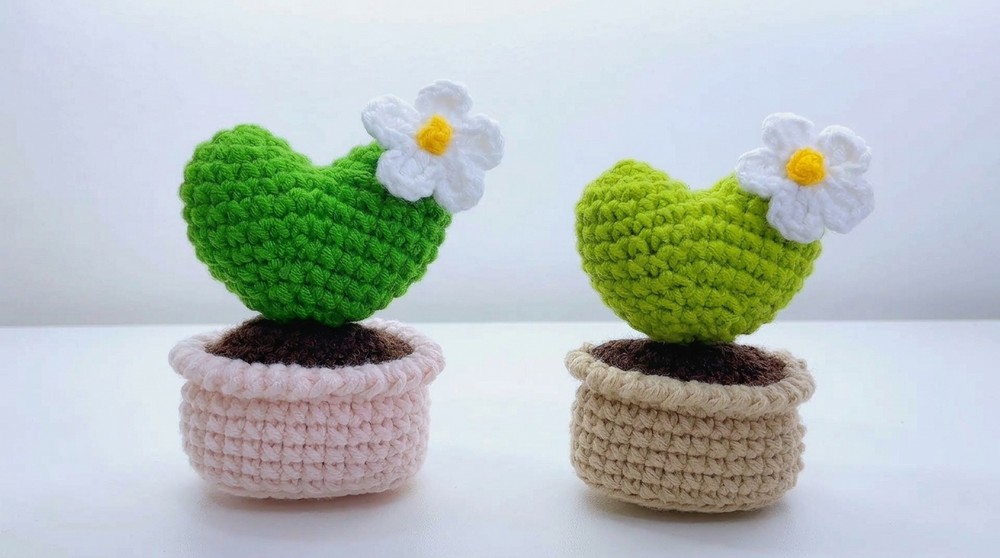
Have you ever thought about growing a plant that never needs water with this Free Crochet Heart Cactus Pot Pattern so you can make a beautiful and soft little green heart in its own tiny cup. This project features a tiny brown base that looks like real soil and a little pot that can be any color you like to match your room. You can use this cute heart cactus to decorate your desk or give it to someone you love as a very special handmade gift.
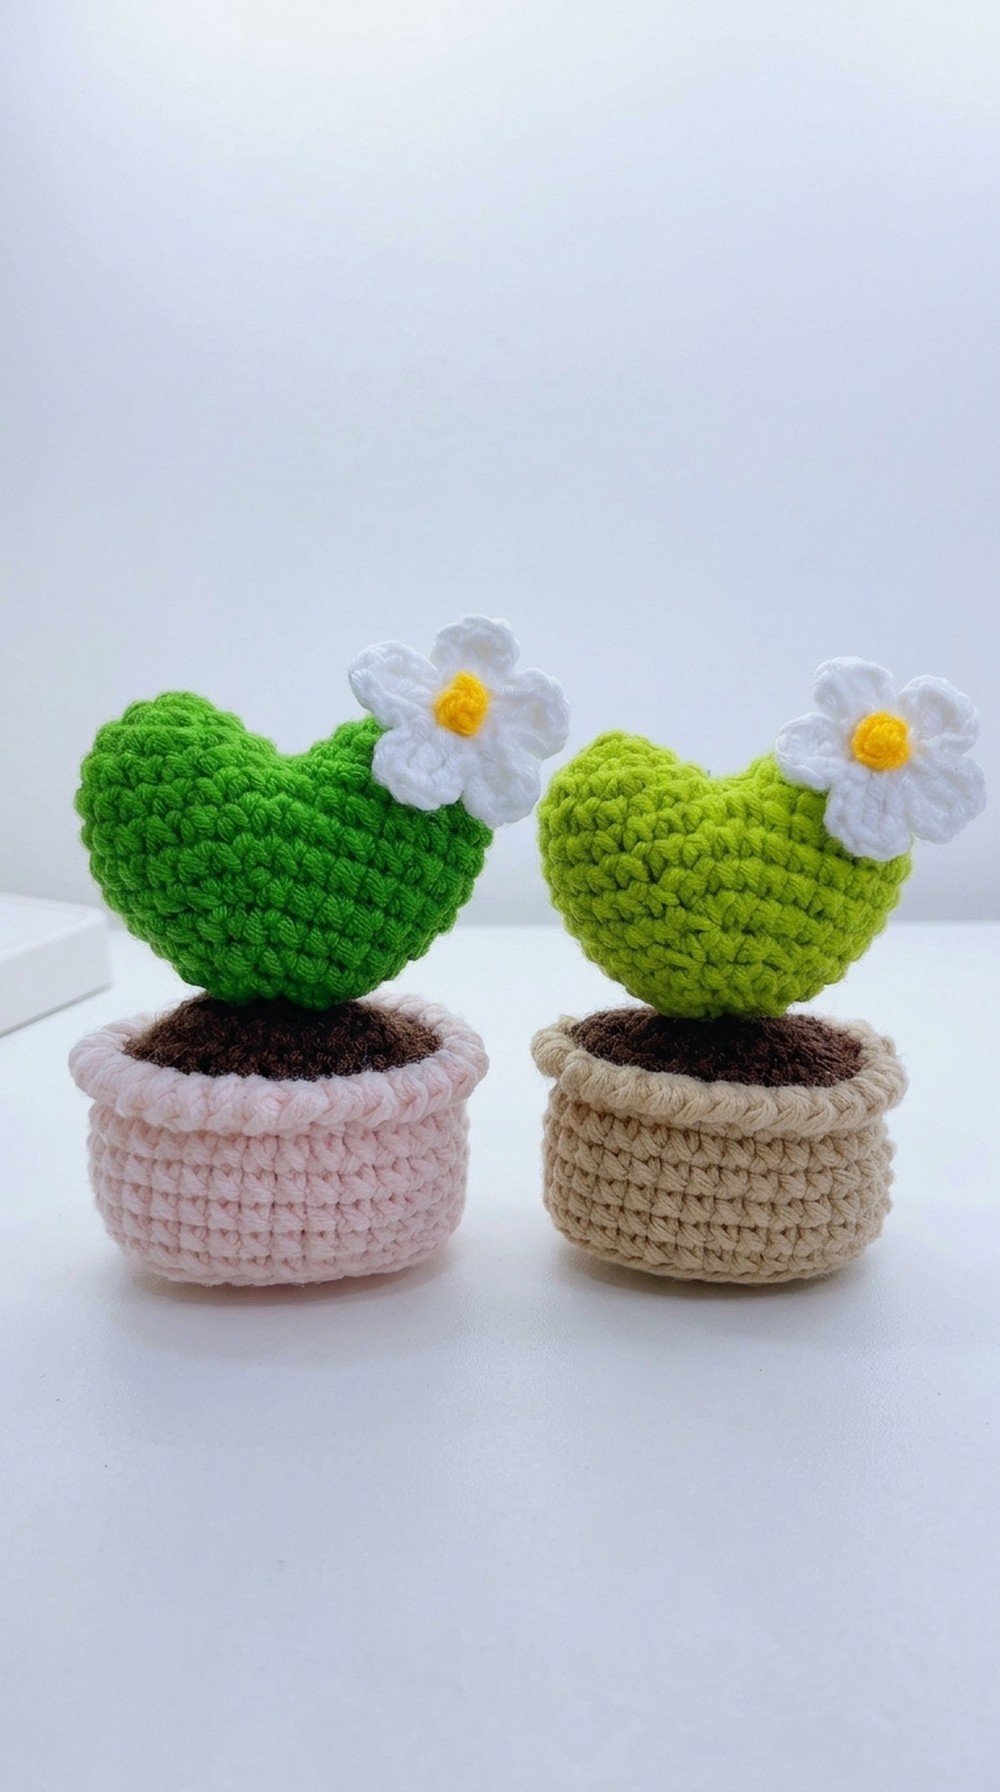
The appearance is very unique because the heart style is much more fun than a regular cactus and the soft yarn makes it safe to touch without any sharp pricks. It is a very special project because it is small and simple to finish which makes it perfect for a beginner to make a handmade treasure for their family. You will love how this tiny plant adds a lot of joy to your home with its bright green color and pretty little petals.
Vibrant Crochet Heart Cactus Pot Pattern
Materials Required
- Yarn:
- 5 ply cotton yarn (green for the cactus, brown for soil, white for flower, and any color for the pot).
- Choose yarn according to your desired project size but ensure it is consistent for all parts.
- Hook:
- 2.5 mm crochet hook.
- Tools:
- Yarn needle for sewing.
- Scissors.
- Stitch markers (optional but helpful for marking rows).
- Glue (to attach parts such as the flower or heart cactus).
- Cotton or fiberfill for stuffing.
Special Techniques
- Magic Ring: A crochet technique to begin projects worked in rounds.
- Wrap the yarn around your fingers to form a ring. Work stitches into the ring and pull gently to close it tightly.
- Continuous Rounds:
- Crochet without joining the round, working into the next stitch directly. Use a stitch marker if needed to track the beginning of rows.
- Crab Stitch:
- A reverse single crochet worked in the opposite direction. Insert the hook backward into the previous stitch for a textured border.
- Invisible Decrease:
- Work a decrease by inserting the hook into the front loops of the next two stitches, pulling up a loop, and completing as usual.
Pattern Instructions
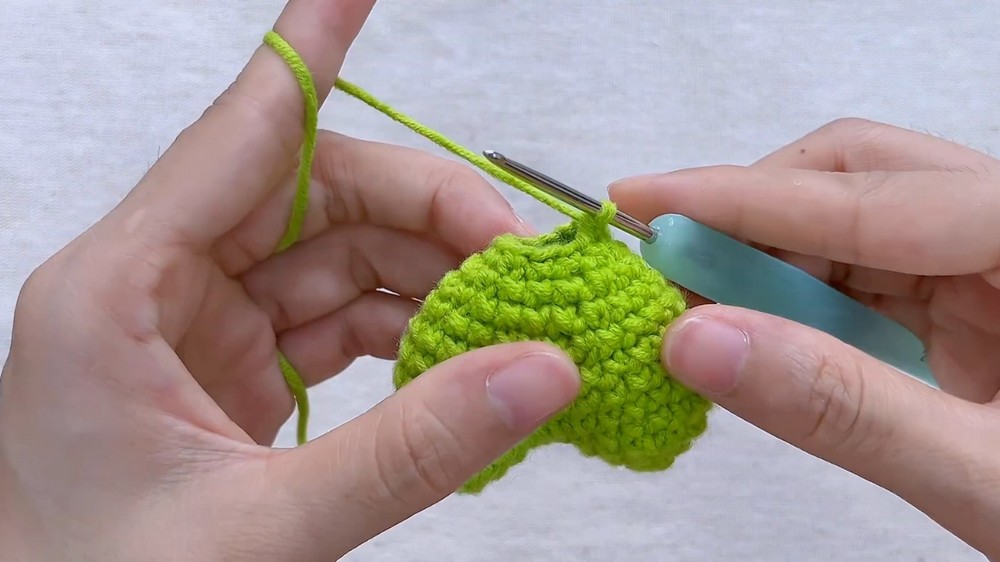
Heart Cactus (Main Body)
- Row 1: Begin with a magic ring. Make 5 single crochets into the ring. Pull the yarn tightly to close.
- Row 2: Work into the first stitch and make an increase (2 single crochets in the same stitch). Repeat the increase for all 5 stitches, totaling 10 stitches.
- Row 3: Make 1 single crochet in the first stitch. In the next stitch, make an increase. Repeat this pattern (1 single crochet, 1 increase) for 5 times. You’ll have 15 stitches.
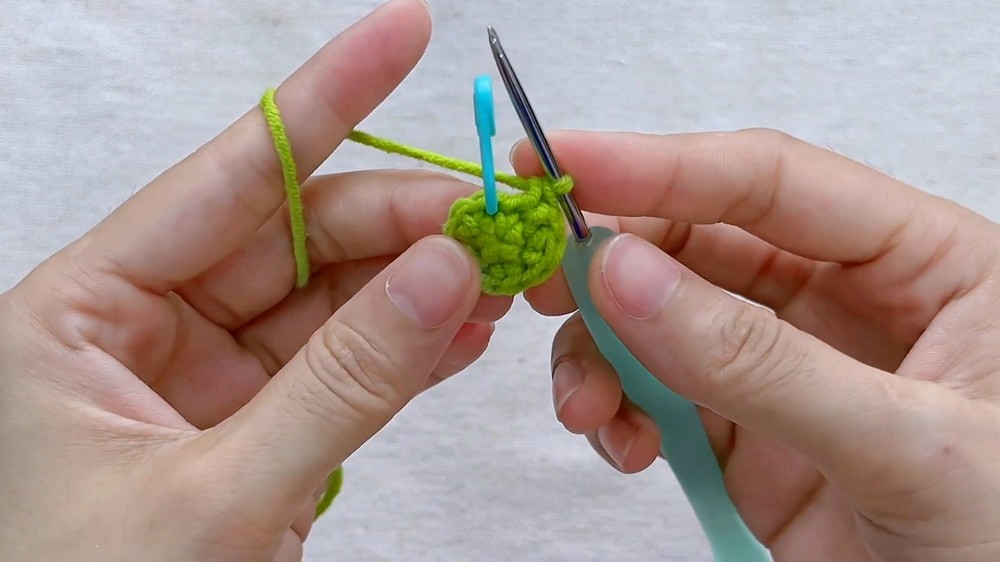
- Row 4: Work 1 single crochet in each stitch with no increases, totaling 15 stitches. Fasten off.
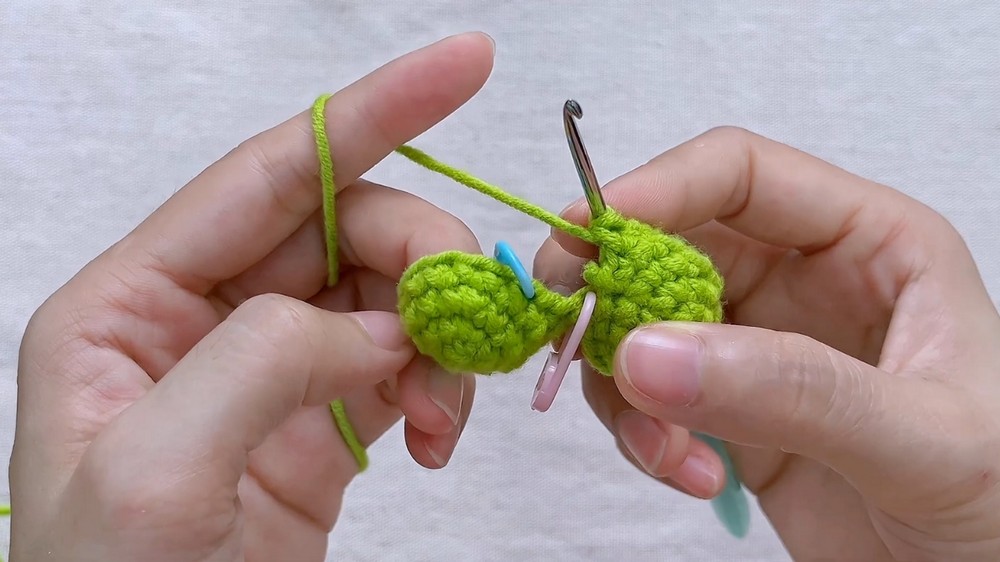
- Repeat the above steps to create a second heart half but do not fasten off the second half.
- Row 5: Join the two halves:
- Insert the hook into the first marked stitch of the first heart half. Pull the yarn through and crochet 15 single crochets around the first half.
- Continue into the second heart half and crochet 15 single crochets around. This will create 30 stitches in total.
- Rows 6 to 7: Work 1 single crochet in each stitch (30 stitches per row).
- Row 8: Make 13 single crochets, then work a decrease using the next 2 stitches. Repeat this (13 single crochets, 1 decrease) once more.
- Row 9: Create a pattern of 5 single crochets, 1 decrease and repeat 4 times to finish the round.
- Row 10: Work 4 single crochets, 1 decrease and repeat 4 times.
- Row 11: Make 3 single crochets, 1 decrease four times.
- Stuff the cactus lightly but evenly.
- Final Row: Follow 2 single crochets, 1 decrease four times. Fasten off, leaving a tail.
- Close the top by sewing through the front loops of the final stitches, skipping every other stitch, and pulling tightly.
Pot
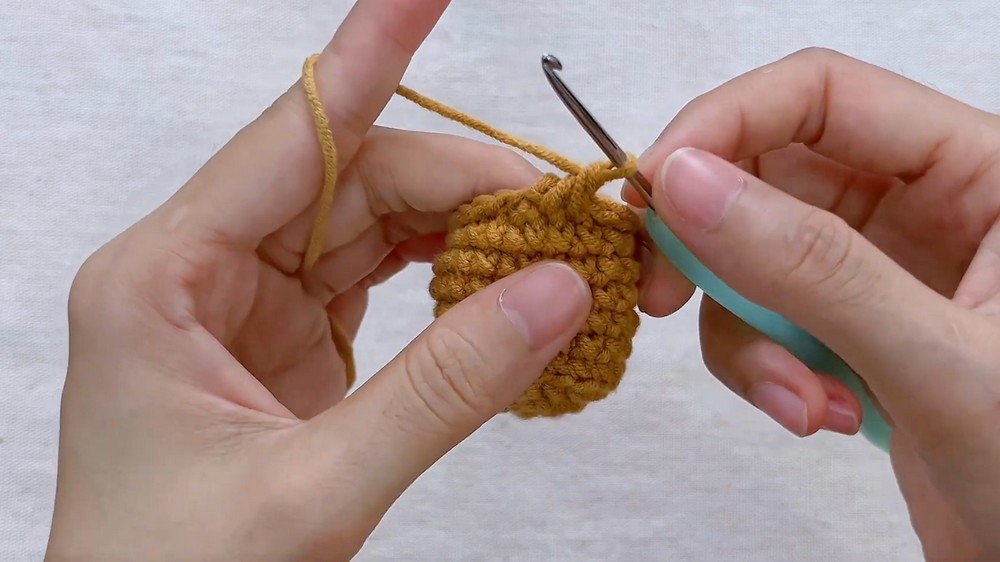
- Base:
- Start with a slip knot and chain 9. Work single crochets from the second chain from the hook to the end of the row.
- Row 1:
- At the last chain, make 3 single crochets to turn. Continue single crochets along the other side of the chain. At the end, increase by working 2 single crochets in the last stitch. Slip stitch to the first stitch to close.
- Row 2:
- Chain 1, make 1 increase in the first stitch. Crochet 6 single crochets, followed by 3 increases. Make 6 single crochets, then 2 increases at the end. Slip stitch to the first stitch.
- Row 3:
- Chain 1, work 1 single crochet, 1 increase in sequence. Continue with 6 single crochets, then 1 single crochet, 1 increase over the next stitches. The row will have a total of 30 stitches.
- Row 4: Crochet into back loops only for this row. Make single crochets in each stitch (30 stitches).
- Rows 5 to 9: Crochet into both loops in each stitch (30 stitches per row).
- Row 10: Work slip stitches into the front loops only (30 stitches).
- Row 11: Make crab stitches along the row, working 1 crab stitch in each stitch. Fasten off and weave in the ends.
Soil
Use the same pattern as the first two rows of the pot. Once completed, fasten off and leave a long tail for sewing.
White Flower
- Begin with a magic ring.
- Chain 2, make 1 double crochet into the ring. Chain 3 and slip stitch into the ring to form the first petal.
- Repeat the petal pattern 4 more times to create 5 petals. Fasten off and weave in the ends.
- Create the flower’s center with slip knots and attach as desired.
Assembly
- Stuff the pot with cotton or fiberfill.
- Sew the soil to the pot securely.
- Attach the flower and cactus using glue or sew them gently.
- Tighten and neaten any edges for a polished look.
Finishing and Maintenance
- Check for loose threads and weave them in neatly.
- Block the finished pieces lightly to enhance the shape.
- Avoid heavy washing; clean gently with a damp cloth to maintain the structure.
Final Words and Suggestions
This delightful heart cactus in a pot is perfect as a gift, decoration, or keepsake. Its simple construction makes it beginner-friendly while offering room for personalization with colors or additional embellishments. Experiment by using finer yarns or larger hooks for variations in size.
Take your time while assembling to ensure a firm and tidy finish. Don’t hesitate to try the crab stitch for other projects as it adds a beautiful texture to edges.
