
Brighten your crochet collection with a Free Crochet Egg Amigurumi Pattern, ideal for charming seasonal decor, thoughtful gifts, and unique handmade accents.
Adding a handmade touch to your home or gifts brings so much joy, especially with simple and charming projects like the Free crochet Egg Amigurumi Pattern. This lovely design, shared by the talented Cleopatra’s Crochet, turns yarn into cute little eggs that add warmth and personality wherever they go. They make wonderful gifts and charming decorations that brighten up any space.
Quick Free Crochet Egg Amigurumi Pattern for Easter
The egg-shaped creation is small and neat, with tight stitches that keep its shape firm and smooth. Made with soft yarn and careful stitching, its texture feels pleasant and sturdy. The natural color variations in the yarn give it a realistic look, while the spiral pattern adds a gentle flow to its surface, making it stand out.
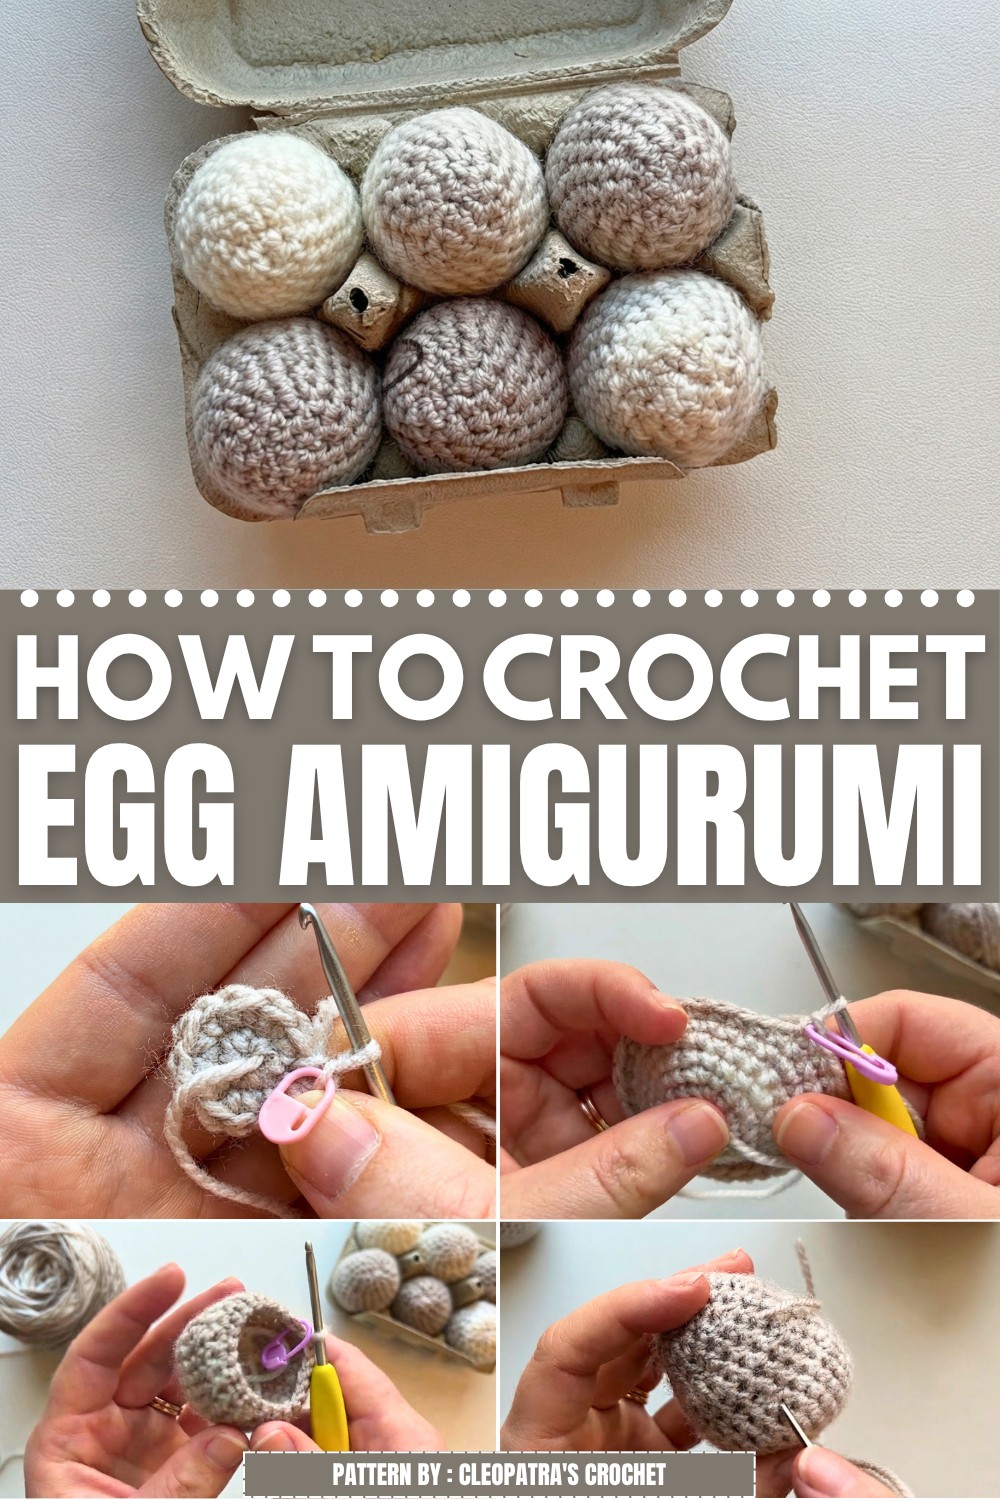
This project is perfect for holiday decorations, especially around Easter, and it’s a great way to make use of leftover yarn, making it both thoughtful and practical. Filled with soft stuffing, the egg feels just right when held, plush yet firm. The careful shaping keeps the outline smooth, giving it a polished and professional appearance.
Step-by-step instructions make this easy to follow for everyone, whether new to creating handmade items or with more experience. Whether placed in a basket, given as a special gift, or displayed on a shelf, these little eggs from Cleopatra’s Crochet bring a cozy, creative charm that brightens any room with simplicity and heart.
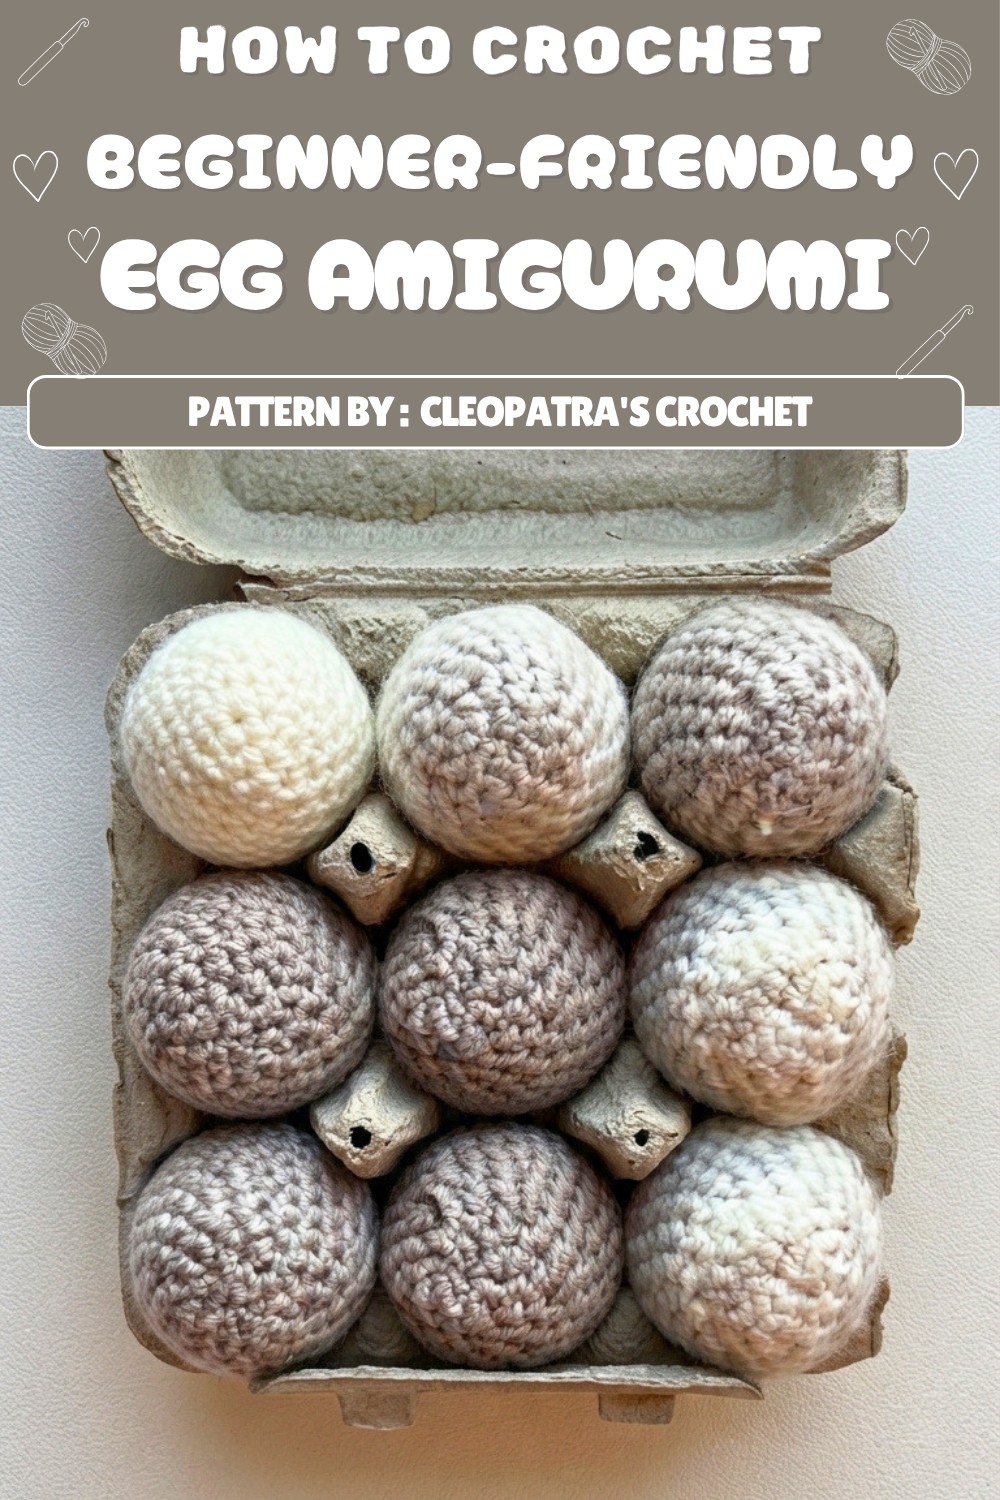
Cartonized Egg Amigurumi
In this pattern, You learn hoe to crochet your own cartonized egg—an adorable, beginner-friendly amigurumi project. Designed with careful detail and clarity, this pattern is ideal for using up yarn scraps and for building your crochet skills. A clear and complete written pattern for your fun, squishy little egg.
Pattern Basic Points
About the Project
- The egg is made in one piece, worked in a spiral from the bottom up.
- The project uses invisible decreases for smooth shaping.
- The egg is stuffed as you go for a plump, realistic finish.
- Tension is kept tight to avoid stuffing showing through.
Construction Steps
- Start with a magic ring and basic rounds of single crochet and increases.
- Shape the egg with evenly spaced increases and single crochet rounds.
- Taper and finish the top with decrease rounds, using invisible decreases for a seamless look.
- Fasten off and close neatly, hiding the end for a polished finish.
Special Notes
- No Slip Stitch or Chain One Rounds: Work in a continuous spiral. There’s no need to join with a slip stitch or chain between rounds.
- Tight Stitches: Use a hook smaller than recommended for your yarn to keep the fabric dense so stuffing won’t peek out.
- Stuffing: Add stuffing or yarn scraps when the opening is large; as you near the end, top off with a bit more filling so the egg is firm and bouncy.
- Invisible Decreases: Used to shape the egg tip without gaps—see “Special Stitches.”
- Adjusting Size: If your finished egg is not the desired size, simply use a different hook size. Larger hooks make bigger eggs; smaller hooks make smaller eggs. Pattern and steps remain the same.
Skill Level
- Beginner to Advanced Beginner
- Skills: Magic ring, single crochet, increase, invisible decrease, basic hand sewing.
Materials
- Light weight (category 3) yarn in a natural brown, cream, white, or your preferred egg colors (a color changing natural yarn looks particularly realistic).
- 2.75 mm crochet hook (used for a firm, dense fabric).
- Tapestry needle.
- Stitch marker.
- Scissors.
- Polyester stuffing or yarn scraps.
Measurements / Sizing
- Finished egg will fit easily in the palm of your hand—final size varies based on your hook and tension, but typically:
- About 2″ to 2.5″ (5–6.5cm) tall, slightly oval.
- For larger or smaller eggs, use a different hook size; simply repeat the pattern as written.
Optional Schematic:
[Oval egg, worked from magic ring at the bottom up to the tip, lightly stuffed.]
Gauge
- Not crucial; stitches should be tight so stuffing does not show.
- For the tightness used in the video, the 2.75 mm hook on weight 3 yarn yields a dense, non-gappy fabric.
Stitch Abbreviations
- MR = Magic Ring
- sc = single crochet
- inc = increase (2 sc in same stitch)
- inv dec = invisible decrease (see Special Stitches)
- st = stitch
- sl st = slip stitch
Special Stitches
Invisible Decrease (inv dec):
- Insert hook into the front loop ONLY of the next two stitches (instead of both loops).
- Yarn over and pull through the first two front loops (two loops on hook).
- Yarn over and pull through both loops on hook.
This creates a subtle, nearly invisible decrease perfect for amigurumi.
Pattern Instructions
Egg Body
- Round 1:
- 6 sc in MR. Don’t tighten the ring all the way—insert your hook into the first stitch before fully tightening to make sure you can work into it easily.
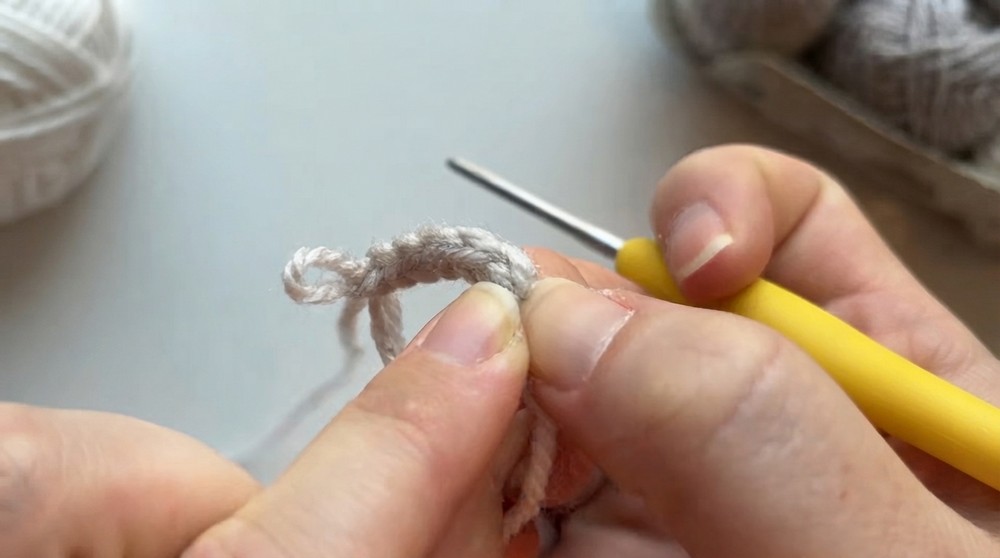
- 6 sc in MR. Don’t tighten the ring all the way—insert your hook into the first stitch before fully tightening to make sure you can work into it easily.
- Round 2:
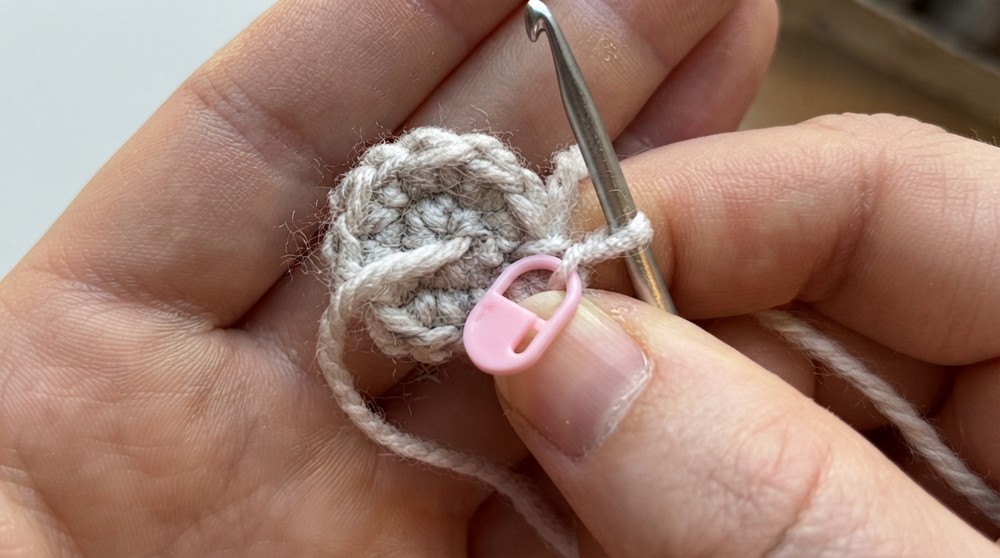
- Inc in each st around (12 sts total).
- Add a stitch marker at the start of the round.
- Round 3:
- (1 sc, inc) repeat 6 times (18 sts).
- Place your stitch marker after the first sc in each round.
- Round 4:
- (2 sc, inc) repeat 6 times (24 sts).
- Round 5:
- 1 sc in every stitch around (24 sts).
- Round 6:
- (3 sc, inc) repeat 6 times (30 sts).
- Rounds 7–8:
- 1 sc in every st around (30 sts per round).
- Round 9:
- (3 sc, inv dec) repeat 6 times (24 sts).
- For invisible decrease: Insert hook into the front loops only of the next two stitches, yarn over and pull through both, yarn over and pull through the two loops to finish.
- At end of round: 24 sts.
- Rounds 10–11:
- 1 sc in every st around (24 sts each row).
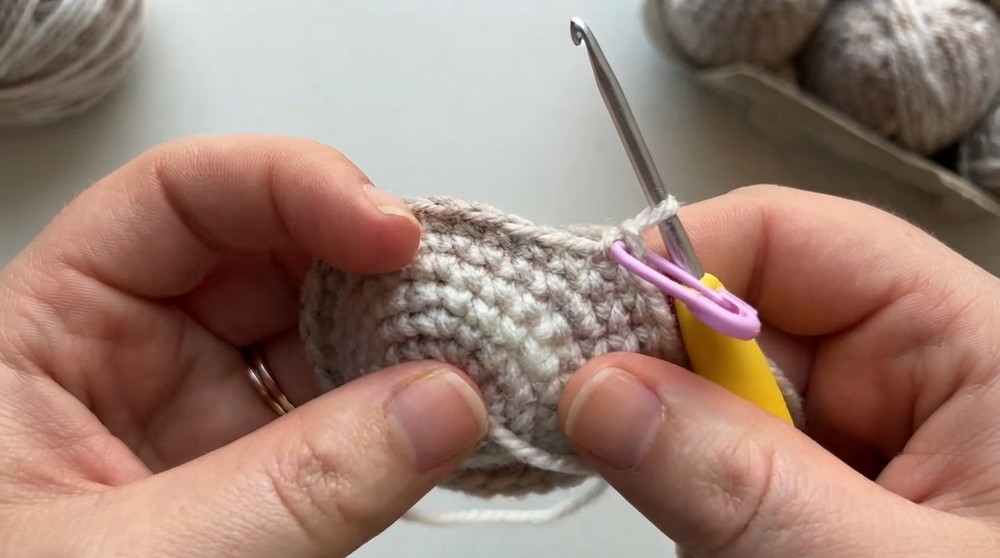
- 1 sc in every st around (24 sts each row).
- Round 12:
- (2 sc, inv dec) repeat 6 times (18 sts).
- At this point, begin to stuff the egg with fiberfill or yarn scraps as the opening starts to narrow.
- Rounds 13–14:
- 1 sc in every st around (18 sts each row).
- Round 15:
- (1 sc, inv dec) repeat 6 times (12 sts).
- Continue stuffing as you work.
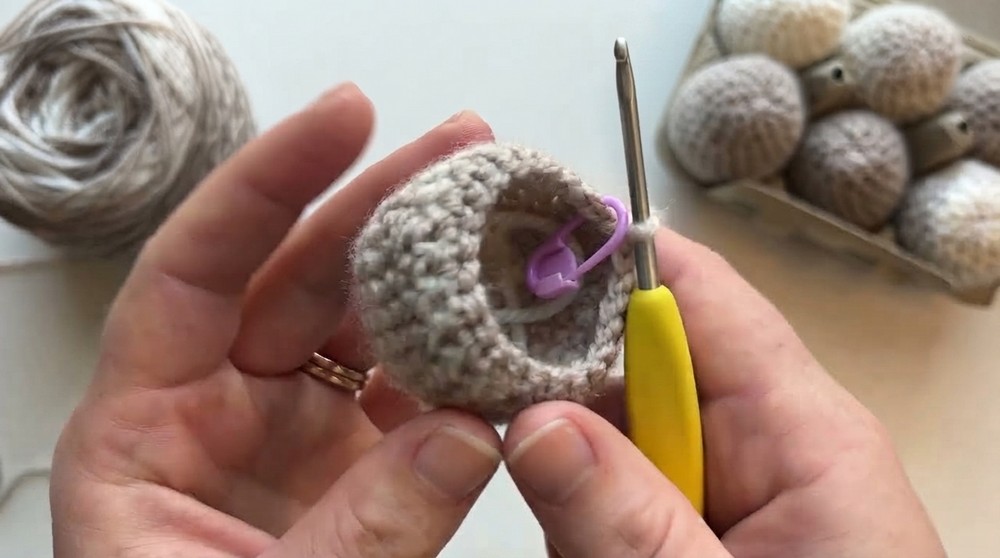
- Round 16:
- 1 sc in all 12 sts (12 sts).
- Round 17 (Closing Round):
- The last round, worked as follows:
- 3 inv dec, 1 sc, 2 inv dec, 1 sc.
- (A total of 7 stitches to close.)
- Fill thoroughly; mixture of polyfill and yarn scraps is ideal for bounciness and shape.
- Finish off: Trim yarn to a length of about 1 foot (30cm) and pull through to knot.
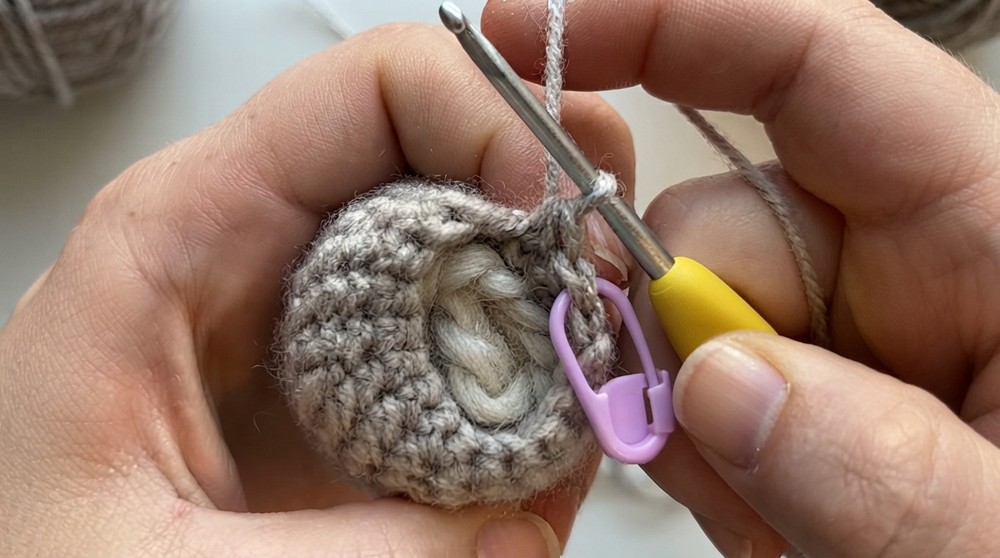
- The last round, worked as follows:
Assembly & Finishing
- Closing the Top:
- Thread your long yarn tail onto the tapestry needle.
- Stitch through each of the final 7 stitches.
- Pull tight to close the hole at the top of the egg.
- Securing the Tail:
- Weave the yarn end through several stitches in the body, always coming out close to the previous exit point to avoid a visible line.
- After weaving in and out a few times, tie a small knot by threading through a stitch and looping before tightening.
- Pull the tail back through the egg so the knot is hidden inside and trim any excess.
- Shaping:
- Shape the egg with your hands to ensure an even, filled form.
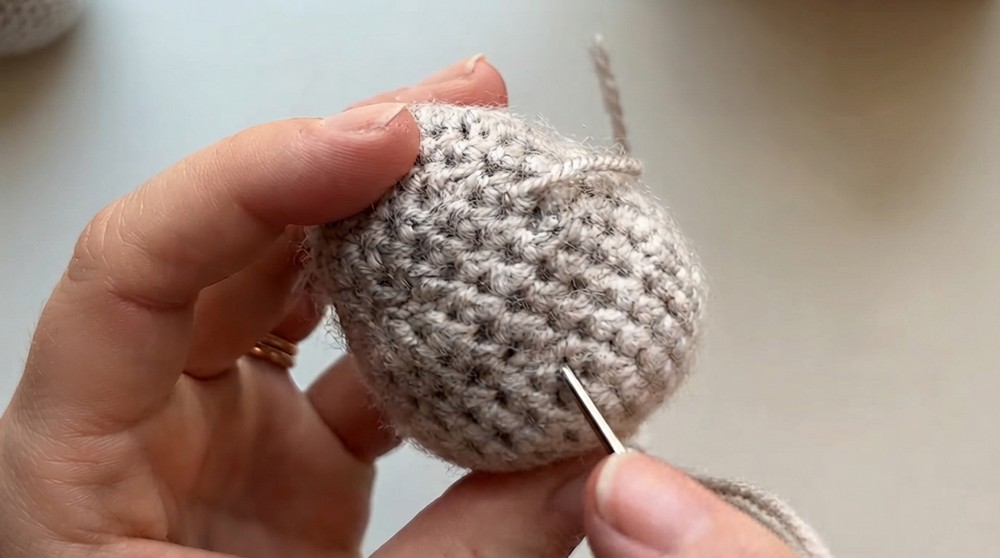
- Shape the egg with your hands to ensure an even, filled form.
Adjusting Size
If your egg is smaller or larger than intended, try changing your hook size:
- A 2.75 mm hook yields a tighter, smaller egg.
- A 3.5 mm hook yields a slightly bigger egg, great for accent variety.
Keep the same pattern and step sequence.
Conclusion
This pattern is a fantastic stash-buster and ideal for practice or gifts. For a different look, simply use other natural yarns or experiment with hook size for a playful clutch of eggs.
