
Unlock the magic of autumn with this free crochet pumpkin amigurumi pattern, an easy and creative way to enhance your seasonal decorations.
Creating adorable little decorations by hand is always fun and rewarding. The delightful pattern called the Free Crochet Pumpkin Amigurumi Pattern brings the charm of autumn right to your fingertips. This cozy crochet pumpkin is perfect for fall décor, gifts, or even as a comforting toy.
Crochet Pumpkin Amigurumi Pattern – Free Seasonal Centerpiece
One of the most attractive things about this pumpkin is its round, plump shape, which feels soft and squishy thanks to the tight crochet stitches. Its texture comes alive with the use of puff stitches that create a raised, bumpy surface resembling real pumpkin ribs, adding a realistic and tactile appeal. The warm orange yarn paired with a cute green curly vine on top, completes the look, making it instantly recognizable and festive.
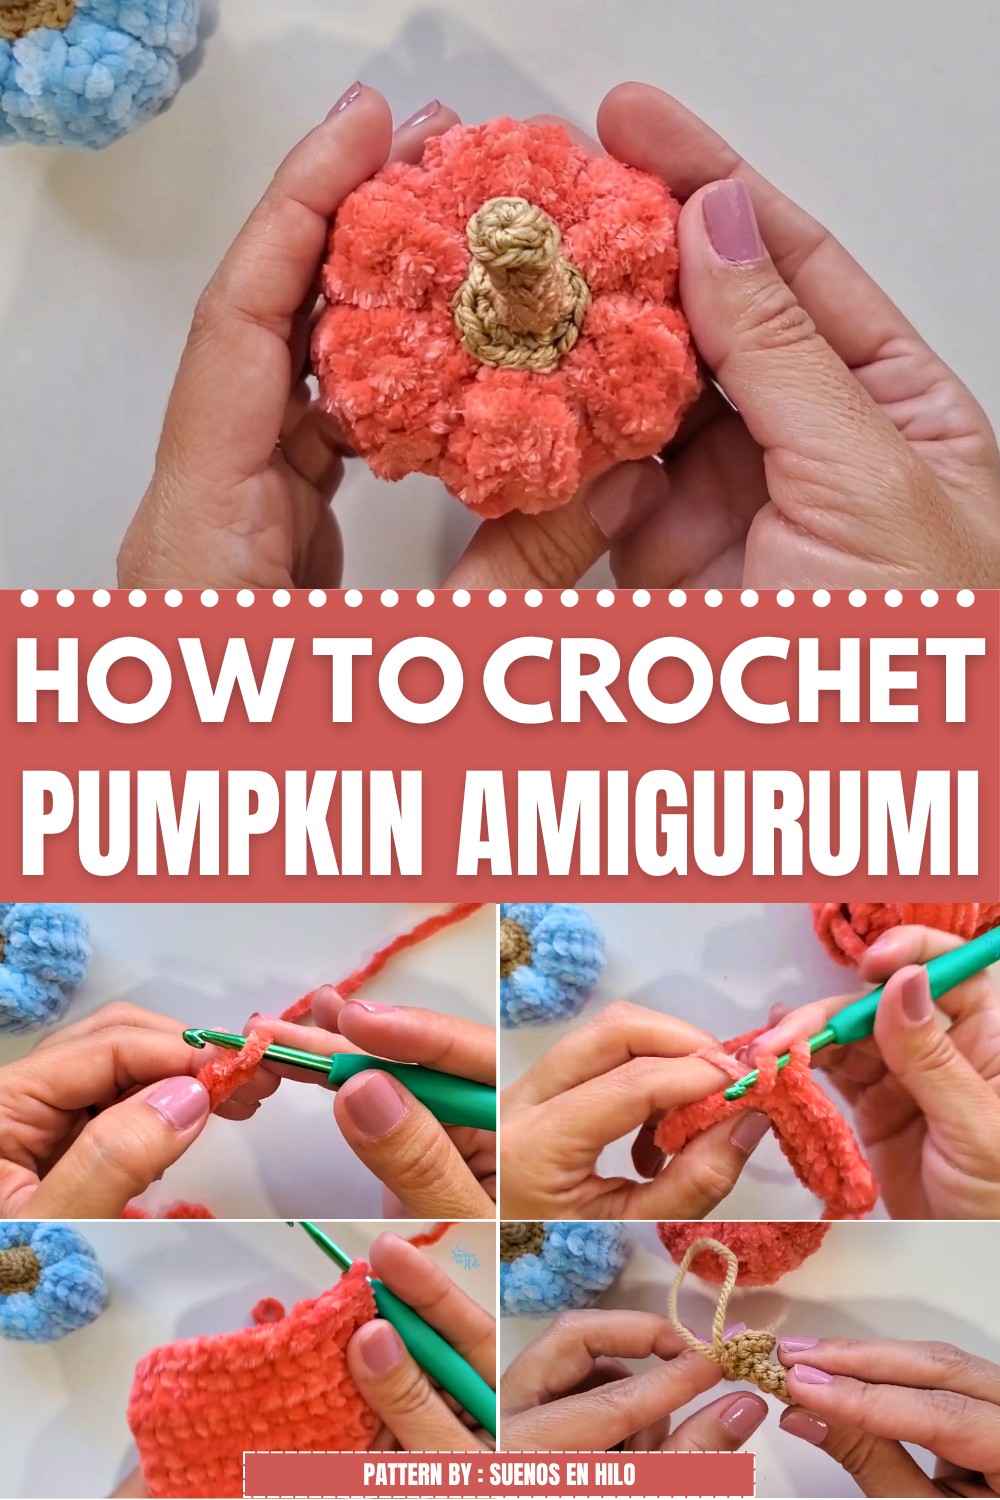
The pattern comes from the channel Suenos en hilo, which offers clear, easy-to-follow crochet tutorials perfect for beginners and experienced crafters alike. Their detailed instructions and helpful tips make creating amigurumis enjoyable and stress-free.
You can use this little pumpkin as a table centerpiece, shelf decoration, or even a cute keychain or bag charm. It’s small but full of character, making it great for Halloween and Thanksgiving decorations. Since it’s crocheted with medium-weight yarn and stuffed securely, it also works well as a kid-friendly toy or a stress-relief squishy.
This project is suitable for beginners who know basic crochet stitches like single crochet and increase/decrease, but it also offers fun details for more advanced crocheters to enjoy. Its simple construction and step-by-step instructions make it easy to follow, even if you are new to amigurumi.
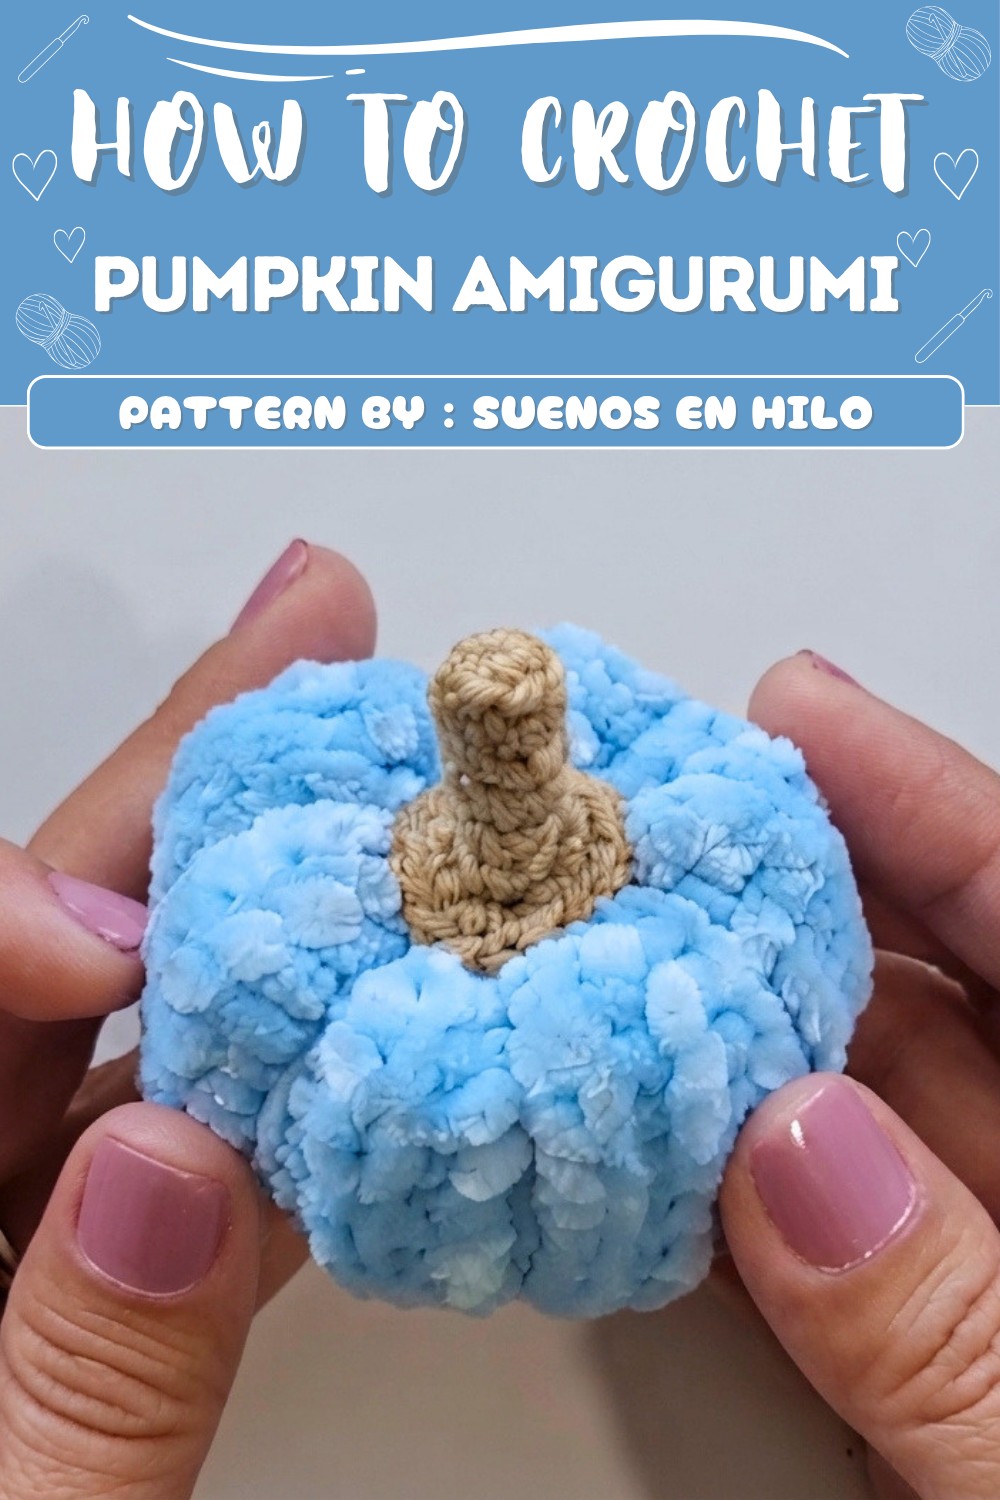
Crochet Chenille Pumpkin Pattern
This crochet pumpkin features a plush and textured surface, achieved with chenille yarn and a special slip half-double crochet stitch. Its ribbed body and whimsical stem make a perfect autumn decoration, whether as centerpiece, gift, or playful accent. The design incorporates practical shaping techniques to create dimensional ribs, ensuring a classic, hand-crocheted look. The stem is worked separately with thinner yarn to maintain proportion and contrast.
Pattern Basic Points
Design Highlights
- Worked flat in rows, then joined and gathered for realistic round shape
- Uses slip half-double crochet for deep, cozy texture
- Back loop only technique forms pronounced ridges
- Easy shaping creates signature pumpkin ribs with a threaded method
- Stem crocheted separately with tight stitches for durability and neat finish
Construction Sequence
- Flat rectangle for the pumpkin body, closed and stuffed
- Rigid stem with subtle increases and neat shaping
- Assembly brings all parts together for a classic, stylized look
Special Notes
- The slip half-double crochet stitch gives a denser, structured fabric; keep stitches loose to prevent tightness
- For best results, count stitches every row and maintain consistent tension, especially with chenille yarn
- Stuff pumpkin firmly but avoid overstuffing to keep shape and allow rib formation
- The stem is small; use a hook size and yarn that create a dense, stable piece for easy attachment
Skill Level
Beginner to Intermediate
The pattern uses basic stitches and simple shaping, with emphasis on constructing structured forms and using back loop stitches. The sequence is suitable for beginners comfortable with slip stitches and working in rounds.
Materials
- Chenille yarn (color of your choice, for pumpkin body)
- Beige yarn (DK or worsted, for stem)
- 4.5 mm crochet hook (for chenille body)
- 2.5 mm crochet hook (for stem)
- Synthetic stuffing (fiberfill)
- Wool needle, scissors
Measurements / Sizing
- Finished pumpkin: Approx. 3–4 inches diameter (stuffing alters size)
- Stem: ~1 inch tall, fits snugly atop the pumpkin
- To adjust size, change number of foundation chains or rows, or use thicker/thinner yarn
Gauge (and Stitch Pattern if applicable)
- Gauge is not critical for this pattern
- Slip half-double crochet creates a deep, ribbed fabric suitable for three-dimensional shapes
- Back loop technique creates texture and allows ribs to form naturally
Stitch Abbreviations
- ch – chain
- sl hdc – slip half-double crochet (insert hook, yarn over, pull up loop, yarn over, pull through all loops)
- sc – single crochet
- sl st – slip stitch
- inc – increase (2 sc in same st)
- MR – magic ring
- st(s) – stitch(es)
- rep – repeat
Special Stitches
- Slip Half-Double Crochet (sl hdc): Insert hook in indicated st, yarn over, pull up loop, yarn over, pull through all loops on hook
- Back Loop Only (BLO): Work into back loop of stitch for ribbed texture
- Magic Ring (MR): Create a tight circle for closed beginnings
Assembly & Finished Size
- Rectangle is joined to make a tube, then closed at each end
- Stuffing forms a rounded body, threaded technique shapes ribs
- Stem is sewn securely in place for a cohesive, finished look
Pattern
1. Pumpkin Body
Foundation
- Create a slip knot.
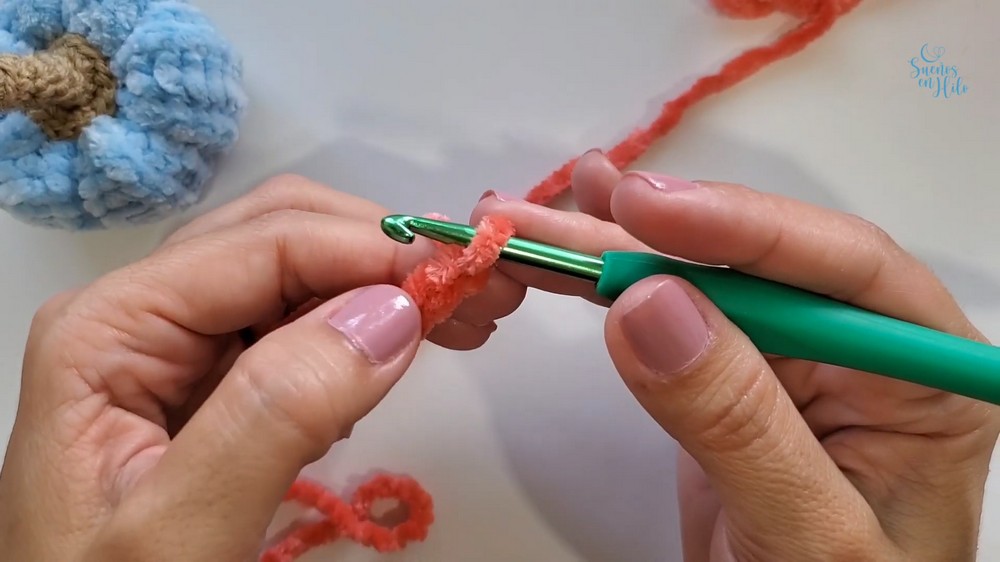
- Ch 14.
Row 1
- In second chain from hook, work sl hdc.
- Repeat sl hdc across all 13 chains.
Rows 2–18
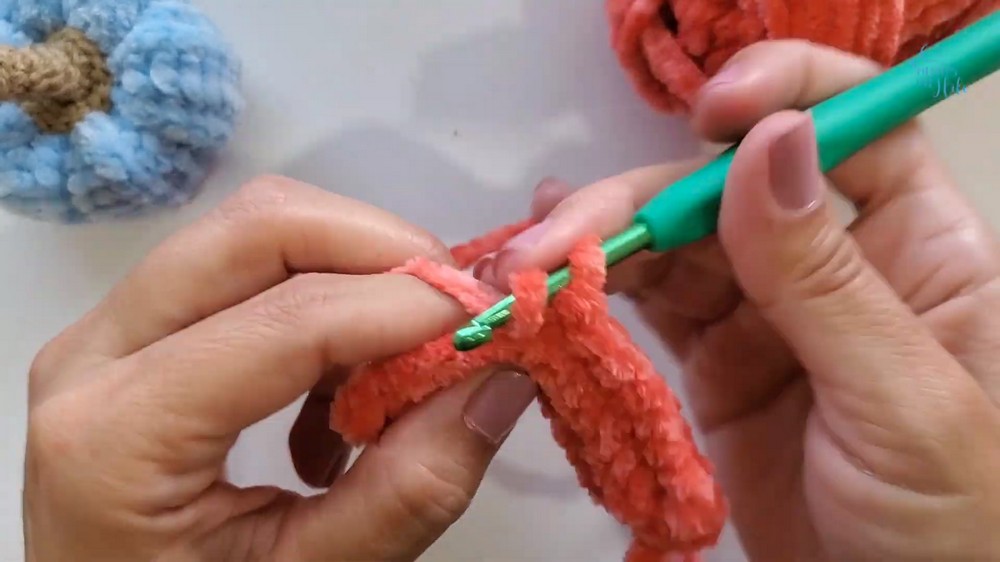
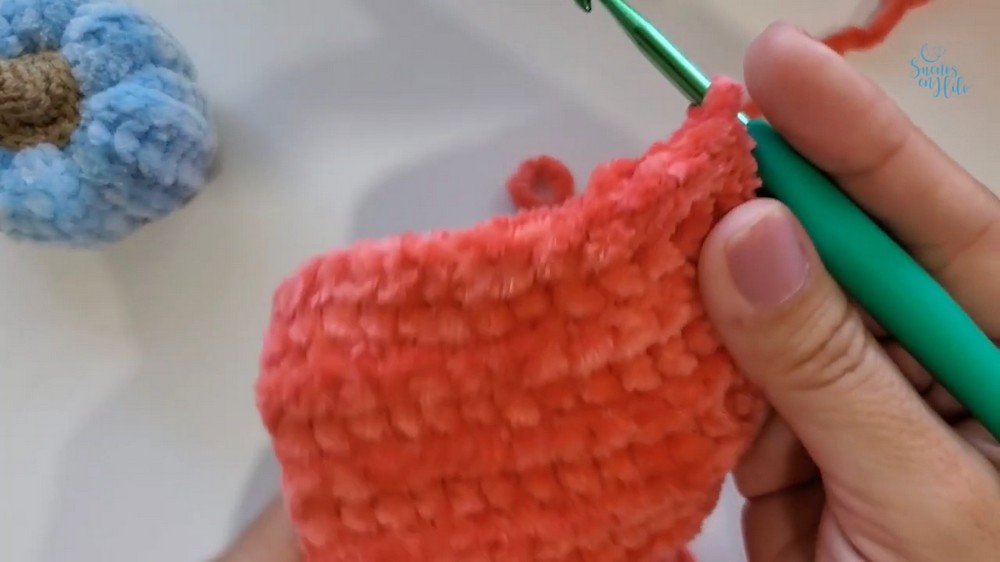
- Ch 1, turn.
- Work across row using sl hdc BLO in each stitch (only the back loops).
- Repeat for a total of 18 rows. Count to confirm you have the same number of stitches in each row.
Joining
- Fold rectangle in half, aligning short edges.
- Using working yarn and hook, join ends with sl st BLO across both edges to form a tube.
- Fasten off, leaving a long tail (for sewing and shaping).
2. Assembly and Shaping
Closing One Side
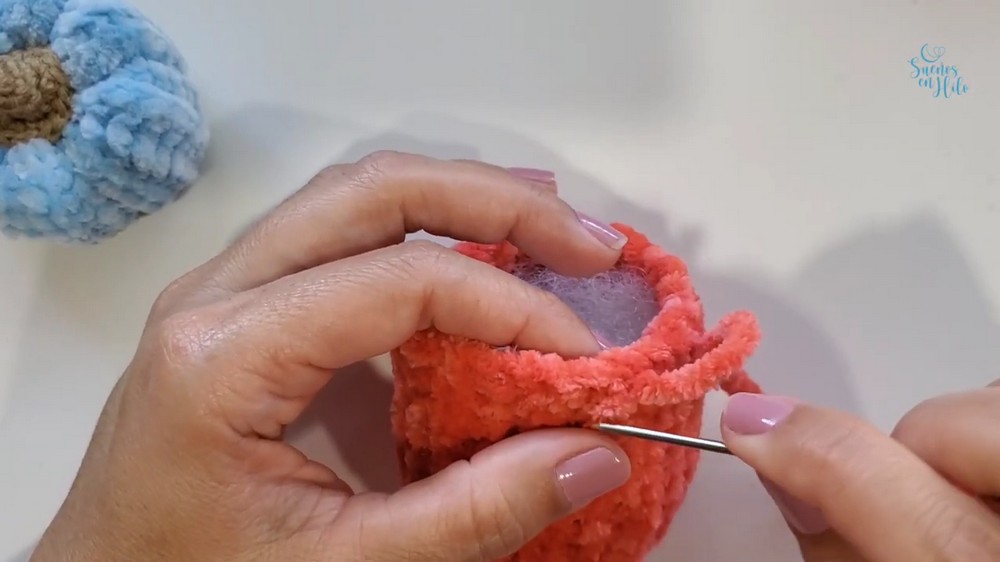
- With wool needle and long tail, weave (baste) yarn along edge of one open tube end.
- Pull tightly to gather and close, secure with a knot.
Stuffing
- Turn piece right-side out.
- Stuff tube with fiberfill to desired firmness.
Closing Second Side
- Baste yarn around open edge as before.
- Add extra stuffing if needed.
- Pull tightly to close and secure.
Forming Ribs
- With same yarn and needle, thread through center of pumpkin top to bottom, firmly pulling yarn around outside.
- Repeat process around the circumference, forming clear ribs (classic pumpkin ridges).
- Typically, create 5–6 ribs evenly spaced.
- Secure yarn, weave in tail.
3. The Stem
Round 1
- Using 2.5 mm hook and beige yarn, start with MR.
- Work 6 sc in MR.
Round 2
- Work 6 sc in BLO (back loop only).
Rounds 3–5
- Work 6 sc in each round, through both loops.
- After round 5, confirm stem is firm and tubular.
Round 6
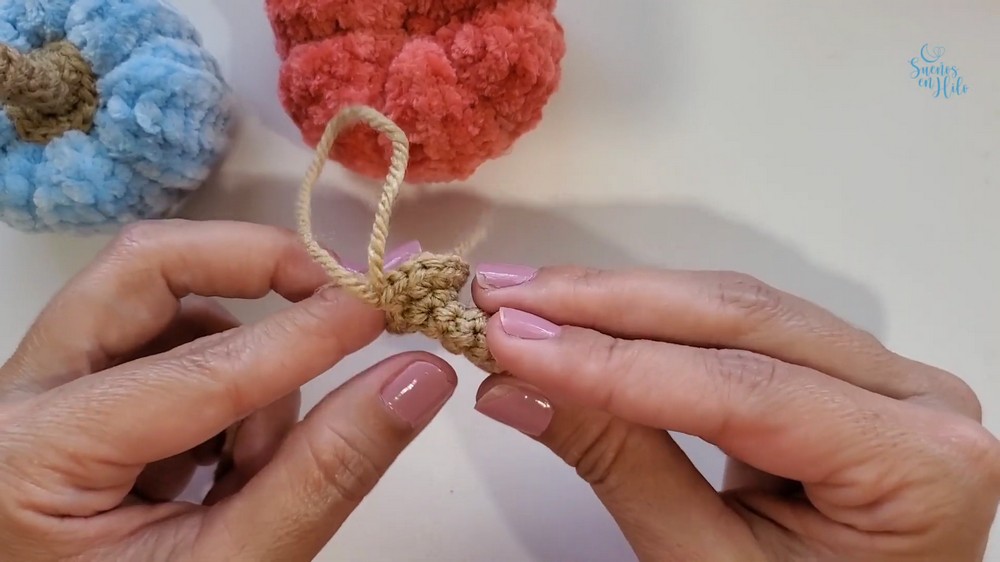
- [2 sc, 1 inc] repeat around (should have 8 st at end).
Round 7
- Work an inc in every stitch (2 sc in each st), ending with 16 stitches total.
- Fasten off, leaving a length for sewing.
Assembly
- Sew stem firmly atop the pumpkin, inserting and anchoring with the yarn tail.
- Tie off and weave in any remaining ends.
Conclusion
A crochet pumpkin crafted from plush chenille yarn brings warmth and whimsy to autumn arrangements. The slip half-double crochet stitch forms a rich, ribbed texture, enhanced by back loop-only rows for pronounced structure. The gathered and threaded shaping technique allows each pumpkin to feature distinct, dimensional ridges, while the compact stem, worked in finer yarn, completes the look. Overall, this project melds simplicity with smart structure, offering an accessible yet visually pleasing seasonal decoration with room for personalization in color, size, and finish.
