
Decorate your home with this crochet crosia thalposh design pattern that helps you make a beautiful cover for your table with simple steps.
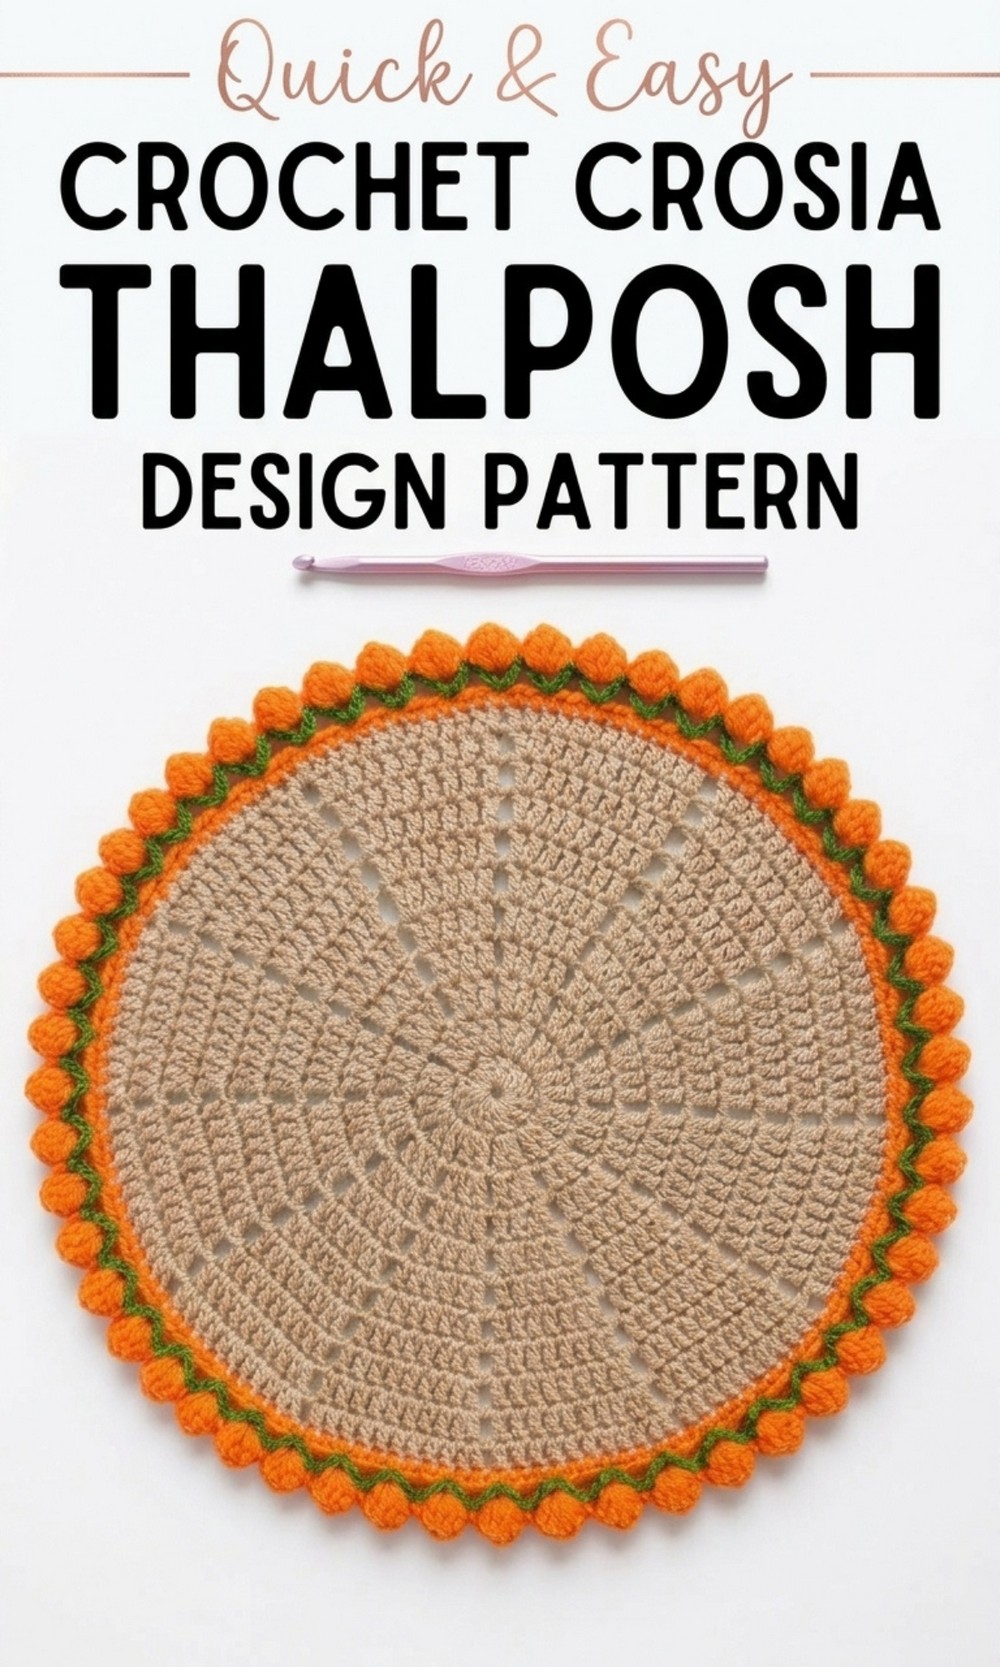
Modern Free Crochet Crosia Thalposh Design Pattern That’s Perfect for Any Table
t is a round table cover or mat that can brighten up any table in your home. With soft yarn and colorful designs, this thalposh is not only pretty but also protects your table from scratches and gives it an elegant look. The Crochet Crosia Thalposh Design pattern uses simple crochet stitches, so even beginners can make it easily. You can use bright colors to make it stand out or soft pastel shades for a subtle look.
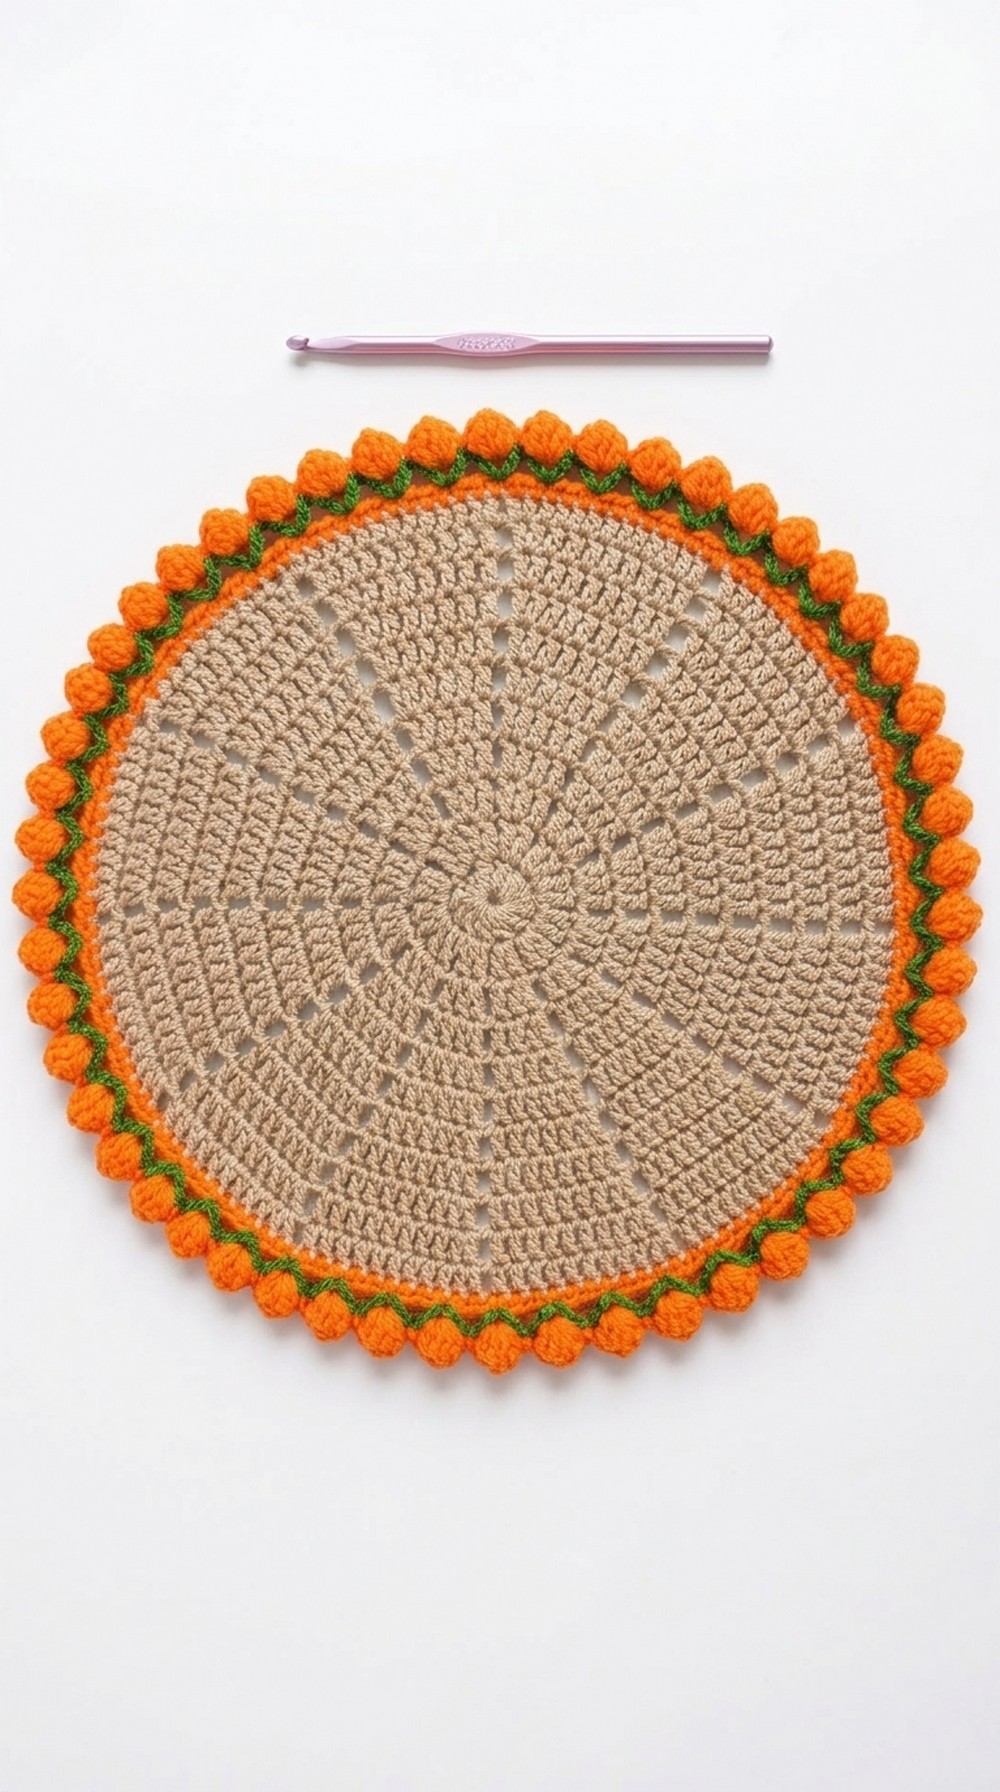
The detailed design makes it perfect for decorating your dining table, pooja thal, or even gifting to someone special. This thalposh is lightweight, easy to wash, and can be used at festivals, weddings, or for everyday decor. It is a perfect mix of simplicity, style, and function that adds charm to your home.
Unique Crochet Crosia Thalposh Design Pattern
1. Materials
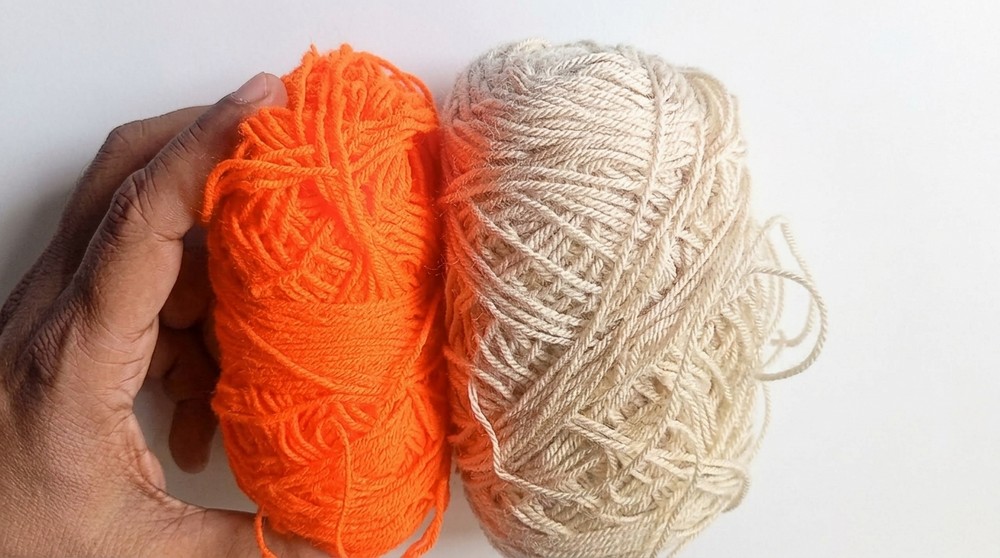
- Yarn
- Medium thick acrylic or wool yarn.
- Two colours used in the video:
- Colour A – Base (large round part)
- Colour B – Border and petal edging
- Hook
- 3.5 mm crochet hook (as in the video)
- You may also use a 3.0 mm hook if your yarn is slightly thinner.
- Other Tools
- Scissors
- Yarn needle (tapestry needle) for weaving in ends and securing stitches
- Measuring tape (optional)
2. Stitches and Abbreviations (US Terms)
- MR – Magic Ring
- ch – chain
- sl st – slip stitch
- sc – single crochet
- dc – double crochet
Note: The 3 chains at the beginning of a round count as 1 double crochet in this pattern.
3. Special Technique: Magic Ring
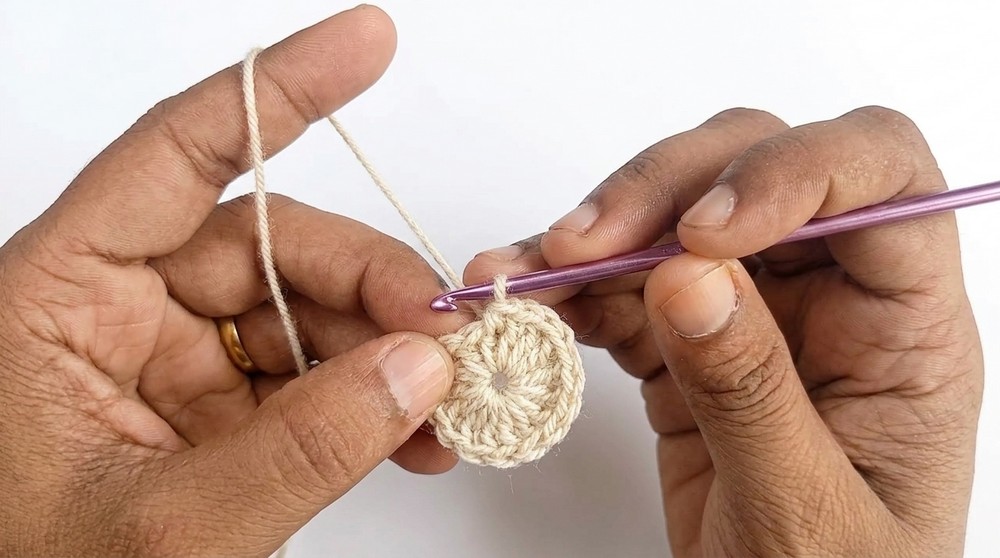
The pattern begins with a magic ring.
Steps to make Magic Ring:
- Wrap the yarn around two fingers so it crosses and forms a loop.
- Insert the hook under the first strand and catch the second strand.
- Pull it through to form a loop on the hook.
- Make 1 chain to secure, then remove fingers from the ring.
- Gently pull the tail to adjust the ring size as needed.
This ring is used as the base to work the first round of double crochets.
4. Pattern Overview
- The thaalposh / table mat is a large round piece, worked in:
- A solid circular base in Colour A, made of repeated rounds of double crochet.
- A round of single crochet in Colour B around the edge.
- A decorative fan / petal edging using chains and double crochets in Colour B.
You can stop after fewer rounds for a tea coaster, or work more rounds (as in the video) for a large table mat / thaalposh.
5. Detailed Pattern
Round 1 – Magic Ring Base (Colour A)
- Make a Magic Ring (MR).
- ch 3 (counts as 1 dc).
- Work 11 dc into the magic ring.
- Total stitches including the ch 3 = 12 dc.
- Pull the tail to tighten the ring.
- Join to the top of the starting ch 3 with a sl st.
Round 1: 12 dc.
Round 2 – Increasing the Circle (Colour A)
- ch 3 (counts as 1 dc).
- In the same stitch, make 1 dc (so there are 2 dc in that same stitch).
- In every stitch around, work 2 dc in each stitch.
- Join with a sl st to the top of the starting ch 3.
Round 2: 24 dc (2 dc in each of the 12 stitches).
Round 3 and Onward – Continuous Increases (Colour A)
From the transcript, the maker continues to build the circle, increasing regularly so the work lays flat. She mentions:
- Counting rounds: 4, 5, 6, 8, 11 lines.
- Each round increases the number of double crochets.
- For example, at one point she shows:
- 6th round having 6 dc in each repeat section,
- 8th round having 8 dc in sections,
- 11th round having 11 dc, etc.
This indicates a standard circular increase pattern where each new round adds one more dc between increases.
Below is a consistent and clear way to work this (standard method) which matches the growth shown in the video.
Note: The speaker does not read out exact stitch counts every round, but the logic follows the usual circle pattern.
General Rule for Rounds 3–11 (Colour A)
- Each round begins with ch 3 (counts as a dc).
- The number of dc between increases grows by 1 each round.
- An “increase” is 2 dc into the same stitch.
I will now write it in detail so a Grade 10 student can follow easily.
Round 3 (Colour A)
- ch 3 (counts as 1 dc).
- 1 dc in the same stitch.
- 1 dc in the next stitch, 2 dc in the next stitch – repeat around.
- Join with a sl st to top of ch 3.
Sequence: (2 dc in same st, [1 dc, 2 dc] repeated)
Round 3: 36 dc total. (1 dc between increases)
Round 4 (Colour A)
- ch 3.
- 1 dc in same stitch (increase).
- 1 dc in each of the next 2 sts, 2 dc in next st – repeat around.
- Join with sl st.
Round 4: 48 dc total. (2 dc between increases)
Round 5 (Colour A)
- ch 3.
- 1 dc in same stitch.
- 1 dc in each of the next 3 sts, 2 dc in next st – repeat around.
- Join with sl st.
Round 5: 60 dc total. (3 dc between increases)
Continue in the Same Manner up to Round 11
Follow this same pattern:
- Each new round:
- Starts with ch 3, 1 dc in same st (an increase).
- Then: dc in each stitch across the number of stitches equal to the current round number minus 2, then 2 dc in the next st, and repeat.
To make it easier:
- Round 6: 4 dc, 2 dc in next repeat
- Round 7: 5 dc, 2 dc in next repeat
- Round 8: 6 dc, 2 dc in next repeat
- Round 9: 7 dc, 2 dc in next repeat
- Round 10: 8 dc, 2 dc in next repeat
- Round 11: 9 dc, 2 dc in next repeat
Each time, join with a sl st at the end of the round.
The woman in the video states that she has 11 rounds completed in Colour A, and in the 11th round there are “11 double crochet” in each repeat section. The exact count may differ slightly because she explains it verbally, but this method gives a neat, flat, round mat like hers.
You may stop earlier (for example after Round 5 or 6) for a smaller tea coaster, or work all the way to Round 11 for a large thaalposh / table mat as shown.
6. After Completing the Base (Colour A)
When your base circle is as large as you want:
- Finish the round as usual (sl st to top of ch 3).
- Cut Colour A (leave a small tail).
- Pull through and weave the tail later.
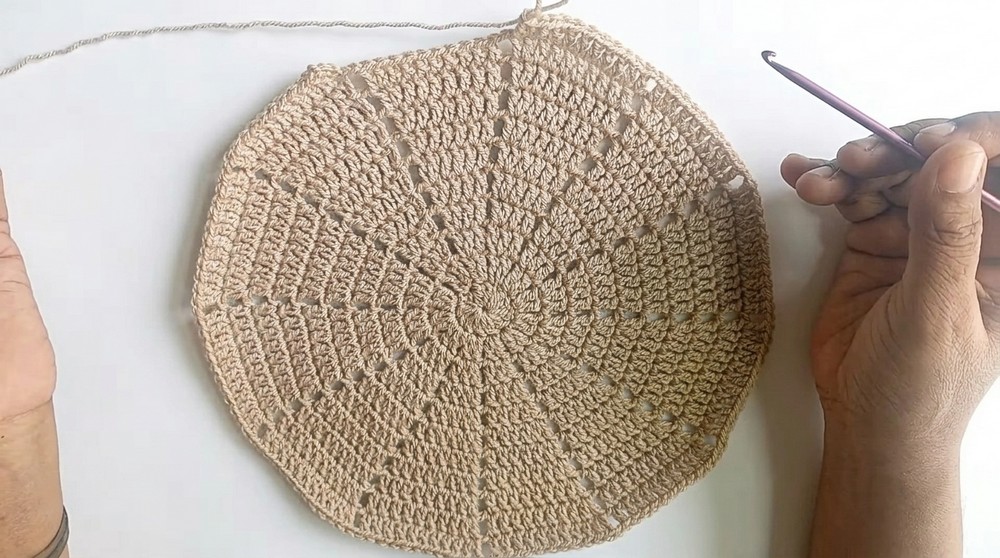
The video then changes to Colour B for border and edging.
7. Round – Single Crochet Border (Colour B)
This round prepares the edge for the decorative petals.
- Join Colour B in any stitch on the outer edge.
- Insert hook into a stitch, pull in Colour B, and tighten.
- ch 1 (does not count as a stitch).
- Work 1 sc in each stitch around the circle.
- The transcript confirms “हर स्टेट में सिंगल क्रोशिया बनाते हैं” (single crochet in every stitch).
- When you reach back to the start, join with a sl st to the first sc.
- Do not cut yarn; proceed to petal/fan edging.
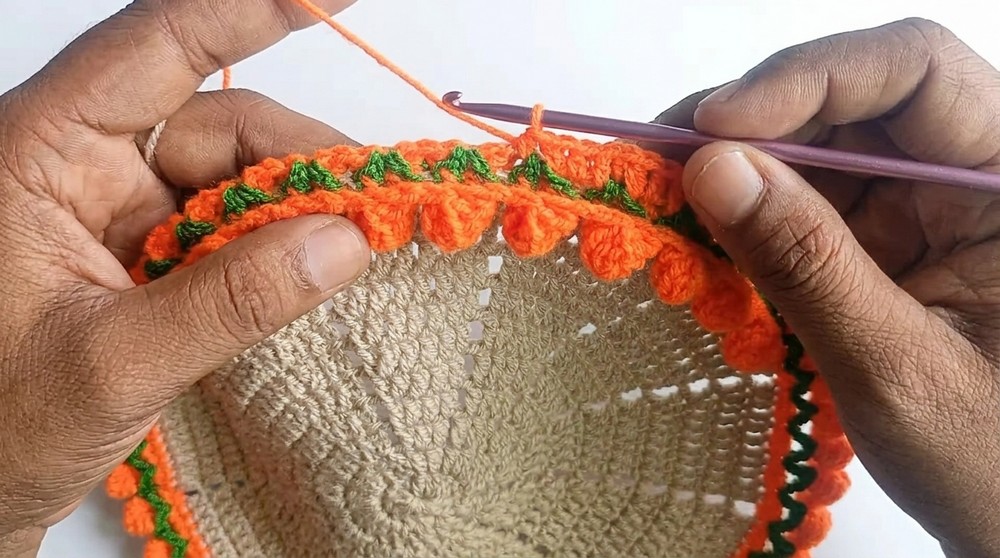
8. Petal / Fan Edging (Colour B)
The outer edge in the video shows fan like petals worked around. The audio mentions repeated chains and double crochets and shows sets of 7 tall stitches forming a petal.
Here is a clear version consistent with what is described:
Petal Round
- ch 2 (to get some height and spacing).
- Skip 1 stitch.
- In the next stitch, work 7 dc (all into the same sc stitch) – this forms one petal/fan.
- Skip 1 stitch.
- sl st into the next stitch to anchor the petal.
- Repeat around:
- ch 2, skip 1 st, 7 dc in next stitch, skip 1 st, sl st in next stitch.
Continue this sequence around the whole circle. At the end:
- Join with a sl st to the base of the first petal or to the starting point (where you began with the first ch 2).
- Cut the yarn and fasten off.
The transcript repeatedly counts “1 2 3 4 5 6 7” and shows these as the tall stitches forming each petal.
9. Finishing the Pattern
- Weave in Ends
- Use a yarn needle.
- Thread each loose yarn tail.
- Weave it in and out of several stitches on the wrong side (back side) of the mat.
- The maker mentions passing the yarn through stitches on the inner side so it remains secure and does not open.
- Secure the Last Petal Yarn
- After the last petal, pull the yarn tail to the back.
- Weave through the bases of the petals and some of the single crochet stitches.
- Pull gently to flatten the edge.
- Shape the Mat
- Lay the mat flat on a table or bed.
- Smooth it with your hands so the petals are evenly spaced.
- If needed, lightly steam block with low heat and a cloth over it (only if your yarn allows).
- Check for Gaps or Loose Stitches
- Ensure the magic ring in the center is tightened properly.
- If any stitch looks loose, pull the tail slightly and weave it again.
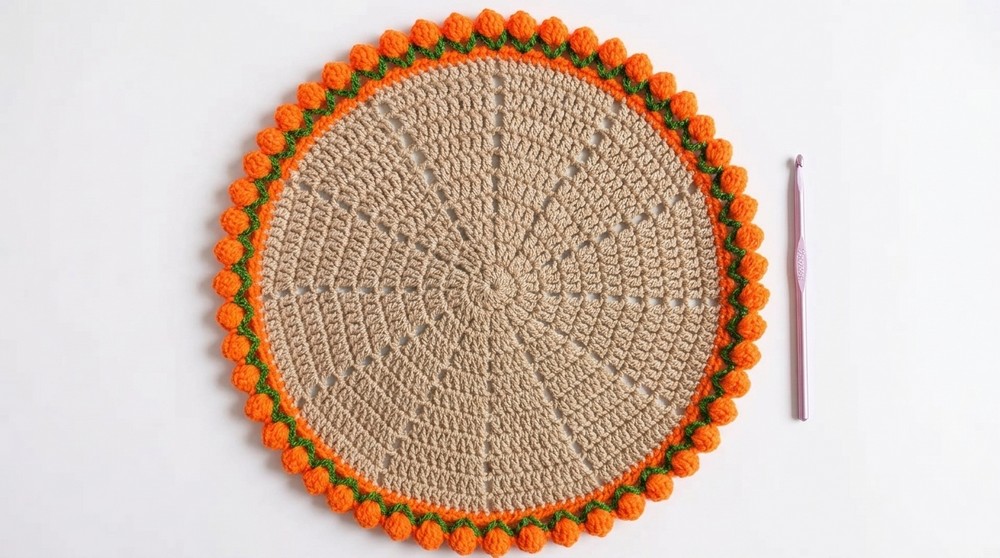
Now your thaalposh / table mat or large tea coaster is complete. As the maker says, it can be used as table mat or thaal cover (thaalposh).
10. Suggestions and Variations
- Size Adjustment
- For a small coaster, stop after 4–6 rounds of dc, then do the sc border and petals.
- For a medium table mat, work about 8–9 rounds of dc.
- For a large thaalposh, work the full 11 (or more) rounds.
- Colour Ideas
- Use a light colour for the base and a dark or bright colour for the edging.
- Try each round in a different colour for a very colourful mat.
- Use white or cream base with green/red border for festive looks.
- Yarn Choice
- Cotton yarn is good for table use (more heat resistant, less fuzz).
- Acrylic or wool is fine for decorative mats.
- Hook Size
- If your mat curls up, use a larger hook.
- If your mat becomes wavy, use a smaller hook or reduce increases slightly.
11. Tips to Maintain the Pattern Piece
- Washing
- Hand wash gently in cool water with mild detergent.
- Do not twist or wring the mat.
- Press gently between towels to remove extra water.
- Drying
- Lay flat on a clean towel.
- Shape the petals with your fingers while it is still damp.
- Do not hang, as this can stretch the shape.
- Storage
- Store flat in a drawer or shelf.
- Do not fold sharply; avoid placing heavy items on top for long periods to keep the petals neat.
- Use on Table
- Ensure the table surface is dry before placing the mat.
- Avoid placing extremely hot utensils directly on acrylic yarn; use cotton for that.
- Repair
- If any petal loosens, use the leftover yarn and a needle or hook to restitch that small area.
- Weave the ends again to secure.
12. Final Words
This pattern, inspired directly from the video transcript, gives you a simple round crochet thaalposh / table mat / tea coaster with:
- A clean double crochet base,
- A neat single crochet border, and
- A lovely petal edging in a contrast colour.
The method is straightforward, mainly using double crochet, single crochet, chain, and a magic ring. It is suitable for confident beginners and intermediate crocheters, and can be adjusted in size for coasters, table mats, or a large thaal cover.
