
Protect your surfaces and enhance seasonal gatherings with this Free Crochet Candy Corn Coaster Pattern that brings a playful and festive touch.
Bringing a bit of fall fun to your home can be easy with simple and cute handmade projects. The Free crochet Candy Corn Coaster Pattern is a great example, shared by the talented folks at crochet with katie. This cozy decor piece is perfect for anyone who loves quick, cheerful crochets that add a seasonal touch.
Simple Free Crochet Candy Corn Coaster Pattern for Gifting
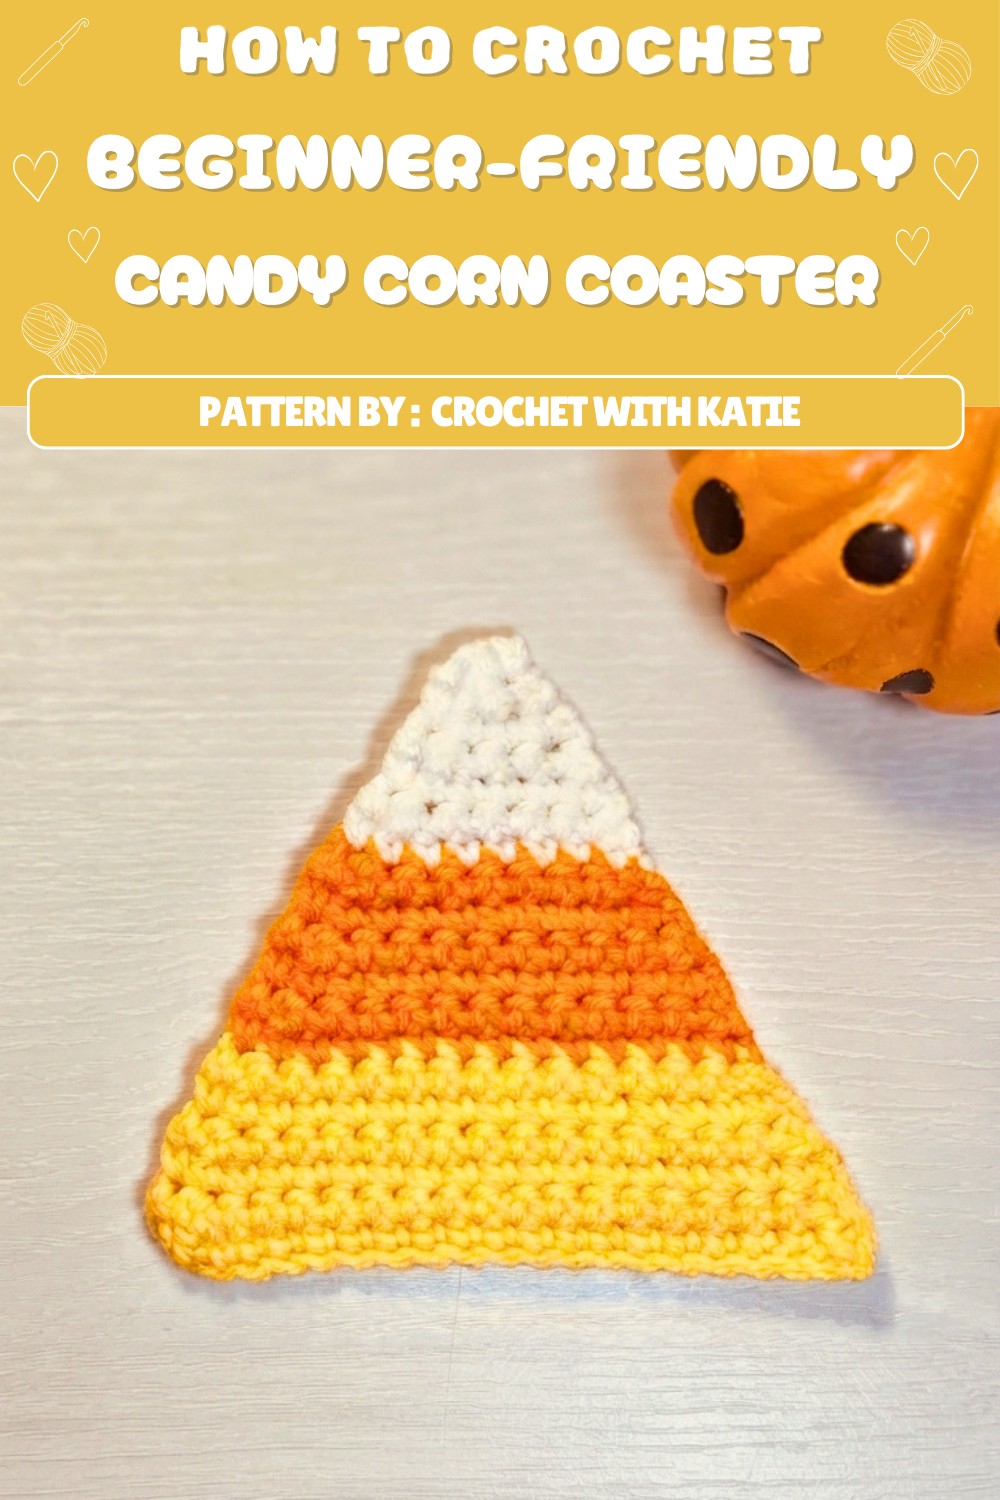
This coaster looks just like the classic candy corn candy with bright yellow, orange, and white stripes. Its triangle shape with soft, rounded edges makes it fun and easy to spot on any table. The texture feels soft but strong enough to hold a cup, helping to protect your furniture from heat or water rings.
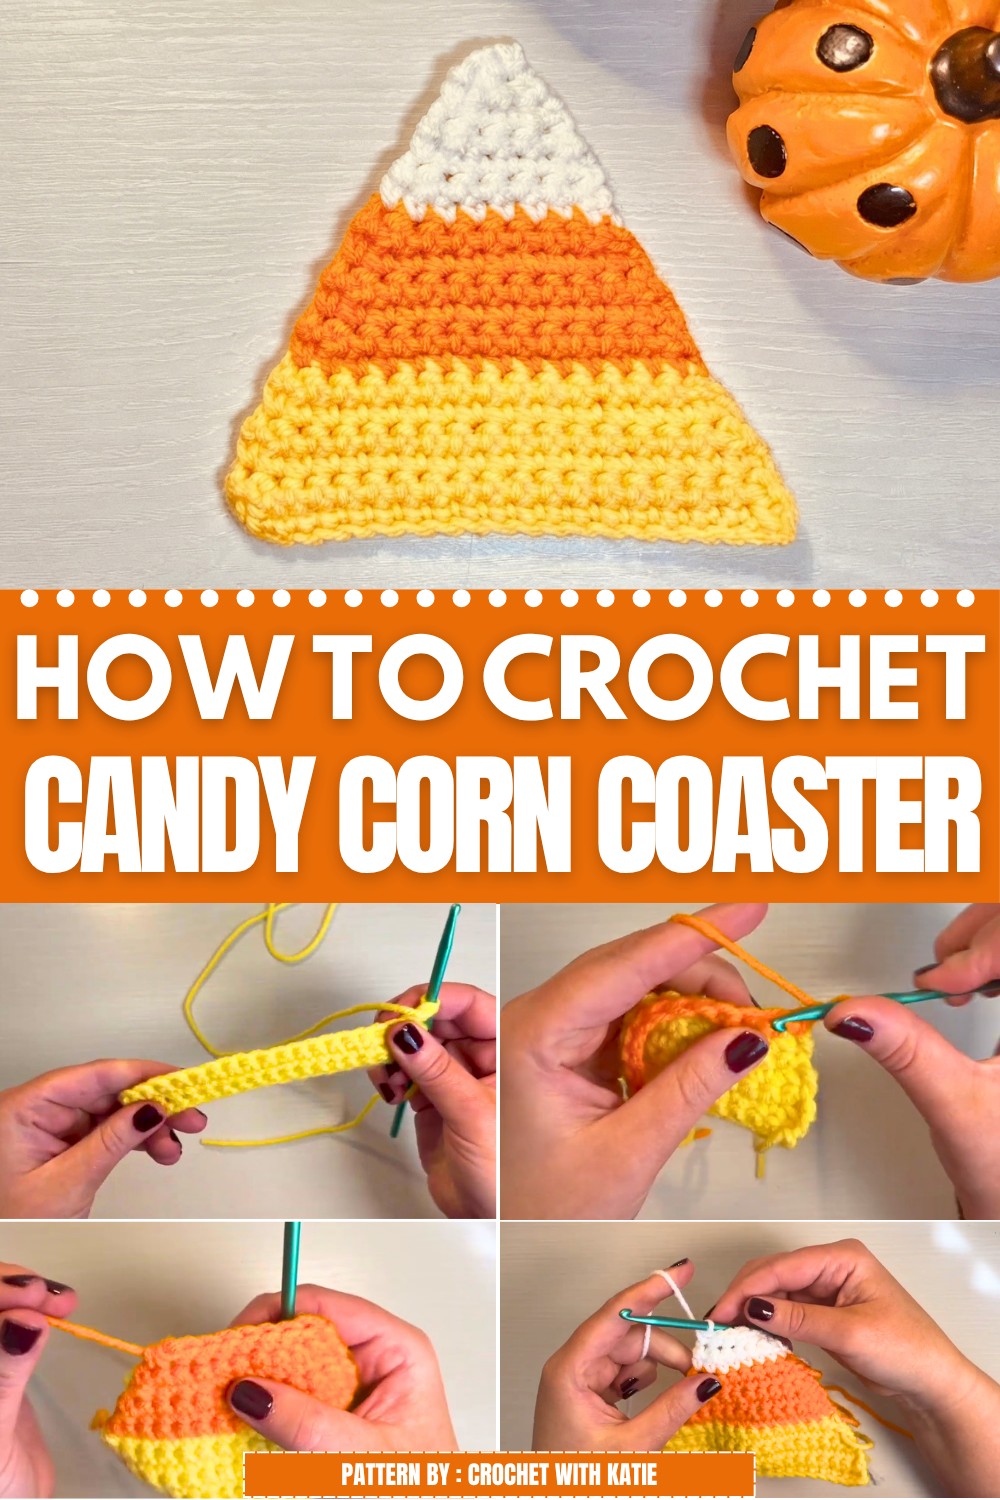
These candy corn coasters make lovely gifts and add a happy bit of color to your fall or Halloween decorations. They are useful for everyday use, keeping your tables safe while looking charming. The pattern is simple, using easy crochet stitches and color changes that make the project fun but not hard to make.
One of the best features is how neat the color stripes look, which makes the coaster look just like real candy corn. Sometimes the coaster might curl a little, but a quick dampening and flattening will fix that easily.
Candy Corn Coaster Crochet Pattern
This cheerful and easy-to-make Candy Corn Coaster is a perfect accent for your autumn decor or a sweet gift for friends and family. The design uses classic candy corn colors—yellow, orange, and white—worked in rows and simple shaping techniques, making it ideal for beginners or anyone looking for a quick, seasonal project. With just a few basic stitches and color changes, you’ll have a flat, triangular coaster that’s both practical and pretty.
Pattern Basic Points
- Worked in Rows: The coaster is constructed flat, row by row, from the wide yellow base to the white tip.
- Decreases for Shaping: Single crochet decreases at each edge shape the triangle.
- Color Changes: Yarn is changed twice, creating the iconic three-striped look.
- Finishing: Weave in all ends; wet block for neat, flat edges.
Special Notes
- Consistency: After each decrease row, follow with a row of single crochet across without edging decreases.
- Color Changes: Change color on the “yarn over and pull through” of the decrease stitch at the row edge, giving a clean transition.
- Weaving in Ends: To hide ends, always weave them through the same color section.
- Curling: If your coaster curls at the tip, wet blocking (rinsing and drying flat) will fix it.
Skill Level
Beginner – If you know basic crochet stitches (chain, single crochet, decrease), you can do this project!
Materials
- Yarn: Medium weight (worsted, category 4) yarn in yellow, orange, and white. Any brand works, like Craft Smart from Michaels.
- Hook: 4.5 mm crochet hook
- Other: Scissors, tapestry needle
Measurements / Sizing
- Finished size: Approximately 4.5″ (11.5 cm) wide at base and 6–7″ (15–17 cm) tall, depending on tension.
- Shape: Flat triangle, classic candy corn shape.
Gauge
- Gauge is not critical. Coaster should be relatively firm with no gaps.
- For best results, keep stitches even and snug.
Stitch Abbreviations
- ch = chain
- sc = single crochet
- sc2tog = single crochet decrease (single crochet two together)
- st(s) = stitch(es)
Special Stitches
Single Crochet Decrease (sc2tog):
- Insert hook into next st, yarn over and pull up a loop.
- Insert hook into next st, yarn over and pull up a loop (3 loops on hook).
- Yarn over and pull through all 3 loops.
Color Change:
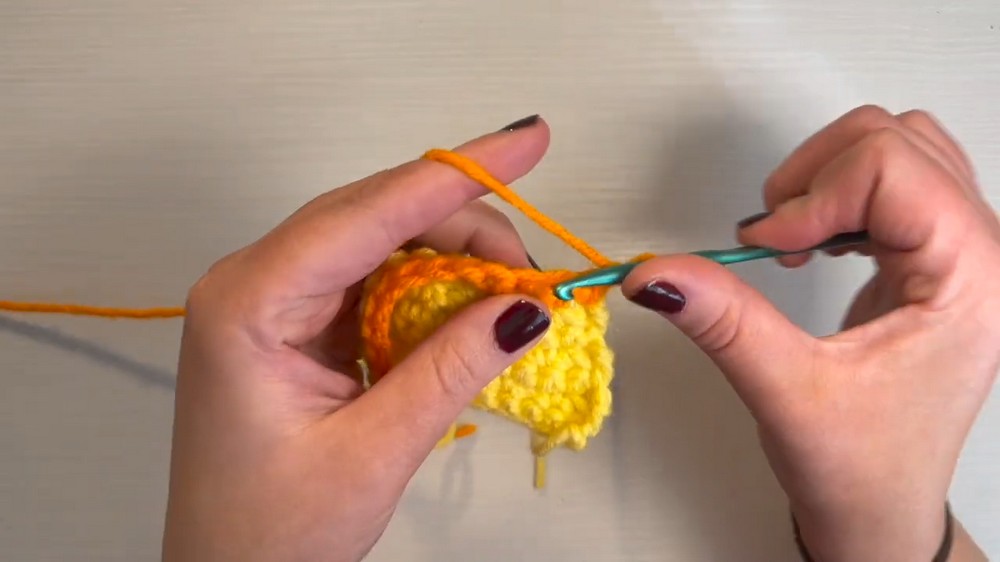
On the last decrease of the yellow or orange section: pause when 3 loops are on hook for decrease, yarn over and pull new color through all three loops to finish the decrease and transition to the next color.
Pattern Instructions
Candy Corn Coaster
Yellow Stripe (Base)
- Slip Knot & Starting Chain
- With yellow yarn, make a slip knot and place it on your hook.
- Ch 21.
- Row 1:
- Starting in second ch from hook, sc in each ch across. (20 sts)
- Row 2:
- Ch 1, turn.
- sc2tog (decrease) in the first 2 sts.
- Sc in each st across until last 2 sts.
- sc2tog in last 2 sts. (18 sts)
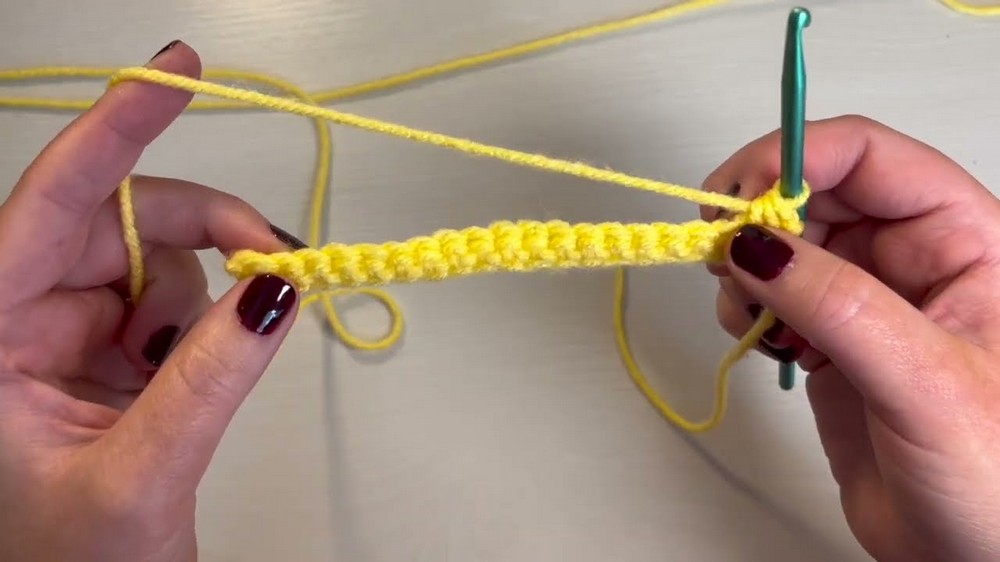
- Row 3:
- Ch 1, turn. Sc in each stitch across. (18 sts)
- Row 4:
- Ch 1, turn.
- sc2tog, sc in each st until last 2, sc2tog. (16 sts)
- Row 5:
- Ch 1, turn. Sc across. (16 sts)
- Row 6:
- Ch 1, turn.
- sc2tog, sc in each st until last 2, sc2tog. (14 sts)
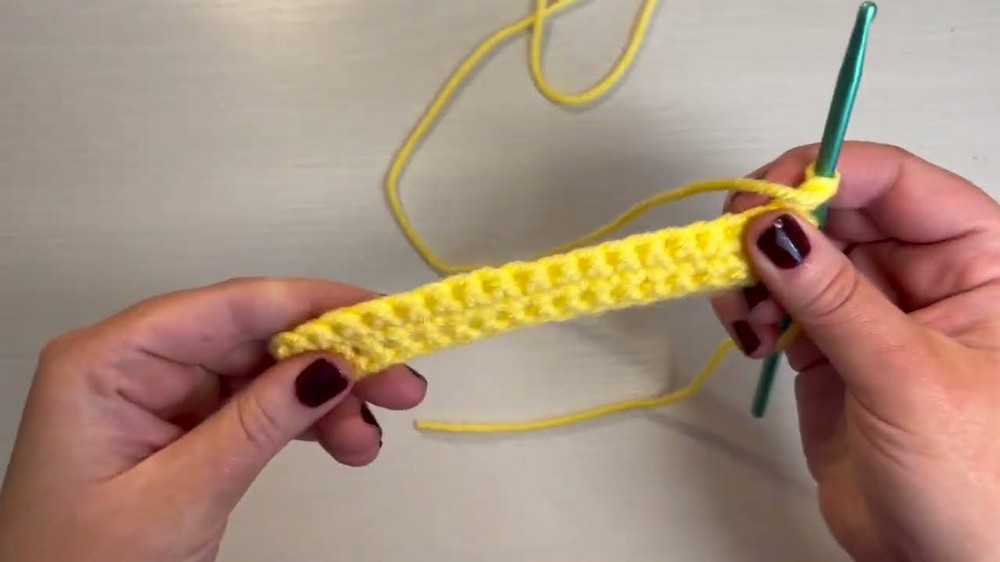
Continue this pattern:
ODD ROWS: sc in every st across
EVEN ROWS: decrease at both edges, sc in between. - Row 7:
- Ch 1, turn. Sc across (14 sts)
- Row 8:
- Ch 1, turn. sc2tog, sc in each st until last 2, sc2tog. (12 sts)
- Row 9:
- Ch 1, turn. Sc across (12 sts)
- Row 10:
- Ch 1, turn. sc2tog, sc in each st until last 2, sc2tog. (10 sts)
- Row 11:
- Ch 1, turn. Sc across (10 sts)
- Row 12:
- Ch 1, turn. sc2tog, sc in each st until last 2, sc2tog. (8 sts)
Color Change to Orange:
- On the very last decrease of row 12, pause with 3 loops on hook, drop yellow, pick up orange, yarn over with orange and pull through all 3 loops to finish the decrease with orange.
- Ch 1 with orange, turn.
Orange Stripe (Middle)
- Row 13:
- With orange, sc in each st across (8 sts)
- Row 14:
- Ch 1, turn. sc2tog, sc in each st until last 2, sc2tog. (6 sts)
- Row 15:
- Ch 1, turn. Sc in all 6 sts.
- Row 16:
- Ch 1, turn. sc2tog, sc in next 2, sc2tog. (4 sts)
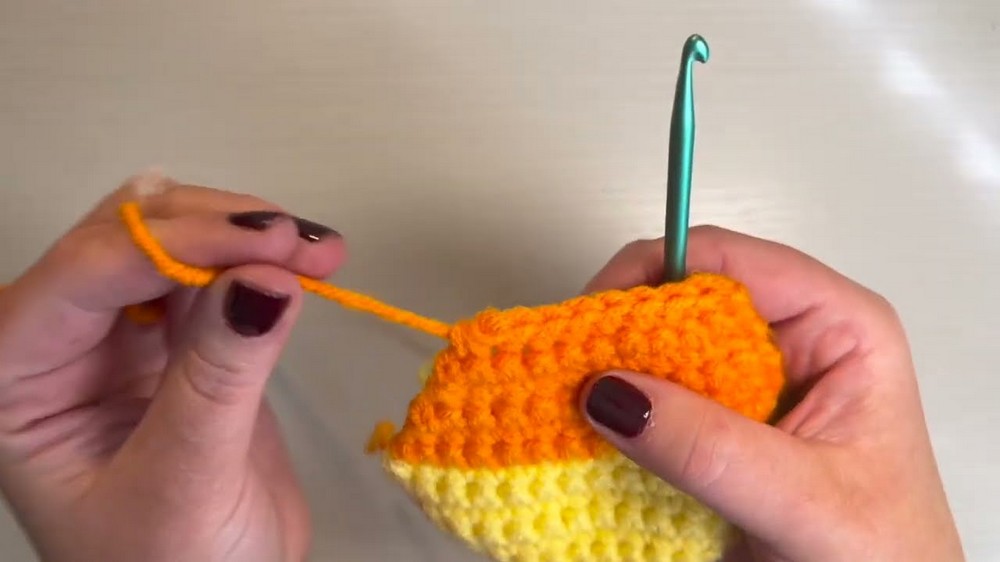
- Ch 1, turn. sc2tog, sc in next 2, sc2tog. (4 sts)
- Row 17:
- Ch 1, turn. Sc across (4 sts)
Color Change to White:
- On the very last sc2tog of row 16, pause with 3 loops on hook, drop orange, pick up white, yarn over with white and pull through all 3 loops to finish decrease with white.
- Ch 1 with white, turn.
White Stripe (Tip)
- Row 18:
- With white, sc across (4 sts)
- Row 19:
- Ch 1, turn. sc2tog, sc2tog (2 sts)
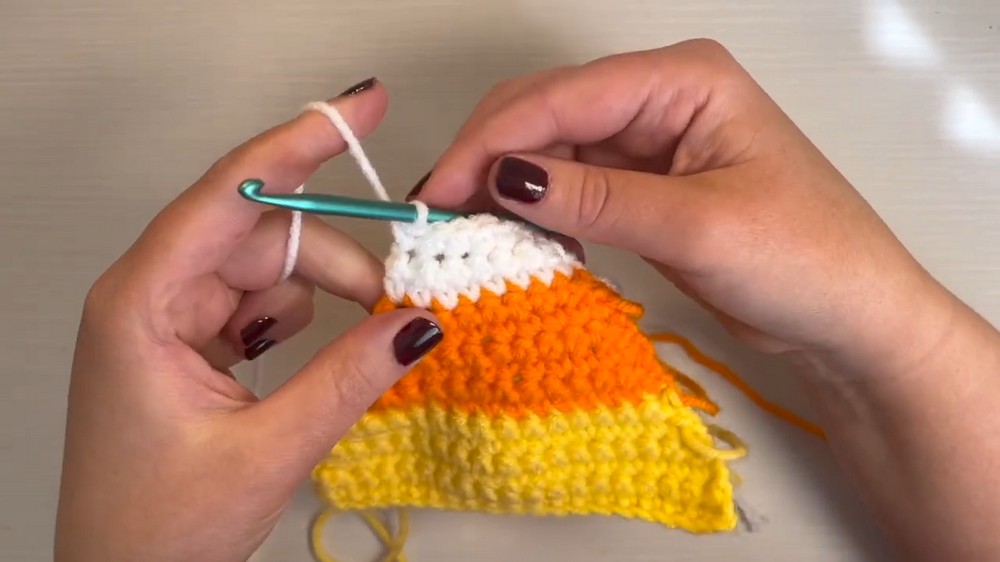
- Ch 1, turn. sc2tog, sc2tog (2 sts)
- Row 20:
- Ch 1, turn. sc2tog (1 st)
- Fasten off, leaving a tail long enough to weave in.
Assembly & Finished Size
- Weaving in Ends:
- Thread each tail onto tapestry needle.
- Weave into the same color section, through center of coaster, checking the back so yarn doesn’t show through.
- Pull through, then trim.
- Repeat with every end.
- Tip: Weave multiple directions for security.
- Blocking (optional but recommended):
- If your coaster curls, wet it thoroughly (sink or spray bottle).
- Lay flat on a towel or table and gently smooth to shape.
- Allow to dry completely for a crisp, flat finish.
Conclusion
You’ve learned how to shape with decreases, change colors cleanly, and finish your project for a perfect fall accent. This project is ideal for quick gifts, holiday tables, or simply enjoying autumn in style. For best results, block your coaster.
