
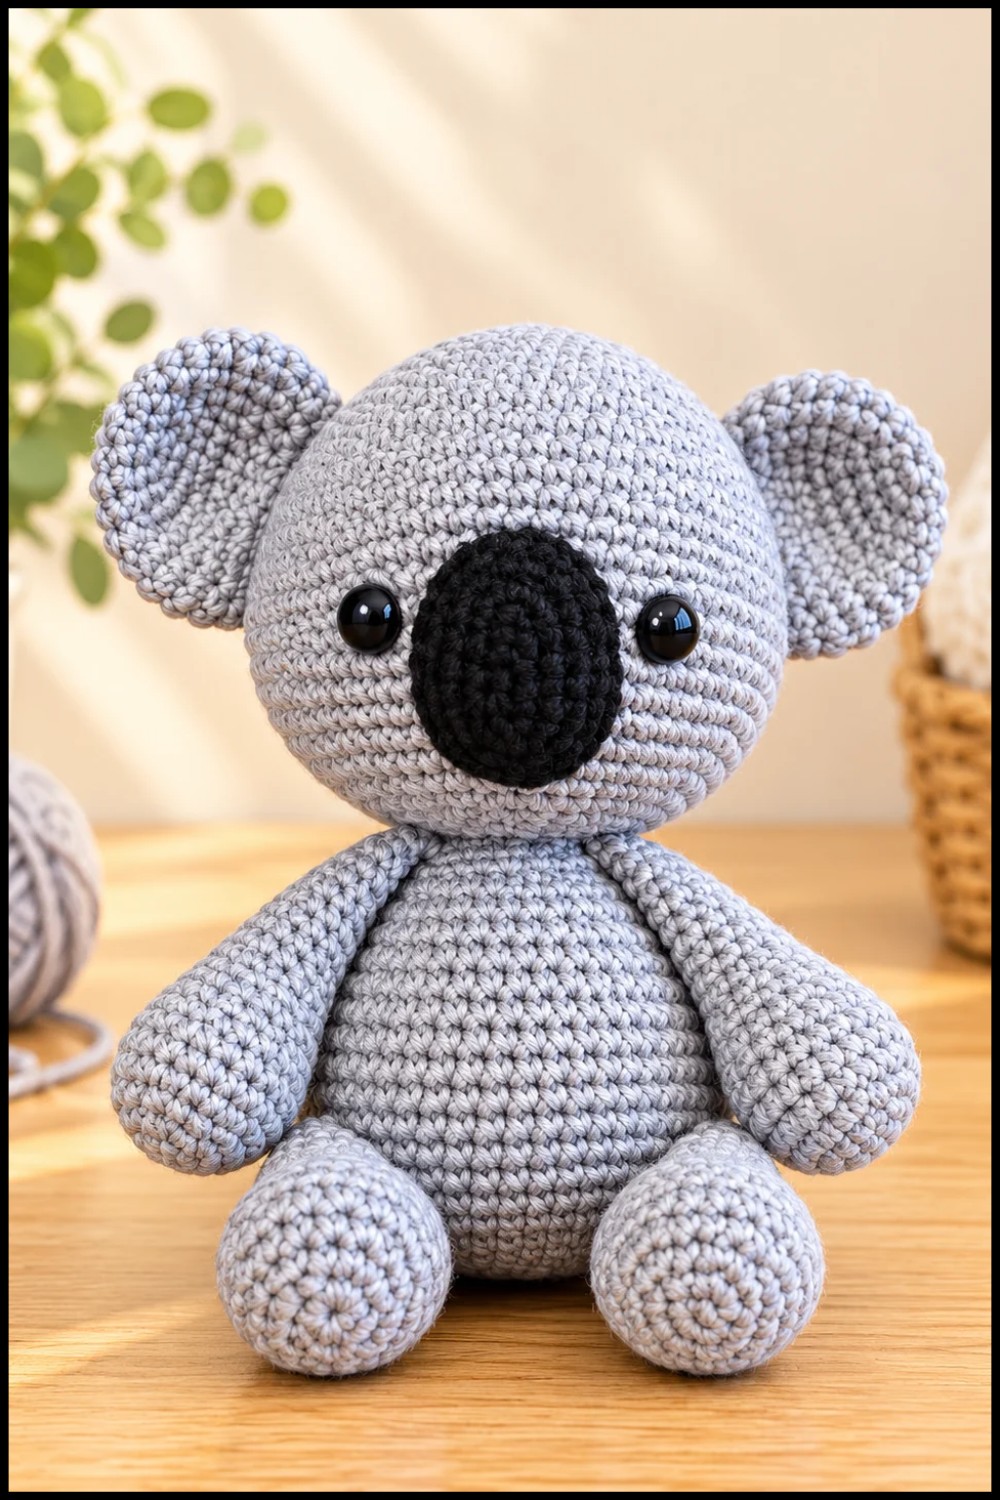
Pick gray yarn for the Crochet Koala Amigurumi Free Pattern and stitch an adorable Australian animal to decorate a desk or surprise a loved one.
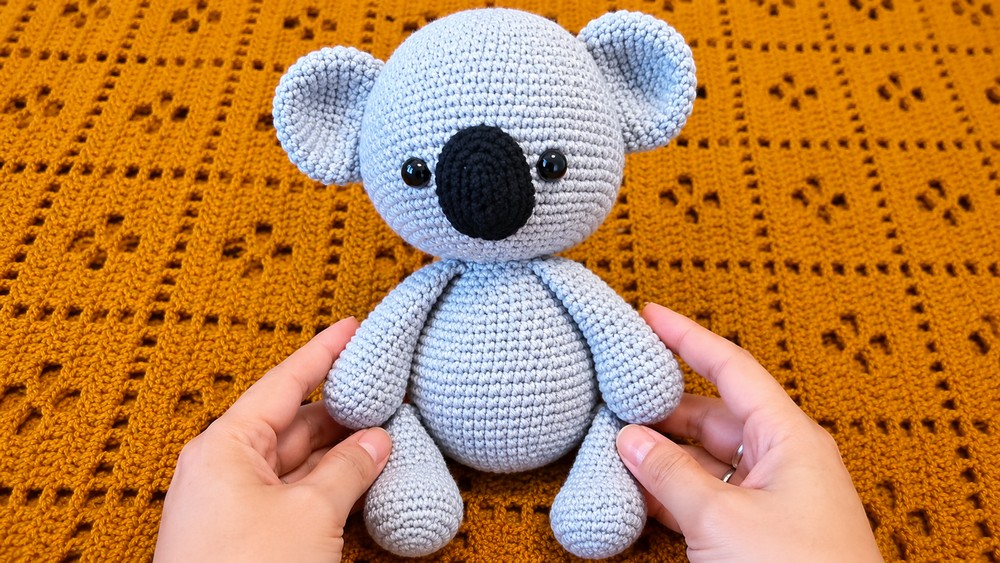
The original YouTube tutorial by Hooks & Needles By Mita offers clear and friendly guidance for a delightful project. The Crochet Koala Amigurumi from this tutorial is a small, soft animal made using amigurumi techniques, where crocheting in the round forms each part of the toy. This little koala features round ears, a prominent nose, and tiny limbs, giving it a cute and cuddly appearance.
Little Crochet Koala Amigurumi Free Pattern As A Birthday Present
This project stands out due to its simplicity and attention to detail. The soft gray and white yarn colors and well-shaped features reflect the gentle nature of a real koala, making it a charming addition as a decoration or a thoughtful gift. It fits nicely on shelves, desks, or in a child’s nursery as a sweet companion.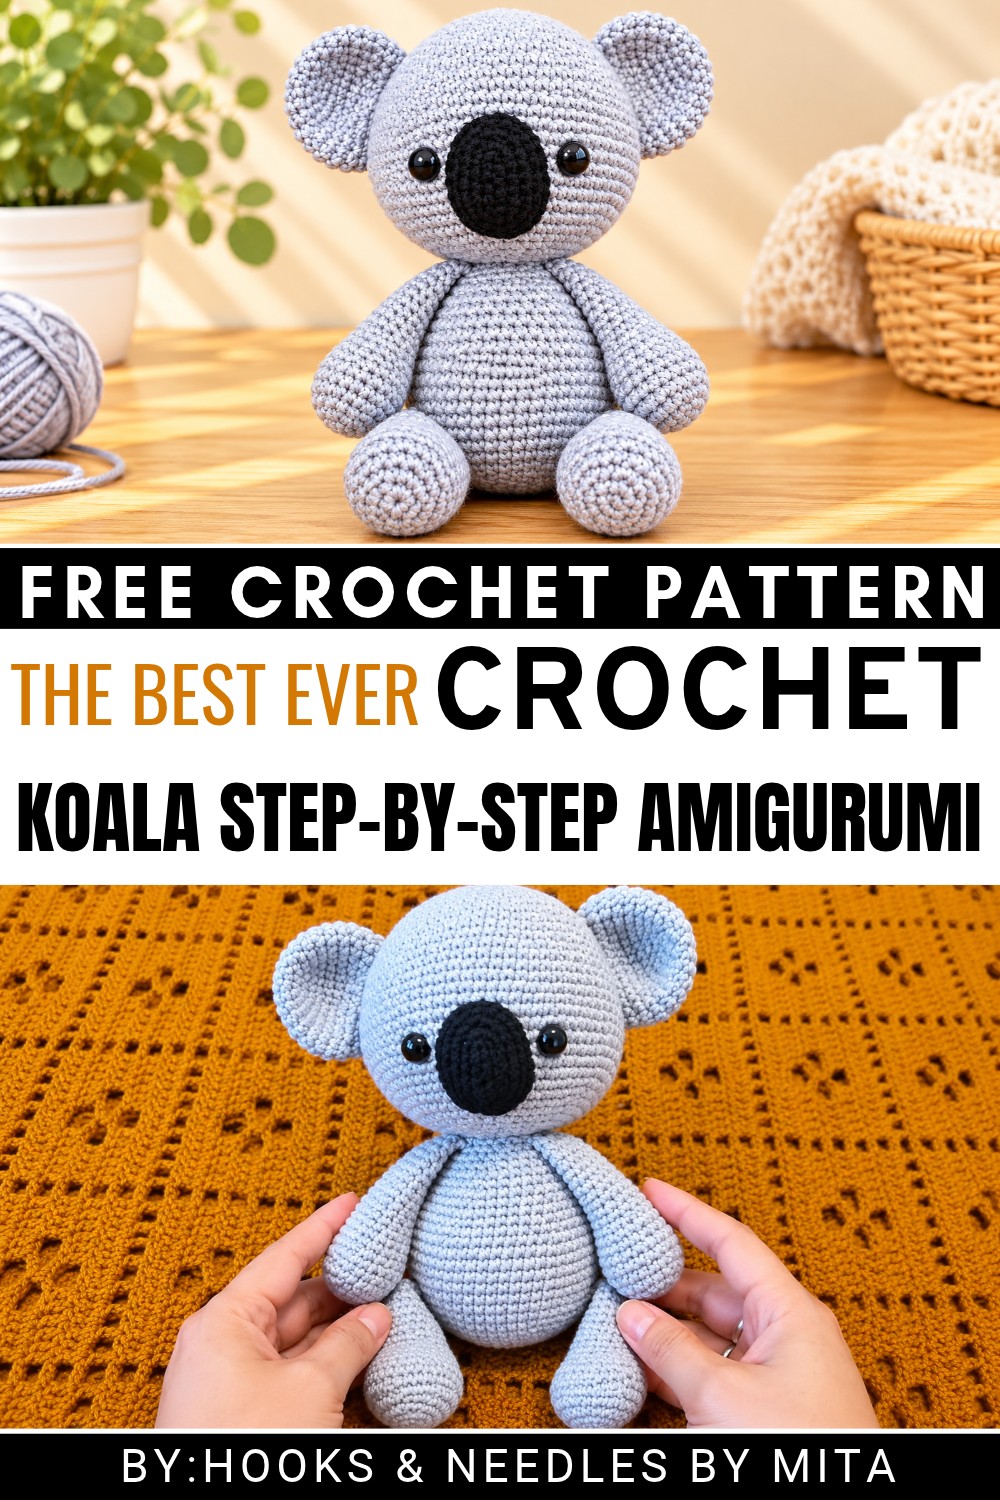 Options for personalization include changing yarn colors, adding small accessories like scarves or flowers, or adjusting the size by using different yarn weights. The steps involve starting with a magic ring, crocheting in spirals for the head and body, and using basic stitches such as single crochet to build the toy.
Sewing the parts together neatly completes the koala. This project suits both beginners and those with more experience who wish to craft a soft and appealing toy.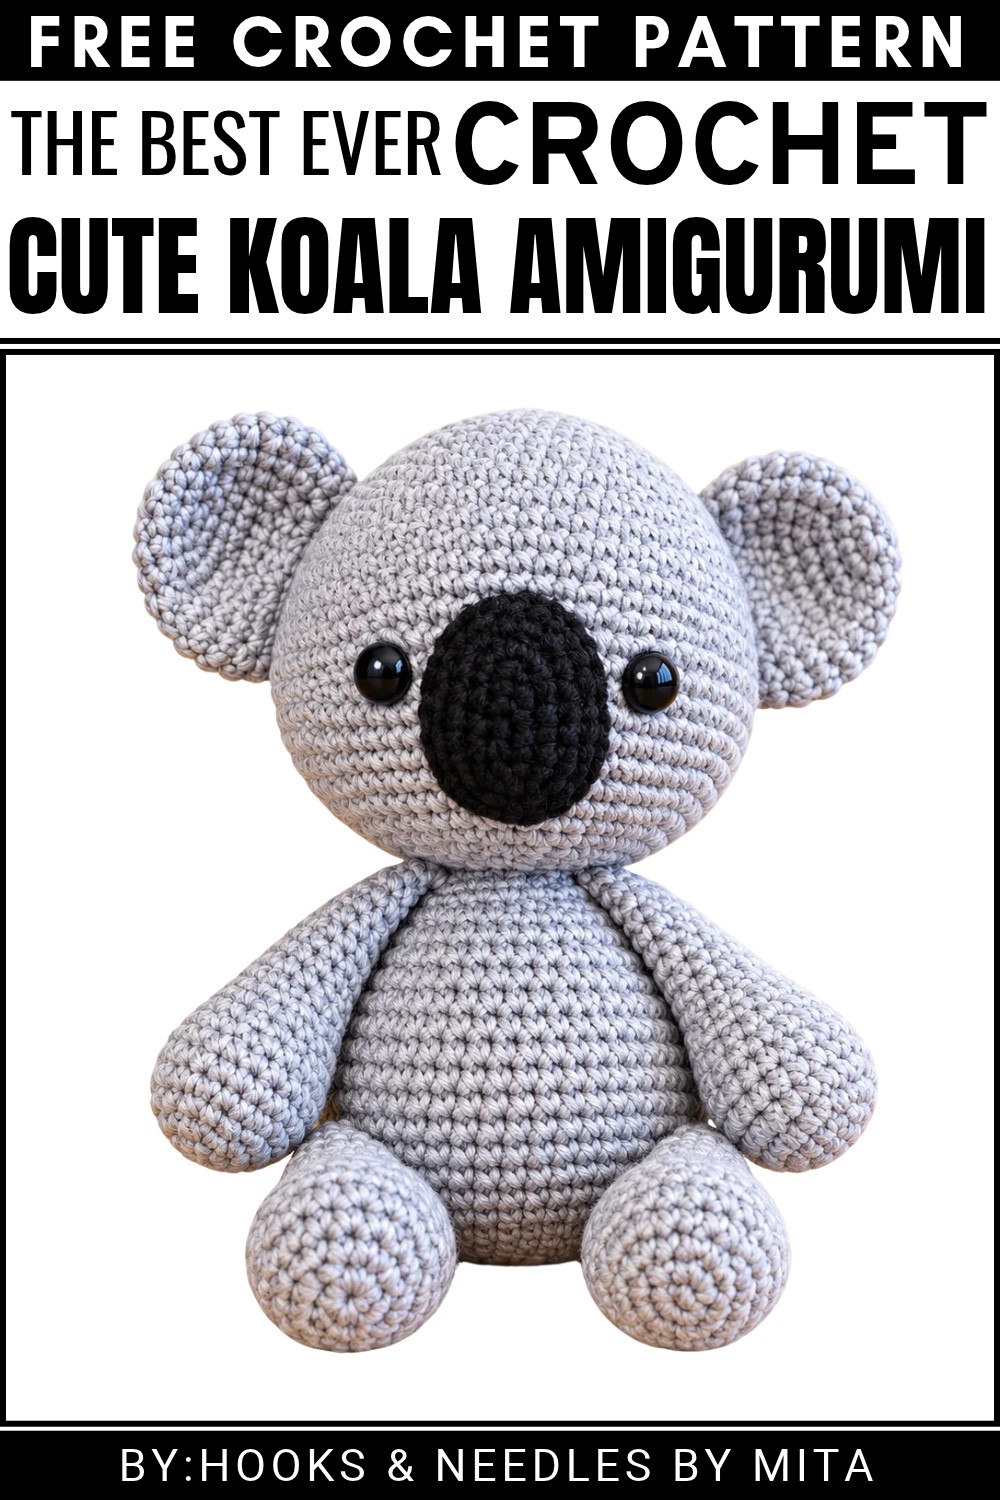
Amigurumi Koala Crochet Pattern
About the Pattern
This amigurumi koala pattern provides a comprehensive approach to crocheting a realistic and cuddly koala. The project is worked in the round for durability and seamless shaping. Each body part—from its round head and plush limbs to an expressive oval nose and prominent ears—is constructed individually for accuracy and then carefully assembled. The generous proportions and large safety eyes give this koala a sweet, friendly expression, while simple stitches and clear increases or decreases make it achievable for most crocheters.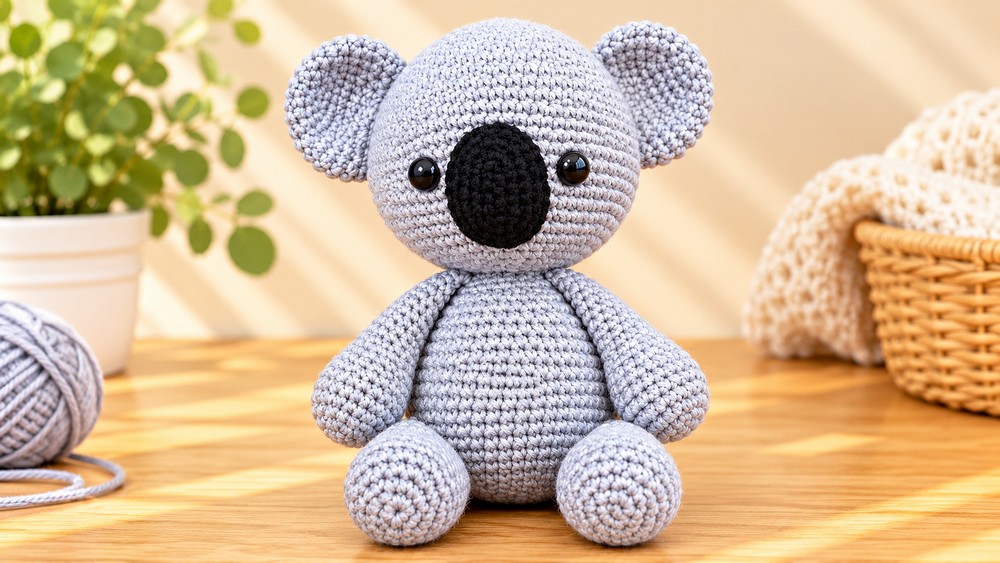
Pattern at a Glance
- Construction: Parts crocheted separately in the round, then sewn together.
- Main Features: Classic large koala head, bean-shaped body, oversized ears, short rounded limbs, and an oblong nose.
- Finish: Realistic shaping and generous stuffing yield a sturdy, squeezable toy.
Important Notes
- Each part is made in a continuous spiral; use a stitch marker to track rounds.
- Work with tight tension to avoid stuffing showing through.
- All increases are two single crochets in the same stitch. Decreases use the invisible decrease technique for smoothness.
- Align facial features carefully before sewing.
Difficulty Level
Intermediate. Skills needed include magic ring, single crochet, increasing, invisible decreasing, chain and oval work, and careful sewing/assembly.
Supplies Needed
- Worsted weight yarn: light grey (main), black (nose), white or contrasting for ear accent
- 3 mm crochet hook (or as suits your yarn for tight tension)
- 12 mm safety eyes
- Polyester fiberfill stuffing
- Stitch markers or scrap yarn
- Tapestry needle
- Pins for positioning
- Scissors
Size & Measurements
- The finished koala is approximately 25–30 cm (10–12 inches) tall, but may vary based on yarn and tension.
Gauge & Stitch Details
- Gauge is not strict; make sure your fabric is firm and stuffing doesn’t poke through.
- The main stitch used is single crochet (sc).
Crochet Abbreviations
- mr – magic ring
- sc – single crochet
- inc – increase (2 sc in one stitch)
- dec – decrease (invisible, worked through the front loops)
- st/sts – stitch/stitches
Special Stitch Guide
- Invisible Decrease (dec): Insert your hook through the front loops of the next two stitches, yarn over and pull through the first two loops, yarn over and pull through the remaining two loops.
- Oval Foundation for Nose: Use chain stitches and work around both sides of the starting chain, placing increases at each end.
Complete Crochet Pattern
Head
- Rounds 1–10:
- Start with a magic ring of 6.
- Round 1: 6 sc in magic ring (6)
- Round 2: inc in each stitch (12 sc)
- Round 3: [sc 1, inc] repeat 6× (18 sc)
- Round 4: [sc 2, inc] repeat 6× (24 sc)
- Round 5: [sc 3, inc] repeat 6× (30 sc)
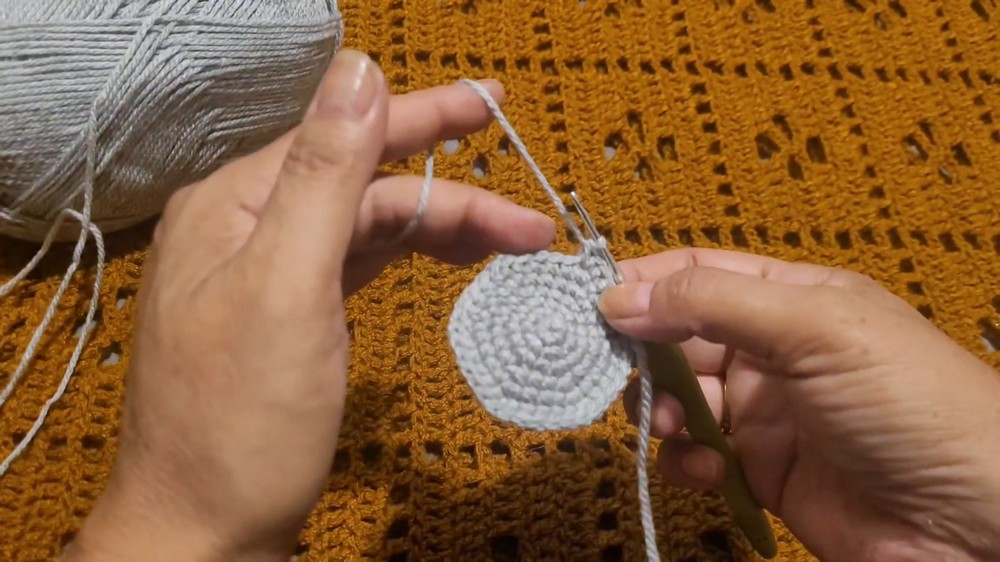
- Round 6: [sc 4, inc] repeat 6× (36 sc)
- Round 7: [sc 5, inc] repeat 6× (42 sc)
- Round 8: [sc 6, inc] repeat 6× (48 sc)
- Round 9: [sc 7, inc] repeat 6× (54 sc)
- Round 10: [sc 8, inc] repeat 6× (60 sc)
- Rounds 11–14:
- 60 sc per round (work 4 rounds even)
- Round 15:
- [sc 9, inc] repeat 6× (66 sc)
- Rounds 16–18:
- 66 sc per round (work 3 rounds even)
- Round 19:
- [sc 10, inc] repeat 6× (72 sc
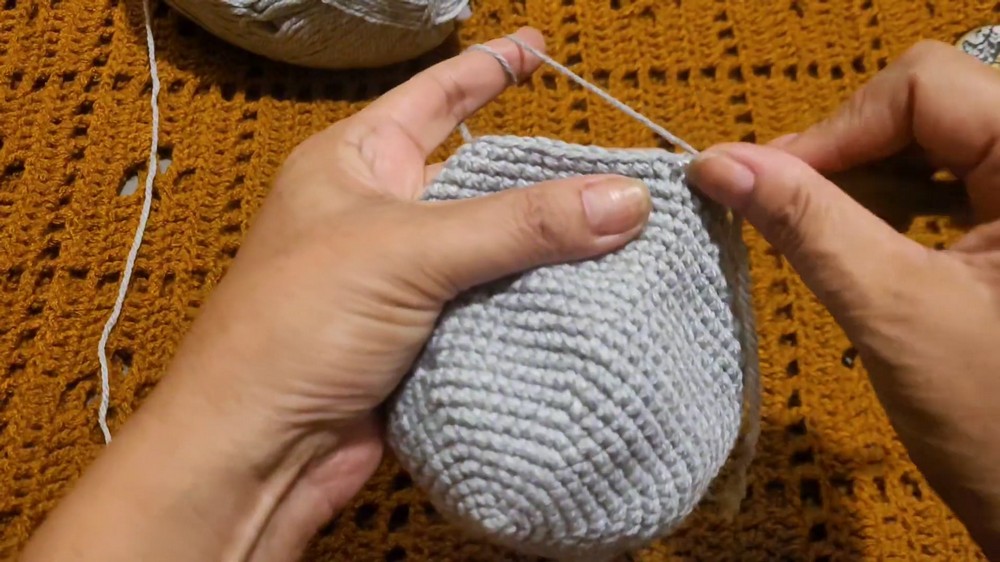
- [sc 10, inc] repeat 6× (72 sc
- Rounds 20–23:
- 72 sc per round (work 4 rounds even)
- Round 24:
- [sc 11, inc] repeat 6× (78 sc)
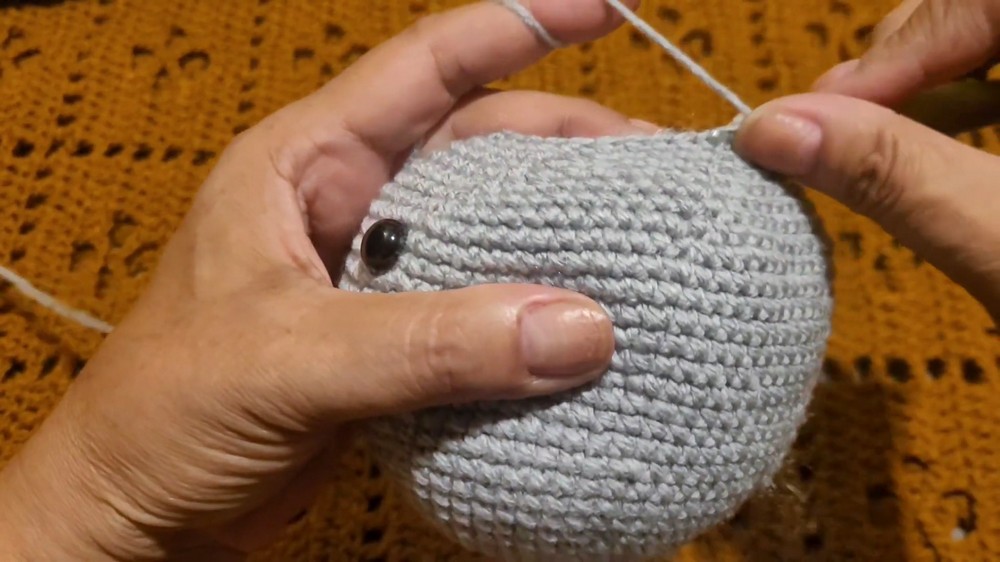
- [sc 11, inc] repeat 6× (78 sc)
- Rounds 25–34:
- Decrease as follows, distributing decreases evenly each round:
- For each round, use sc and dec repetitions to shape the head, ending round 34 with 18 sc.
- Decrease as follows, distributing decreases evenly each round:
- Eyes Placement:
- Position 12 mm safety eyes between the 23rd and 24th rounds, spaced 11 stitches apart.
Body
- Rounds 1–10:
- Start with a magic ring of 6, increase by 6 stitches each round:
- Round 1: 6 sc in magic ring (6)
- Round 2: inc in each stitch (12)
- Round 3: [sc 1, inc] repeat 6× (18)
- Round 4: [sc 2, inc] repeat 6× (24)
- Round 5: [sc 3, inc] repeat 6× (30)
- Round 6: [sc 4, inc] repeat 6× (36)
- Round 7: [sc 5, inc] repeat 6× (42)
- Round 8: [sc 6, inc] repeat 6× (48)
- Round 9: [sc 7, inc] repeat 6× (54)
- Round 10: [sc 8, inc] repeat 6× (60)
- Start with a magic ring of 6, increase by 6 stitches each round:
- Rounds 11–18:
- 60 sc per round (work 8 rounds even)
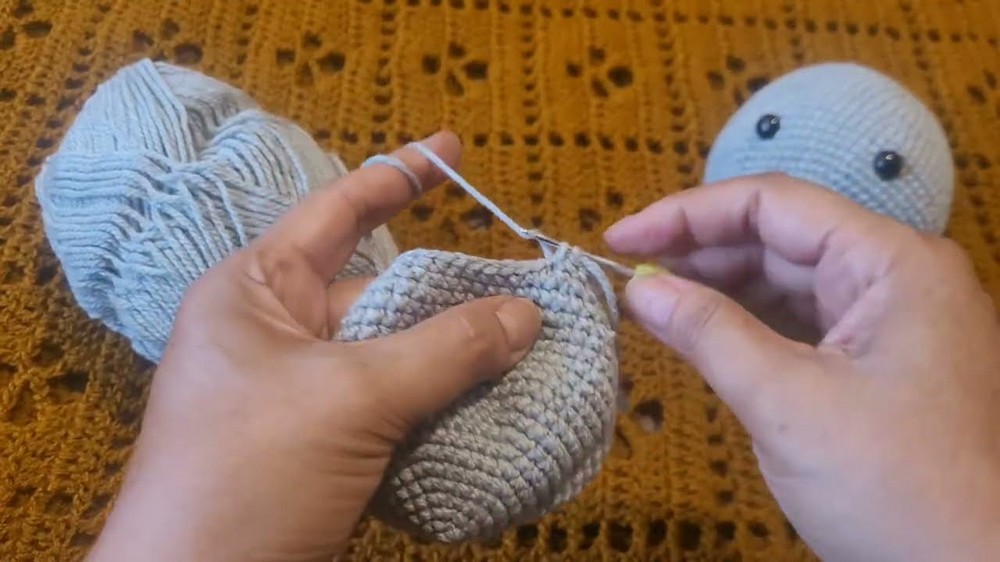
- 60 sc per round (work 8 rounds even)
- Rounds 19–30:
- Decrease gradually by working even distributions of sc and dec each round to finish with 18 sc total at the end of round 30.
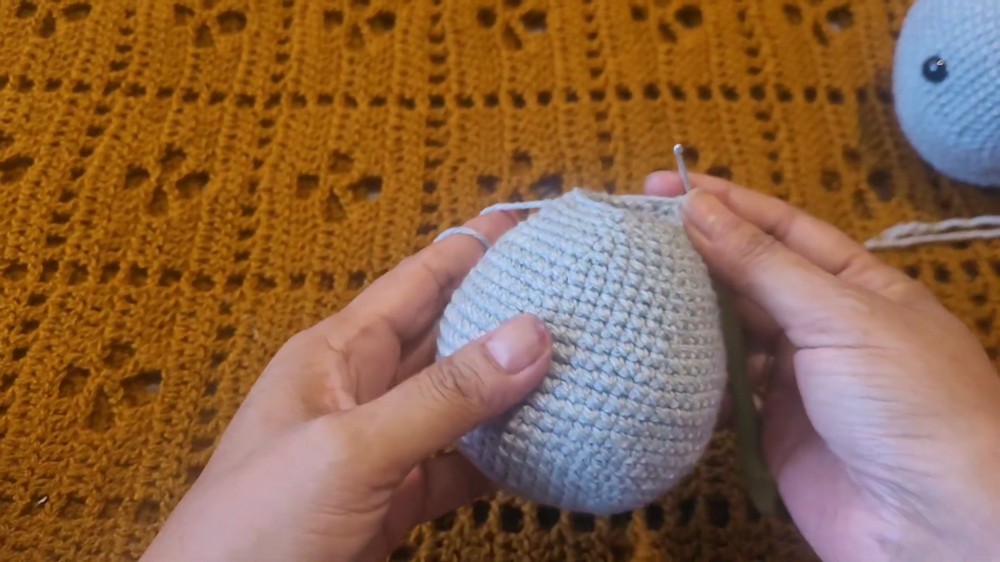
- Decrease gradually by working even distributions of sc and dec each round to finish with 18 sc total at the end of round 30.
Nose (Black Yarn)
- Foundation:
- Chain 6, turn, and work into the back bumps for a neat edge.
- Round 1:
- Work around both sides of the chain: 12 sc total
- Round 2:
- Increase evenly around: 18 sc
- Round 3:
- Increase evenly around: 24 sc
- Round 4:
- 24 sc straight (no increases)
Ears (Make 2)
- Rounds 1–6:
- Form a flat circle, increasing to 36 stitches:
- Round 1: 6 sc in mr (6)
- Round 2: inc in each stitch (12)
- Round 3: [sc 1, inc] repeat 6× (18)
- Round 4: [sc 2, inc] repeat 6× (24)
- Round 5: [sc 3, inc] repeat 6× (30)
- Round 6: [sc 4, inc] repeat 6× (36)
- Form a flat circle, increasing to 36 stitches:
- Rounds 7–8:
- 30 sc per round (work 2 rounds even)
- Rounds 9–10:
- Decrease evenly to 24 sc in round 10.
Arms (Make 2)
- Rounds 1–4:
- Increase to 24 stitches:
- Round 1: 6 sc in mr (6)
- Round 2: inc in each stitch (12)
- Round 3: [sc 1, inc] repeat 6× (18)
- Round 4: [sc 2, inc] repeat 6× (24)
- Increase to 24 stitches:
- Rounds 5–7:
- 24 sc per round
- Round 8:
- Decrease to 18 sc
- Rounds 9–10:
- 18 sc per round
- Round 11:
- Decrease to 15 sc
- Rounds 12–20:
- 15 sc per round
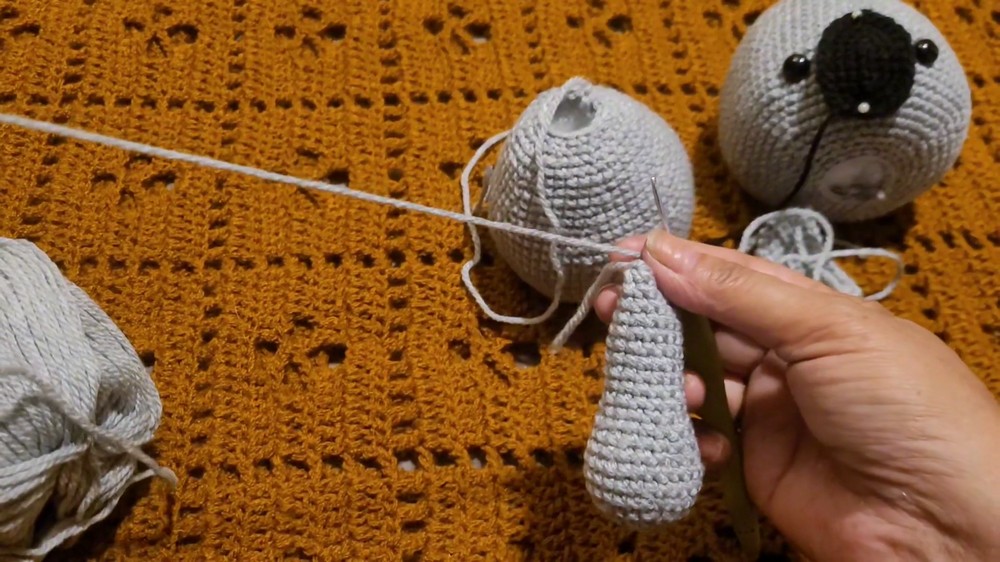
- 15 sc per round
- Rounds 21–22:
- Decrease to 9 sc at the end
Legs (Make 2)
- Rounds 1–3:
- Start with 8 sc in mr, increase to 24 sc:
- Round 1: 8 sc in mr (8)
- Round 2: inc evenly (16)
- Round 3: inc evenly (24)
- Start with 8 sc in mr, increase to 24 sc:
- Rounds 4–9:
- 24 sc per round
- Rounds 10–23:
- Decrease through combinations of sc and dec each round until you reach 12 sc total.
Tail
- Rounds 1–4:
- Increase to 24 stitches:
- Round 1: 6 sc in mr (6)
- Round 2: inc in every stitch (12)
- Round 3: [sc 1, inc] repeat 6× (18)
- Round 4: [sc 2, inc] repeat 6× (24)
- Increase to 24 stitches:
- Rounds 5–6:
- 24 sc per round
- Round 7:
- Decrease to 18 sc
Assembly & Finished Size
- Nose: Center the nose on the koala’s head beneath the eyes and pin, then sew securely.
- Ears: Attach each ear two rows above the line of the eyes, sewing them symmetrically to achieve the classic koala look.
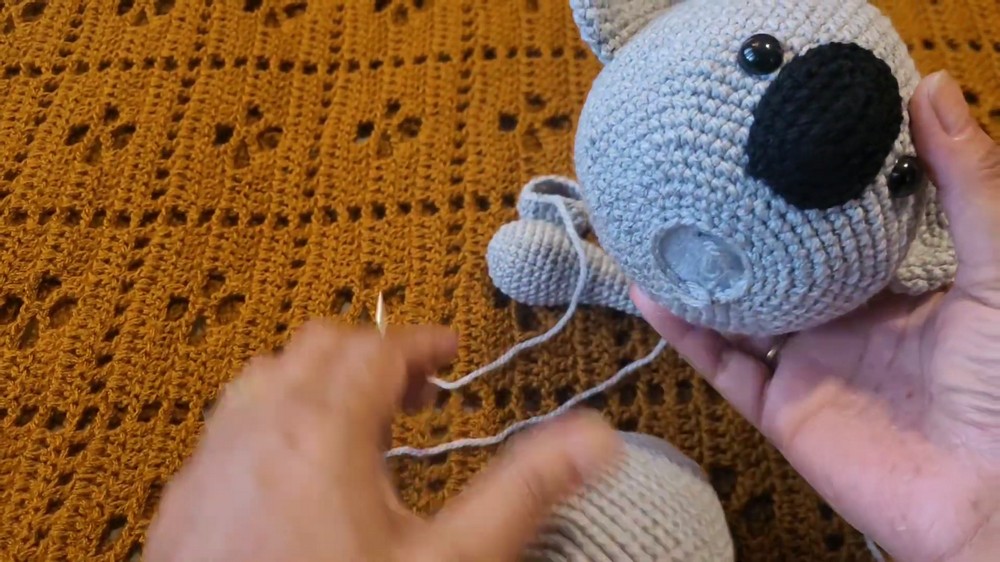
- Body: Fit the closed end of the body to the base of the head and sew tightly around for a secure seam.
- Arms: Position the arms level with the outer edges of the eyes, and sew in place.
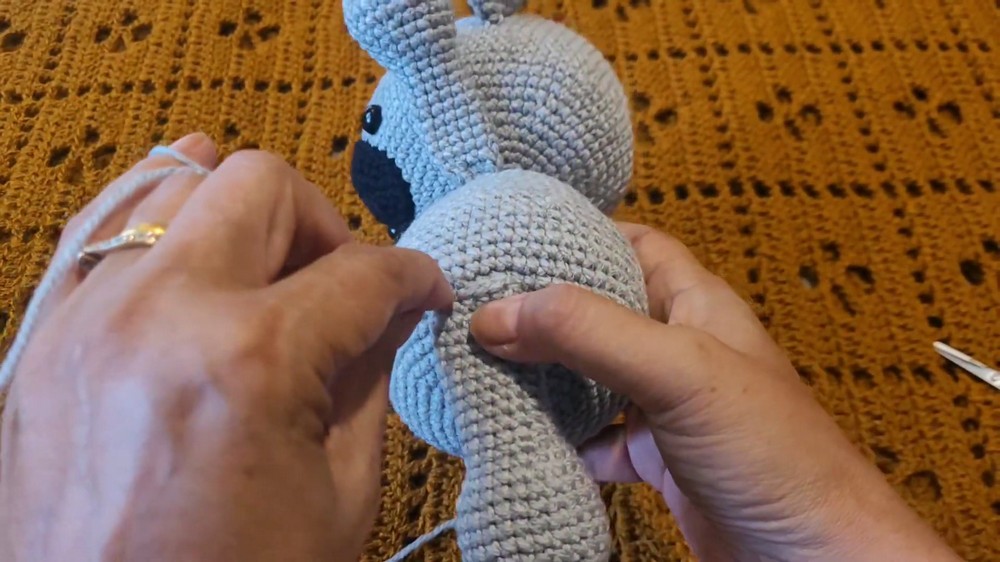
- Legs: Place each leg in alignment with the arms, counting 12 rows from the base of the koala’s body upward, and sew.
- Tail: Secure the tail to the lower back, directly above the lowest edge of the body.
Conclusion and Ending Words
This amigurumi koala pattern features essential increases, decreases, and shaping, sewn together for a cuddly and realistic result. Each piece is crafted with an emphasis on sculpted details and strong seams for a safe, friendly, and loveable toy, ready to brighten any space or heart with its charm.
