
Stitch a lovable little friend with the Crochet Amigurumi Bunny Free Pattern, featuring long ears and a tiny nose for sweet Easter surprises.
A tiny bunny with long ears and a gentle smile can add a happy feeling to any room. Its playful shape makes it a favorite among people who love animal toys. The original design by Hooks & Needles By Mita offers a fun idea for making this friendly rabbit with yarn.
Free Crochet Amigurumi Bunny Pattern For Easter Gifts
This Crochet Amigurumi Bunny is a stuffed animal with a rounded face, floppy ears, tiny paws, and a plump body. Its small pink nose and bright eyes give it an innocent expression. The close stitches form a smooth texture, while the soft filling helps the bunny stay in shape.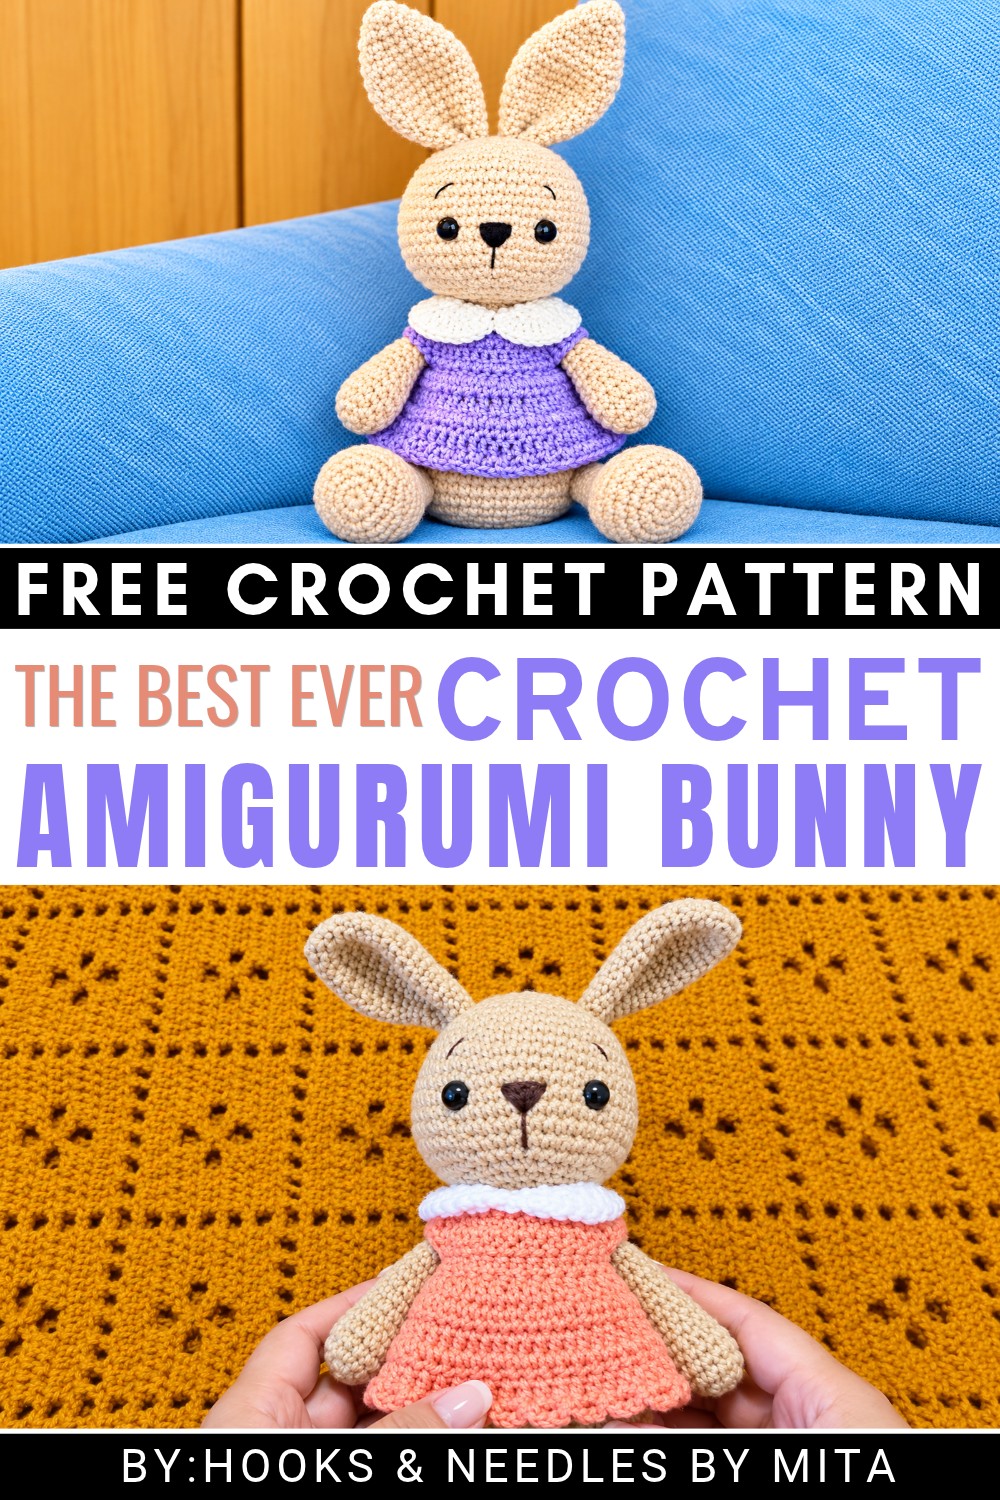 The bunny looks especially pretty in white, beige, or light brown. Pink details inside the ears can add a gentle touch, and a small ribbon around its neck gives it a more personal style. You can also choose pastel colors for an Easter theme.
This rabbit works well as a bedroom decoration, a nursery shelf display, or a handmade birthday present. It is also suitable for Easter baskets and small gifts for friends who love animals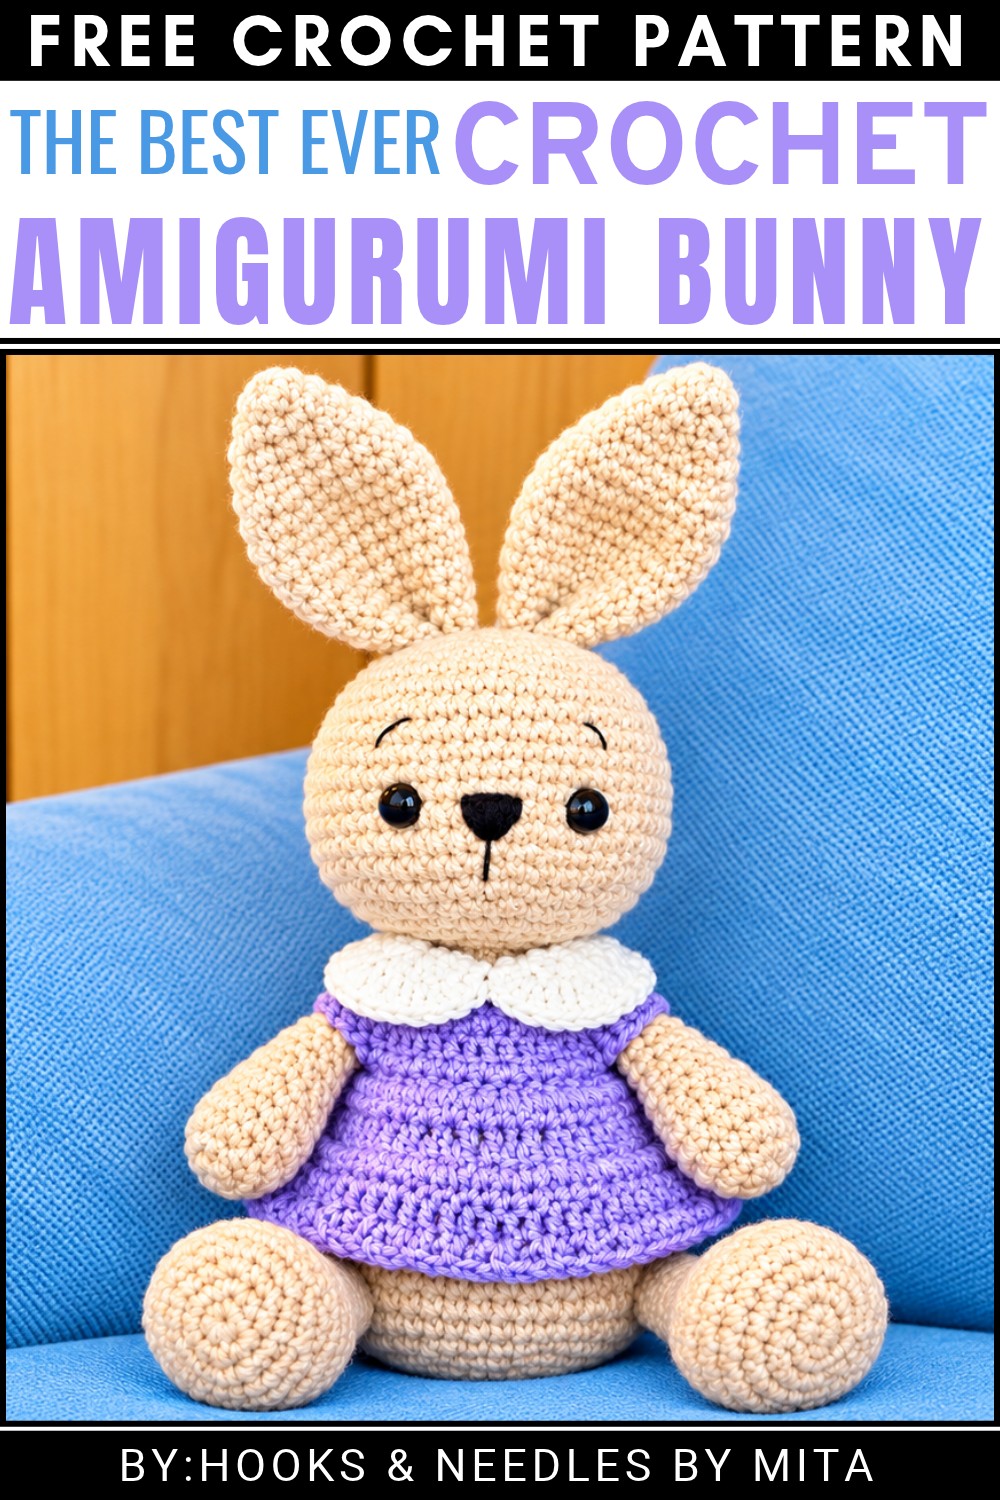 The making process includes crocheting the head and body, filling them with stuffing, and shaping the ears and legs. After joining the pieces, the facial details complete the bunny’s friendly look.
With its simple features and lovable appearance, this free bunny pattern is a pleasant project for anyone who wants to add a new animal to their crochet collection.
About the Pattern
This comprehensive crochet bunny pattern guides you through crafting a classic amigurumi bunny with rounded head, body, and ears. The detailed step-by-step instructions ensure that each major component is shaped with precision and allows for seamless assembly to create a charming bunny character. The stitches and rounds are designed for effective shaping and consistent proportions, resulting in an adorable, cuddly bunny suitable for display or gifting.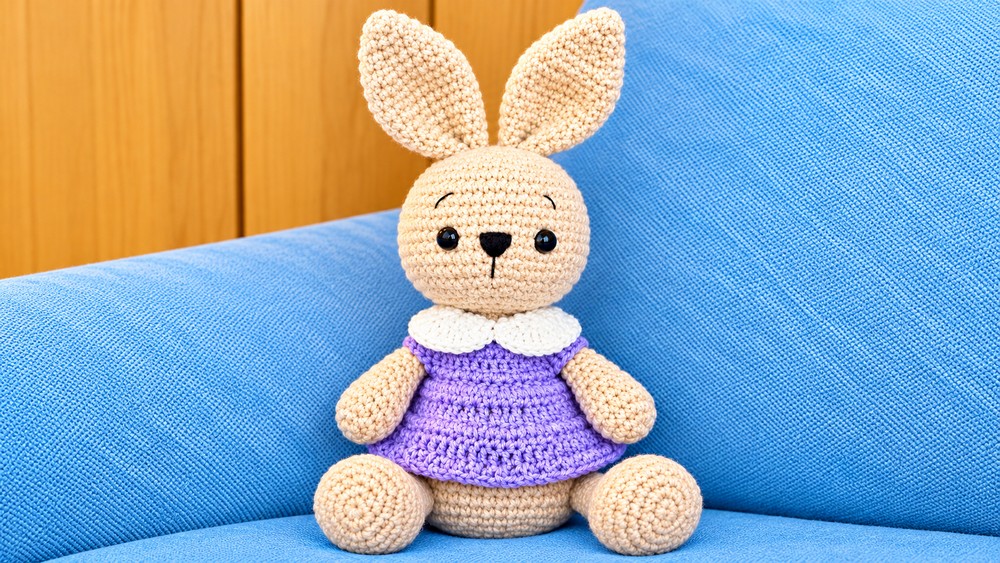
Pattern at a Glance
- Bunny amigurumi crafted in separate sections for head, body, and ears
- Safety eyes and embroidered features for added character
- Precise stitch counts and rounds for smooth shaping
- Assembly instructions to combine all pieces into a finished bunny
Important Notes
- Work continuously in spiral rounds unless stated otherwise
- Place a stitch marker at the beginning of each round for accuracy
- Stuff each piece firmly but not excessively for natural shaping
- For best results, use the specified yarn and hook size
- All increases and decreases are single crochet unless otherwise stated
- Ensure each major part is completed and stuffed before final assembly
- Safety eyes should be attached before closing the head
Difficulty Level
Beginner to intermediate. Basic amigurumi techniques such as single crochet, increases, decreases, magic ring, and assembly are involved. Prior experience with crocheting in the round is advantageous.
Supplies Needed
- Yarn (worsted weight recommended; acrylic or cotton)
- 3.5mm crochet hook (or size needed for desired gauge)
- 10mm safety eyes
- Embroidery thread for nose and eyebrows
- Polyester stuffing
- Yarn needle for sewing parts and embroidering features
- Stitch marker
- Scissors
Size & Measurements
Finished bunny stands approximately 18–22 cm (7–9 inches) tall, measured from ear tip to foot base, depending on yarn and stuffing.
Gauge & Stitch Details
Gauge is not critical for amigurumi; focus on stitches tight enough to prevent stuffing from showing through. Typical gauge:
- 8 rows x 8 stitches = 5 cm x 5 cm (2″ x 2″) in single crochet
Crochet Abbreviations
- MR – Magic Ring
- sc – Single crochet
- inc – Increase (2 sc in same stitch)
- dec – Decrease (sc 2 stitches together)
- st(s) – Stitch(es)
- rep – Repeat
Special Stitch Guide
- Magic Ring (MR): Begin with a loop; crochet into ring to create a tight, seamless circle.
- Increase (inc): Make 2 single crochets in 1 stitch.
- Decrease (dec): Crochet 2 stitches together as 1 single crochet.
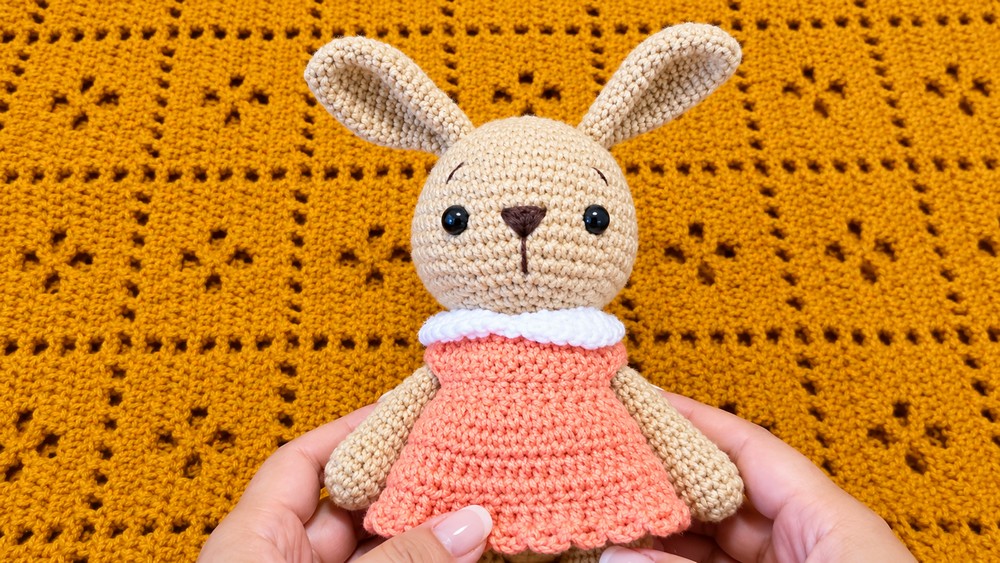
Complete Crochet Pattern
Head
- Round 1:
- 6 sc in MR
- Round 2:
- 6 inc (12 sts)
- Round 3:
- 1 sc, inc around (18 sts)
- Round 4:
- 2 sc, inc around (24 sts)
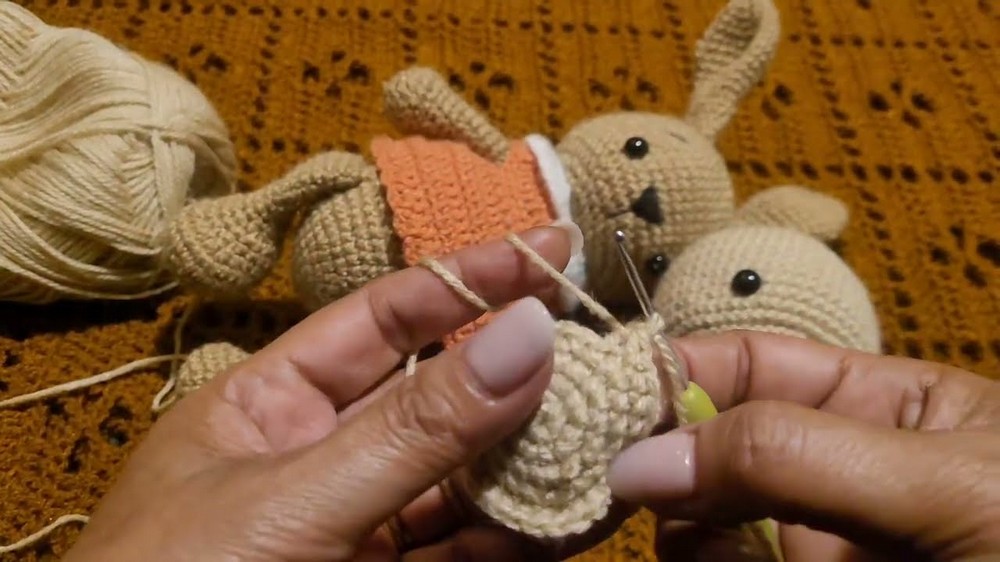
- 2 sc, inc around (24 sts)
- Round 5:
- 3 sc, inc around (30 sts)
- Round 6:
- 4 sc, inc around (36 sts)
- Round 7:
- 5 sc, inc around (42 sts)
- Round 8:
- 6 sc, inc around (48 sts)
- Round 9:
- 7 sc, inc around (54 sts)
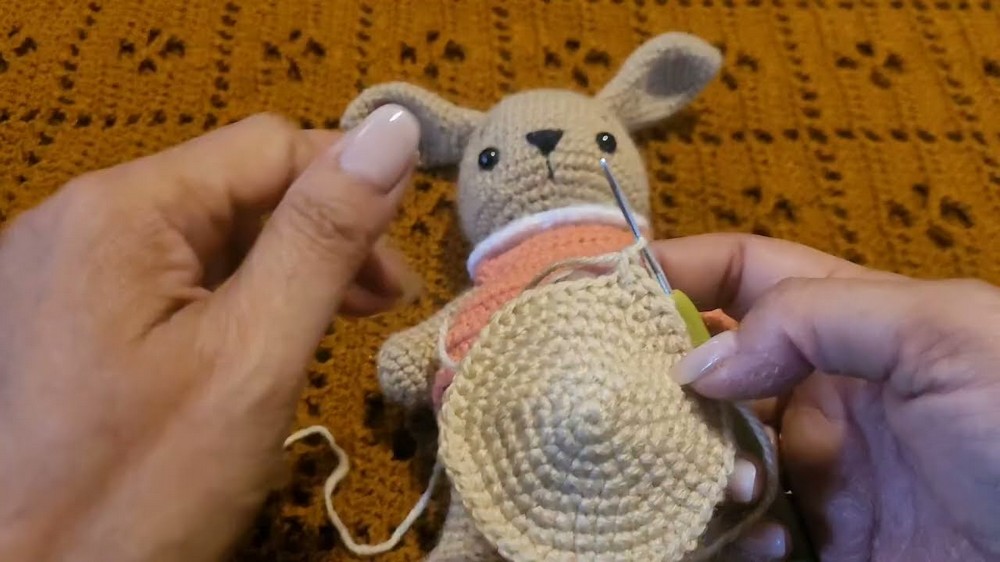
- 7 sc, inc around (54 sts)
- Rounds 10–20:
- 54 sc each round (11 rounds)
- Placement:
- Insert 10mm safety eyes between rounds 16 & 17, spaced 11 stitches apart
- Round 21:
- 7 sc, dec around (48 sts)
- Round 22:
- (2 sc, dec) x 11, then 1 sc (36 sts)
- Round 23:
- 1 sc, dec around (24 sts)
- Round 24:
- 12 dec (12 sts)
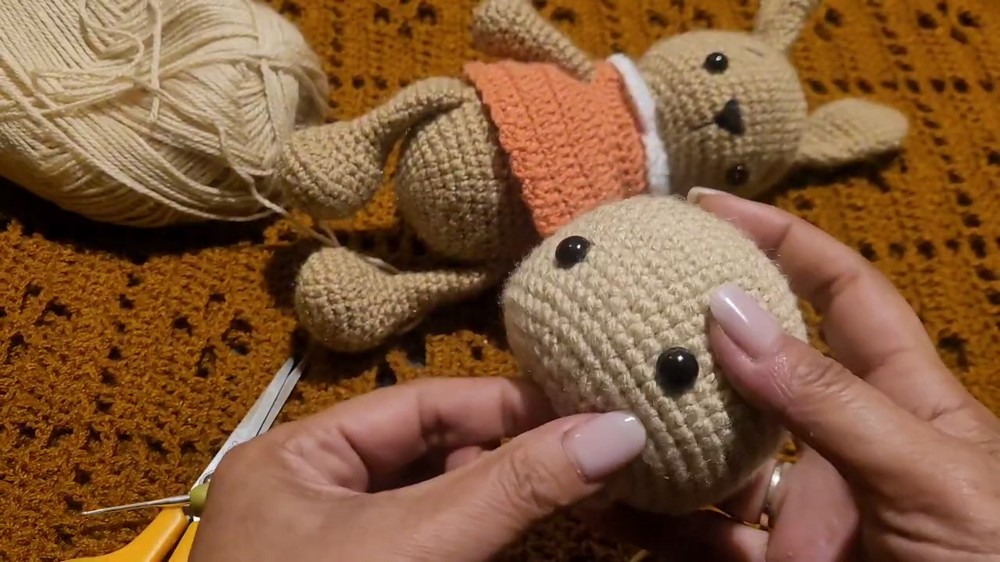
- 12 dec (12 sts)
- Stuff head firmly before closing
Body
- Round 1:
- 6 sc in MR
- Round 2:
- 6 inc (12 sts)
- Round 3:
- 1 sc, inc around (18 sts)
- Round 4:
- 2 sc, inc around (24 sts)
- Round 5:
- 3 sc, inc around (30 sts)
- Round 6:
- 4 sc, inc around (36 sts)
- Round 7:
- 5 sc, inc around (42 sts)
- Round 8:
- 6 sc, inc around (48 sts)
- Rounds 9–14:
- 48 sc each round (6 rounds)
- Round 15:
- 6 sc, dec around (42 sts)
- Rounds 16–17:
- 42 sc each round
- Round 18:
- 5 sc, dec around (36 sts)
- Rounds 19–20:
- 36 sc
- Round 21:
- 4 sc, dec around (30 sts)
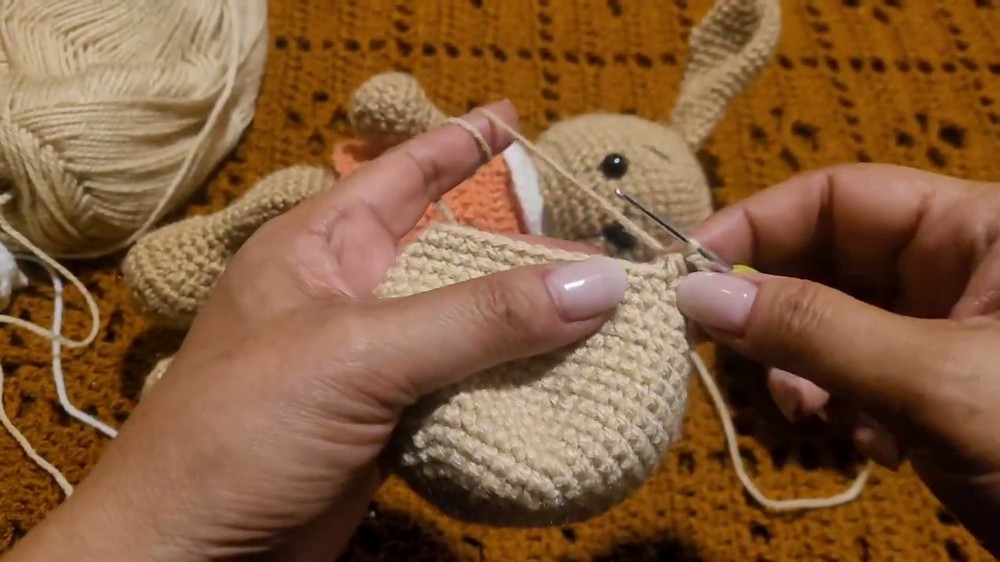
- 4 sc, dec around (30 sts)
- Rounds 22–23:
- 30 sc
- Round 24:
- 3 sc, dec around (24 sts)
- Rounds 25–26:
- 24 sc
- Round 27:
- 2 sc, dec around (18 sts)
- Rounds 28–29:
- 18 sc
- Round 30:
- 1 sc, dec around (12 sts)
- Stuff body before final closing
Arms
- Round 1:
- 6 single crochet (sc) in a magic ring (MR).
- Round 2:
- 6 increase (inc) (12 sts).
- Round 3:
- 1 sc, 1 inc (18 sts total).
- Rounds 4–5:
- 18 sc.
- Round 6:
- (1 sc, 1 decrease (dec)) repeated around (12 sts).
- Round 7:
- 12 sc.
Stuff the arm lightly at this point.
- 12 sc.
- Round 8:
- 1 dec, 10 sc (11 sts).
- Round 9:
- 11 sc.
- Round 10:
- 1 dec, 9 sc (10 sts).
- Round 11:
- 10 sc.
- Round 12:
- 1 dec, 8 sc (9 sts).
- Finishing:
- 5 rows of 9 sc.
Fasten off, leaving a tail for sewing.
- 5 rows of 9 sc.
Legs
- Round 1:
- 6 sc in MR.
- Round 2:
- 6 inc (12 sts).
- Round 3:
- 1 sc, 1 inc around (18 sts).
- Round 4:
- 2 sc, 1 inc around (24 sts).
- Round 5:
- 3 sc, 1 inc around (30 sts).
- Rounds 6–7:
- 30 sc in each round.
- Round 8:
- 9 sc, 6 dec, 9 sc (24 sts).
- Round 9:
- 9 sc, 3 dec, 9 sc (21 sts).
- Round 10:
- (5 sc, 1 dec) x 3 (18 sts).
- Round 11:
- 18 sc.
- Round 12:
- (1 sc, 1 dec) all around (12 sts).
- Finishing:
- Stuff the bottom of the foot firmly.
- Crochet 11 rows of 12 sc.
- Fasten off, leaving a tail for sewing.
Ears
Repeat for two ears.
- Round 1:
- 6 sc in MR
- Round 2:
- (1 sc, inc) x 3 (9 sts)
- Round 3:
- (2 sc, inc) x 3 (12 sts)
- Round 4:
- (3 sc, inc) x 3 (15 sts)
- Round 5:
- (4 sc, inc) x 3 (18 sts)
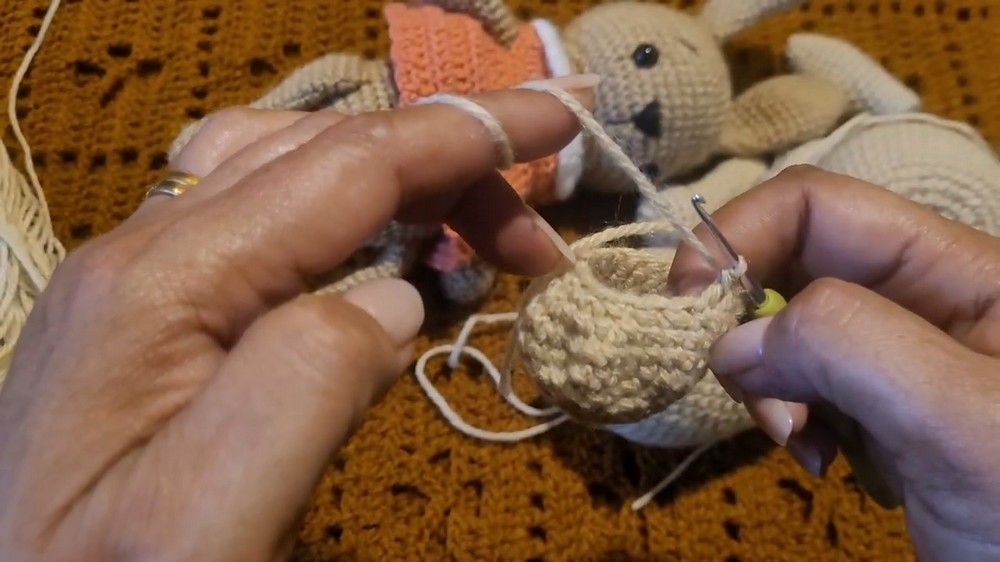
- (4 sc, inc) x 3 (18 sts)
- Round 6:
- (5 sc, inc) x 3 (21 sts)
- Round 7:
- (6 sc, inc) x 3 (24 sts)
- Round 8:
- 24 sc
- Round 9:
- (6 sc, dec) x 3 (21 sts)
- Round 10:
- (5 sc, dec) x 3 (18 sts)
- Round 11:
- (4 sc, dec) x 3 (15 sts)
- Round 12:
- (3 sc, dec) x 3 (12 sts)
- Rounds 13–15:
- 12 sc
- Do not stuff ears.
- Leave a long tail for sewing.
Assembly
- Attach both ears to the top of the finished head securely, using yarn tail from ears
- With yarn tail left on body, sew and attach head to body, ensuring seamless join
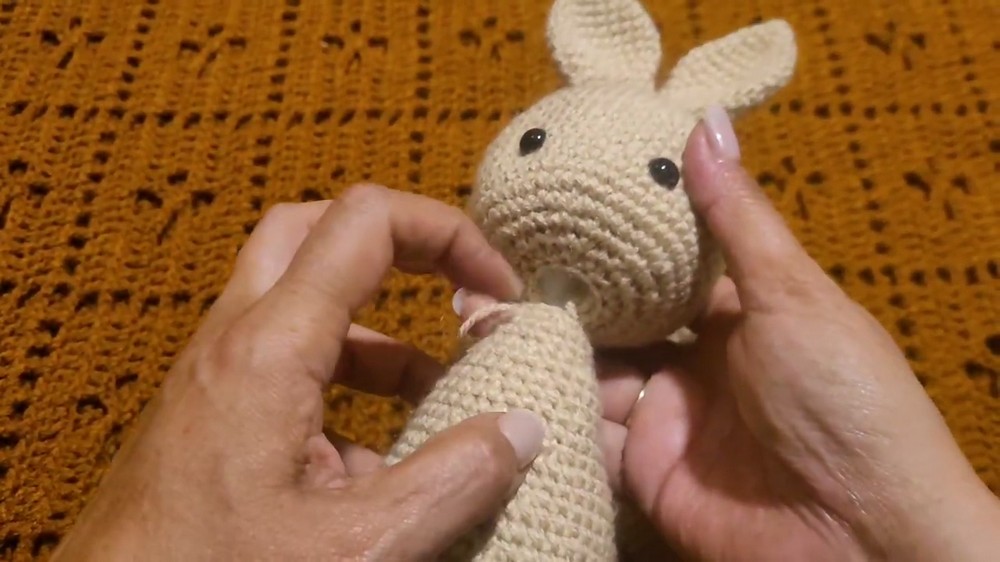
- Place arms just below the second row of head and sew in place
- Attach legs at the base—aligned with arms—11 rows up from the bottom for proportional placement
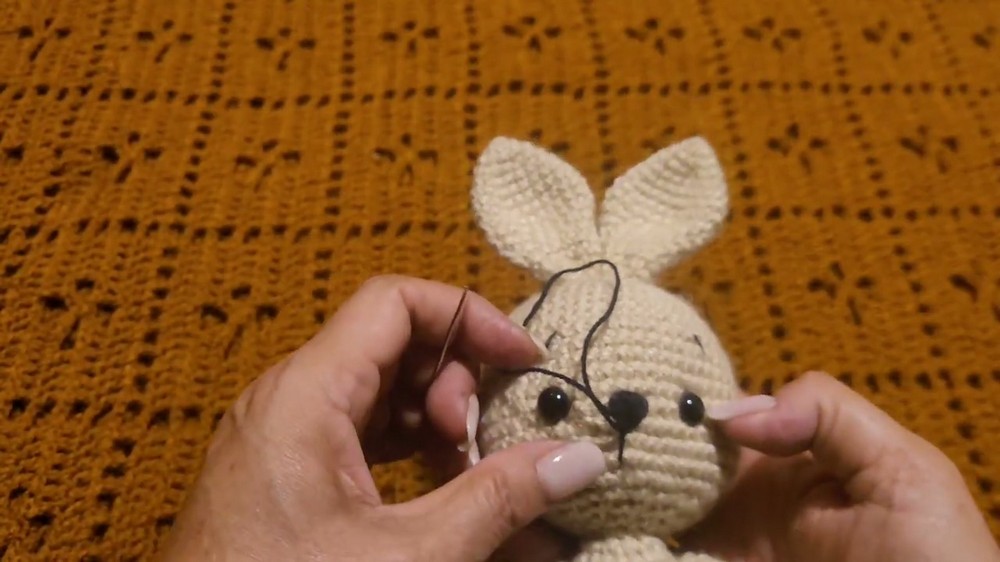 Embroider nose and eyebrows using embroidery thread for expressive features
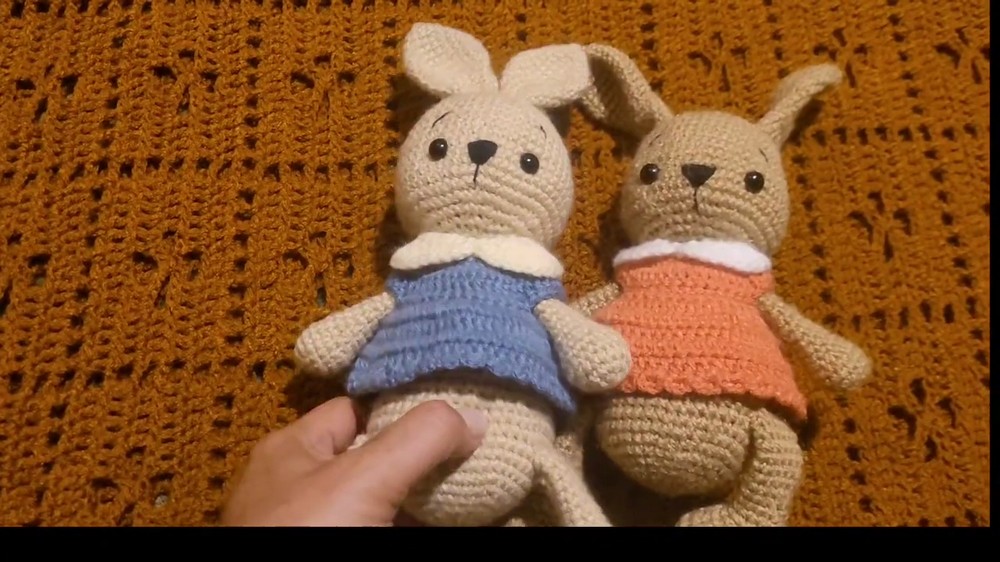
Finished Size
The completed bunny is approximately 18–22 cm tall, depending on stitches, stuffing and assembly.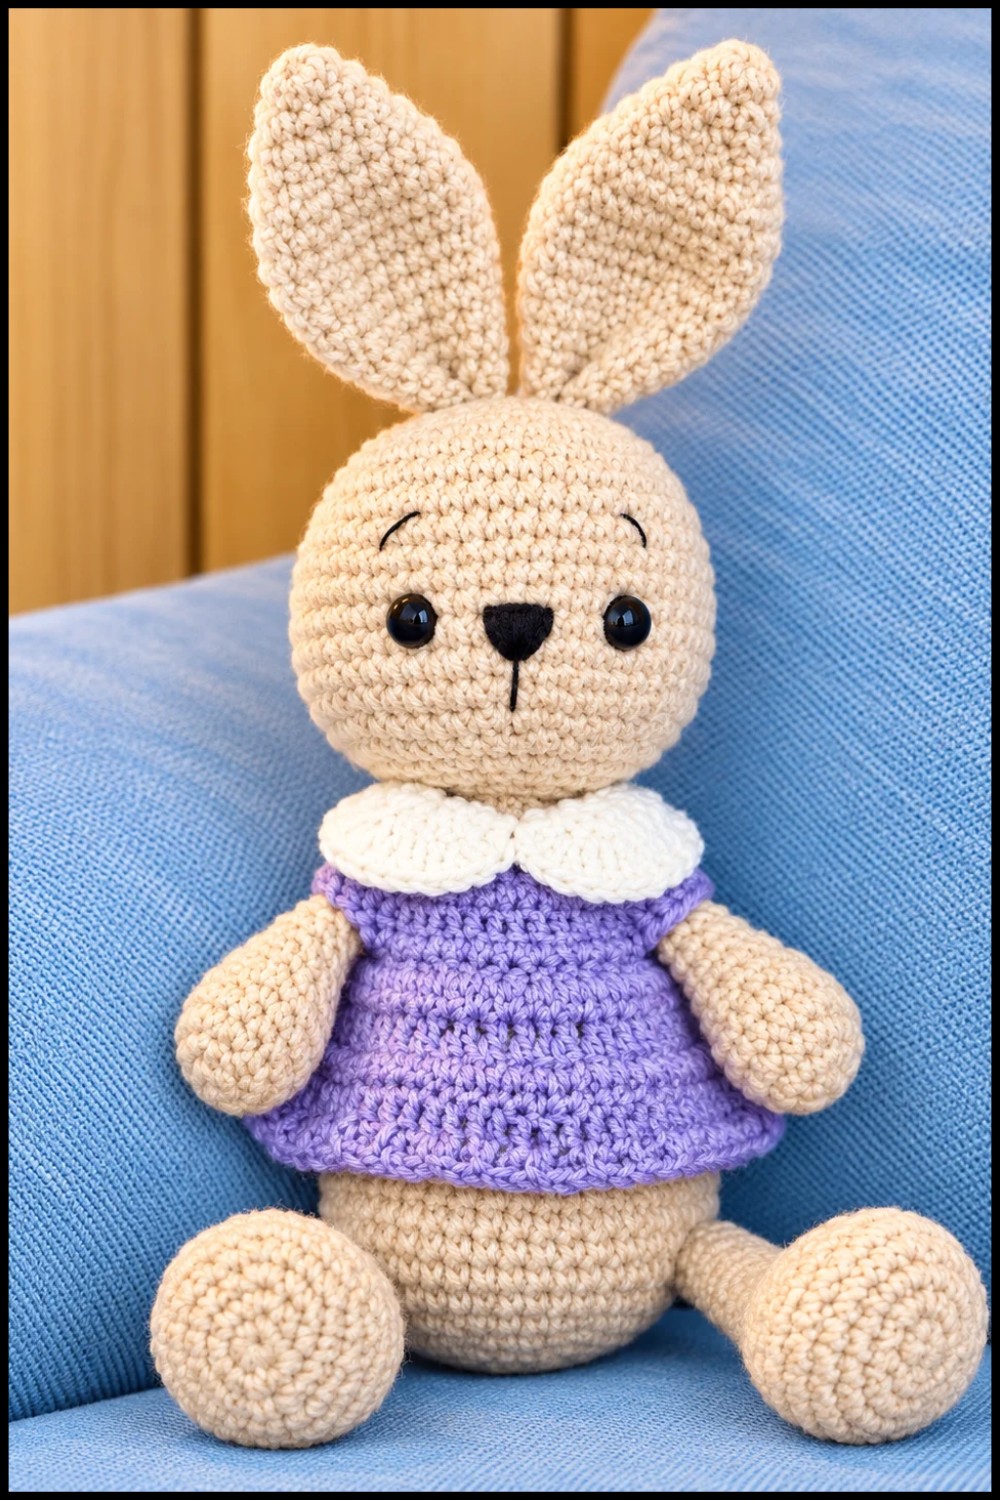
Conclusion and Ending Words
This bunny amigurumi pattern offers a well-rounded opportunity to practice essential crocheting skills while creating a delightful finished project. With clear rounds, strategic increases, and detailed assembly instructions, every stitch contributes to the bunny’s personality and shape. Whether you’re expanding your amigurumi repertoire or seeking a soft, whimsical companion, this pattern delivers a rewarding experience and a charming result. Adhering closely to stitch counts, stuffing appropriately, and following the assembly recommendations ensures the bunny retains its intended form. The completed bunny stands as a testament to precise craftsmanship and attention to detail.
