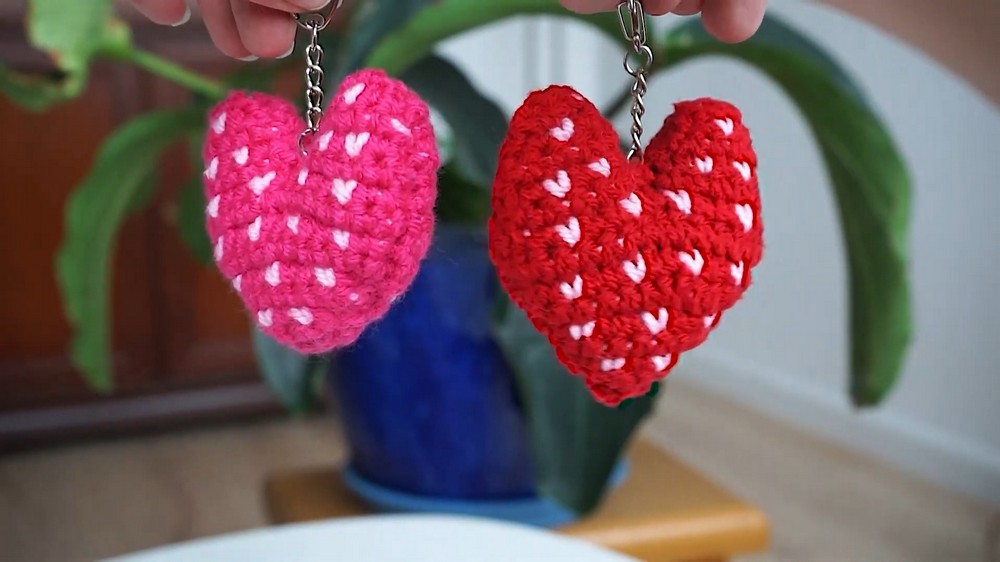
Learn how to crochet adorable heart keychains perfect for gifting with a step-by-step tutorial for all skill levels. The step-by-step instructions guide you through crocheting the hearts, adding color details, and assembling the keychain. You will finish them with embroidered hearts in any shade of red!

Crochet Heart Keychain Tutorial
The tutorial begins with a warm welcome and introduces the project: crocheting hearts featuring tiny heart patterns. These hearts are described as super cute and versatile—perfect for use as keychains or small decorations.
Materials Needed
- Yarn:
- Two contrasting colors of yarn: one for the main heart and another for the tiny hearts.
- Crochet Hook:
- A 3.5 mm crochet hook is recommended.
- Additional Tools:
- Scissors, a tapestry needle (for weaving in ends), a small amount of stuffing, and a keyring (optional).
Optional Alternative:
Instead of a keyring, the creator suggests crocheting a chain of extra yarn for a custom loop.
The Crochet Process
Step 1: Creating the Base Heart
- Foundation Chain:
- Begin with the main color (e.g., red).
- Start by making a slipknot and chaining four stitches.
- Row 1:
- Perform single crochets (SC) starting from the second chain to the end (3 SC total).
- Flip the work.
- Row 2:
- Begin with an increase (2 SC in one stitch), then SC in the next, and another increase in the last stitch (total: 5 stitches).
- Flip the work.
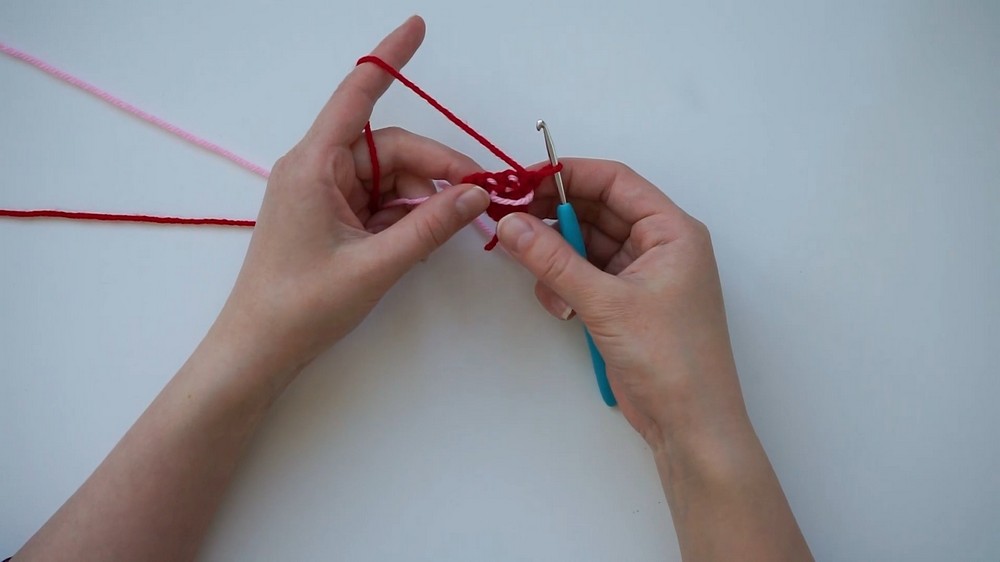
Step 2: Adding the Heart Embellishments
- Start the Second Color:
- Introduce the contrasting yarn (e.g., pink).
- Carry the second yarn along the back of the work to incorporate into stitches seamlessly.
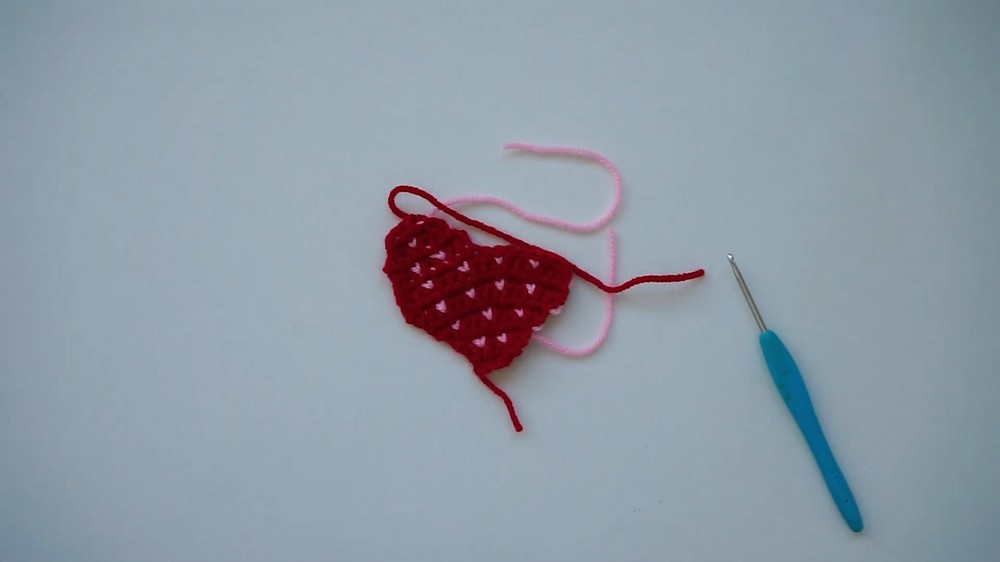
- Tiny Heart Stitches:
- Alternate between the main color (red) for the base and the contrasting color (pink) for the small hearts.
- Use a special technique to create heart shapes by pulling up loops of the pink yarn and completing stitches with the red.
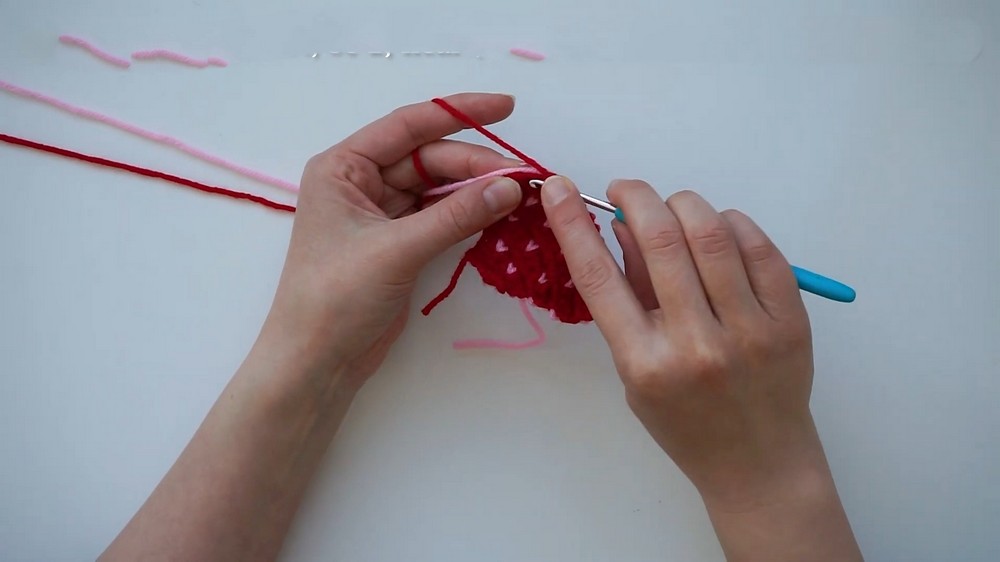
Step 3: Shaping the Heart
- Increasing Rows (Rows 5–8):
- Alternate increases and heart stitch rows to gradually shape the top of the heart.
- Maintain proper tension to prevent loops from sticking out. Tighten any loose pink yarn strands.
- Decreasing Rows (Rows 9–12):
- Begin reducing stitch counts to form the domes at the top of the heart.
- Work on each “dome” (or lobe) separately, carefully beginning from the middle for symmetry.
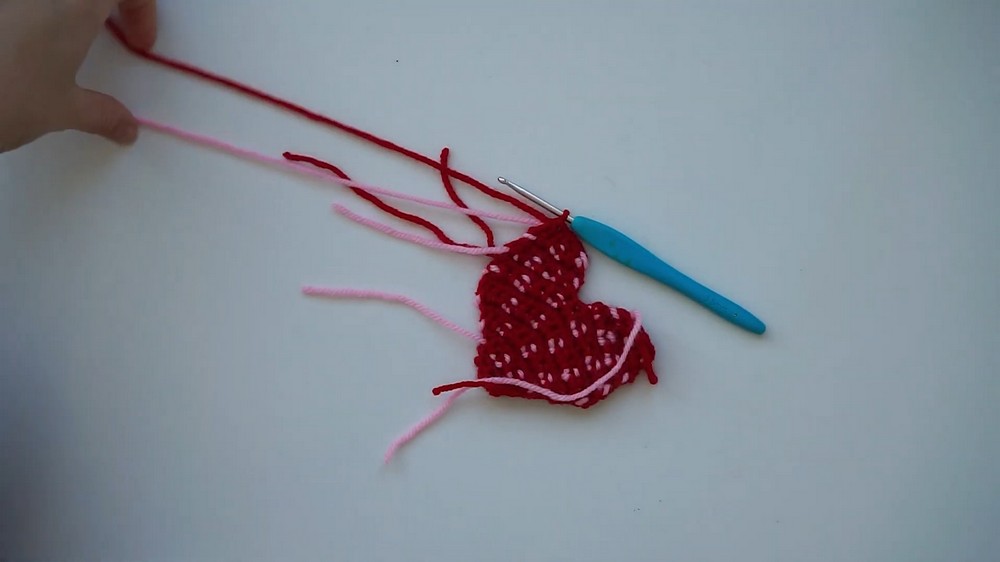
- Final Stitching:
- Finish each lobe with decreases, secure the yarn ends, and weave them in.
Step 4: Assemble the Heart
- Stuffing and Assembly:
- Crochet two identical hearts and place them right sides together.
- Use single crochet stitches to join the edges, leaving a small gap at the bottom for turning.
- Turning and Filling:
- Turn the heart inside out and use the back of a crochet hook to shape the lobes.
- Add a small amount of stuffing to create a plump, squishy heart.
- Sealing the Heart:
- Close the gap using single crochet stitches.
Adding Finishing Touches
- Keychain Option:
- Loop a keyring through the bottom stitches of the heart.
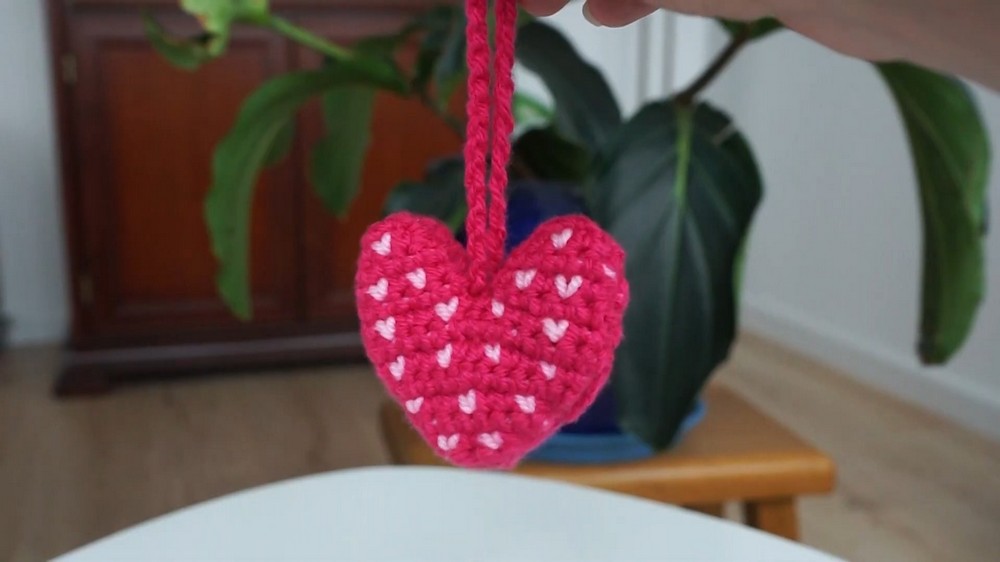
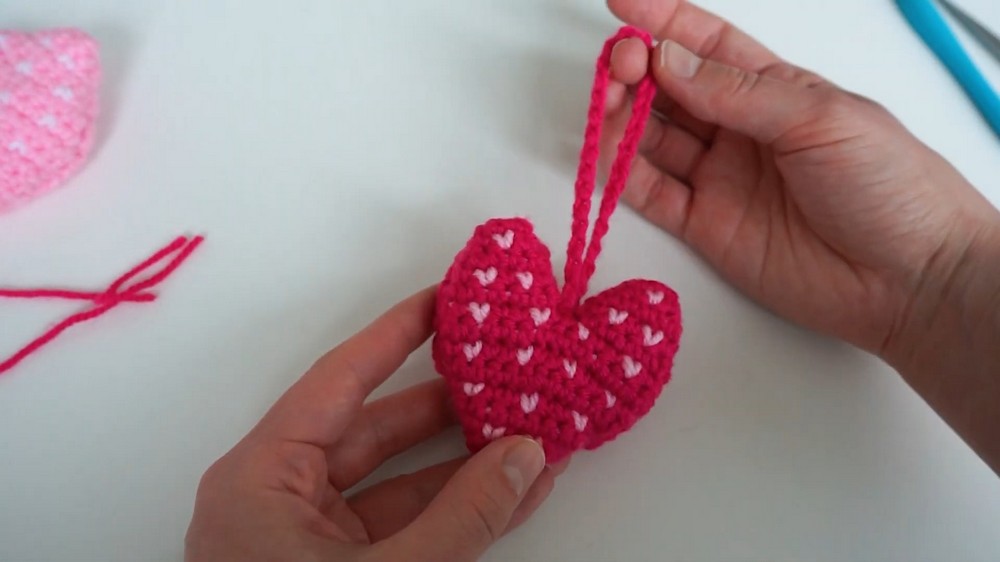
- Yarn Hanger Option:
- Create a custom hanger by chaining 30 stitches, attaching it to the heart with a tapestry needle, and securing it with a triple knot.
- Hide the ends by tucking them inside the heart with a needle.