
Make a cute and colorful Crochet Bird Amigurumi that brightens your space and delights everyone with its charming handmade design and easy steps.
Small handmade items can add a warm and friendly feeling to any space. One neat project is the Crochet Bird Amigurumi. Radhe krishna crochet shared this cute little bird that is soft and colorful, with a round shape and a happy look.
Cozy Crochet Bird Amigurumi Free Pattern for Sweet Room Decor
The Crochet Bird Amigurumi works well as a decoration. It can sit on a shelf, a desk, or in a child’s room, adding a cheerful touch wherever placed. Many people also like to give it as a gift because it feels special and shows care.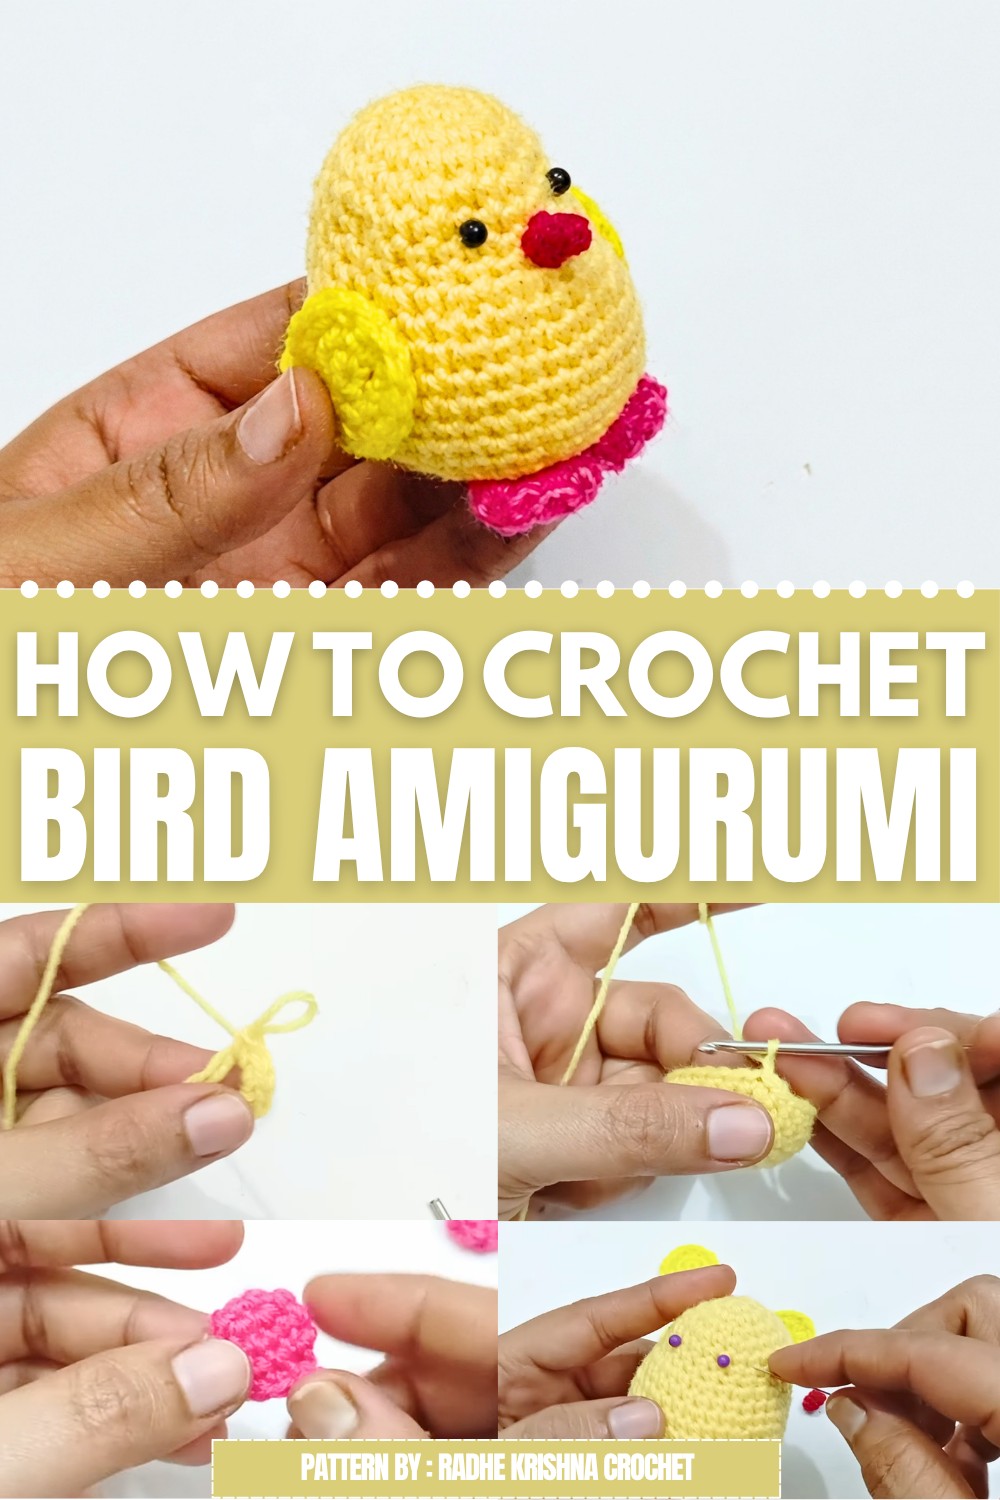
This bird is simple enough for beginners who try crochet, but still fun for those with more experience. You can choose your favorite colors or change the size, so each bird can be unique.
Radhe krishna crochet offers a free step-by-step pattern to help put the pieces together. This project is a nice way to enjoy time working with yarn and end up with a cute bird to keep or share.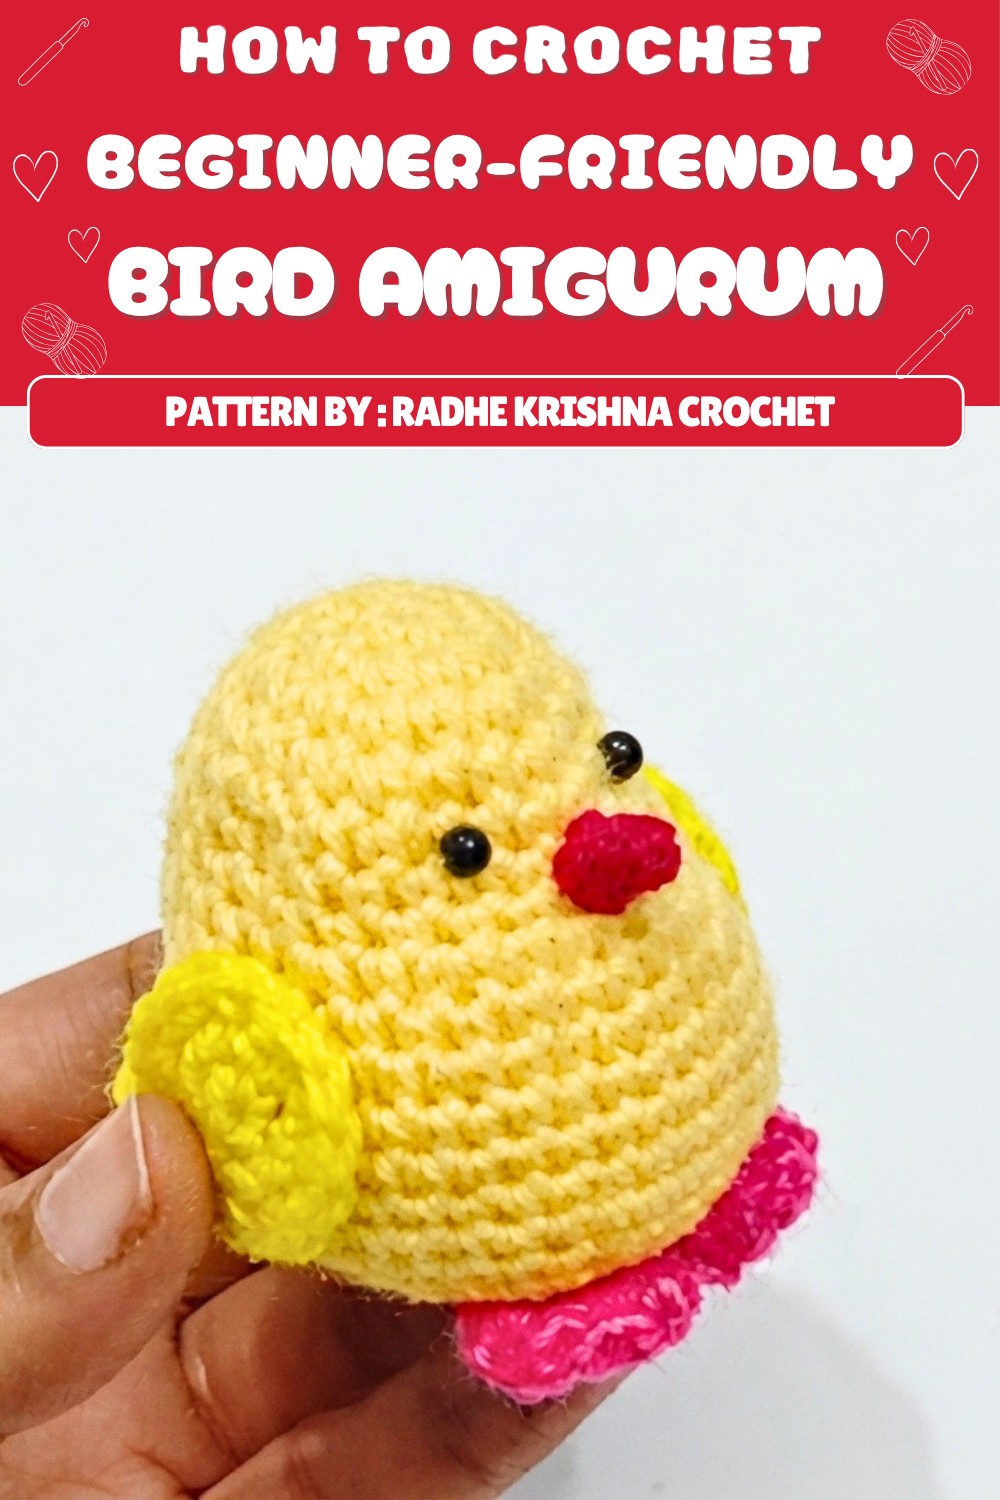 Overall, the Crochet Bird Amigurumi is an easy and sweet item that can brighten any room. It is a great choice if you want a small, personal touch for your home or a thoughtful gift for someone special.v
Crochet Bird Pattern
This crochet bird offers a charming, approachable amigurumi project, featuring clear shaping and assembly. The design is tailored for anyone seeking an engaging craft experience, yielding a delightful finished piece that can be used as décor or a small toy. This pattern emphasizes straightforward construction, purposeful shaping in rounds, and precise joining techniques to produce a polished bird, complete with wings, legs, beak, eyes, and a small back feature.
Pattern Basic Points
Body Construction
- The body is made in a series of graduated rounds, worked in a spiral from top to bottom, with strategic increases and decreases to achieve an oval shape.
Component Motifs
- The wings, legs, beak, and back portion are each crocheted separately and attached to the body for a layered effect.
Assembly and Detailing
- Parts are glued or sewn on using a glue gun or yarn needle for durable finishing.
- Eyes are created with ready-made beads or stitched on for a cartoon effect, enriching the character of the bird.
Special Notes
- Four-ply wool and medium-sized hooks are recommended for a plump, seamless finish; alternative yarns may alter the overall size and texture.
- The glue gun method attributes to neater, faster assembly, but traditional sewing offers added security and flexibility.
- Stitch markers, threaders, and beads (for eyes) enhance precision and reduce assembly errors.
- Fine yarn and a small hook for the beak provide contrast and authentic texture to the bird’s features.
- The stuffing step is essential for retaining the bird’s structure; cotton or fiberfill can be used as preferred.
- Customize color choices for wings, legs, and the body to match personal taste or project requirements.
Skill Level
Beginner to Confident Beginner
This pattern is ideal for beginners, offering comprehensive practice in working rounds, increases/decreases, and assembling motifs.
Materials
- 4-ply wool yarn – two shades of yellow (body and wings)
- Pink fine thread (legs)
- Thin orange or gold thread (beak)
- Black beads for eyes (or ready-made cartoon eyes)
- Crochet hook size 11 (3 mm)
- Large-holed yarn needle and threader
- Cotton or fiberfill for stuffing
- Glue gun or craft glue (optional, for joining)
- Scissors
- Stitch markers
Measurements / Sizing
- Bird body: Approximately 2.5 inches in height when completed
- Each wing: About 1 inch in diameter
- Legs: About 0.5 inch in length
- Beak: Very small, approximately 0.25 inch
Gauge (and Stitch Pattern if applicable)
- Gauge is not critical. All stitches should be tight and consistent to prevent the stuffing from showing.
- Main stitch patterns: single crochet (sc), half double crochet (hdc), double crochet (dc), slip stitch (sl st), magic ring.
Stitch Abbreviations
| Abbreviation | Stitch |
|---|---|
| MR | Magic ring |
| ch | chain |
| sc | single crochet |
| hdc | half double crochet |
| dc | double crochet |
| tr | triple crochet |
| sl st | slip stitch |
| inc | increase (2 sc in same stitch) |
| dec | decrease |
| st(s) | stitch(es) |
Special Stitches
- Magic Ring (MR): Start by wrapping yarn around finger to form an adjustable circle; work first stitches into ring.
- Invisible Decrease: Insert hook into front loop only of next two stitches, yarn over, pull through both, yarn over, pull through remaining two loops.
Crochet Instructions
Bird Body
- Round 1:
- Start with a magic ring (MR).
- Work 6 sc into ring.
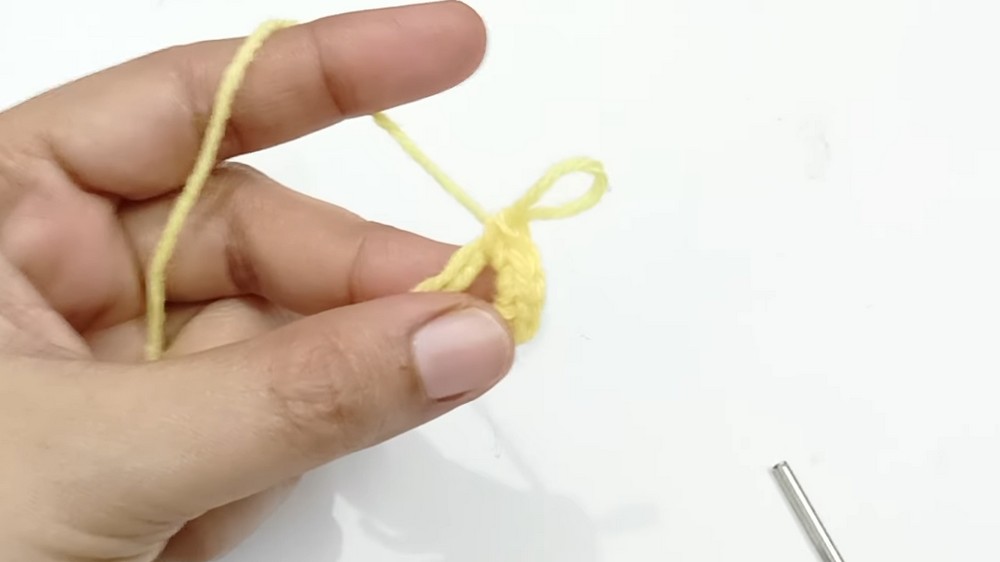
- Pull ring tight, join with sl st to first sc.
- Round 2:
- Inc in each stitch around (12 sc).
- Join with sl st.
- Round 3:
- (1 sc, inc) repeat around (18 sc).
- Join with sl st.
- Round 4:
- (2 sc, inc) repeat around (24 sc).
- Join with sl st.
- Rounds 5-7:
- Sc in each stitch around (24 sc per round).
- Join with sl st.
- Round 8:
- (1 sc in each of 7 st, inc in next st) repeat 6 times (30 sc).
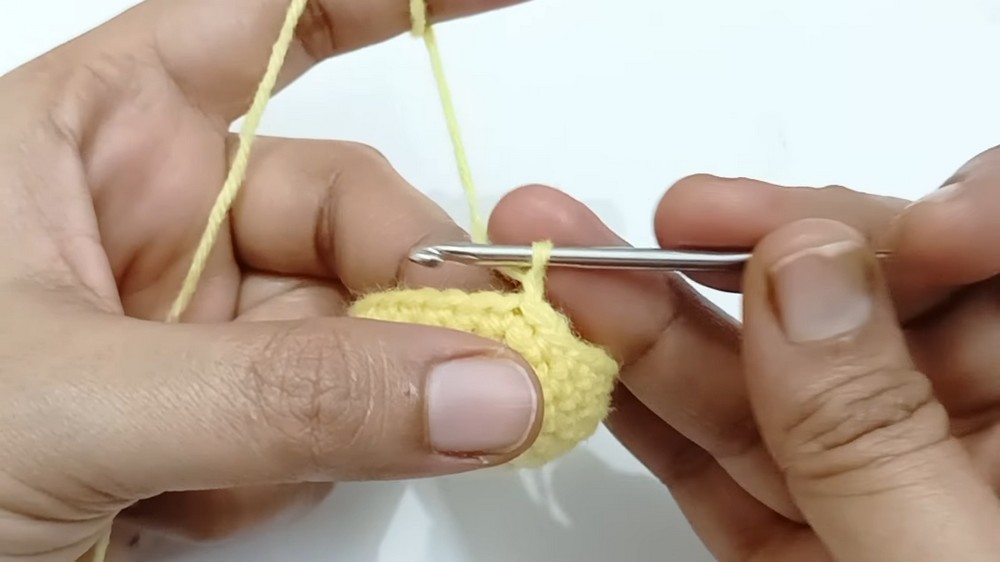
- Join with sl st.
- (1 sc in each of 7 st, inc in next st) repeat 6 times (30 sc).
- Round 9:
- Sc in each stitch around (30 sc).
- Join with sl st.
- Round 10:
- (1 sc in each of 8 st, inc in next st) repeat 6 times (36 sc).
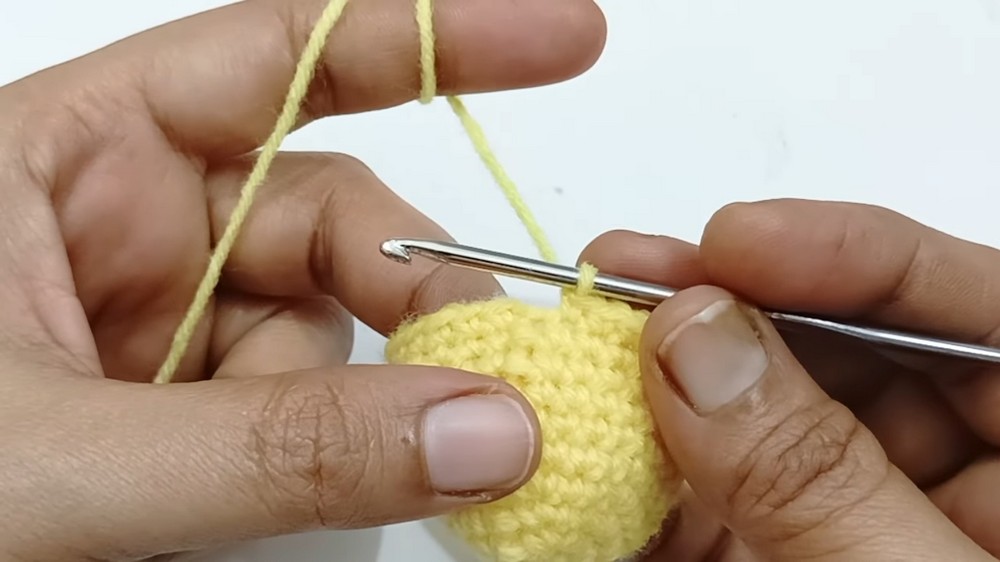
- Join with sl st.
- (1 sc in each of 8 st, inc in next st) repeat 6 times (36 sc).
- Rounds 11-14:
- Sc in each stitch around (36 sc per round).
- Join with sl st.
- Round 15:
- (1 sc in each of 4 st, dec) repeat 6 times (30 sc).
- Join with sl st.
- Round 16:
- Sc in each stitch around (30 sc).
- Join with sl st.
- Round 17:
- (1 sc in each of 3 st, dec) repeat 6 times (24 sc).
- Join with sl st.
- Round 18:
- (1 sc in each of 2 st, dec) repeat 6 times (18 sc).
- Join with sl st.
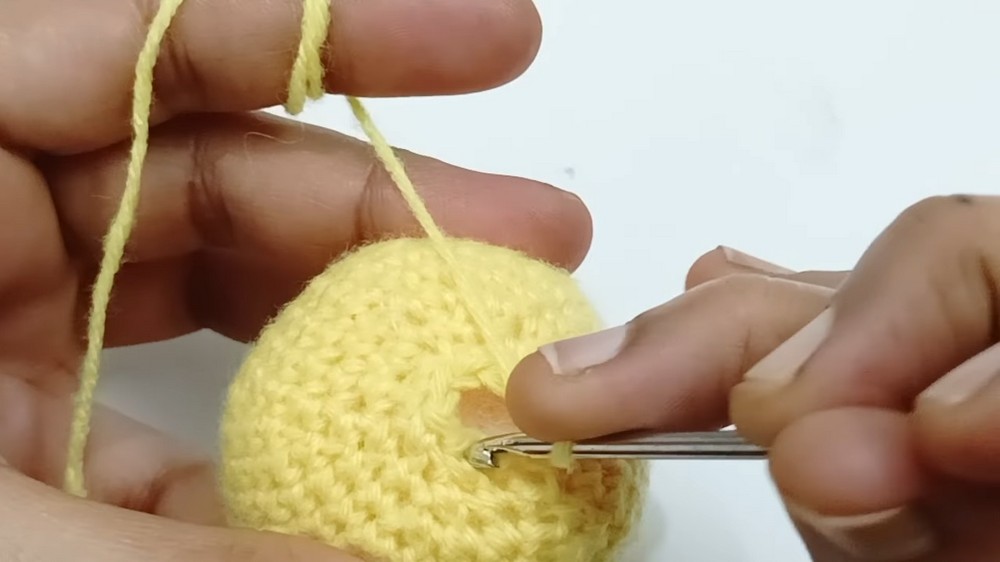
- Stuff body with cotton/fiberfill firmly but not overstretched.
- Round 19:
- (1 sc, dec) repeat 6 times (12 sc).
- Join with sl st.
- Round 20:
- (dec) repeat 6 times (6 sc).
- Join with sl st, leave a long tail for sewing, finish off.
- Secure hole with thread and weave in extra yarn for neat finish.
Wings (Make 2, using darker yellow)
- Round 1:
- Magic ring, 6 sc into ring.
- Join with sl st.
- Round 2:
- Inc in each stitch around (12 sc).
- Join with sl st.
- Round 3:
- (1 sc, inc) repeat around (18 sc).
- Join with sl st.
- Round 4:
- Sc in each stitch around (18 sc).
- Join with sl st.
- Shaping:
- Work single crochets over 4 stitches, then in 5th st: sc, hdc; in 6th st: dc, tr, dc, hdc (all in same st; shaping tip edge of wing), (continue hdc in next sts), finish with 4 sc over last stitches.
- Leave a long tail, finish off.
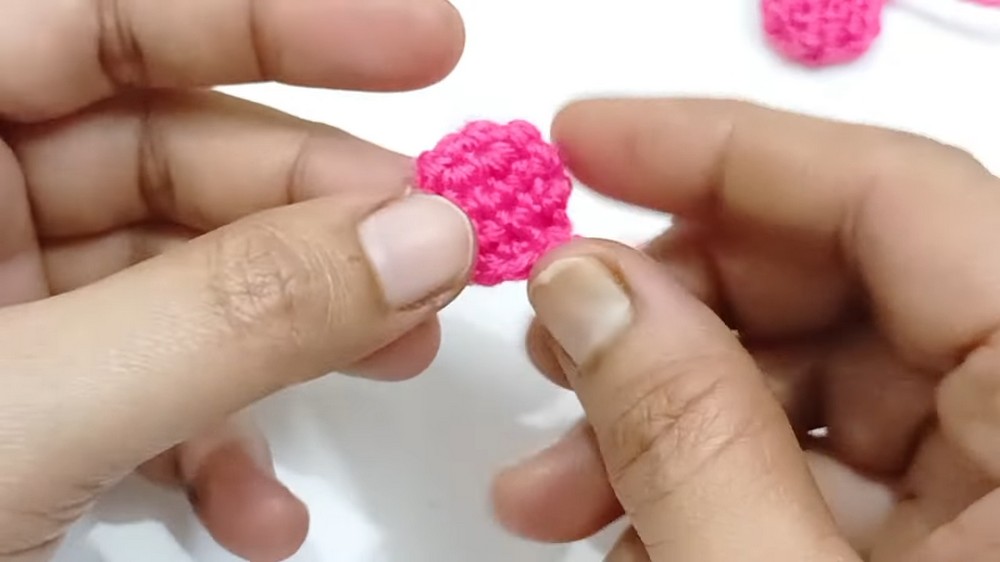
Legs (Make 2, using pink thread)
- Round 1:
- Magic ring, 6 sc.
- Join with sl st.
- Round 2:
- Inc in each stitch around (12 sc).
- Join with sl st.
- Round 3:
- Sc in each stitch around (12 sc).
- Join with sl st.
- Round 4:
- (1 sc, dec) repeat 4 times (8 sc).
- Join with sl st.
- Finishing:
- Fold work to shape.
- Work through both sides to crochet 4 stitches, chain 1, cut yarn, twist and sew in place.
Back Portion (Make 1)
- Round 1:
- Magic ring, 6 sc.
- Join with sl st.
- Round 2:
- (1 sc, inc) repeat around (9 sc).
- Join with sl st.
- Round 3-4:
- Sc in each stitch around (9 sc per round).
- Join with sl st.
- Round 5:
- (1 sc, inc) repeat, then (sc); shape to create 12 sc for joining.
- Join with sl st.
- Assembly:
- Fold and sew opening, leave tail for attachment.
Beak (using thin orange/gold yarn)
- Round 1:
- Magic ring, 6 sc.
- Join with sl st.
- Round 2:
- Sc in each stitch (6 sc).
- Join with sl st.
- Round 3:
- (1 sc, inc) repeat (9 sc).
- Join with sl st, leave tail, finish off.
Assembly & Finished Size
- Body: Stuff securely and close with tail, weave in ends.
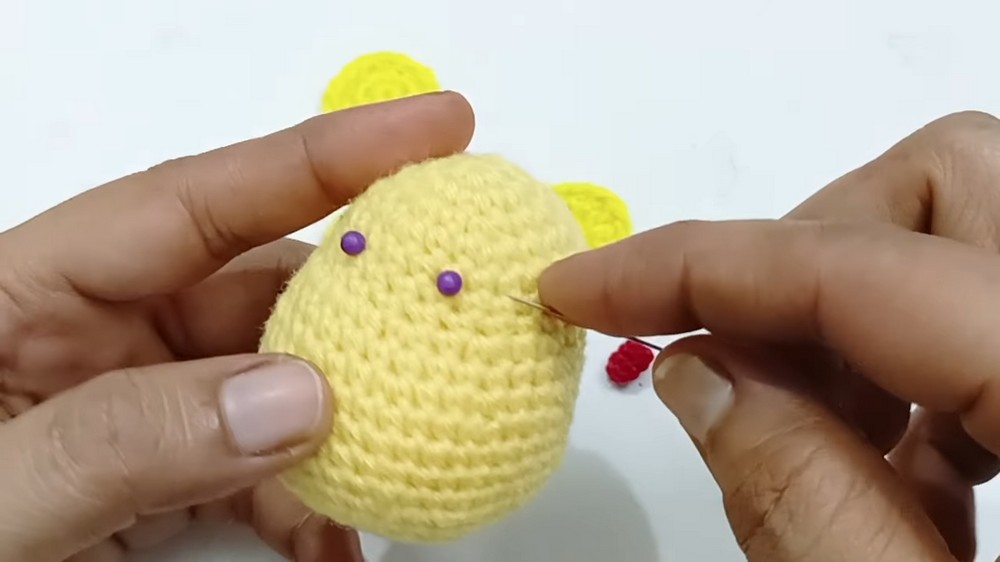
- Wings: Attach by glue or sew to both sides, marked for symmetry.
- Legs: Attach by glue or sew beneath body; mark placement beforehand.
- Back: Attach firmly to rear/top for aesthetic accent.
- Beak: Sew or glue to face between eyes.
- Eyes: Thread beads with yellow yarn and sew above beak, skipping five rows from the top; go through several stitches for stability. Alternatively, attach cartoon eyes or safety eyes if available.
- Adjust stuffing or placement for balanced finish. Use stitch markers to mark before gluing or sewing for even positioning.
- Finished bird is approximately 2.5 inches tall. All proportions are adjusted for a compact, plump appearance.
Conclusion
This crochet bird pattern incorporates core amigurumi skills, including working in the round, shaping, increases and decreases, assembling motifs, and finishing touches with glue or sewing. The methodology ensures a consistent result, yielding a soft, whimsical piece ideal for decorative purposes or gifting. Color, hook size, and yarn thickness may be adapted for size and effect, making the project flexible for crafters’ preferences. Use beads or ready-made eyes for easy detailing, and maintain tight stitching and careful marking during assembly for well-balanced proportions. The overall approach fosters success for both beginners and experienced crocheters alike, resulting in a vibrant and enduring handmade creation.
