
Enjoy a cute and easy crochet pumpkin keychain that gives a fun and festive touch to your keys or bags while boosting your crochet skills.
There’s something charming about tiny handmade items that add a touch of warmth to everyday things. The Crochet Pumpkin Keychain is one such delightful piece from Ada’s Handmade. This small pumpkin sits snugly on your keys or bag, with a bright orange body and a little green stem that gives it a cozy, autumn feel.
Easy Cute Crochet Pumpkin Keychain Free Pattern for Halloween
Its round, soft shape makes it easy to carry around and adds a cheerful note to any set of keys or backpack.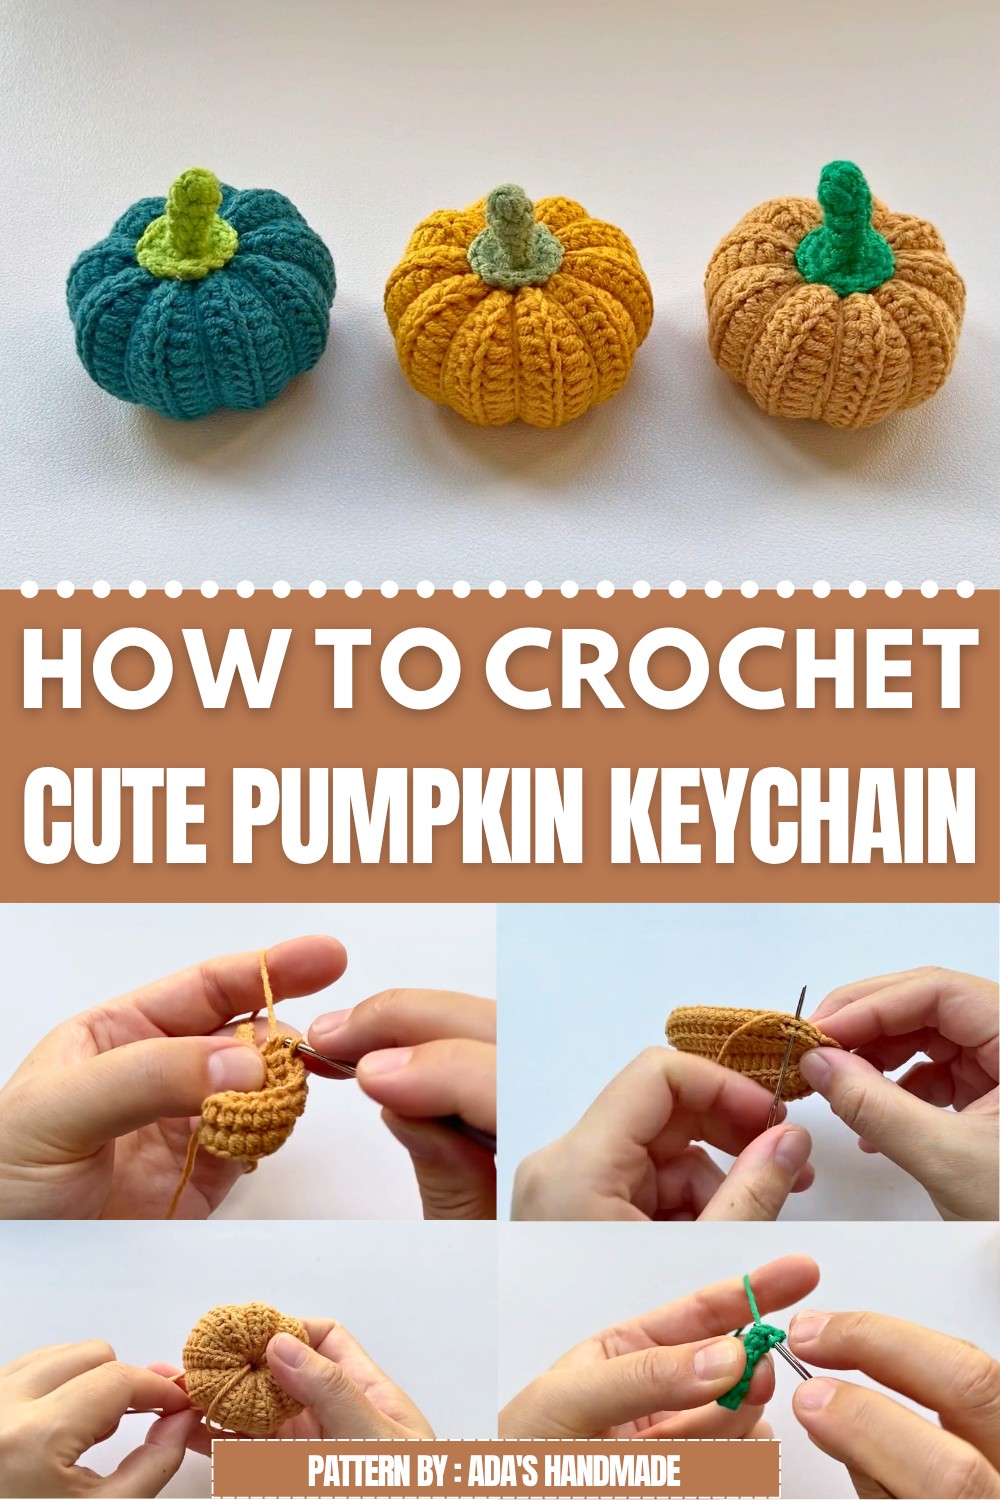
This keychain fits right with fall decorations and Halloween vibes without being too flashy. It’s the kind of small, sweet accessory that can brighten your day with its simple, friendly design. People of all ages can enjoy having this cute pumpkin close by, whether it’s hanging from their school bag, purse, or even used as a gift for friends during the season.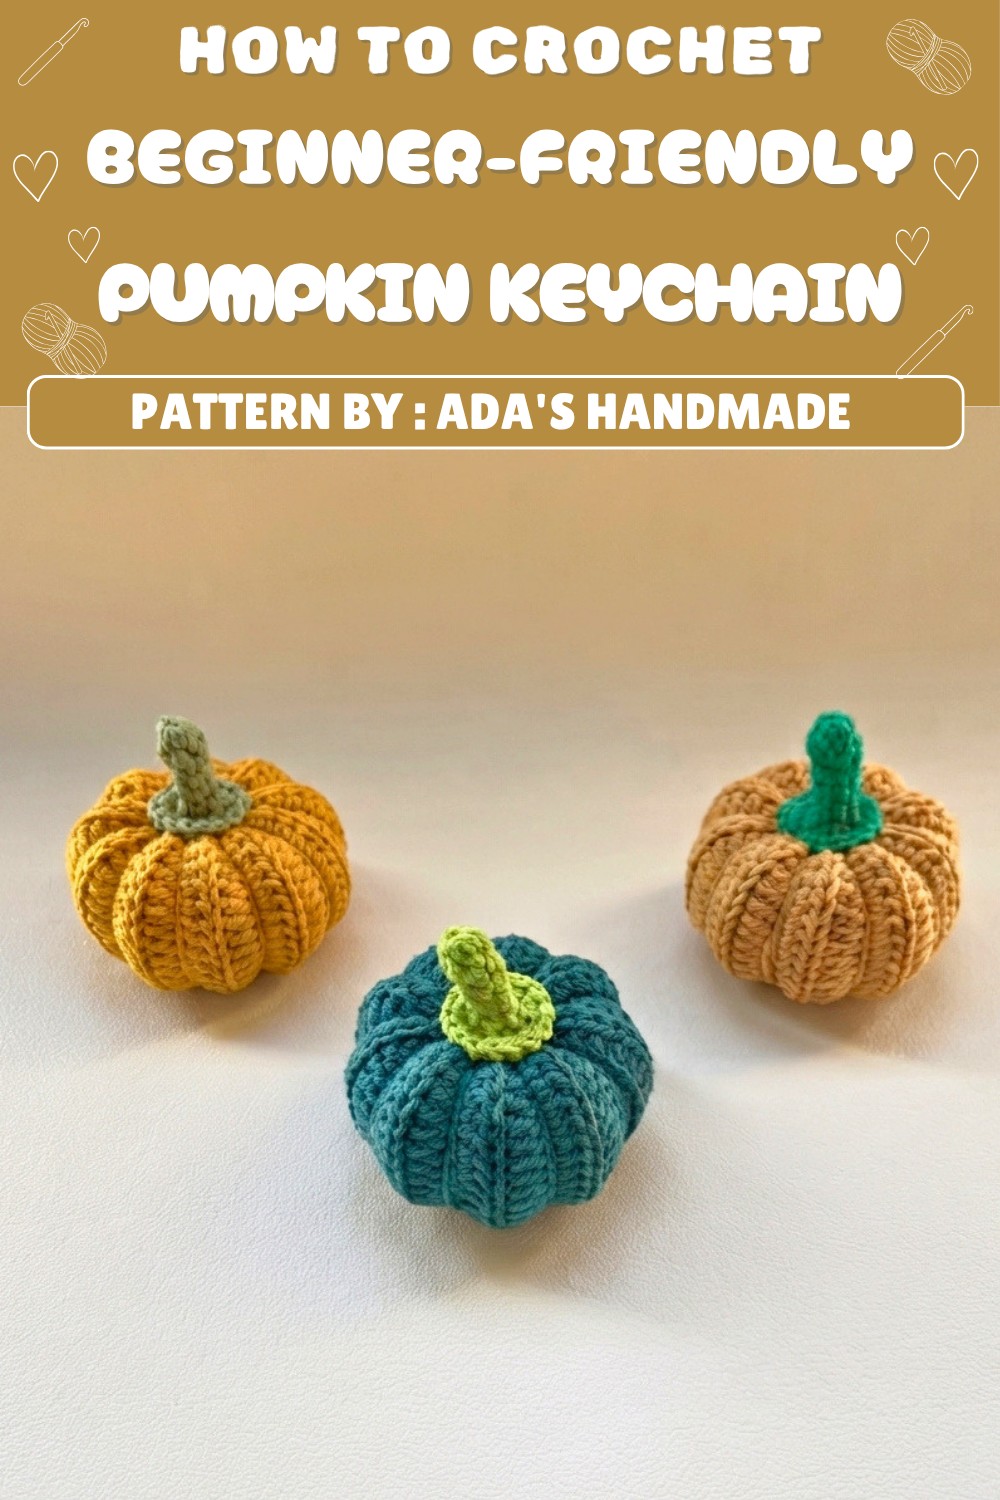
Ada’s Handmade thought about making something easy and fun to hold, so the pumpkin’s size and shape feel just right in your hand. It’s a great way to add some season’s spirit to daily life with a tiny splash of color.
If a little bright pumpkin on your keys sounds like something you’d like, Ada’s Handmade offers a free pattern to help you put one together. Take a look at this easy project to brighten up your day with a simple, cute Crochet Pumpkin Keychain.
Crochet Pumpkin Keychain Pattern
The crochet pumpkin keychain is a delightful, seasonal accessory that adds a playful touch to keys, bags, or autumn-themed décor. This pattern creates a miniature pumpkin using ribbed stitches for a realistic, textured effect and a simple round to shape the top, resulting in a charming, three-dimensional piece. Its practical size makes it both a decorative keepsake and a functional key accessory, while offering crisp stitch definition and a sturdy structure.
Pattern Basic Points
Ribbed Pumpkin Body
- Constructed as a flat rectangle with defined ribbing by working entirely in the back loop only, then seamed into a tube.
- Formed using slip stitches at each edge for neat seams and elasticity.
Pumpkin Top
- Worked separately in the round with single crochet increases to form a smooth, rounded pumpkin top.
- Simple, compact cap that closes the top and helps shape the pumpkin.
Assembly
- Rectangle edges are sewn together, then both open ends are closed to create a stuffed pumpkin.
- The cap forms the pumpkin stem or the closure, sewn securely for durability.
Special Notes
- Work all slip stitches and half double crochets in the back loop only for best texture.
- Use a yarn needle for tidy sewing and minimal bulk at the seams.
- Gauge is not critical, but even tension ensures matching ends for neat closure.
- Insert stuffing before completely closing the pumpkin for a plump, round shape.
- Attach a keyring or split ring securely for use as a keychain, or add a small green segment for a stem if desired.
Skill Level
Beginner to Advanced Beginner
The project uses basic stitches—slip stitch, half double crochet, and single crochet—plus working in the back loop and forming a magic ring. It is ideal for those comfortable with crocheting in rows and rounds, as well as simple sewing for assembly.
Materials
- Worsted weight yarn in orange (pumpkin) and green/brown (optional stem)
- Crochet hook in suitable size (e.g. 3.5–4.0mm for worsted weight)
- Yarn needle for sewing and weaving in ends
- Fiberfill or scrap yarn for stuffing
- Keyring hardware (split ring or lobster clasp)
- Scissors
- Stitch marker (optional)
Measurements / Sizing
- Finished pumpkin: approx. 1.5–2 inches across and 1.5 inches tall (excluding keyring), depending on yarn and hook size
- Adjust size by changing yarn weight or hook size
Gauge (and Stitch Pattern if applicable)
- Gauge is not critical. For reference, 17 hdc (blo) and 18 rows in ribbed pattern measure approx. 2” x 6”.
- Main body uses slip stitch (sl st) and half double crochet (hdc) in back loop only (blo) for ribbing.
Stitch Abbreviations
| Abbreviation | Description |
|---|---|
| sl st | slip stitch |
| ch | chain |
| hdc | half double crochet |
| sc | single crochet |
| inc | increase (2 sc in same stitch) |
| blo | back loop only |
| st(s) | stitch(es) |
| MR | magic ring |
Special Stitches
- Back Loop Only (blo): Working into the back loop only leaves the front loop unworked, making defined ribbing.
- Magic Ring (MR): A loop that allows you to pull tight, used for a seamless start in the round.
- Increase (inc): Two single crochets into the same stitch, increasing the stitch count.
Free Pattern
Pumpkin Body (Rectangle / Ribbing)
Start
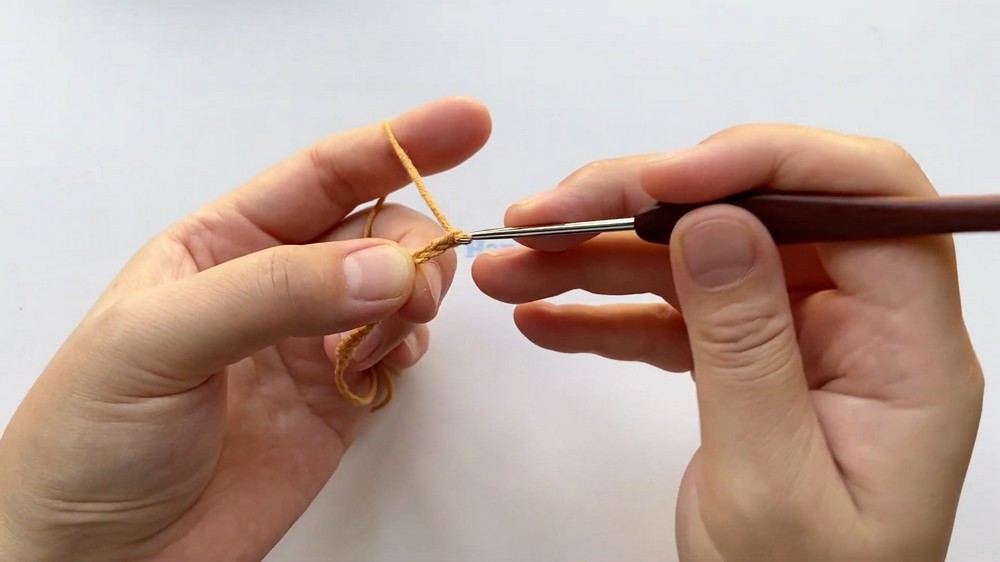
- Make a slip knot.
- Chain 20.
Row 1
- Slip stitch in the back of the 2nd chain from hook.
- Half double crochet (hdc) in next 17 chains.
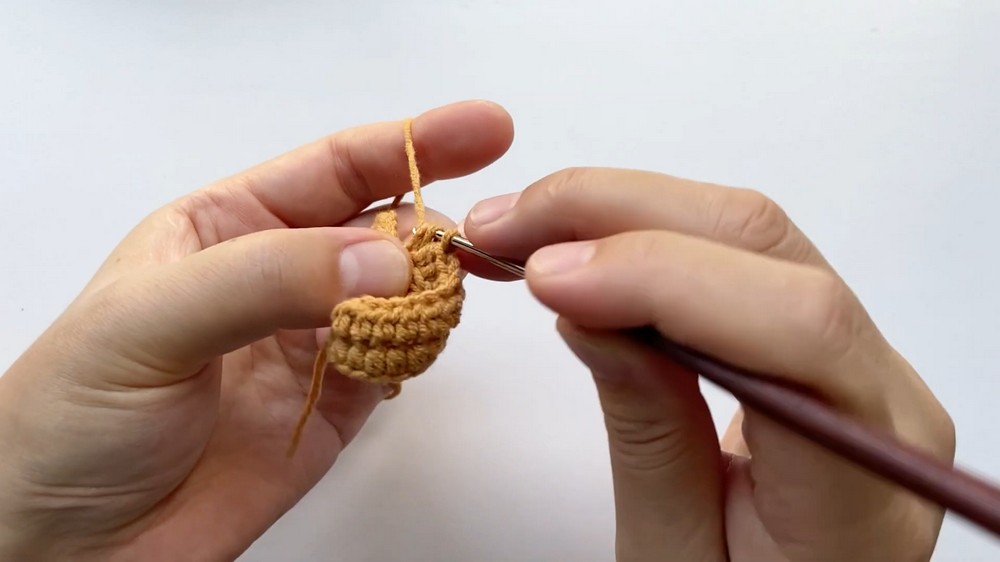
- Slip stitch in the last chain.
Row 2
- Chain 1 and turn.
- Slip stitch (back loop only) in the first stitch.
- Hdc (blo) in next 17 stitches.
- Slip stitch (blo) in the last stitch.
Rows 3–18
- Repeat Row 2 for 16 more rows (R3-R18):
- Chain 1 and turn.
- Slip stitch (blo) in the first stitch.
- Hdc (blo) in next 17 stitches.
- Slip stitch (blo) in last stitch.
- Finishing the Rectangle
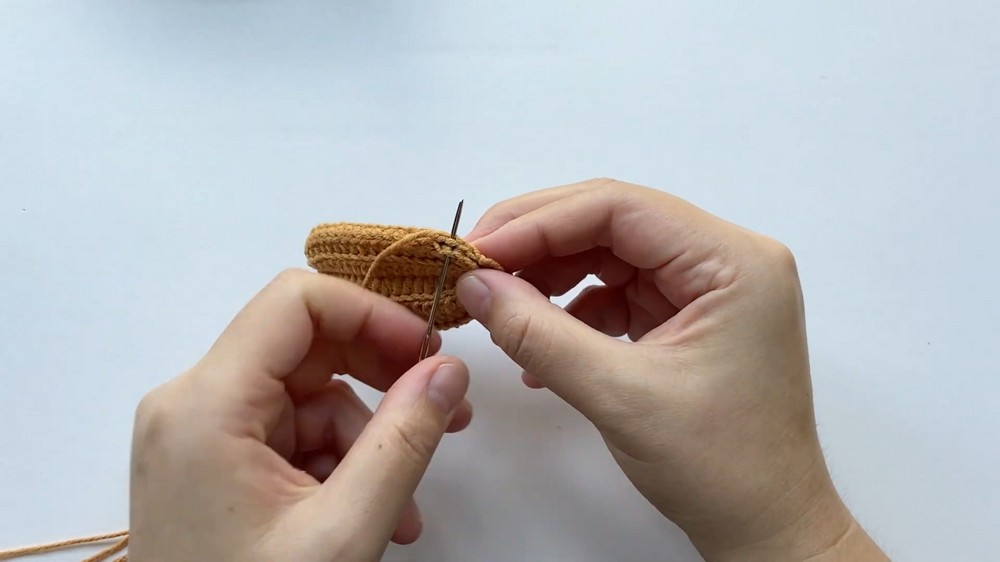
- After Row 18, chain one and cut the yarn, leaving a long tail for sewing.
Assembly (Forming the Pumpkin Shape)
- Fold the finished rectangle so the short sides meet.
- Using the long yarn tail and a yarn needle, sew the short sides together to form a tube.
- Weave the needle through one open edge in a running stitch and pull tightly to gather and close the bottom of the pumpkin.
- Secure and knot, keeping yarn tail inside.
- Stuff the body lightly with fiberfill before closing the top.
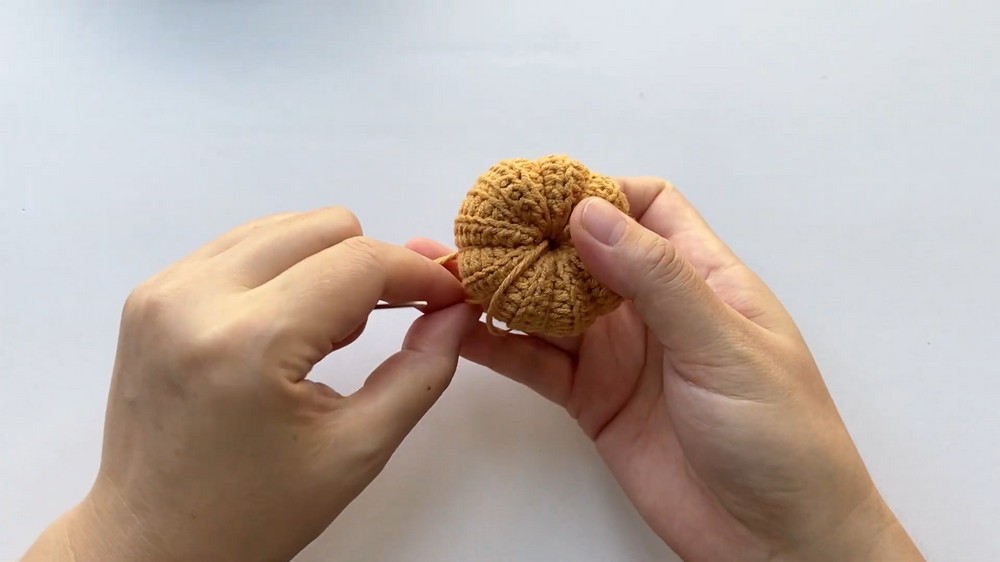
- Use another running stitch through the remaining opening and cinch closed, fasten securely. Do not cut yarn yet.
- To create defined pumpkin segments, wrap yarn around the pumpkin from top to bottom, securing at both ends and pulling gently to create 5–6 segments for a classic ribbed look.
Pumpkin Cap (Top Closure/Stem)
- Make a magic ring.
- Round 1
- Work 5 sc in the magic ring (MR).
- Pull ring tight and sl st in the first sc to join.
- Rounds 2–5
- Chain 1.
- Sc in each stitch around (5 sc per round).
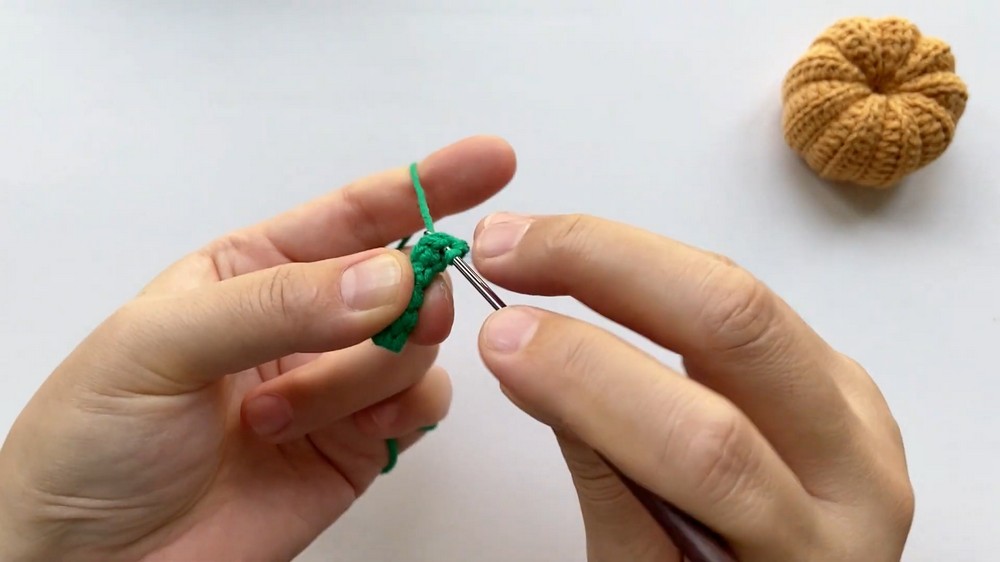
- Sl st in the first stitch at the end of each round.
- Round 6
- Chain 1.
- 2 sc in each stitch around (10 sc).
- Sl st in the first stitch to join.
- Round 7
- Chain 1.
- (sc in next stitch, inc in next stitch) repeat around ([sc, inc] × 6 = 18 sc).
- Sl st in the first stitch to finish.
- Cut yarn, leaving a short tail for sewing.
Assembly & Finished Size
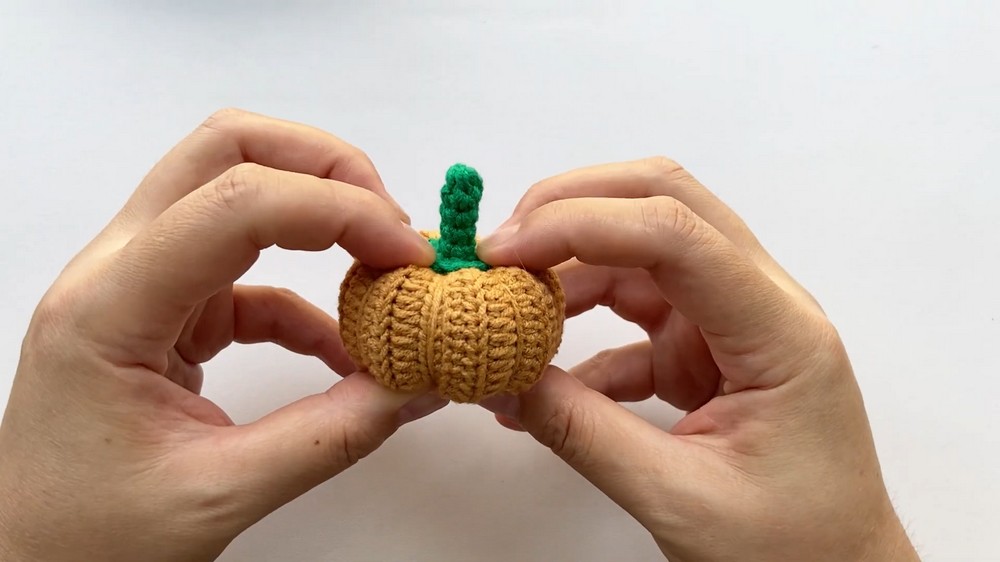
- Position the cap on the top gathered opening of the pumpkin.
- Sew around the bottom of the cap, anchoring it securely to the pumpkin top.
- Weave in all remaining yarn ends.
- Attach a keyring or lobster clasp by threading it through the top/stem area for use as a keychain.
- Final size should be approximately 1.5–2 inches in diameter.
Conclusion
This crochet pumpkin keychain provides an excellent blend of texture, shape, and fall-themed charm, serving both decorative and functional purposes. Its compact size and clever ribbing techniques create a realistic miniature pumpkin, perfect for seasonal accessories, gifts, or festive ambassadors of handmade artistry. The keychain’s sturdy construction assures durability for everyday use, while its simple assembly fosters a rewarding crochet experience for beginners and experienced makers alike.
