
Brighten your favorite tote with the Crochet Butterfly Free Pattern, featuring lovely wings and cheerful colors for everyday accessories.
The original YouTube tutorial by Кристина Богданова introduced a simple and delightful project called the Crochet Butterfly. Full credit goes to her for sharing such an easy-to-follow pattern that lets anyone create a small, charming butterfly with basic crochet skills.
Mini Crochet Butterfly Free Pattern To Decorate Bags
This project is a delicate little butterfly made with soft yarn and a crochet hook. Its main features include gently curved wings and a tiny body, giving it a light and airy look. The beauty of the Crochet Butterfly lies in its simplicity and the ability to customize it with different colors and yarn types. You can make it in soft pastels for a gentle touch or bright, bold shades for a fun pop of color. Each butterfly becomes a unique creation based on your choices.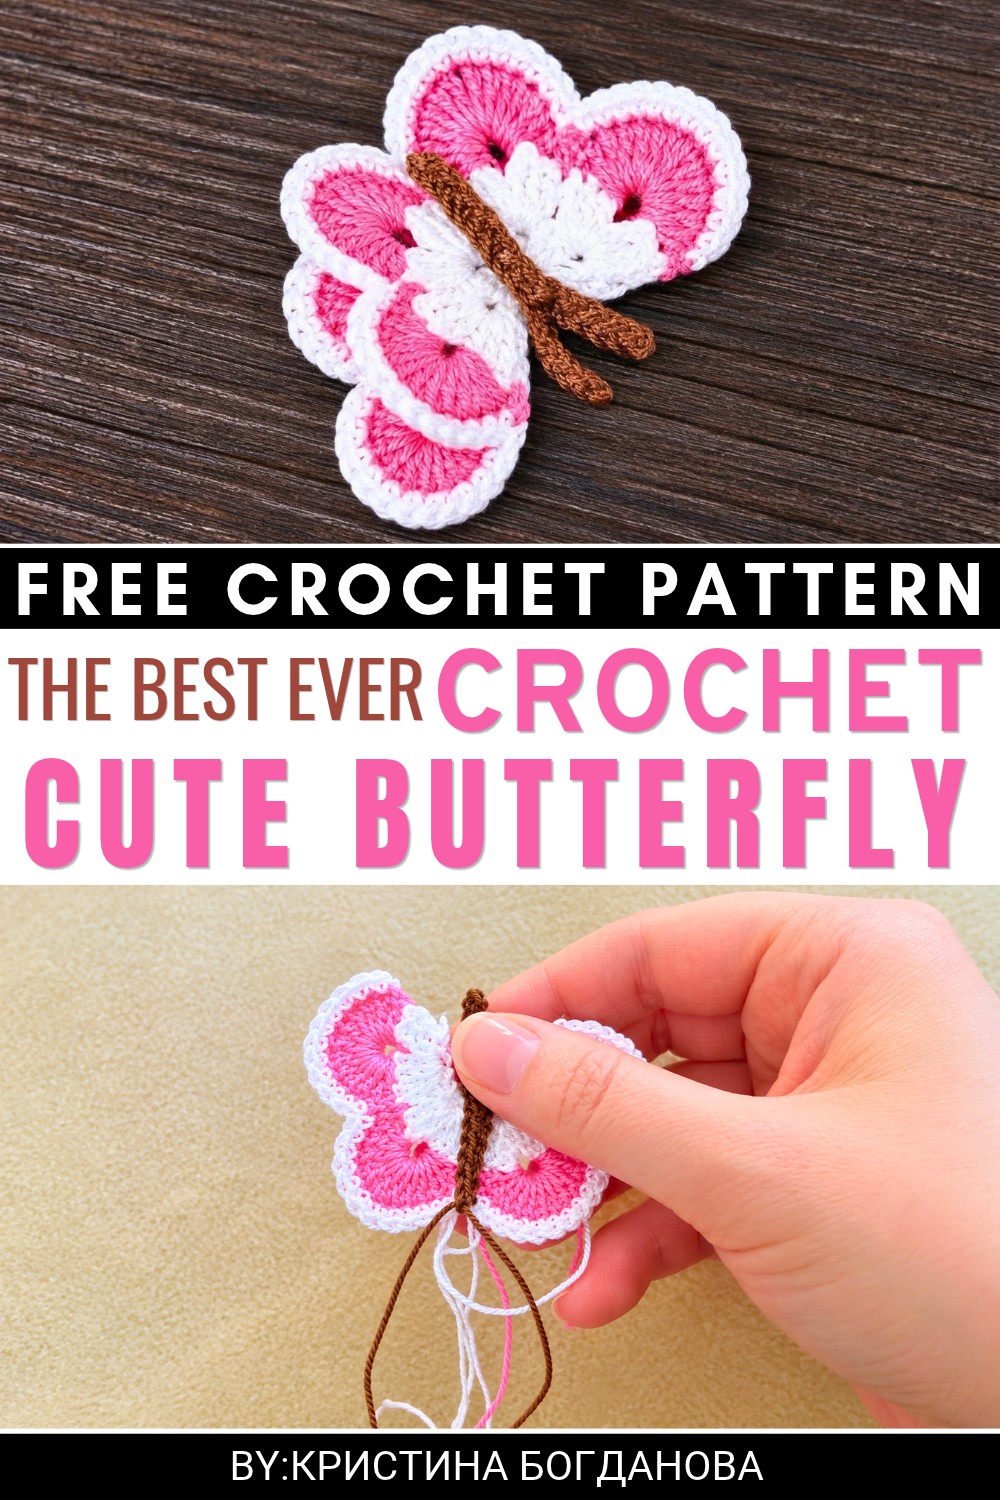 Crochet Butterflies are wonderfully versatile. They can be used to decorate clothing, brighten up gifts, or add a whimsical touch to your home décor such as wall hangings or garlands. Because of their small size, they also make perfect embellishments on hats, bags, or bookmarks.
The process is easy to learn. You start by creating a chain for the butterfly’s body, then work simple stitches like single crochet and double crochet for shaping the wings. By increasing and decreasing stitches, you form the curves of the wings. Lastly, you add details such as antennae by sewing or crocheting small pieces.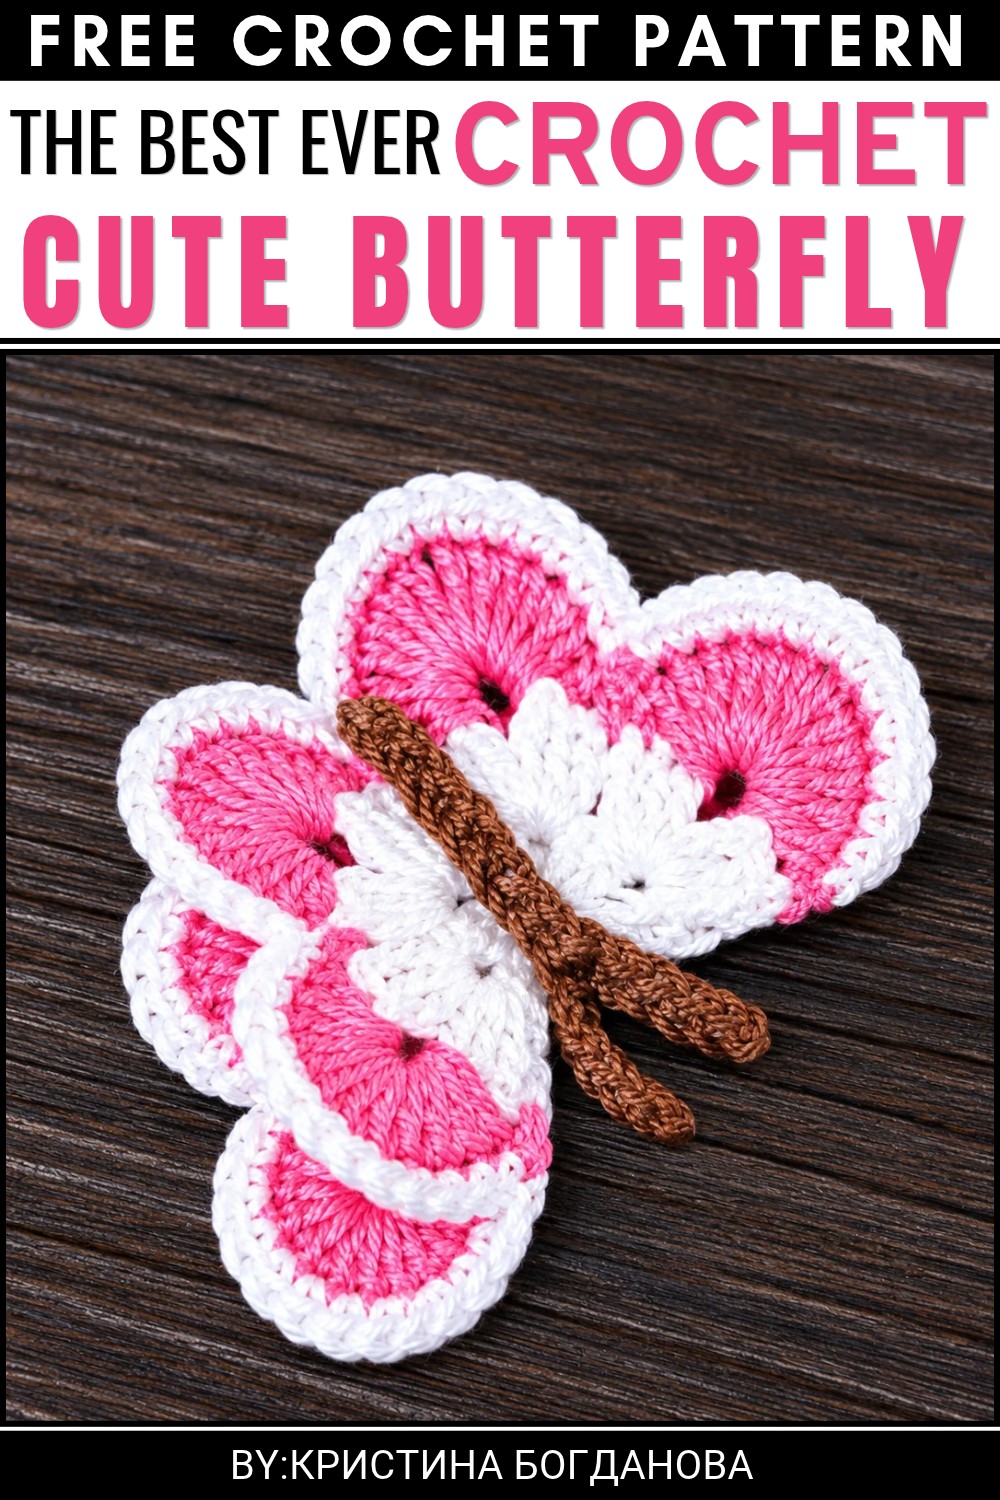 Overall, This Butterfly project is a friendly and enjoyable way to crochet something beautiful and customizable, perfect for all skill levels.
About the Pattern
The crochet butterfly is a delicate motif, composed of a ruffled wing base, vibrant colorwork, and a gently curved body with antennae. Its structure provides realistic dimension and texture, making it ideal for embellishing accessories, garments, or decorative projects. Each segment—base, wings, and body—is worked separately and joined with simple shaping, allowing even intermediate crocheters to enjoy the process and result.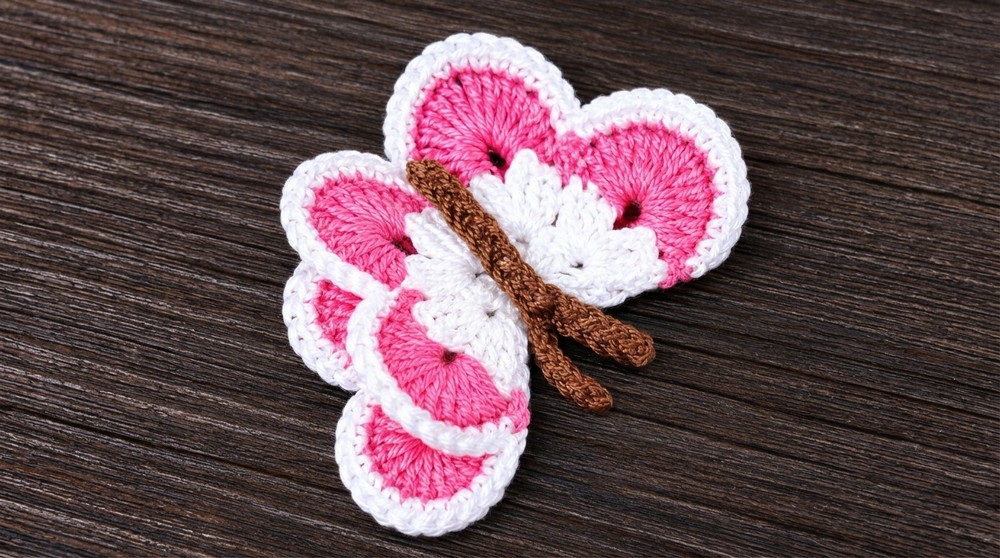
Pattern at a Glance
- Foundation: Magic ring base with modular increases for a perfectly rounded center.
- Wings: Layered in shell-like repeats for a fluttering, ruffled effect.
- Edging: Contrasting single crochet border unifies each section.
- Body and Antennae: Added as a final element and secured with simple sewing.
- Finishing: Steam blocking delivers crisp folds and maintains the butterfly shape.
Important Notes
- Maintain consistent tension throughout the project for uniform wings and body.
- Cotton yarn, such as Vita Coco, ensures stable structure and vivid colorwork.
- The use of a magic ring keeps the center compact, suitable for precise motif work.
- Changing colors for each section adds visual depth—choose high-contrast tones for best results.
- Steam blocking before final assembly is critical for neat fold and butterfly silhouette.
Difficulty Level
Intermediate – This design uses foundation ring starting, multiple rounds with shell motifs, color changes, and sewn assembly. Basic familiarity with double crochet and single crochet is recommended; previous experience with motif-making or amigurumi is a plus.
Supplies Needed
- Yarn: Cotton yarn (suggested: Vita Coco), approximately 15g total in three colors (base, wings, edging/body)
- Hooks: 1.5mm–2mm (main motif), 1.3mm (antennae and body)
- Tapestry needle: For sewing pieces together and weaving in ends
- Small scissors
- Pins and steamer/iron: For blocking and shaping
Size & Measurements
- Finished butterfly measures approximately 8 cm (wingspan) x 4.5 cm (height).
- Size may vary slightly depending on yarn choice, crochet tension, and blocking technique.
Gauge & Stitch Details
A precise gauge isn’t critical, but for reference:
- 10 dc stitches × 4 rows = 2.5 cm × 2.5 cm after light blocking (using 1.7mm hook, Vita Coco yarn).
Crochet Abbreviations
| Abbreviation | Meaning |
|---|---|
| ch | chain |
| dc | double crochet |
| sc | single crochet |
| sl st | slip stitch |
| st(s) | stitch(es) |
| sp | space |
| MR | magic ring |
| rep | repeat |
Special Stitch Guide
- Magic Ring (MR): Create a loop, hold the tail, and work the number of stitches required into the ring. Pull tight to close.
- Shell (in pattern): Several double crochet stitches worked into the same space, sometimes separated by chain stitches.
Complete Crochet Pattern
Base
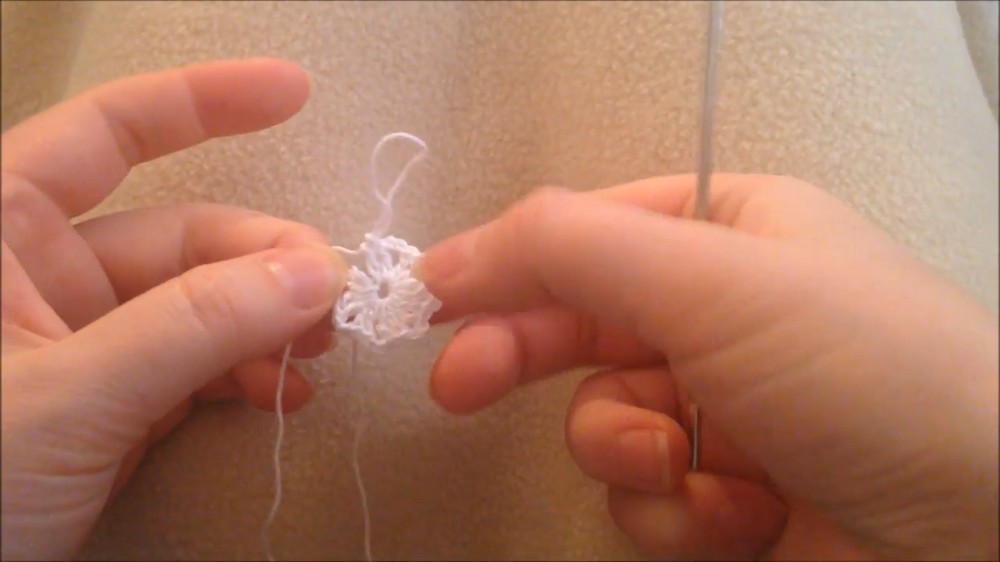
Round 1:
- Create a magic ring (MR).
- Ch 3 (counts as first dc).
- Work 1 dc into MR.
- [2 dc, ch 2, 2 dc] into MR; repeat from * to * for a total of 8 times (you should have 16 dc grouped into 8 two-dc pairs).
- After last repeat, pull MR tight to close.
- Sl st to top of beginning ch-3 to join.
Round 2:
- Sl st into the nearest ch-2 sp.
- Ch 3 (counts as dc), work 2 dc, ch 3, 3 dc into the same ch-2 sp.
- In each of the next 7 ch-2 sps, [3 dc, ch 3, 3 dc] into each space.
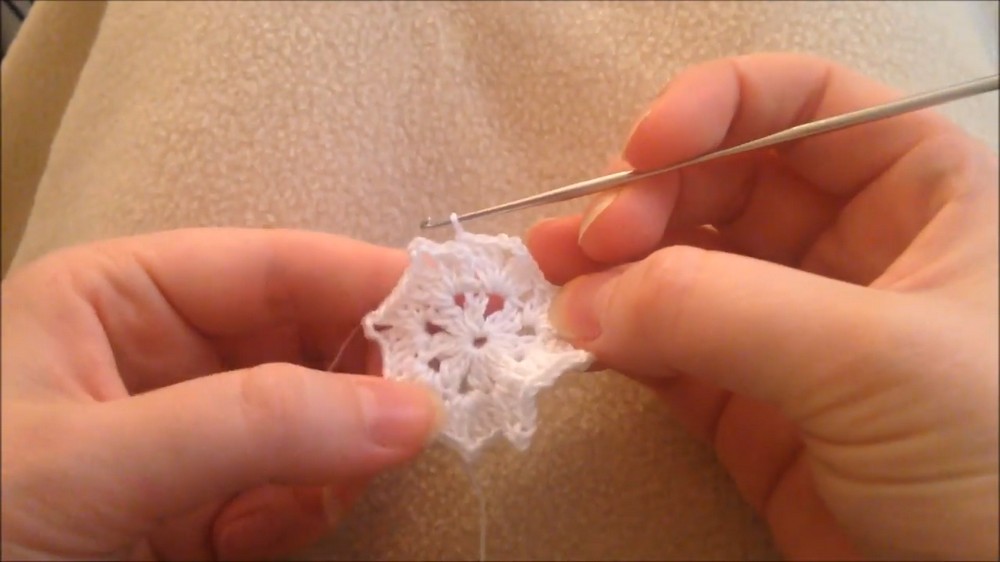
- Sl st to starting ch-3 to close round.
Wings
- Join new color (e.g., pink) with an sc in any ch-3 arch formed in Round 2.
- In each ch-3 arch:
- 6 dc, ch 1, 6 dc into same arch (this forms one full ruffle).
- After each ruffle, work an sc in next ch-3 arch to anchor the shell.
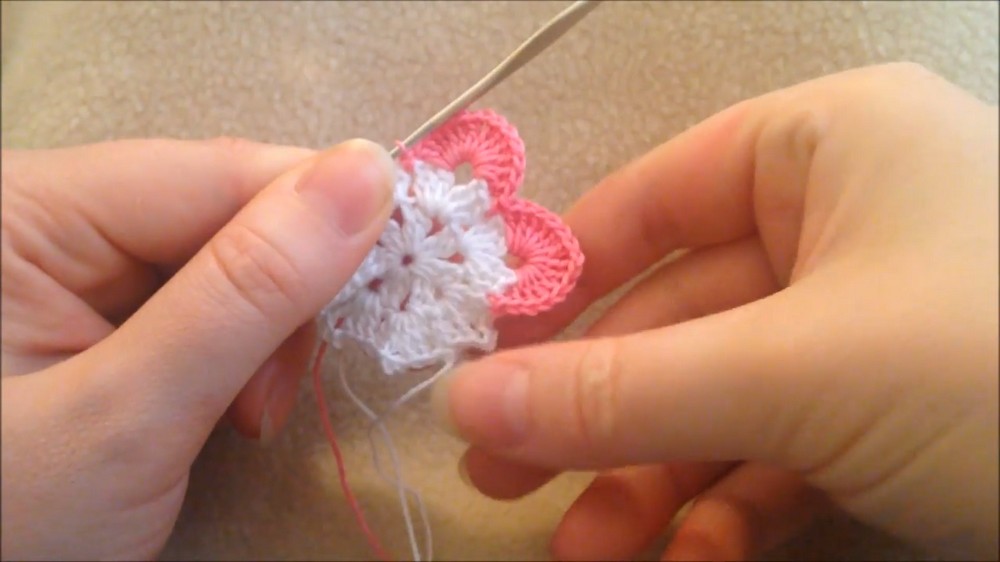
- Continue around all 8 arches. Each should now have a ruffled shell with a single ch-1 between two groups of 6 dc.
- Fasten off and weave in ends.
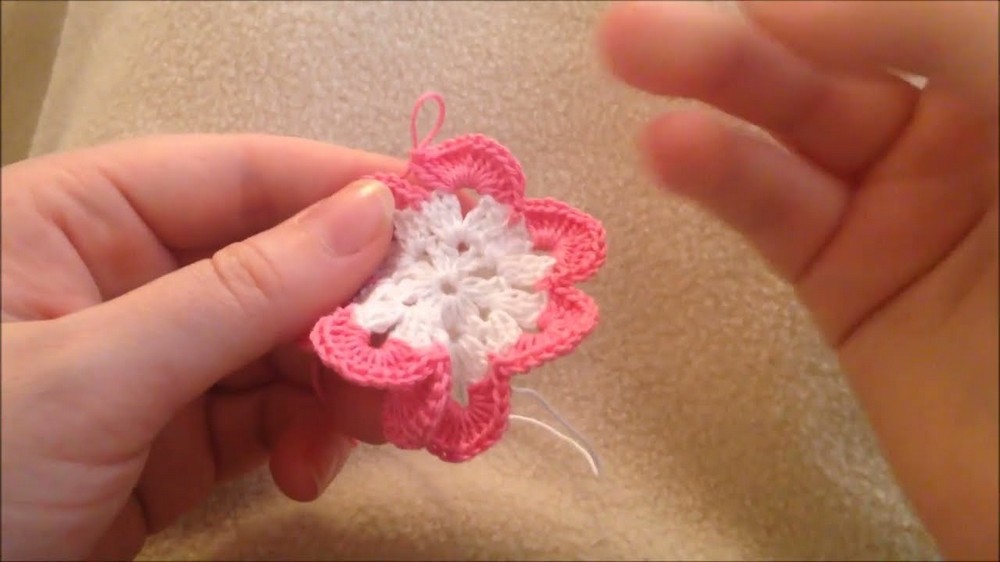
Edging
- With contrasting color (e.g., white), join yarn with a sc at any corner.
- Sc into every stitch around the entire butterfly wing edge, including into the ch-1 spaces between each 6-dc group.
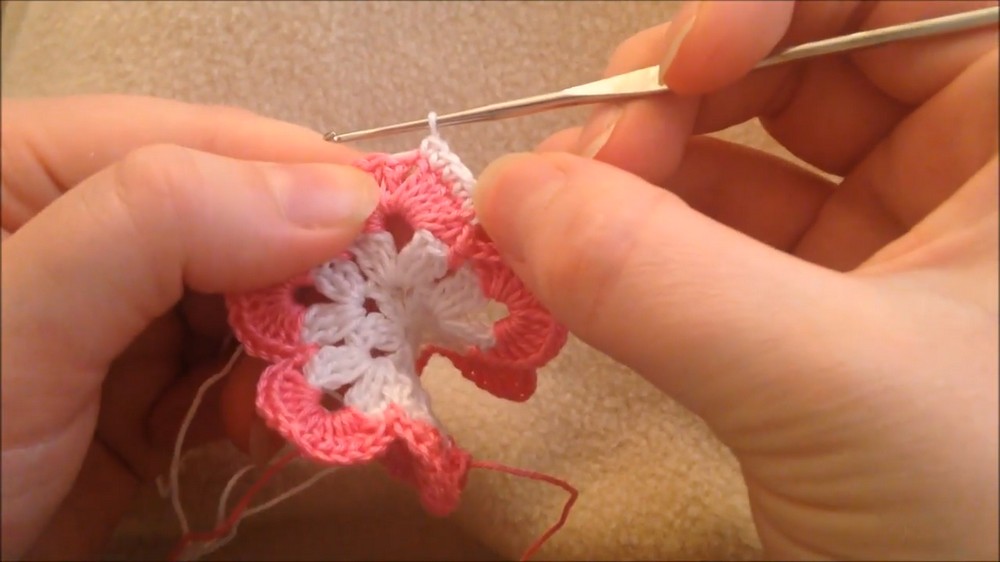
- Join with a sl st to first sc.
- Fasten off.
Body and Antennae
- Switch to a 1.3mm hook.
- With edging or body yarn color, ch 8.
- For first antenna:
- Continuing from the end of the ch-8, ch 6 more.
- Work 5 sc back down those 6 ch (skip final chain).
- Return to ch-8 foundation; sc in each ch back toward the beginning (8 sc total).
- For second antenna:
- Ch 6, work 5 sc back down (skip final chain), returning to base of butterfly body.
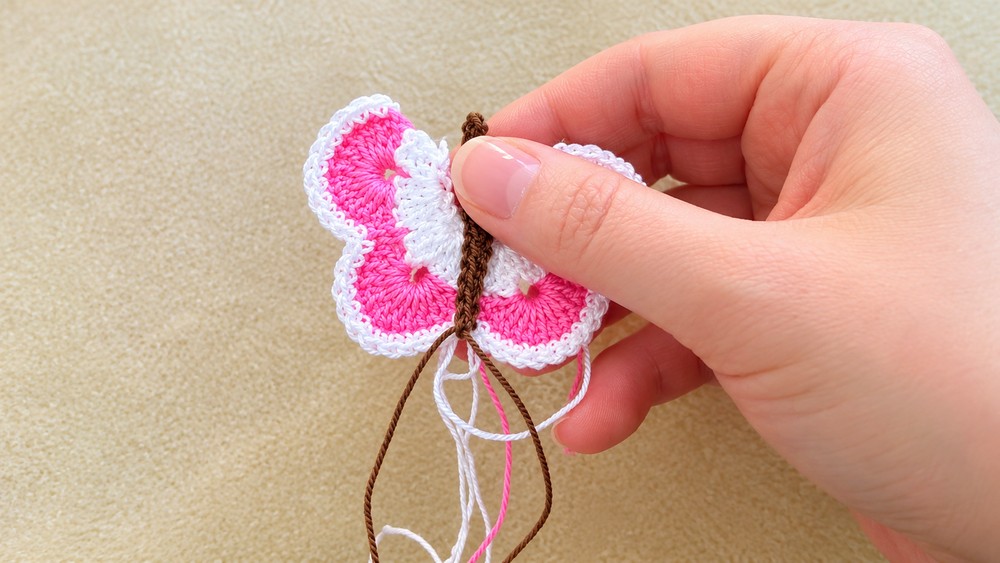
- Ch 6, work 5 sc back down (skip final chain), returning to base of butterfly body.
- Leave a long tail for sewing.
Assembly & Finished Size
- Gently steam block the wings to prepare for folding and to emphasize ruffles.
- Fold the wing piece exactly in half horizontally so that the ruffled arches align in mirrored pairs.
- Position the body along the centerfold, ensuring antennae are evenly placed above the wings.
- Using the body’s yarn tail and tapestry needle, sew through the center of the wing fold, securing both body and wings together. Pass the needle back and forth several times to stabilize.
- Weave in all ends and shape.
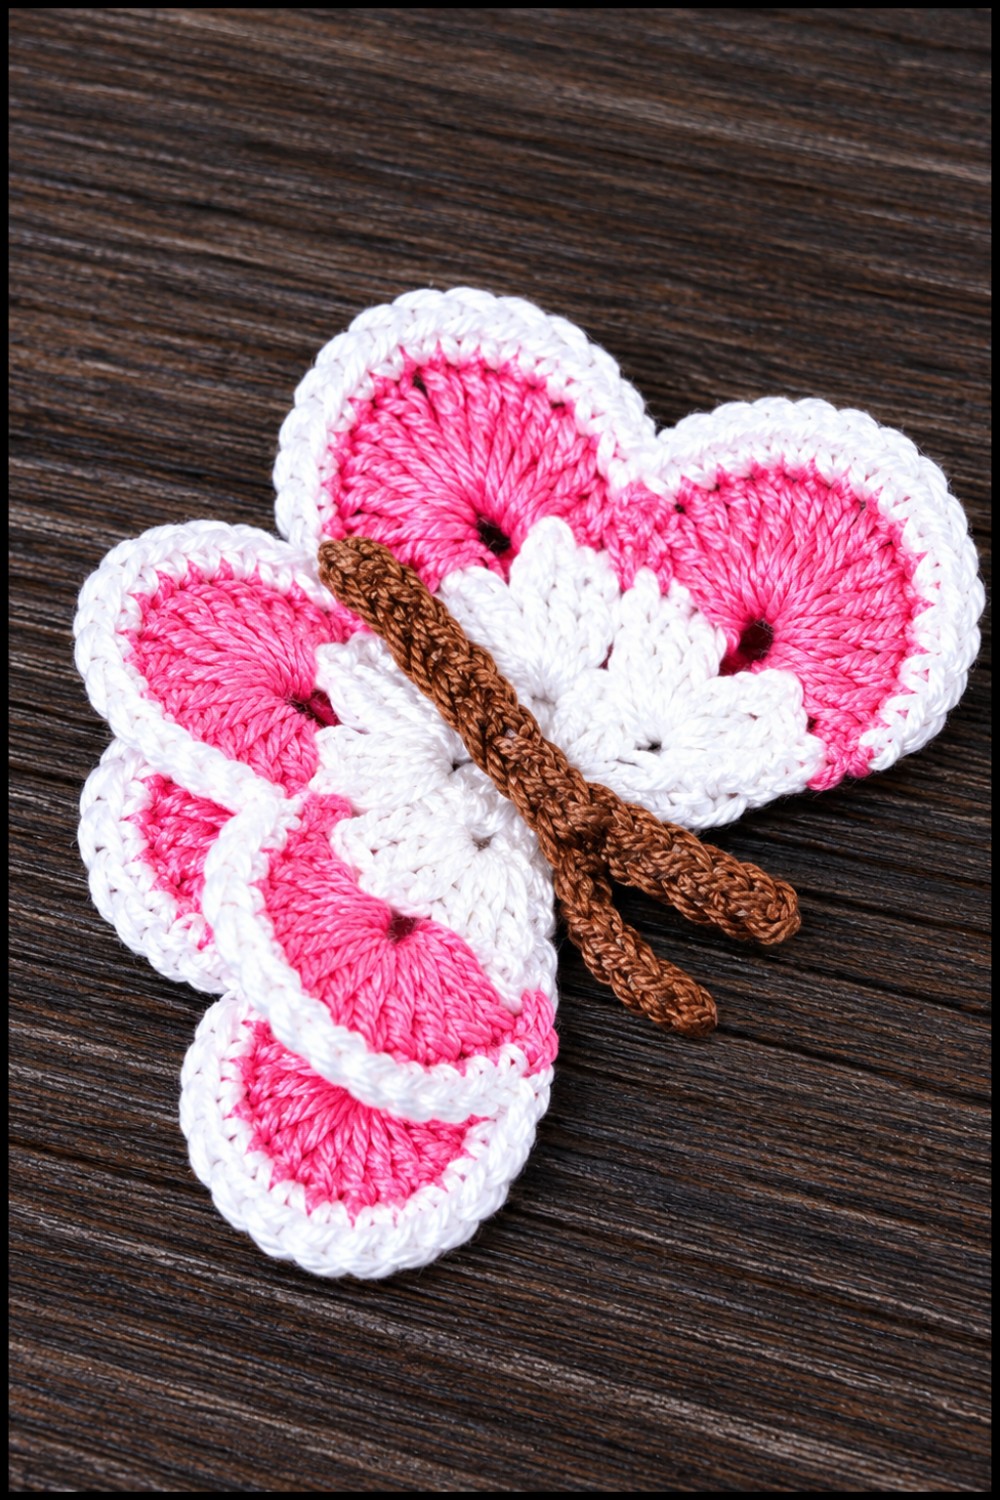
- After assembly, butterfly should measure roughly 8 cm across.
Conclusion and Ending Words
The completed crochet butterfly displays an intricate wing texture, clean contrasting edges, and dimensional body elements. Its compact yet impactful design accommodates a range of techniques—foundation ring work, shell and arch construction, and small-scale assembly. When incorporated into accessories or decor, this motif demonstrates both structural skill and creative colorwork, making it a standout addition to any crochet repertoire.
