Show off a trendy look with Crochet Speedway Crop Top Pattern to enjoy a stylish outfit that adds flair to your casual summer.
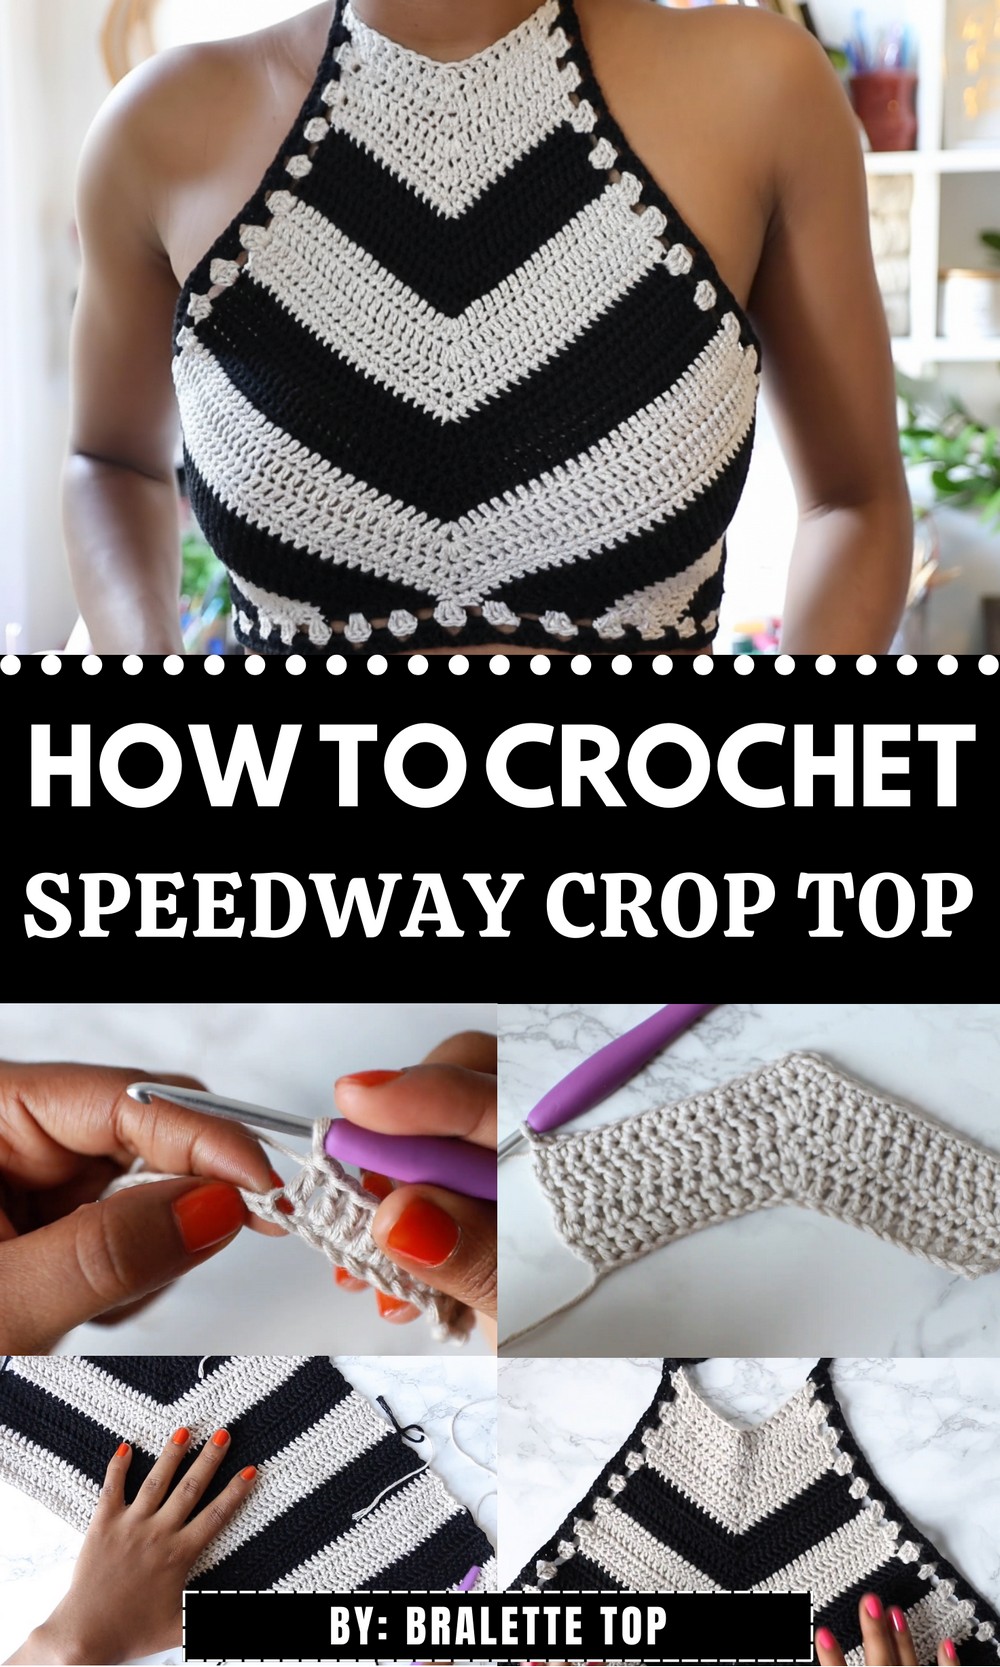
Bright and bold, this crop top is a true showstopper with its lively colors and snug fit that flatters every curve. Perfect for sunny days and fun nights, it’s just the thing for beach parties, music festivals, or casual hangouts with friends.
Chic Crochet Speedway Crop Top Pattern for Hot Days
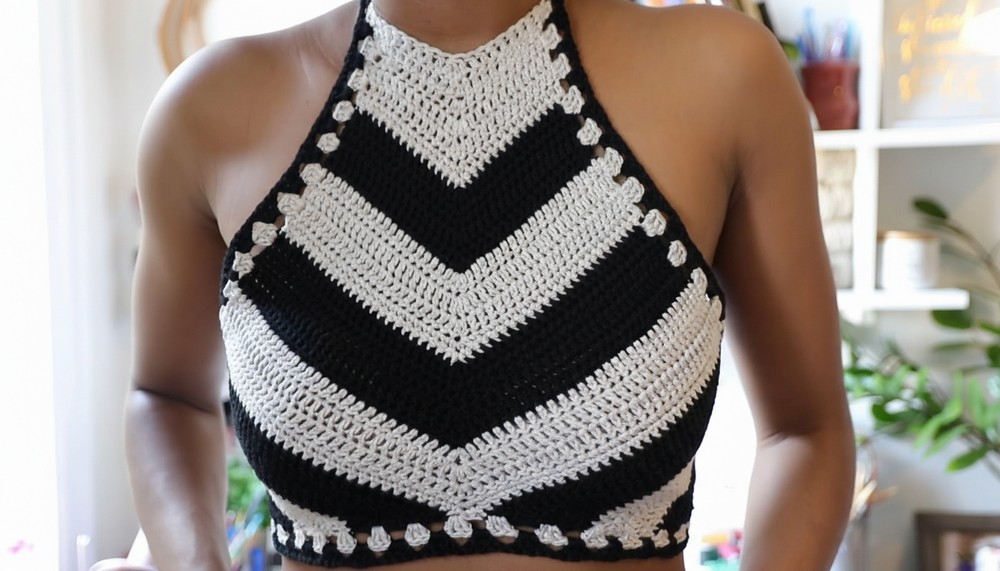
The playful stripes give it a cheerful, youthful look, while its lightweight and airy feel keep you comfortable all day long. Pair it with jeans, shorts, or skirts, and you’re ready to turn heads wherever you go. This stylish piece doesn’t just keep you cool, it brings energy and charm to your outfit, making every moment more exciting.
Detailed Crochet Pattern: Tutorial for a Crocheted Top
This pattern is based on the video transcription provided. Below, you’ll find step-by-step written instructions, along with customization ideas and helpful tips, to guide you through creating this beautiful crocheted top.
Materials Required
- Yarn:
- A light worsted weight cotton yarn (e.g., We Are Knitters Pima Cotton or similar).
- Yardage depends on the size and customizations, but typically 400–500 yards in total.
- Hook:
- 4 mm crochet hook.
- Accessories:
- Scissors.
- Tapestry needle (for weaving in ends).
- Stitch markers (optional but recommended).
Abbreviations Used (US Terms)
| Abbreviation | Meaning |
|---|---|
| ch | Chain |
| dc | Double Crochet |
| sc | Single Crochet |
| sl st | Slip Stitch |
| st(s) | Stitch(es) |
| ch sp | Chain Space |
| dc2tog | Double Crochet Decrease |
| sc2tog | Single Crochet Decrease |
Step-by-Step Instructions
1. Starting Your Chain
- Create a slipknot on your hook. Leave a small tail to reduce yarn waste.
- Chain 21 stitches.
- Add two additional chains. Your foundation chain is now 23 stitches long.
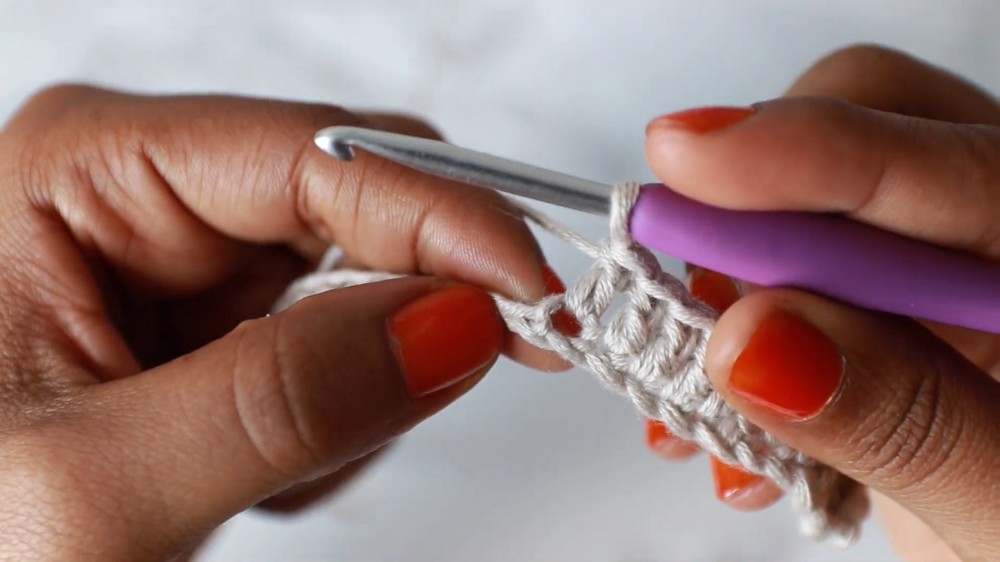
2. Row 1: Setting Up the First Row
- Begin with a double crochet (dc) in the 3rd chain from the hook.
- Work 1 dc in each of the next 9 chain stitches (10 dc in total).
- In the 11th chain, work 3 dc together.
- Continue crocheting by working 1 dc in each of the next remaining chains down the other side.
- You will end Row 1 with exactly 23 double crochets (dc).
- You will end Row 1 with exactly 23 double crochets (dc).
Tip: Count your stitches at the end of each row to avoid mistakes. You should end with 23 dcs.
3. Row 2: Continuing
- Turn your work and chain 2 (ch 2)—this counts as the first double crochet.
- Work 1 dc in each of the next stitches until you reach the middle double crochet (from the cluster of 3 dc in the previous row).
- In the middle stitch, add 3 dc.
- Continue with 1 dc in each stitch until the end. Finish with 25 dcs in this row.
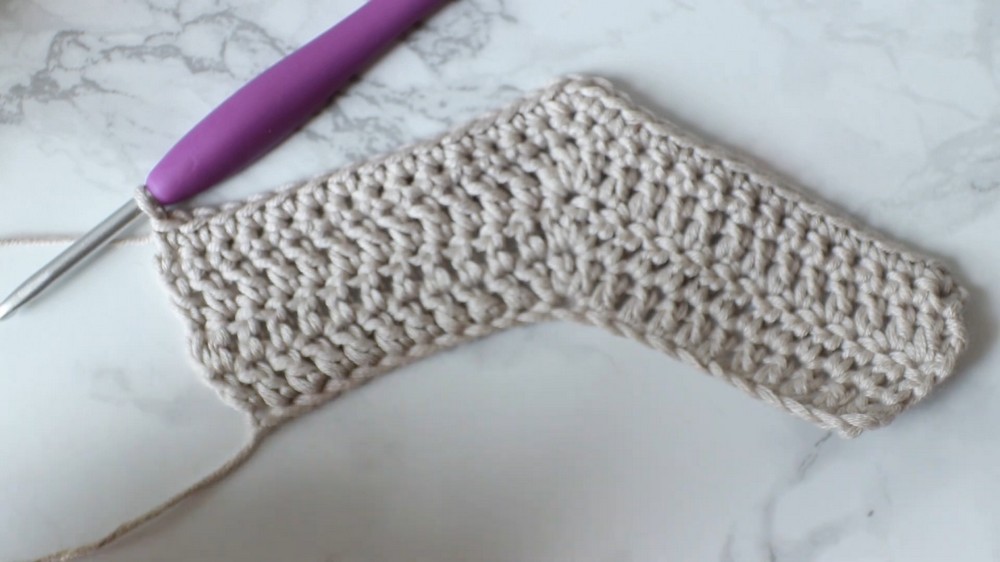
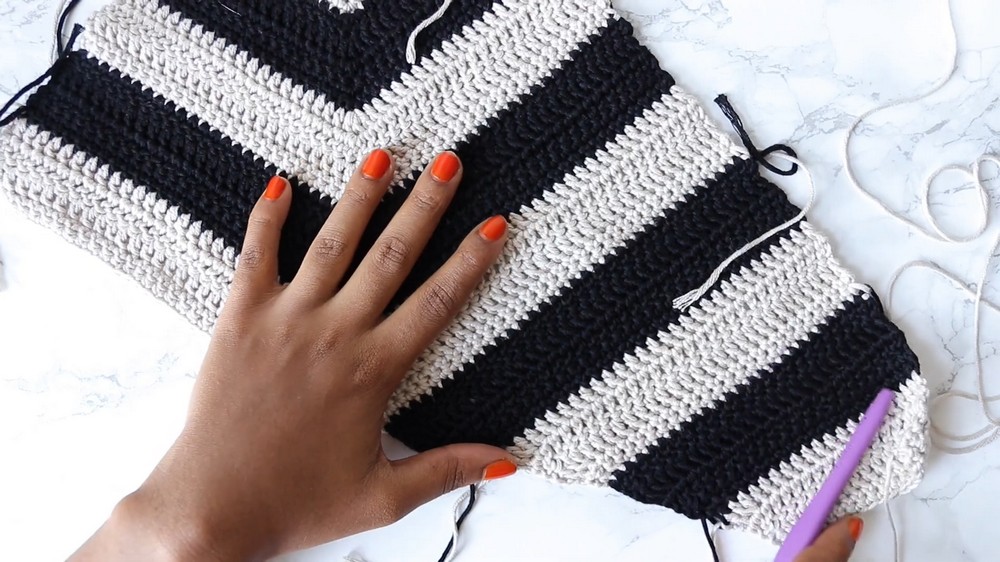
4. Build the Body of the Top
- Continue repeating the same pattern:
- Turn your work and ch 2.
- Work 1 dc in each dc stitch, placing 3 dc in the middle stitch.
- The number of stitches will increase by 2 stitches per row.
- Example stitch counts:
- Row 1: 23 dc.
- Row 2: 25 dc.
- Row 3: 27 dc, and so on.
Tip: Use a stitch marker to track the middle stitch for easier identification.
5. Introduce Decreases at the Top
- After reaching 3 rows of double crochet, switch to single crochets (sc) for a few rows:
- Chain 1 at the start of the row.
- Work 1 sc in each stitch, placing 3 sc in the middle stitch.
- Continue rows as previously, increasing by 2 stitches per row, following the same pattern.
- When decreasing for shaping:
- Turn your work and chain 1.
- Perform a single crochet decrease (sc2tog):
- Insert your hook into the next st, pull up a loop, insert into the following st, pull up another loop, yarn over, and pull through all three loops.
- Continue the row as usual.
6. Creating the Second Side
To create the second side (or another half of the top):
- Reattach your yarn using a slip stitch at the starting corner.
- Repeat the previous pattern (Rows 1–5) with the same increasing and decreasing technique.
- Join each section with a slip stitch.
7. Adding the Border
The border creates a polished edge around your top:
- Reattach yarn to the top corner.
- Chain 3 (counts as the first dc).
- Work 3 double crochets (clusters), separated by ch 1, and skip appropriate spaces:
- For rows: Skip 1 row.
- For stitches: Skip 2 sts.
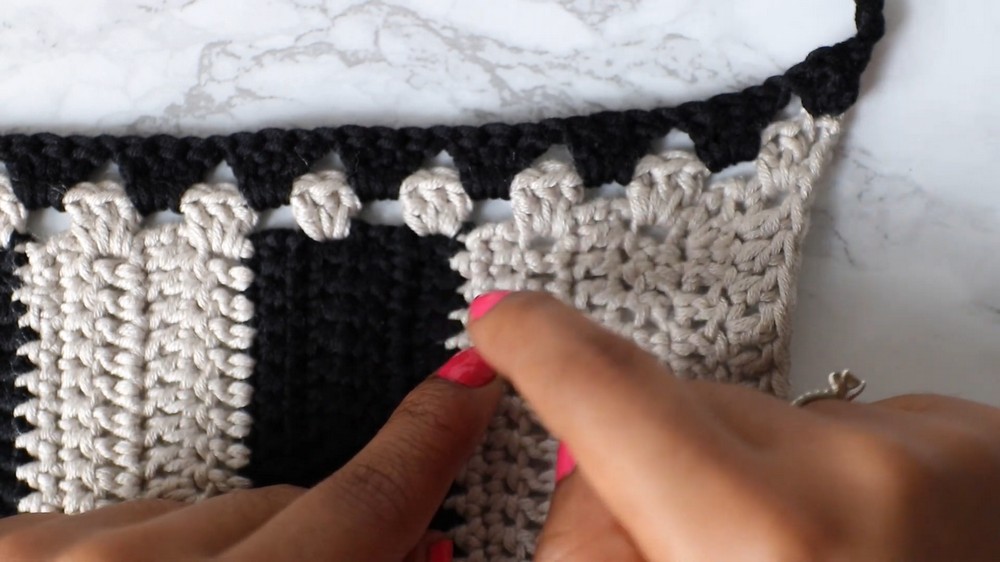
- Corners: Add 3 dcs in the same stitch.
Continue this pattern around the entire border until it is complete.
Consider switching colors for the border for added visual appeal.
8. Straps
The straps add support to the piece:
- Reattach yarn at the top corner where straps should be placed.
- Chain approximately 15 inches (or customize to your preference).
- Turn and single crochet back into the chain, starting from the second chain.
- Finish and weave in ends.
- Add a second strap to the other corner, or as desired.
Customization Ideas
Color Variations:
- You can alternate colors for each row to create a striped design.
- Consider color-blocking with 2–3 complementary colors.
Size Adjustments:
- Wider Top: Begin with more foundation chains and extend your rows proportionally.
- Longer Top: Continue increasing rows before introducing the decrease rows for shaping.
Pro Tip: Measure as you go to ensure the width and length fit the intended size.
Tips for Success
- Count Your Stitches: Always count your stitches at the end of each row to ensure the correct stitch count.
- Mark the Middle Stitch: Use a stitch marker to make it easier to locate the middle stitch for increases or decreases.
- Practice Stitches: If you’re a beginner, practice techniques like the dc2tog and sc2tog decreases before starting.
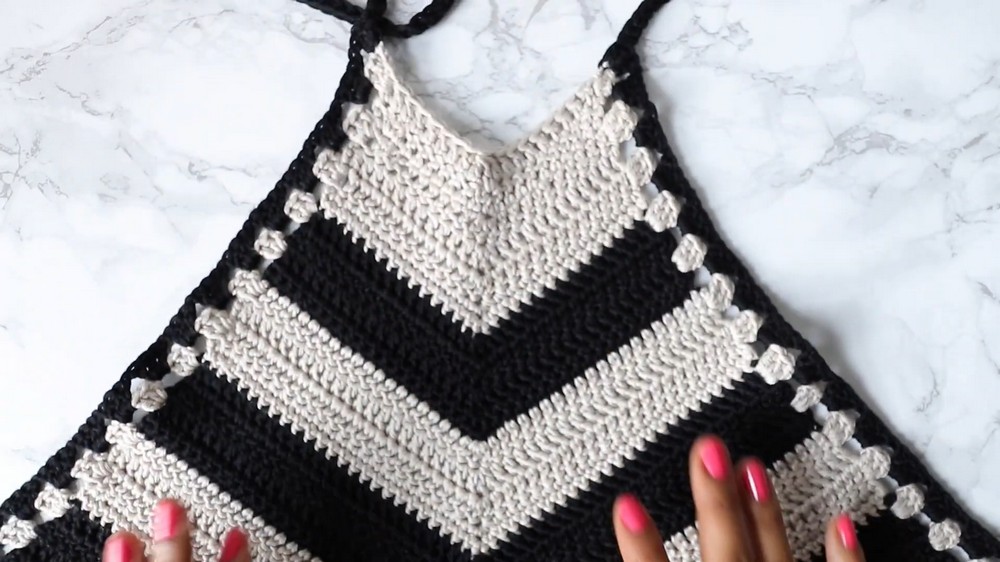
Conclusion and Final Look
You’ve now created a beautiful, fitted crochet top with a clean border and supportive straps. This piece works well as a summer top, layering piece, or even as part of a festival outfit. The lightweight cotton ensures it’s breathable and comfortable to wear.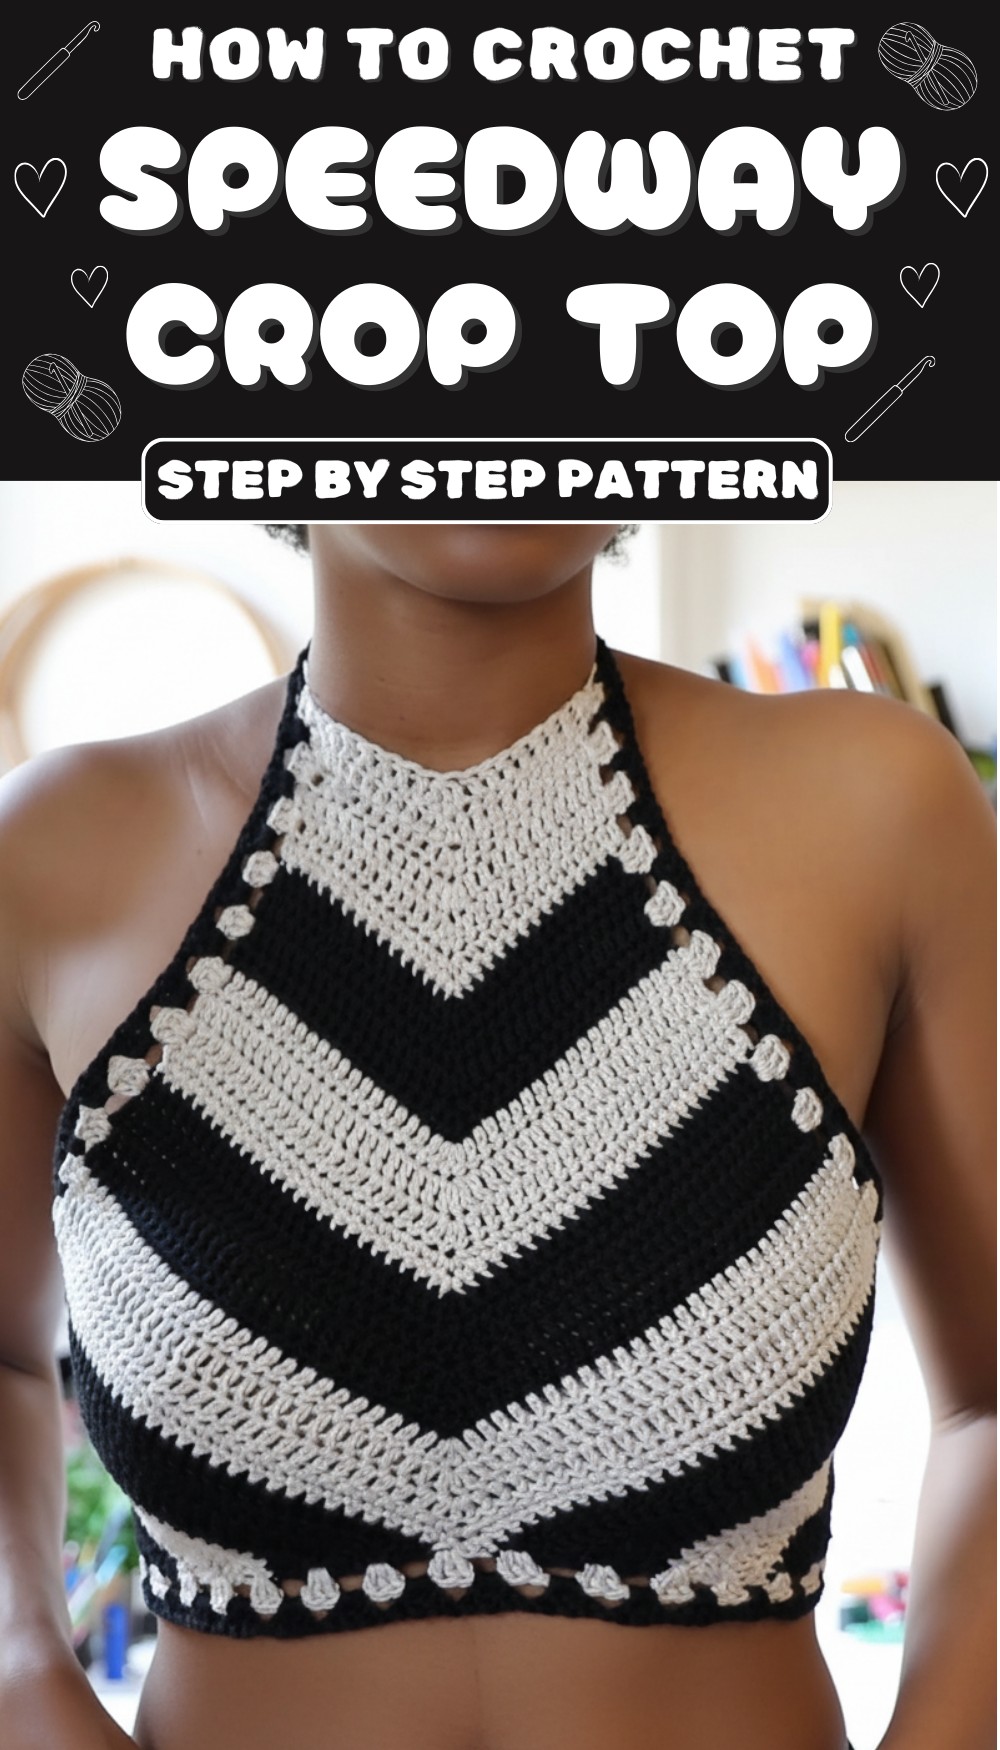
Optional Embellishments:
- Add fringe along the bottom edge for a chic boho look.
- Sew on decorative appliqués or buttons for added flair.