Build your very own lovable character at home with this free crochet Pikachu pattern that helps you crochet a soft, adorable, and playful toy everyone will enjoy.
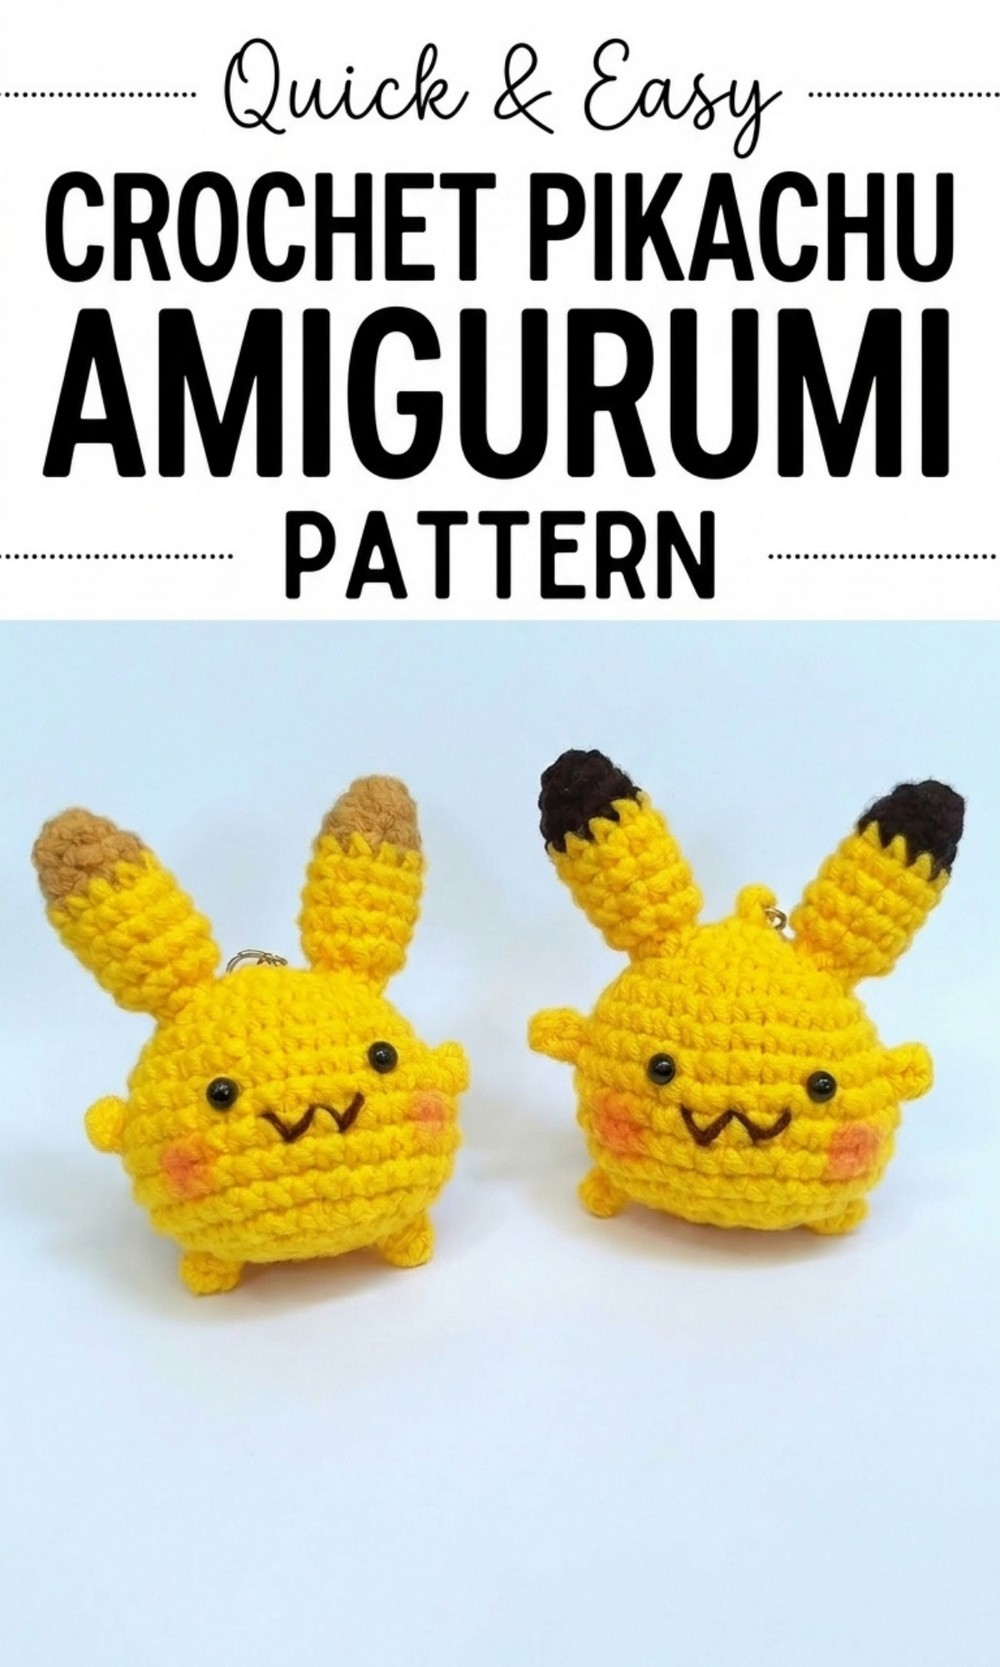
Perfect Free Crochet Pikachu Pattern that Pokémon fans will adore
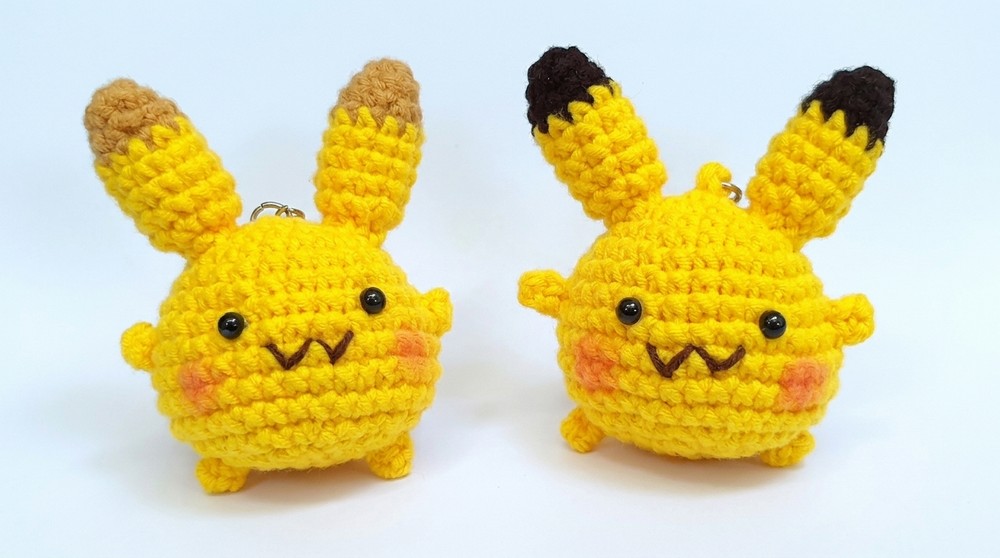
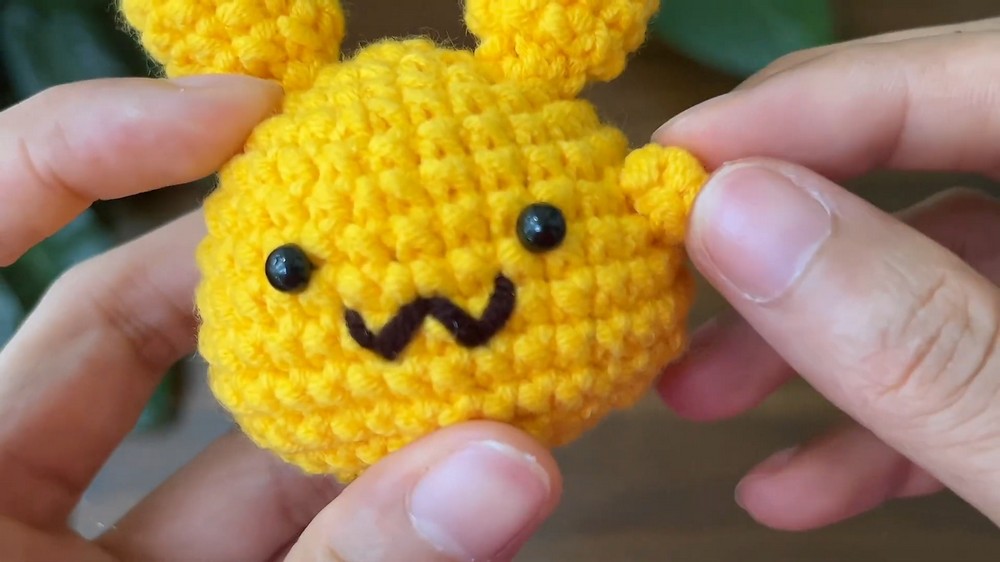
Looking to create something fun and adorable? This Free Crochet Pikachu Amigurumi Pattern will guide you step by step in making your very own Pikachu. Pikachu is a beloved character from Pokémon, and this crochet version perfectly captures its cuteness. With its bright yellow body, small ears with black tips, cute little legs, and cheerful face, it’s the perfect handmade toy for kids, collectors, or Pokémon fans of all ages.
It’s great for beginners, as the simple design ensures ease in Crocheting while still looking professional. This pattern starts with creating the body, followed by the legs, ears, and face. Adding safety eyes and stuffing makes the character come to life.
Pikachu is great as a gift, a display piece, or even a companion for kids. All you need is some yarn, basic crochet skills, and creativity to make this unique and fun project.
Lovely Crochet Pikachu Pattern
Materials Needed
- Yarn:
- Yellow yarn (for the body).
- Black or brown yarn (for ears).
- Red yarn (for cheeks, optional).
- White yarn (optional for details).
- Tools:
- Crochet hook (match the size to your yarn).
- Scissors.
- Tapestry needle (for sewing and finishing).
- Stitch markers (optional for maintaining accuracy).
- Stuffing/Fiberfill.
- Glue (to attach the eyes).
- Accessories:
- Safety eyes (4mm).
Pattern: Creating Pikachu Step by Step
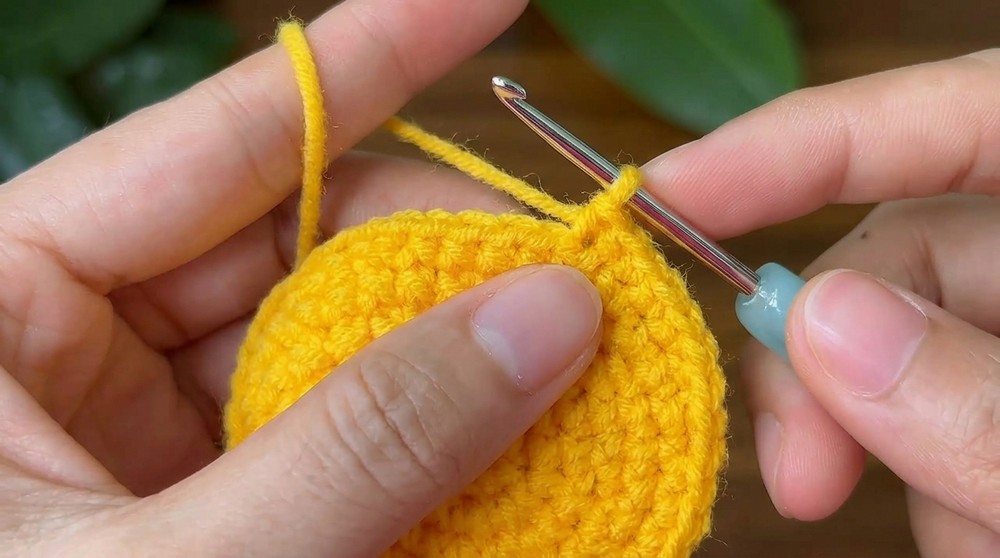
Body
- Row 1: Create a magic ring. Work 6 single crochets (SC) into the ring. Tighten the yarn and make a slip stitch into the first stitch to close the round.
- Row 2: Chain 1. Create 6 increases (2 SC in each stitch) for a total of 12 stitches. Slip stitch into the first stitch.
- Row 3: Chain 1. Follow pattern: SC in 1 stitch, increase in next stitch. Repeat this for 6 times, ending with 18 stitches. Slip stitch to finish.

- Row 4: Chain 1. Follow pattern: SC in the first 2 stitches, increase in the third stitch. Repeat 6 times, ending with 24 stitches. Slip stitch to close.
- Row 5: Chain 1. Make 1 SC in each stitch (total 24 SC). Slip stitch to finish the row.
- Row 6: Chain 1. Follow pattern: SC in the first 3 stitches, increase in the fourth stitch. Repeat 6 times to create 30 stitches. Slip stitch to complete.
- Rows 7 to 9: Chain 1. Work 1 SC per stitch for a total of 36 stitches in each row. Slip stitch at the end of each round.
- Row 10 to 11: Repeat Row 9 (continue with 36 single crochets).
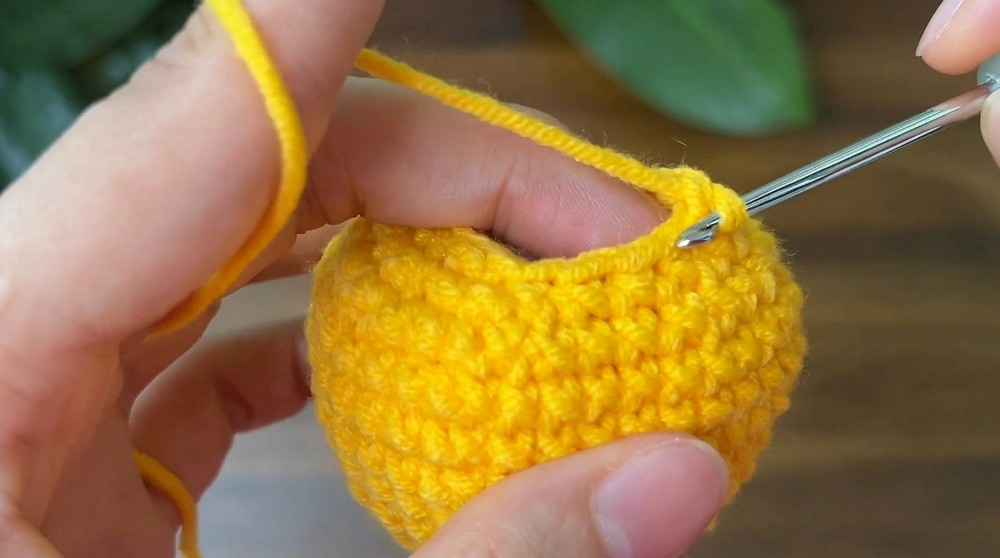
- Row 12: Chain 1. Follow pattern: SC in 2 stitches, decrease over the next 2 stitches. Repeat for a total of 5 decreases, leaving 30 stitches. Finish with slip stitch.
- Row 13: Chain 1. Follow pattern: SC in 1 stitch, decrease over next 2 stitches, SC in 2 stitches. Repeat 5 times to end with 24 stitches. Slip stitch to close.
- Row 14: Chain 1. Work SC in 1 stitch and make decreases twice. Repeat 5 times, ending with 18 stitches. Add stuffing after this row.
- Last Row: Chain 1. Work SC in one stitch, 2 consecutive decreases. Repeat 5 times to finish. Tighten the magic ring and weave the excess yarn at the top.
Legs
- Begin with a magic ring. Make 5 single crochets (SC) into the ring. Tighten and finish off with a slip stitch.
- Repeat the process to create four identical legs.
Ears
- Start with a magic ring, crocheting 6 SC into the circle. Tighten and close with a slip stitch.
- Row 2: Chain 1. Keep the stitch count consistent by crocheting 6 SC around.
- Row 3: Chain 1. Follow pattern: SC in 1 stitch, increase in the next stitch. Repeat for a total of 9 stitches.
- Row 4: Switch to yellow yarn. Create 1 SC per stitch for 9 stitches.
- Rows 5 to 8: Repeat Row 4 by maintaining the 9 stitch count. Trim the yarn, leaving a long tail for sewing. Create two ears in total.
Assembly
- Attach the ears: Place the ears between Row 3 and Row 4 on the body. Sew securely using the long yarn tail and tapestry needle.
- Glue the eyes: Attach safety eyes to the face using glue, positioning them symmetrically.
- Add the legs: Glue or sew the legs at the bottom of the body.
Finishing
- Add the mouth: Using black yarn, embroider the mouth in Row 9 for a neat look.
- Use red yarn or markers to create the cheeks.
- Check the edges for loose yarn ends and trim carefully.
Final Words
Congratulations on completing your adorable Pikachu amigurumi, This charming figure makes a wonderful gift or decoration. Always ensure your stitching is tight and clean for the best results. Pikachu amigurumi can be customized with accessories, such as hats or scarves, to make it even more unique.
Tips for Maintaining the Pattern
- Gauge: Ensure consistent tension throughout to avoid unevenness.
- Stuffing: Carefully add fiberfill to maintain shape without overstuffing.
- Finishing: Take your time sewing the parts to ensure they are securely attached.
- Store your amigurumi in a clean, dry place to maintain its vibrant appearance.