Freshen summer style with the Free crochet summer string bag Pattern for lightweight, airy carryalls that add charm, comfort, and easy everyday use.
Simple Crochet summer string bag Pattern With a Stylish Look
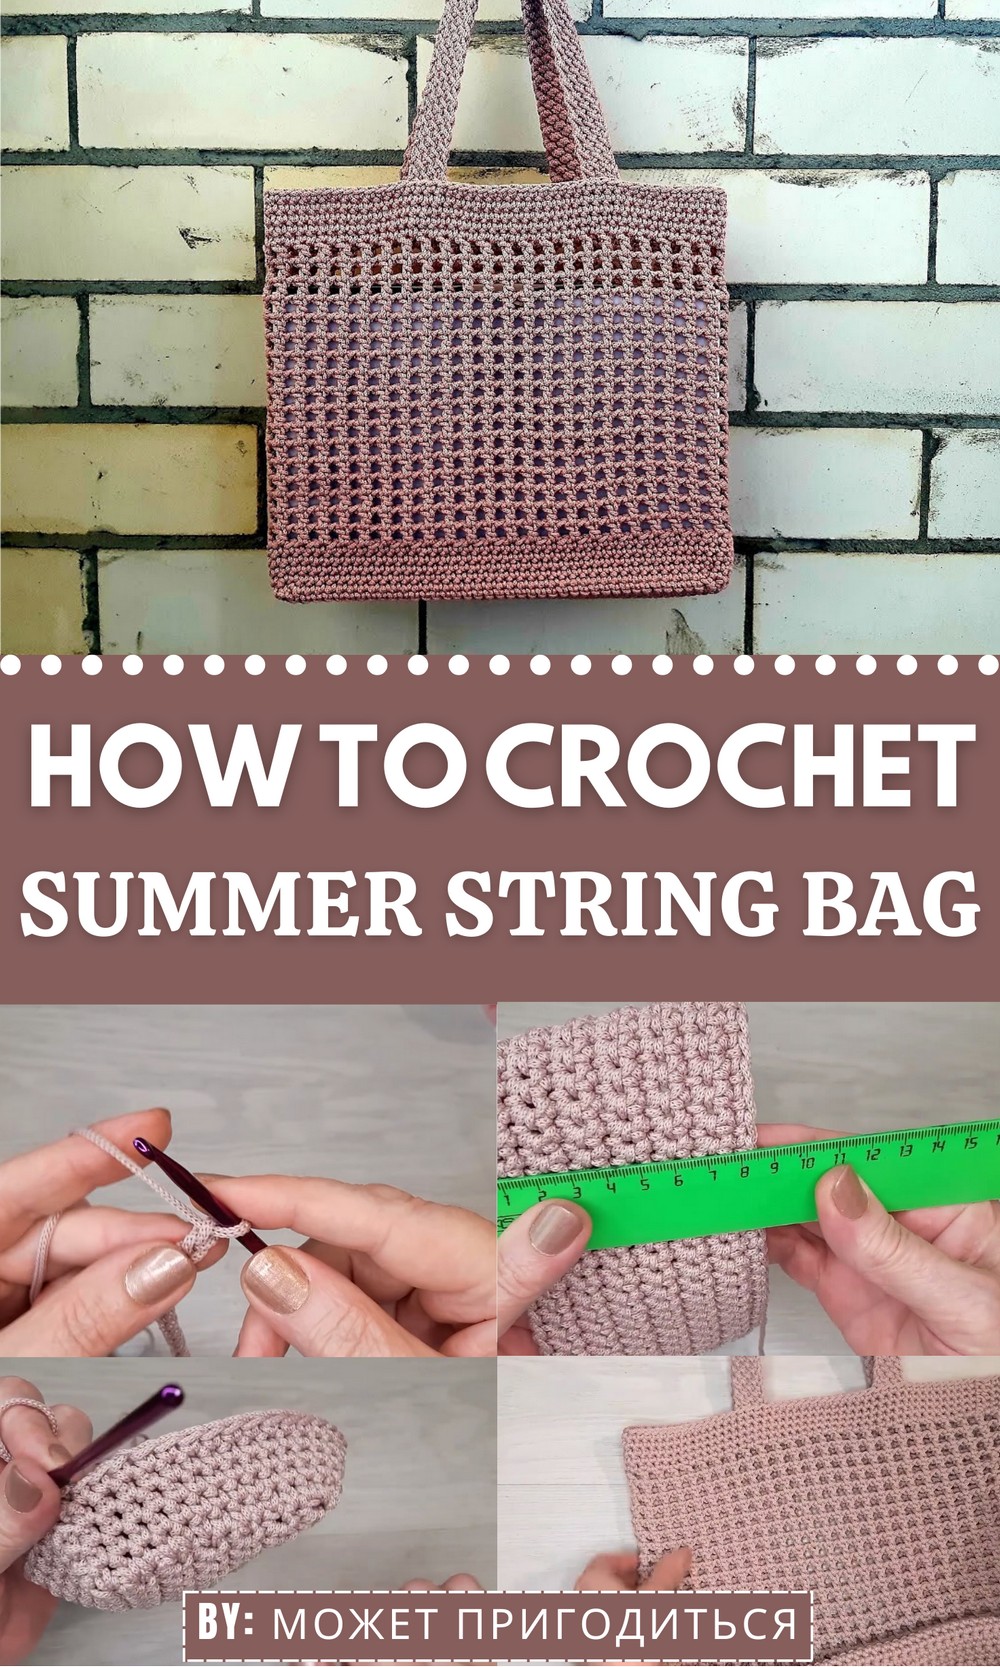
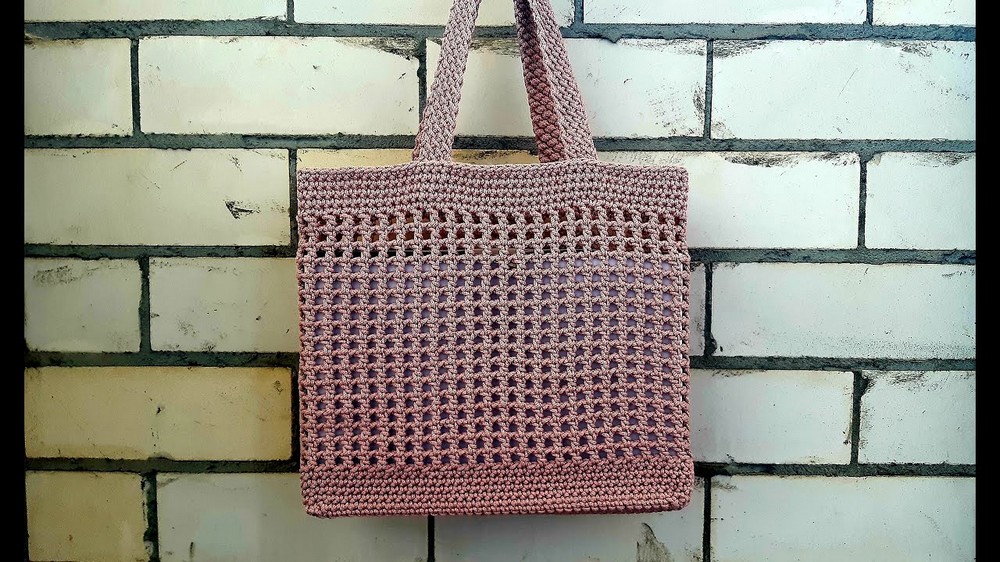
A bright, airy bag adds a fresh, stylish touch to your summer days while being useful for beach trips, markets, or daily errands. This crochet summer string bag stands out with its open mesh design that looks trendy and feels light on your shoulder, giving a breezy vibe that matches warm weather outfits.
Crochet Handbag Pattern
Materials Needed
- Yarn: Polyester cord, 2mm (Tea Rose color or any preferred shade, approximately 210–250 yards)
- Crochet Hook: 4.5mm hook
- Tapestry Needle: For weaving in ends and optional handle attachment
- Stitch Marker: To mark the first stitch of each round
- Handles (Optional): 40 cm handles (instructions for crocheting handles are linked in the video, or purchase pre-made handles)
Skill Level
Intermediate to Advanced.
Key Abbreviations (US Terminology)
- CH: Chain
- SC: Single Crochet
- DC: Double Crochet
- SS: Slip Stitch
- YO: Yarn Over
Special Notes
- The handbag is worked in continuous rounds for the base, transitioning to separate side rows for the body.
- The design uses sturdy single crochets and strategically placed double crochets for decorative rows.
- Use stitch markers to maintain accurate stitch counts.
Pattern Dimensions
- Final Size: Approximately 35.5 cm wide x 25.5 cm high (excluding handles). Stretching may increase capacity.
- Base Dimensions: Approximately 31 cm x 8.5 cm.
Pattern Instructions
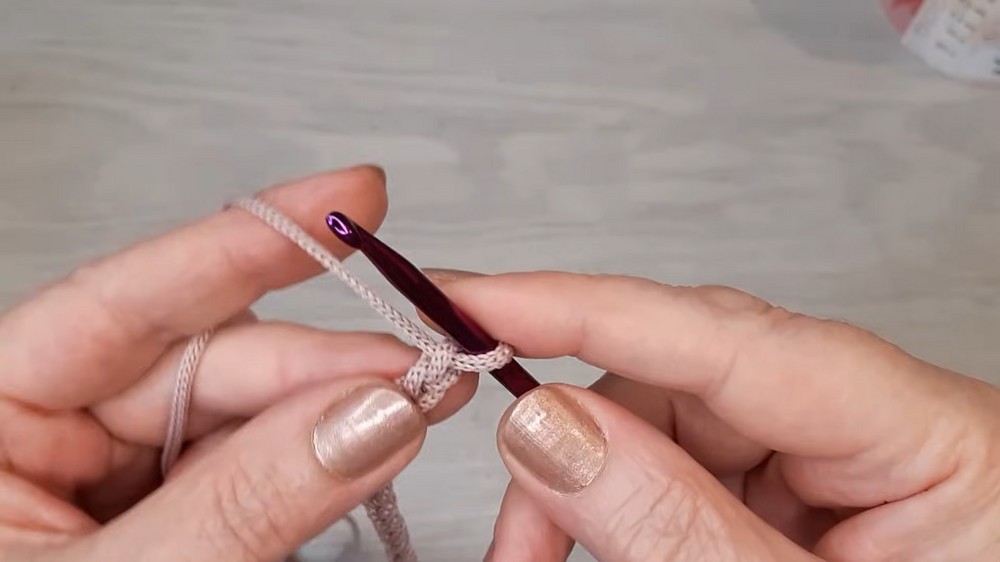
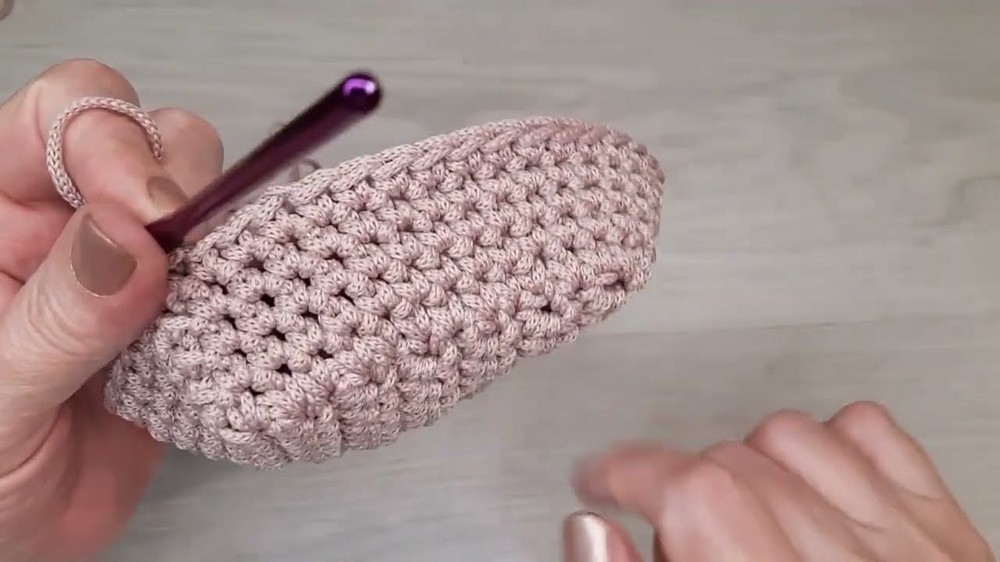
Step 1: Create the Base
- Foundation Chain: CH 42.
- Row 1:
- Starting in the 2nd chain from the hook, work SC into the back loop of each chain across. (Total: 41 stitches).
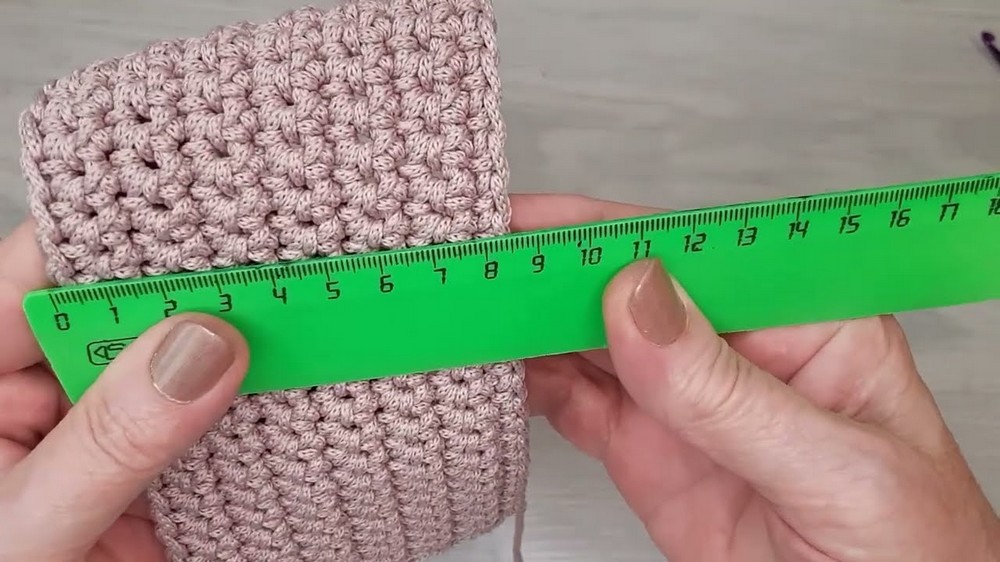
- Rows 2–13:
- CH 1, turn. SC into each stitch across. (Total: 41 stitches for every row).
- Dimensions check: After completing 13 rows, the base should measure approximately 31 cm (length) by 8.5 cm (width).
Step 2: Border the Base
- Turning the Base: CH 1 and turn the work so that you can crochet around the edges of the rectangular base. You will work SC evenly around all four sides to create a clean edge.
- Short Sides (left and right): Work 13 SC evenly along the shorter edges.
- Long Sides (top and bottom): Work 41 SC evenly along the longer edges.
- Total stitches for the round: 108 SC (41 stitches × 2 long sides + 13 stitches × 2 short sides).
- Join the Round: Use an SS to join the last SC to the first SC of the round.
Step 3: Crochet the Body (Side Walls)
- Foundation Round (Round 1):
- CH 1. Work SC into each stitch of the border round (108 SC).
- Use a stitch marker to track the start of the round.
- Join with SS to complete the round.
- Rounds 2–4:
- CH 1. Work SC evenly into each stitch of the previous round (108 SC).
- Join the round with SS and move the stitch marker as needed to keep track.
- Decorative Round (Round 5):
- CH 1. Skip the first stitch, then work:
- DC into the next stitch, CH 1.
- Skip 1 stitch, DC into the next stitch, CH 1.
- Repeat this pattern (DC, CH 1, skip 1 stitch) around the bag.
- Join the Round: Use SS to join the last DC to the starting CH 1.
- CH 1. Skip the first stitch, then work:
- Round 6 (Next Decorative Pass):
- CH 1. Into the center of each “V” (DC + CH 1 space) from the previous round, work DC. CH 1, and move to the next space.
- Repeat this until all “V” spaces are filled with DC stitches.
- Join the Round: Use SS to join the last DC to the starting CH 1.
- Repeat Rounds 5 and 6: Continue working alternating DC rows for the desired bag height. (Sample completed 17 rows of decorative work).
Step 4: Top Edge & Final Rounds
- Single Crochet Rows (Stiffen the Top):
- After completing the final decorative round, work 3 or 4 rows of single crochet to stabilize the top edging:
- CH 1, SC into each stitch of the previous round. (108 SC per round).
- Repeat for a total of 3-4 rows.
- After completing the final decorative round, work 3 or 4 rows of single crochet to stabilize the top edging:
- Seam Closing:
- Join the last stitch of the final row with SS to the first stitch, securing the edge for a clean finish.

- Join the last stitch of the final row with SS to the first stitch, securing the edge for a clean finish.
Step 5: Optional Handles
- Handle Placement: Position your handles symmetrically on the left and right sides of the bag.
- Sewing Handles: Using matching cord or durable thread, sew the handles securely to the bag’s edge using the tapestry needle. Ensure stitching is tight to support the bag’s weight.
Conclusion
Congratulations! You’ve completed a beautifully structured, durable crochet handbag. The dense single crochet base provides a solid foundation, while the decorative double crochet rows add aesthetic appeal. The bag is functional, stretchable, and perfect for daily use or as a gift.
Corrections or Adjustments
- Even Stitching: Ensure each side of the base (short and long) matches the stated stitch count to avoid uneven alignment.
- Stretch Check: Polyester cord may stretch slightly, so test dimensions and adjust tension as necessary while working.
Tips for Optimal Results
- Tight Tension: Maintain consistent tension to ensure durability and reduce excessive stretch.
- Markers are Key: Use stitch markers to track rounds and ensure accurate counts.
- Handle Attachment: Sew handles securely to prevent them from tearing with use.