
Make a fun and unique toy with this Free Crochet Long Armed Monster Pattern that is perfect for gifting, decorating, or adding charm to your handmade collection.
Pattern Reference
- The instructions presented here were prepared with reference to the original tutorial by Xiaohui Crochet.
While browsing for a new crochet project, I found a soft toy with a playful look that caught my attention. It is called the Crochet Long Armed Monster. This quirky figure stands out with its single large eye and its arms that stretch much longer than usual. Its tall, slim body and friendly face give it a unique charm that’s hard to forget.
Free Crochet Long Armed Monster Pattern For Handmade Gift Idea
This monster is not only fun to look at but also soft and cuddly, making it perfect for hugs. It fits nicely in a child’s room as a comforting friend and can brighten up any space when placed on a shelf or couch. Its unusual design adds personality and warmth to a room, different from regular stuffed toys.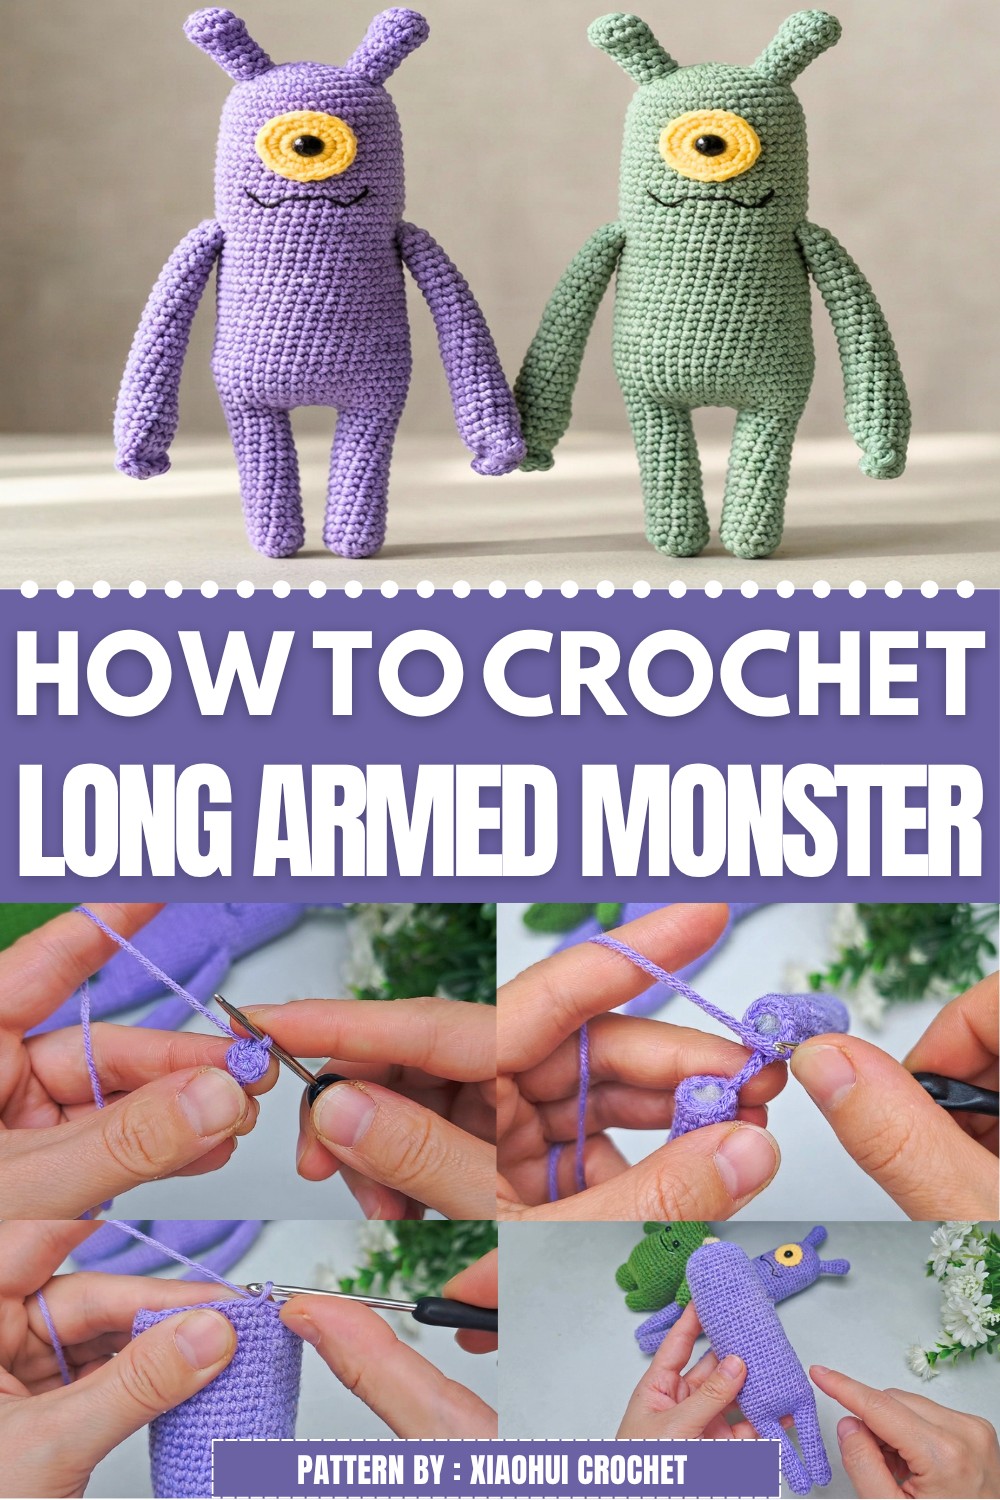
Besides being a cute item for the home, this monster serves as a thoughtful handmade gift. Its special look and soft feel show care and attention, making it a memorable present for anyone. It’s both comforting and fun, sure to bring smiles and happiness.
Thanks to the creator’ clear and simple video tutorial, making this monster is an easy project for many people. If you want a soft, friendly toy, check out the free pattern for the Crochet Long Armed Monster and add this delightful character to your home or share it with someone you care about.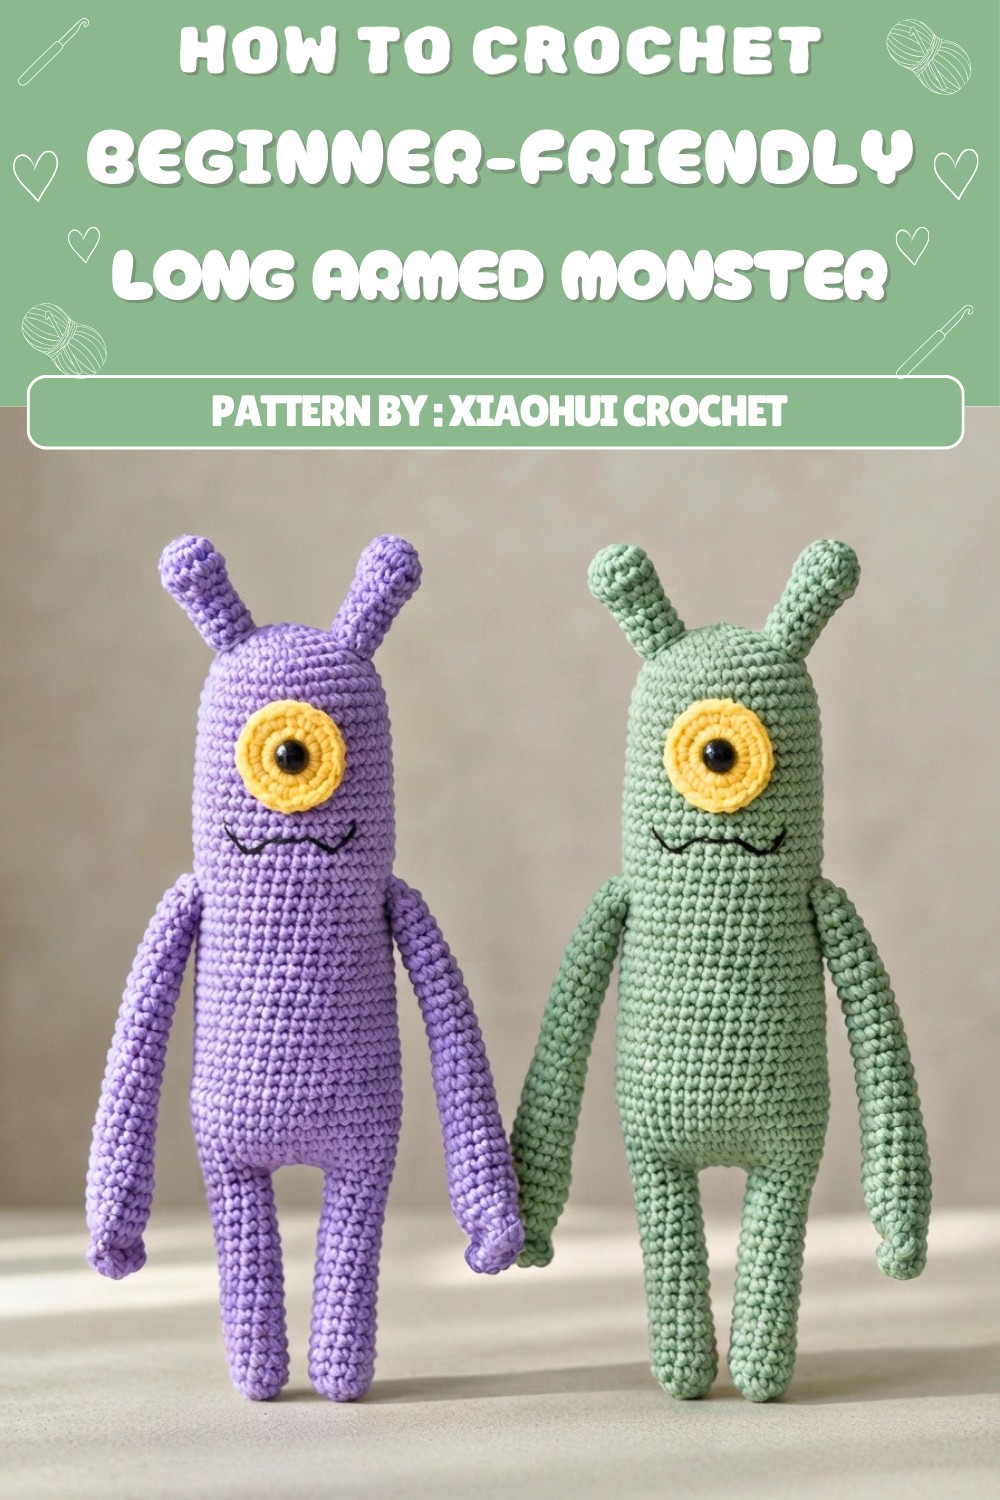
Ziha the Stress-Relieving Emotion Monster
This plush crochet monster, named Ziha, is designed as a comforting companion with extra-long, posable arms and a gentle one-eyed expression. Its friendly shape projects warmth and support, making it ideal as a gift, stress reliever, or unique home décor item. Constructed from soft, durable milk cotton yarn, Ziha is worked in seamless rounds for a smooth finish, with flexible limbs made possible by internal shaping strips.
Skill Level
Intermediate. This pattern incorporates foundational amigurumi techniques: magic circles, working in the round, increases and decreases, and assembly of multiple parts. Prior experience with shaping, stuffing, and basic stitch variations is recommended.
Materials
- Yarn: Four strands of milk cotton, purple or your color choice (main color), small amounts of white and black
- Crochet Hook: 2.0 mm
- Notions:
- Scissors
- Darning needle (for sewing parts and weaving in ends)
- Stitch markers (helpful for tracking rounds)
- Measuring tape
- Shaping strips (18–20 gauge wire, 2 pieces, 8 cm each, for arms)
- Fiberfill stuffing
- 8 mm safety eye
- Black embroidery thread
- Craft glue (for affixing the eye and details)
Special Stitches
- Single Crochet (SC): Insert hook, yarn over, pull up loop, yarn over, pull through both loops.
- Single Crochet Increase (INC): 2 SC in one stitch.
- Single Crochet Decrease (DEC): Insert hook into front loop of next 2 stitches, yarn over, pull through, yarn over, pull through 2 loops.
- Half Double Crochet Bobble (HDC Bobble): [Yarn over, insert hook, pull up loop, yarn over, pull through 2 loops] five times in same stitch, then yarn over and pull through all loops.
- Double Crochet Bobble (DC Bobble): [Yarn over, insert hook, pull up loop, yarn over, pull through 2 loops] five times in same stitch (using DC instead of HDC), yarn over, pull through all loops.
- Slip Stitch (SL ST): Insert hook, yarn over, pull through both loops.
Stitch Abbreviations
- SC: Single crochet
- INC: Increase (2 SC in next stitch)
- DEC: Decrease
- CH: Chain
- SL ST: Slip stitch
- st(s): Stitch(es)
- rnd(s): Round(s)
Useful Tips
- Use a stitch marker to keep track of the start of each round.
- Keep stitches firm to prevent stuffing from showing through.
- Stuff as you go, especially in long, narrow limbs.
- Shape wire ends safely within the arms so they do not poke through.
- Join parts securely with both sewing and, if desired, a touch of fabric glue for extra hold.
Pattern Instructions
Legs and Body
Make Two Legs:
- Rnd 1: Magic circle, CH 1, 5 SC in the ring. Tighten loop, SL ST to first SC (5 sts).
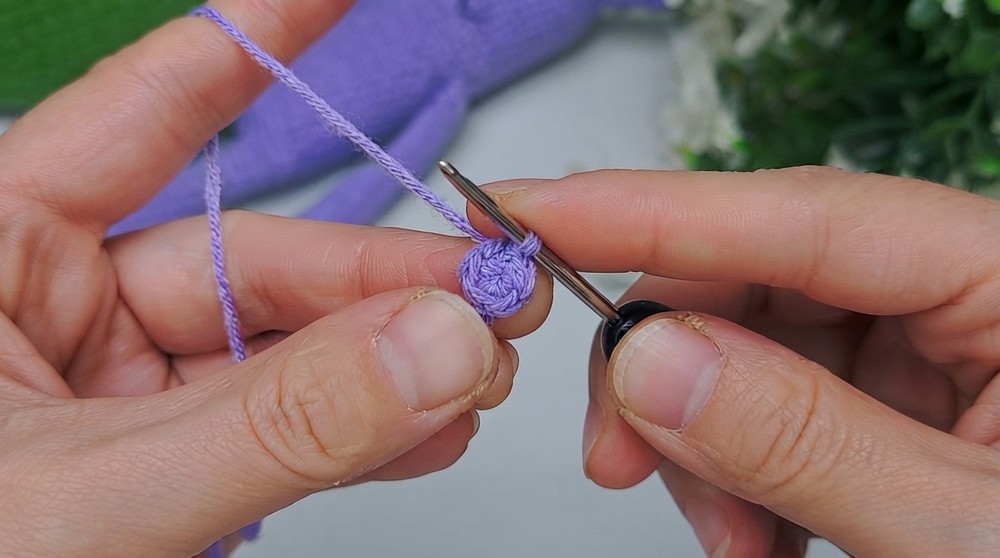
- Rnd 2: CH 1, 2 SC in each st around, SL ST to first SC (10 sts).
- Rnd 3–16: SC in each st around (10 sts, 14 rounds total).
Stuff as you work for even shaping. - Finish off first leg, cut yarn. Do NOT cut yarn after second leg; proceed to join for body.
Join and Start Body: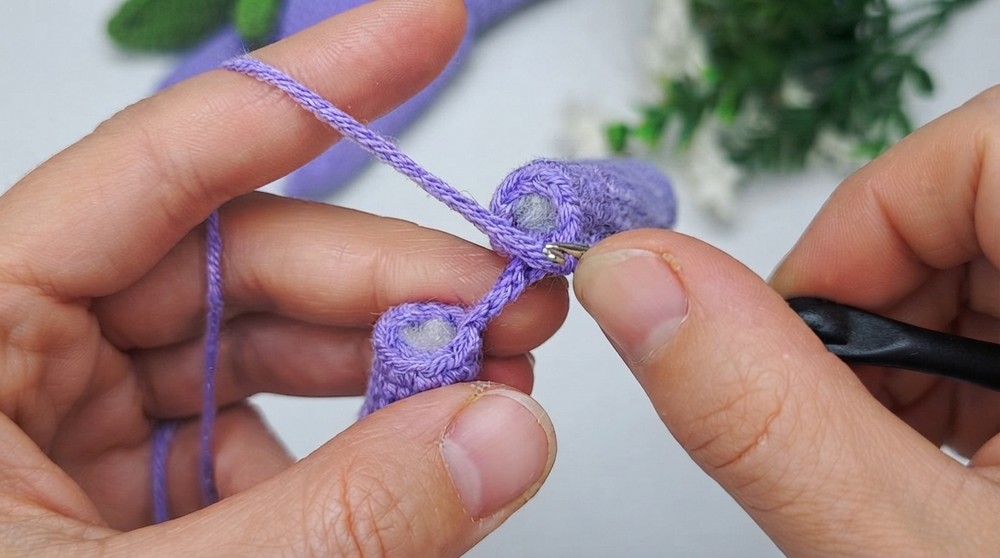
- Rnd 17: CH 4, join to other leg with SC. SC 10 around first leg, SC 4 along CH, SC 10 around other leg, SC 4 along opposite side of CH. SL ST to first SC (28 sts).
- Rnd 18: CH 1, [SC 10, SC 4] repeat one more cycle (2 cycles total), SL ST to first SC (36 sts).
- Rnd 19–53: SC around for 35 rounds (36 sts per round). Continue stuffing as you work for a firm, even body.
Shaping Top of Body:
- Rnd 54: CH 1, SC 2, DEC, SC 2 repeat 6 times (30 sts). SL ST to first SC to join.
- Rnd 55: CH 1, SC in each st around (30 sts), SL ST to join.
- Rnd 56: CH 1, SC 3, DEC repeat 6 times (24 sts). SL ST to first SC.
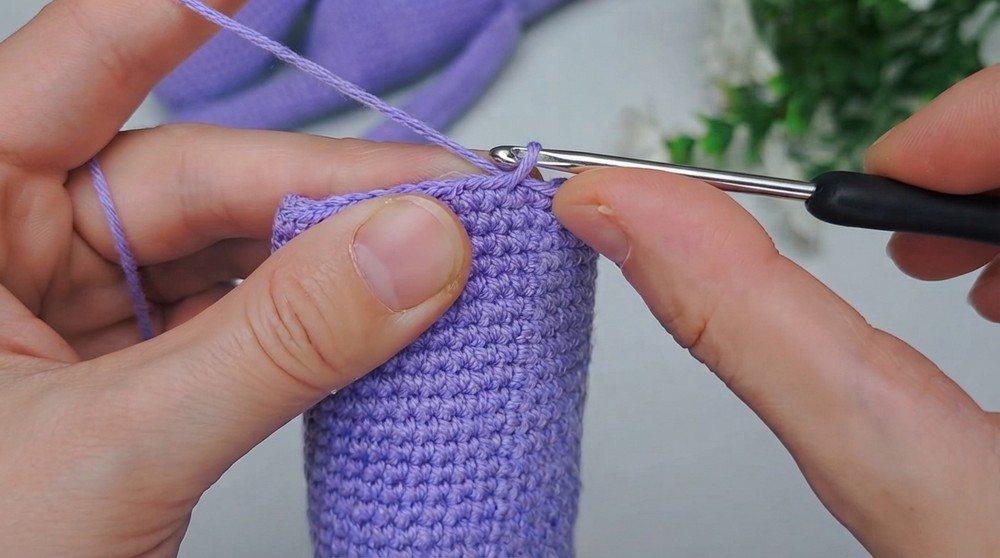
- Rnd 57: CH 1, SC, DEC, SC repeat 6 times (18 sts). SL ST to first SC.
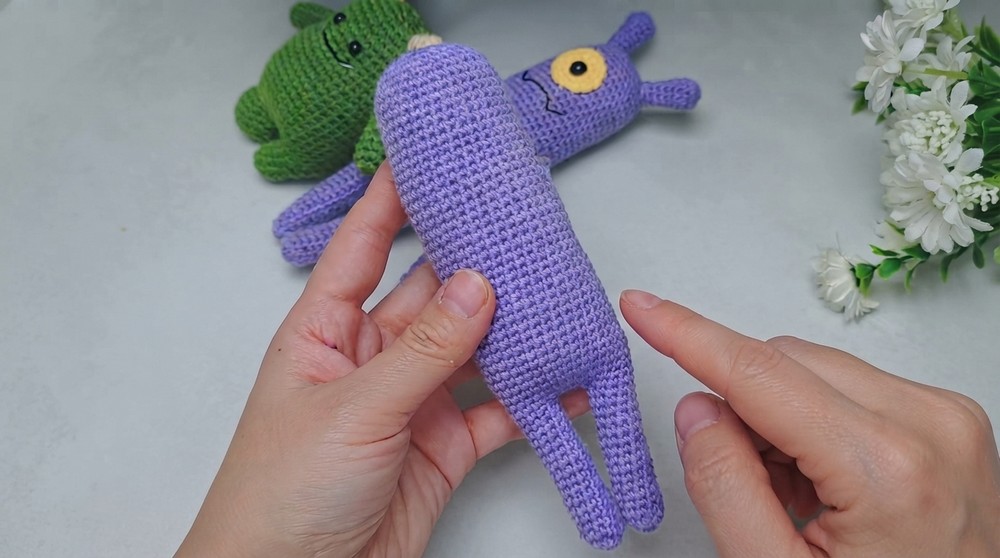
- Rnd 58: CH 1, DEC repeat 6 times (12 sts). SL ST to join, break yarn, leave a long end for sewing.
Arms (Make 2)
- Prepare two 8 cm shaping strips for arm flexibility.
- Rnd 1: Magic circle, CH 1, 6 SC in ring. Tighten, SL ST to first SC (6 sts).
- Rnd 2–4: SC in each st (6 sts).
- Rnd 5: CH 1, SC 2, INC repeat twice (8 sts).
- Rnd 6–12: SC in each st (8 sts).
- Insert wire and stuff gently.
- Rnd 13: CH 1, SC 3, INC repeat twice (10 sts).
- Rnd 14–19: SC in each st (10 sts).
- Continue stuffing as you work.
- Rnd 20: CH 1, SC 2, INC, SC 2 repeat twice (12 sts).
- Rnd 21–25: SC in each st (12 sts).
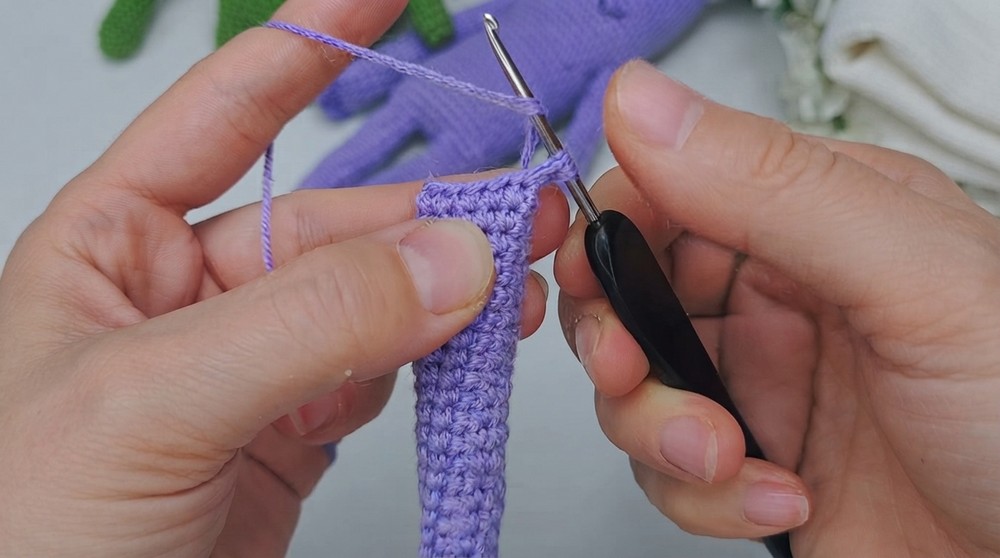
- Rnd 26 (Fingers): Fold arm, working through both layers:
- In first and last stitches, work: 5-HDC bobble, SC; in next: 5-DC bobble, SC; in next: 5-HDC bobble, SC.
- This forms three simple “fingers.”
- Pull yarn, leave long tail, sew edge. Make second arm identically.
Horns (Make 2)
- Rnd 1: Magic circle, CH 1, 6 SC in ring, SL ST to join (6 sts).
- Rnd 2: CH 1, 2 SC in each st (12 sts), SL ST to join.
- Rnd 3: CH 1, SC in each st (12 sts), SL ST.
- Rnd 4: CH 1, SC, DEC repeat four times (8 sts), SL ST to join.
- Rnd 5–8: SC in each st (8 sts per round).
- Pull yarn long, leave end for assembly. Stuff lightly.
Eye
- Rnd 1: Magic circle, CH 1, 5 SC in ring, SL ST to first SC (5 sts).
- Rnd 2: CH 1, 2 SC in each st around, SL ST (10 sts).
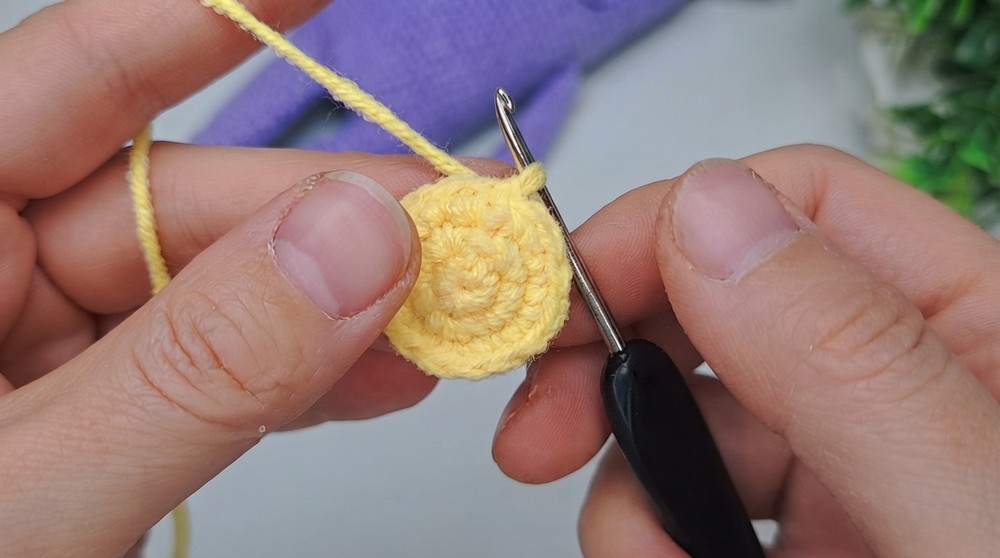
- Rnd 3: CH 1, SC, INC repeat five times (15 sts), SL ST.
- Pull loop large, cut yarn, leave long end for sewing.
Assembly and Sizing
- Insert shaping strips and fiberfill into arms; form a gentle curve for hug-ready pose.
- Sew horns to the top of the head/body section, spaced evenly.
- Sew the eye to the front center of the face, slightly above midpoint of the body.
- Attach 8 mm safety eye to the center of the crocheted eye, or use black thread to embroider a pupil.
- Secure both arms on either side of the body, reinforcing attachment so arms are flexible but sturdy.
- Use black thread to embroider a mouth or other features.
- Final monster should stand approximately 18–22 cm (excluding arms), depending on stuffing density and individual tension.
Ending Words
Ziha the Emotion Monster is a playful, comforting amigurumi project, featuring classic yarn construction techniques, shaped limbs, and imaginative embellishments. Its design fosters a sense of whimsy and warmth, making it a soothing presence on your desk or as a handmade gift. Modify body color, expressions, or arm pose for a personalized member of the Emotion Monster family.
