
Brighten your holiday decorations with this Crochet Mini Christmas Stocking a cute little piece for treats, tiny gifts, and festive displays.
The holiday season is full of cozy decorations that add warmth and cheer to any space. On Zhielle’s Creation channel, you can find a simple tutorial for a Crochet Mini Christmas Stocking, a small festive piece that fits beautifully into holiday decor.
Easy Crochet Mini Christmas Stocking Free Pattern With Cozy Details
This mini stocking, made with medium-weight yarn, feels soft and comfortable to the touch. It showcases the classic stocking shape with smooth, even stitches that give a clean and neat appearance. Color changes throughout the piece add charm and visual interest, making the stocking stand out without requiring complex techniques.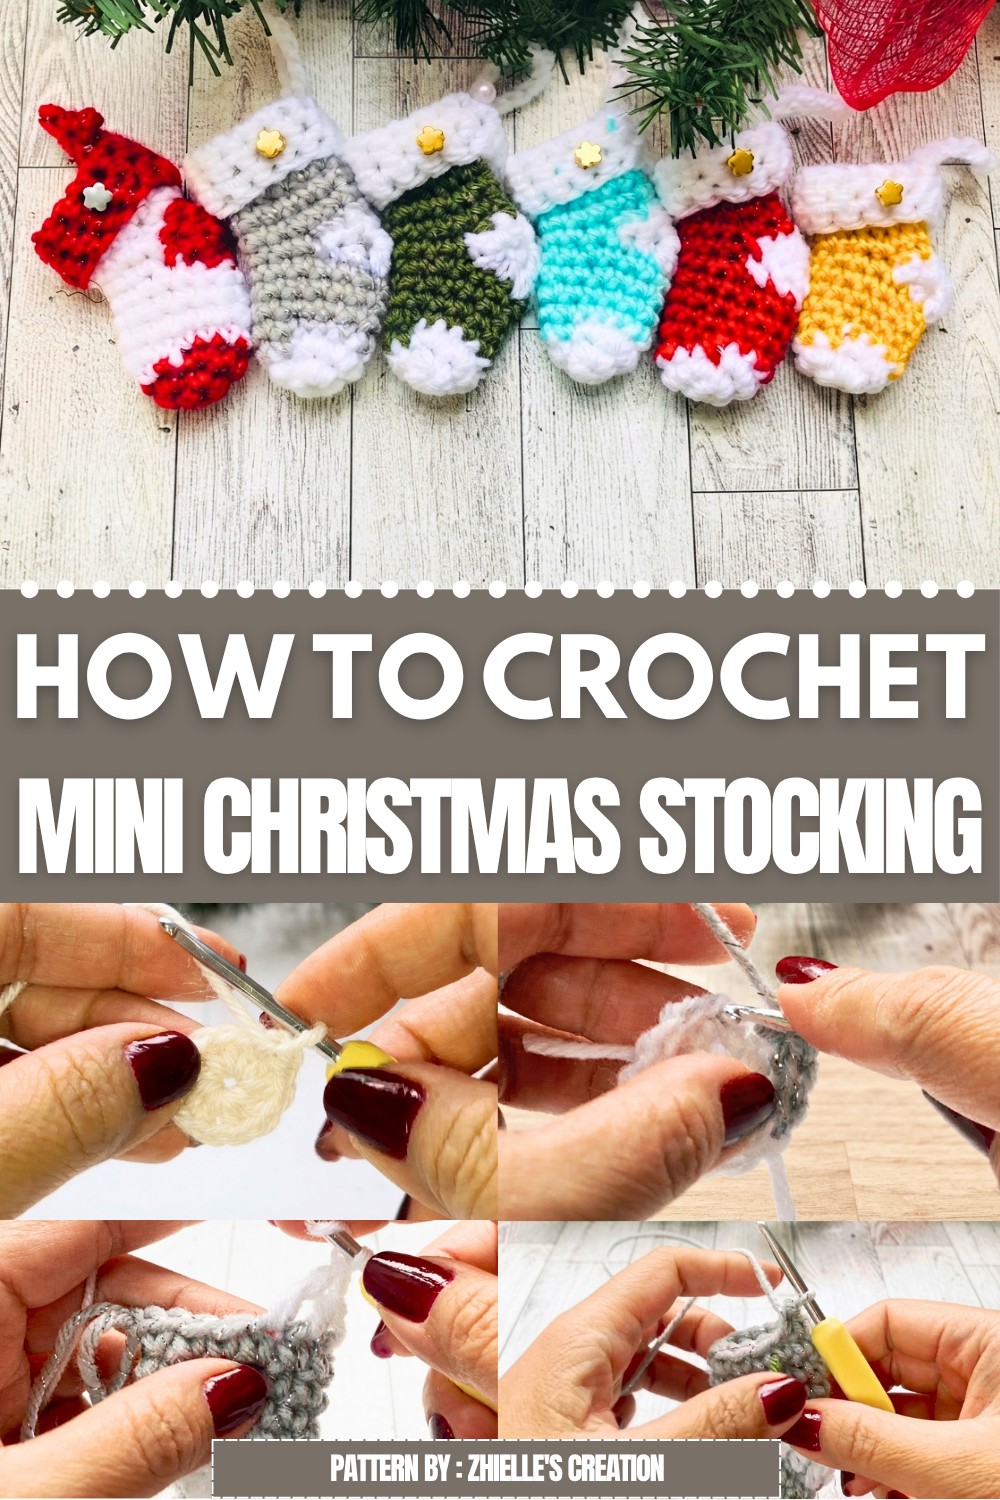
Ideal for hanging on Christmas trees, mantelpieces, or cupboard handles, this lightweight ornament adds a nice festive touch. Its small size also makes it a lovely little gift or an eye-catching addition to holiday gift wrapping. A tiny glued-on star brightens the look with a subtle sparkle.
The Crochet Mini Christmas Stocking can double as a tiny holder for small treats or notes, adding a personal feel to holiday celebrations. This quick project takes less than half an hour, offering a satisfying result for beginners and experienced makers alike. The simple yet charming design makes it a meaningful accent during the festive season.
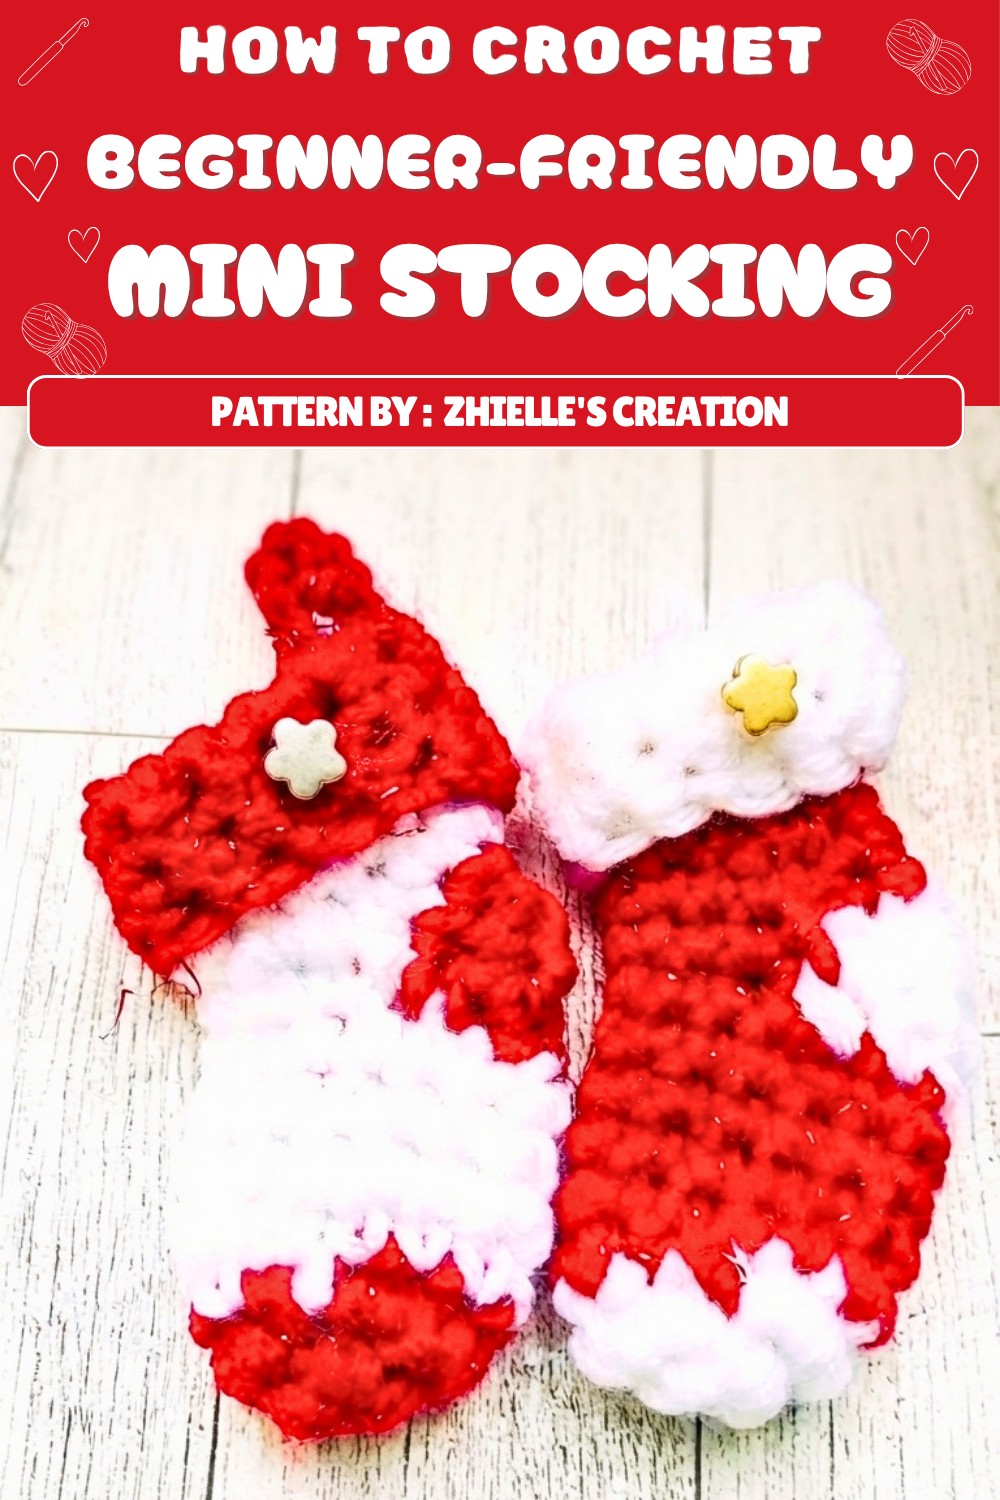
Mini Stacking Christmas Ornament Crochet Pattern
This mini stacking ornament brings a festive flair to the holiday season and serves as a delightful handmade touch for your Christmas décor. Designed for both beginners and those seeking a quick and charming project, this ornament works up quickly and is perfect for gift toppers, tree décor, or small festive garlands. The step-by-step construction involves seamless color changes and structured assembly to ensure a professional and adorable result.
Pattern Basic Points
- Crafted in continuous rounds for a neat finish.
- Clear color changes to emphasize classic stocking appearance.
- Structured heel and toe using a short row shaped with different stitches.
- Seamless hanging loop attached to the top of the stocking.
- Embellished with a decorative bead or star for a personalized touch.
- Edges neatly closed and decorated using hot glue.
Special Notes
- Utilize a stitch marker for tracking rounds as this ornament uses continuous spiral rounds, minimizing visible seams.
- Due to the small size, keep an even tension throughout for uniformity.
- The project uses minimal yarn and is a great stash-buster.
- The heel/toe shaping introduces different stitches—be attentive to the changes.
- When changing colors, always secure and weave ends neatly to maintain durability.
Skill Level
Beginner to Advanced Beginner
The pattern is accessible to novices familiar with basic stitches and increases. Additional skills like color changes, short rows, and handling continuous rounds are introduced with full instructions.
Materials
- Worsted weight yarn, #4 medium (gray with silver and white recommended; can substitute colors as preferred)
- 4.25 mm crochet hook
- Scissors
- Tapestry/yarn needle
- Stitch marker (or a scrap of yarn)
- 1 decorative bead or star (for accent)
- Hot glue gun and glue sticks
Measurements / Sizing
- Finished stocking: approximately 2.5″ to 3″ (6–7.5 cm) tall, excluding hanging chain.
Gauge
Not essential for this project. For reference, 6 sc in a magic ring measures approximately 2 cm in diameter.
Stitch Abbreviations
| Abbreviation | Meaning |
|---|---|
| ch | chain |
| sc | single crochet |
| hdc | half double crochet |
| tr | triple (treble) crochet |
| sl st | slip stitch |
| st(s) | stitch(es) |
| Rnd/Rd | round |
Special Stitches
- Triple (Treble) Crochet (tr): Yarn over twice, insert hook in stitch, yarn over, pull up a loop; (yarn over, draw through 2 loops) three times.
- Half Double Crochet (hdc): Yarn over, insert hook in stitch, yarn over, pull up a loop (3 loops on hook), yarn over and draw through all 3 loops.
Instructions
Preparation
- Have both yarn colors ready and a small piece of yarn or a stitch marker to track the start of your rounds.
Stocking Body
Round 1: (Toe/foot base, White)
- Make a slip knot, ch 2.
- In the first ch, work 6 sc.
(6 sts) - Insert a yarn marker into the last sc of the round.
Round 2: (Increase round)
- 2 sc in each st around.
(12 sts)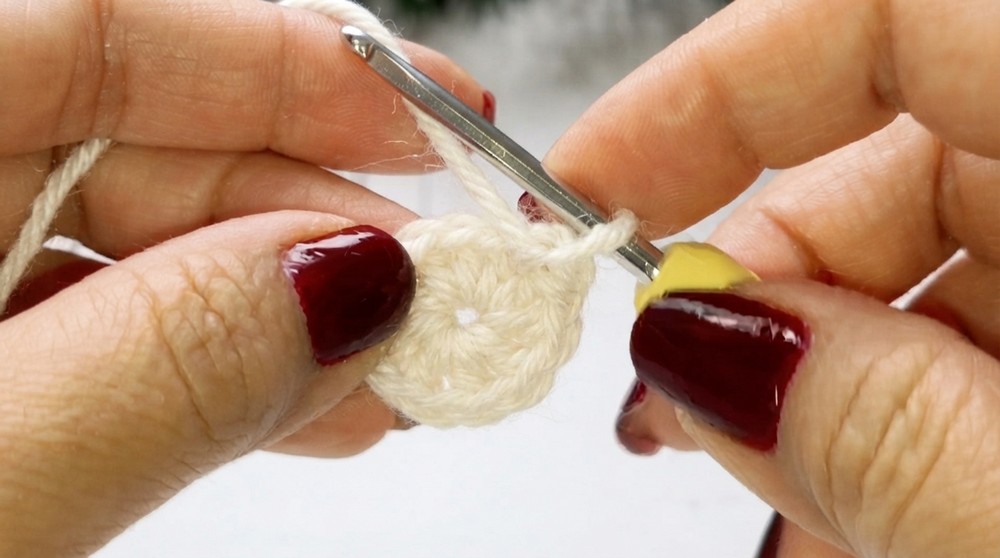
- As you finish the last sc, begin to switch to the second color (gray):
- Draw up the last loop of the final sc with the new color.
- Cut the white yarn, secure the ends.
Rounds 3–6: (Main foot and leg, Gray)
- Move the marker to new last st.
- Sc in each st around.
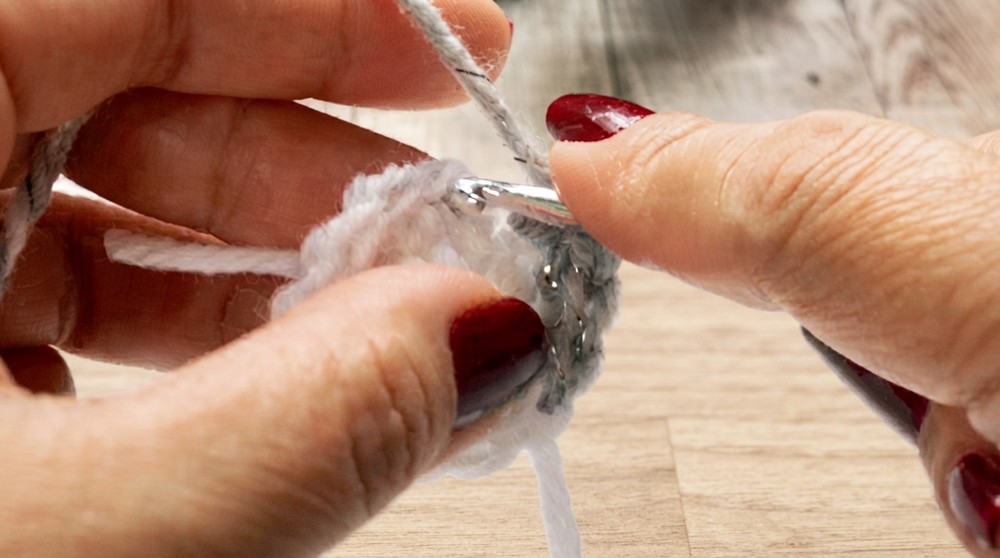
(12 sts per round; work 4 gray rounds.)
Heel Section (White)
- After completing the 4th gray round, do not fasten off. Move your marker.
- Sc in first st (not part of the heel).
Do not cut gray yarn; let it hang for later.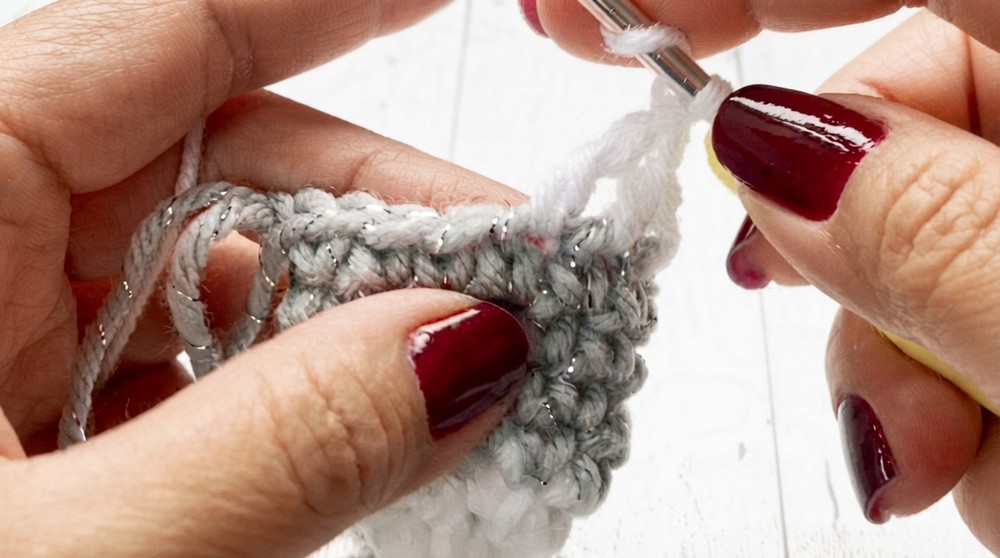
- Count back 6 sts; insert hook in the 6th st from current position.
- Attach white yarn here to start the heel.
Heel Row 1: (Shaping the heel)
- Ch 1.
- In the next st, work:
- 1 hdc in next st.
- 1 tr in next st.
- 1 tr in next st.
- 1 hdc in next st.
- 1 sl st in last st of heel section.
- (Total of 6 sts: sl st, hdc, tr, tr, hdc, sl st.)
Heel Row 2:
- Ch 1, turn.
- Sl st in first st.
- Sc in each of the next 4 sts.
- Sl st in last st.
- For extra security, sl st once more and fasten off white.
Continue Main Body (Gray)
- Return to gray yarn left hanging at main body.
- Sc evenly around across gray sts (should be 6 sc), then continue across the top of the white heel section to complete the round (for a total of 12 sc).
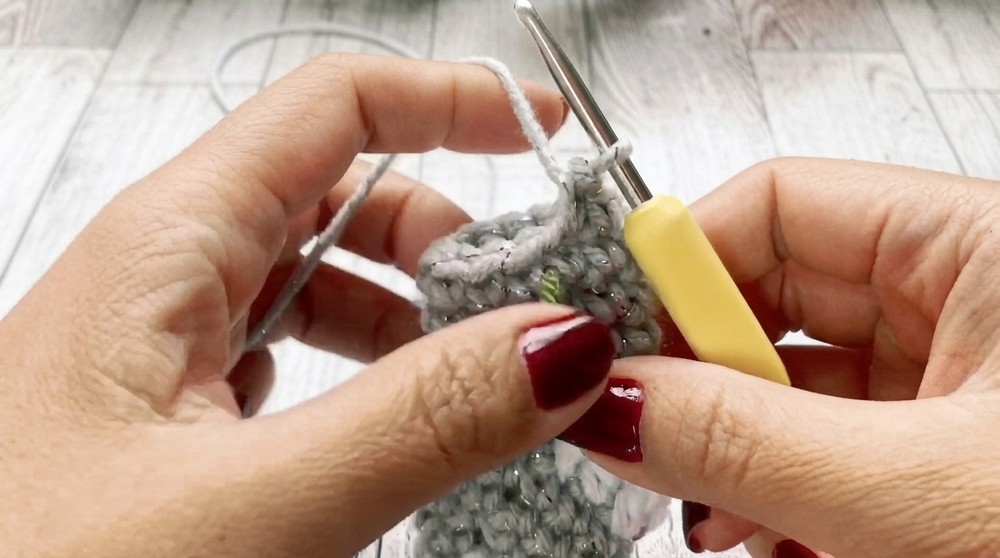
- Move marker.
- Work 5 more rounds of sc around (gray).
Top Rib & Hanging Loop (White)
- Change to white yarn (do not complete the last gray sc—draw up last loop in white).
- Sc in each st around. Move the marker up.
- Work 3 more rounds in white for the top border (4 white rounds in total).
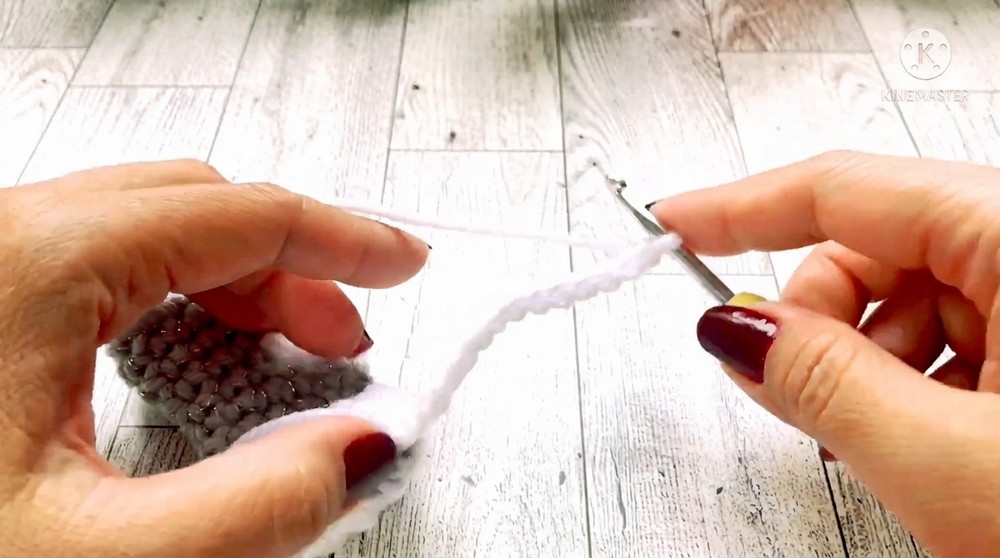
- Fasten off, leaving a short tail.
Seamless Slip Stitch Join
- Insert hook from inside to outside through next st; pull tail through.
- Insert hook into the front loop only of the previous st, pull yarn through and weave tail for a seamless finish.
Finishing & Hanging Loop
- Fold stocking in half, aligning heel in the center.
- Using tapestry needle or crochet hook, weave in visible yarn ends toward center or inner layers.
- On the top/center of stocking, attach yarn and ch 13 for a hanging loop.
- Fasten off and draw end through to the inside; tie and weave in securely.
Assembly & Decoration
- Flatten stocking, ensuring heel and toe are even.
- If needed, use a tiny bit of hot glue to help keep fold flat.
- Using hot glue, gently seal the stocking’s opening—run a bead of glue inside opening and press edges together.
- Add a decorative star, bead, or your chosen accent at center outside, securing it with hot glue.
Assembly & Finished Size
- Finished size is approximately 2.5 to 3 inches tall, plus a 2 to 2.5 inch hanging loop.
- All ends should be woven in on the inside for a tidy appearance.
- Ready to hang individually or alongside other festive motifs.
Conclusion
The mini stacking ornament stocking offers a quick, engaging project using basic crochet rounds, color changes, and minimal sewing. Both practical and decorative, it makes a charming addition to holiday decor, can serve as a part of a garland, or enhance your seasonal gift wrapping. Attention to details—especially at the color changes, shaped heel, and neat finish—ensures the finished stocking will delight for seasons to come. The hot glue embellishments and seamless joining techniques provide professional polish, making this approachable for beginners and satisfying for more experienced crafters alike.
