
Get the Free Crochet Charger Plate Pattern that makes it so unique and inviting for your home with a stylish and handmade touch everyone will love.
This written pattern is based on the original YouTube tutorial by Márcia Souza Crochê, and full credit is given to her for this creative work. The Crochet Charger Plate is a charming project that adds a handmade and elegant touch to your dining table.
Unique Free Crochet Charger Plate Pattern For Home Decor
The finished charger plate typically measures around 13 to 15 inches in diameter, making it an ideal size to place under your dinner plates for both protection and decoration. Its main features include a beautifully textured pattern with decorative edges that create a stylish and neat frame to enhance any table setting.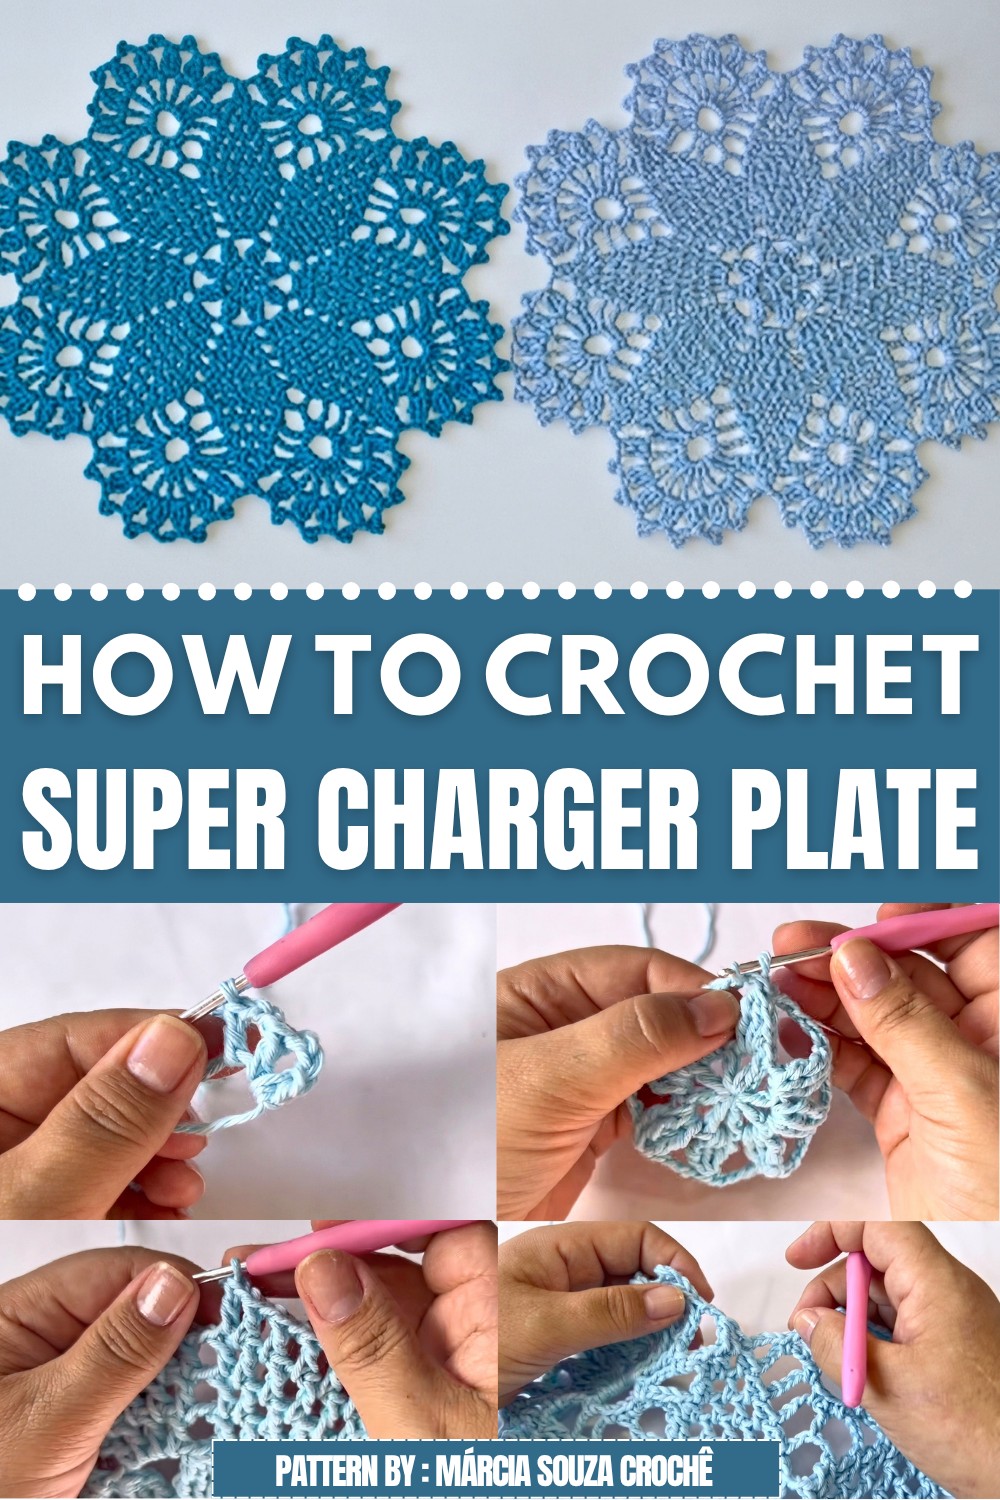 To create this charger plate, you will need cotton yarn and a crochet hook around 4 mm in size, along with basic crochet tools. The skill level is beginner to intermediate, so even those who have some basic crochet knowledge can follow along easily. The pattern progresses in rounds using common stitches such as chains, single crochets, and double crochets.
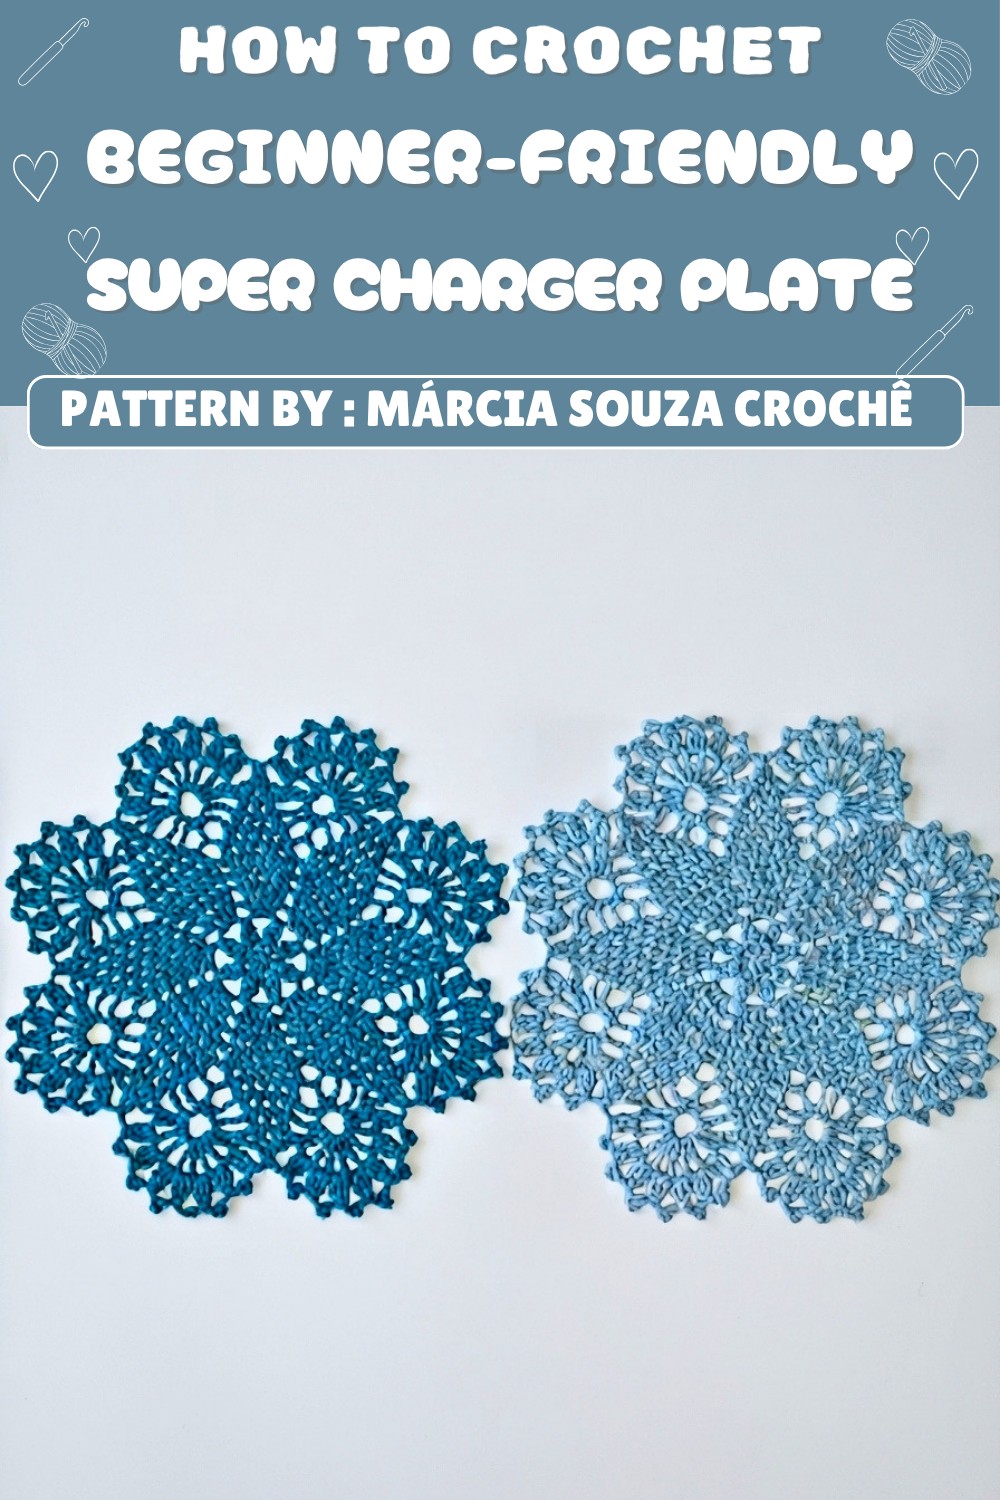 This project is perfect because it can be completed fairly quickly and offers a useful and personalized item for your home. Whether for everyday meals or special occasions, the Crochet Charger Plate adds warmth and style to your table. The clear step-by-step instructions teach you how to maintain even stitches and finish edges smoothly, making it a rewarding and enjoyable experience for crocheters of varying skill levels.
Crochet Sousplat / Doily / Table Centerpiece (45 cm)
This crochet project results in an elegant, sturdy, and decorative piece suitable for use as a sousplat, doily, or table centerpiece. The intricate yet systematic round-by-round structure allows for an ornate floral look, beautiful increasing and decreasing for petal shapes, and a decorative border with picot details. Designed as a statement for any surface, this project showcases the texture and color of worsted-weight cotton yarn.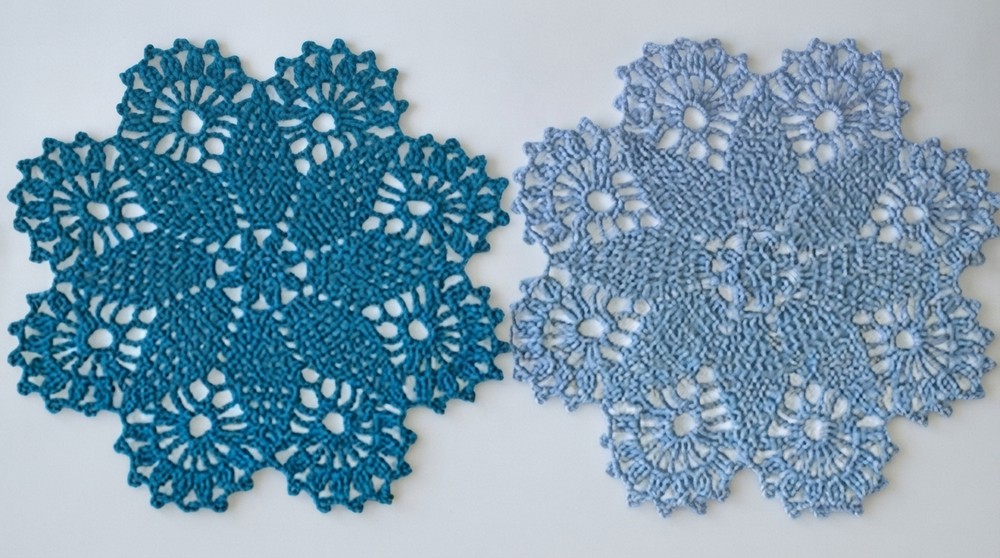
Skill Level
Intermediate. Proficiency in reading rounds, cluster stitches, and complex increases/decreases is helpful. Some experience with decorative borders and picot work is recommended.
Materials
- Yarn: Fio Barroco number 6 weight (Color: Azul Candy) – approx. 115g
- Crochet Hook: 3.5 mm
- Notions: Scissors
Special Stitches
- Magic Ring: Adjustable ring for starting projects in the round.
- Double Crochet (DC): Yarn over, insert hook, yarn over, pull up loop, yarn over, pull through two loops, yarn over, pull through last two loops.
- Double Treble Crochet (DTR): Yarn over three times, insert hook, yarn over, pull up loop, [yarn over, pull through two loops] four times.
- Cluster: Several DC, DTR, or similar worked in succession in the same location, closed together at the top.
- Picot: Chain 5, join with a single crochet in first chain (or base stitch) to form a decorative point.
Stitch Abbreviations
- MR: Magic Ring
- CH: Chain
- SC: Single Crochet
- DC: Double Crochet
- TR: Treble Crochet
- DTR: Double Treble Crochet
- Sl St: Slip Stitch
- st(s): Stitch(es)
- sp(s): Space(s)
- rep: Repeat
Useful Tips
- Mark the start of each round with a stitch marker to avoid losing track.
- Close all clusters at the top for a neat floral effect.
- Keep tension consistent, especially through larger stitches like DTR and clusters.
- Count stitches and chain spaces on each round to prevent misshaping.
- Block finished piece for flatness and crisp edges.
Pattern Instructions
Foundation: Floral Center
- Rnd 1:
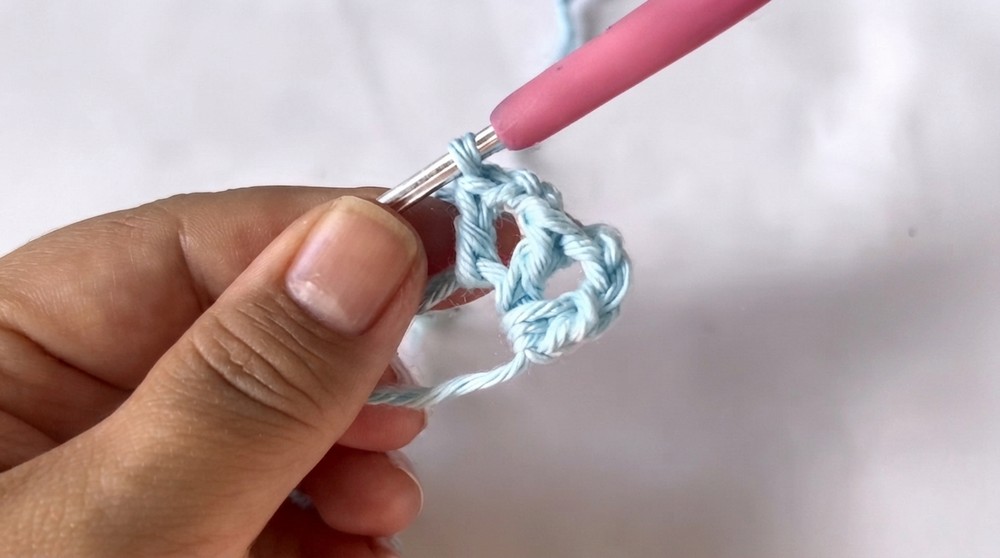
- Start with a magic ring (or CH 4 and join with Sl St to form a ring).
- [DC, CH 2] eight times into ring (8 DC, each separated by 2 CH). Join with Sl St to the top of the first DC.
Floral Base
- Rnd 2:
- Sl St to next CH-2 space.
- (Petal cluster): In each CH-2 sp, work [3 DTR, closed together at top], CH 5; rep around for a total of 8 petals. Join with Sl St to top of first cluster.
- Rnd 3:
- Sl St to next CH-5 space.
- In each CH-5 sp: (Cluster of 3 DC, CH 2, Cluster of 3 DC), CH 3 between groups. Repeat around for 8 segment clusters.
Body Expansion (Rounds 4–6)
- Rnd 4:
- In each CH-2 sp: (Cluster of 4 DC, CH 2, Cluster of 4 DC).
- In each CH-3 sp: CH 3.
- Repeat clusters and chain spaces, steadily increasing the number of stitches per segment in each round.
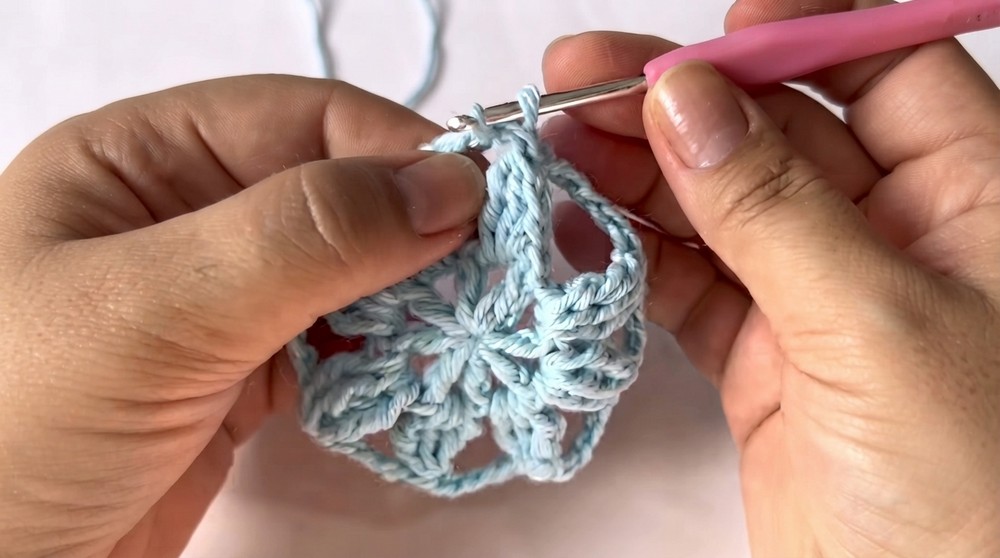
- Rnd 5:
- In each CH-2 sp: (Cluster of 5 DC, CH 2, Cluster of 5 DC).
- In each CH-3 sp: CH 4.
- Rnd 6:
- In each CH-2 sp: (Cluster of 6 DC, CH 2, Cluster of 6 DC).
- In each CH-4 sp: CH 4.
- Continue similarly, increasing stitch quantity in each section to maintain a flat, expanding shape and the petal segments.
Decreasing & Shaping for Petal Effect
- Rnds 7–12+:
- Begin to alternate between increasing stitches in segments and then, as the circle broadens, start decreasing within each petal:
- Work partial DC or DTR clusters (for example: 2 DC together, or 3 DC together) to begin drawing the petal tips inwards.
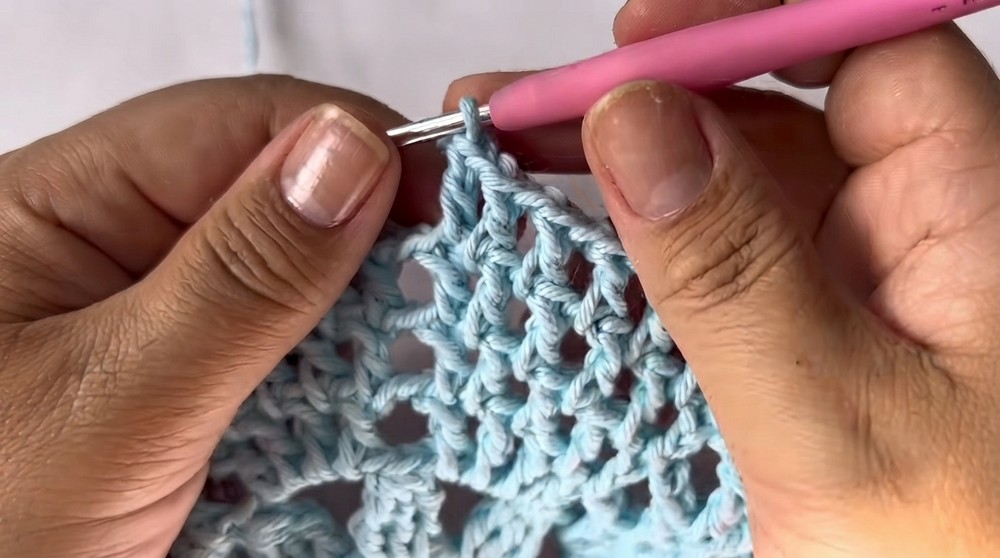
- Continue separating petal clusters with chain spaces (increase chains as rounds increase in diameter).
- The petal shaping occurs over a gradual number of rounds, adjusting cluster size and chain spaces as needed to keep the fabric flat and produce rounded petal forms.
- Work partial DC or DTR clusters (for example: 2 DC together, or 3 DC together) to begin drawing the petal tips inwards.
- Begin to alternate between increasing stitches in segments and then, as the circle broadens, start decreasing within each petal:
- Check at each round that you have even petals and chain spaces. Adjust clusters and chain counts as required to reach the stated 45 cm diameter.
Finishing Details: Decorative Border
- Penultimate Round:
- Work clusters of TR or DTR in each chain space or at the tip of each petal, with CH 2 (or CH 3) between clusters for openness.
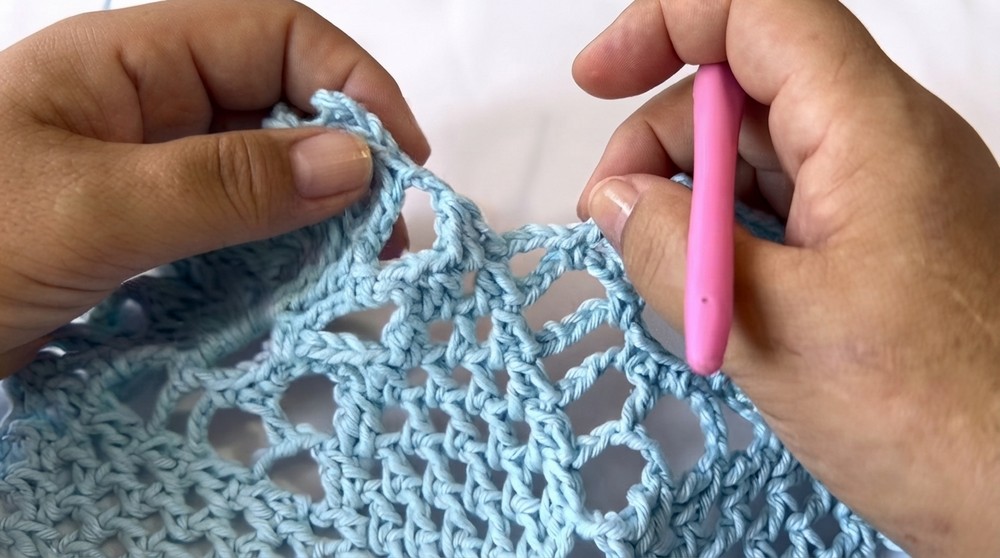 Final Border Round:
- At the edge of each petal (in the chain/summit of the DTR clusters):
- Create clusters of 3 DTR closed together.
- After every cluster, work a picot as follows: CH 5, Sl St (or SC) into the base of the CH to form a pointed picot.
- Repeat [Cluster of DTR, Picot] all along the perimeter to create a lace-like, finished appearance.
- End with Sl St, fasten off, and weave in ends.
- At the edge of each petal (in the chain/summit of the DTR clusters):
Assembly and Sizing
No advanced assembly is required. Weave in all ends using a darning needle. If using as a centerpiece, block the piece gently to accentuate petals and even out the shape. Finished diameter should measure approximately 45 cm after light stretching and blocking.
Ending Words
This project combines sophisticated textural clusters, classic floral motifs, and well-planned increases and decreases to deliver a deluxe showpiece for the home table. Its size and structure make it suitable for a sousplat or centerpiece, while the meticulous border and picot accents ensure both practicality and ornamental flair. Consistent stitch counting and a careful border finish will yield an heirloom-quality result.
