
Create a Charming Crochet Santa Claus with easy-to-follow steps that make this festive project perfect for adding charm to your holiday decorations and handmade gifts.
I found a fun and simple holiday project that many people will enjoy. The Crochet Santa Claus Amigurumi is a small toy made with soft yarn in red, white, and skin colors. It has a fluffy white beard that feels soft and looks very nice.
Easy Crochet Santa Claus Amigurumi Free Pattern For Christmas
The Santa has friendly eyes made from safety eyes and small details like the nose and eyebrows made with thread. Its round shape and soft texture make it perfect to hang on a Christmas tree, put on a shelf, or use as a table decoration. This little Santa also makes a wonderful handmade gift for family or friends during Christmas.
A helpful YouTube channel called Suenos en hilo has a clear and easy video that shows how to make this Santa step by step. The video (Link is below) explains how to crochet the head and body, add the red hat, attach the fluffy beard, and sew on the eyes and face details. The instructions are simple, making this project good for beginners and those with some crochet experience. Suenos en hilo also has many other fun videos that teach how to make different crochet toys, especially for holidays.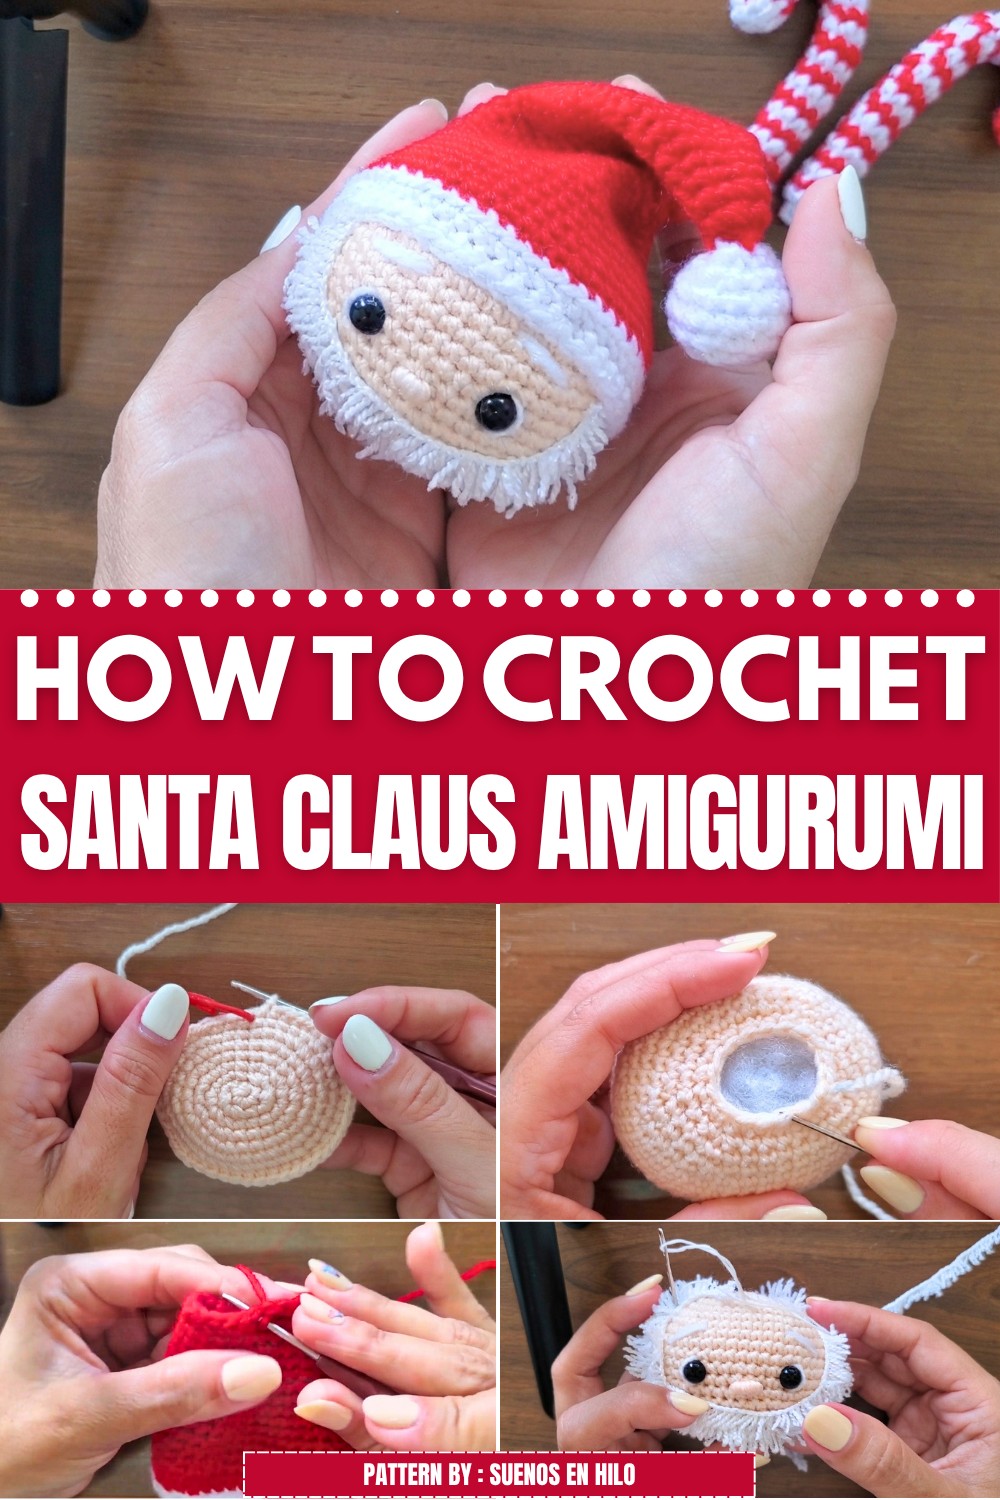
Overall, this Crochet Santa Claus Amigurumi is soft, cute, and cheerful. Its small size and fluffy beard add charm, making it a great Christmas decoration or gift to share holiday joy.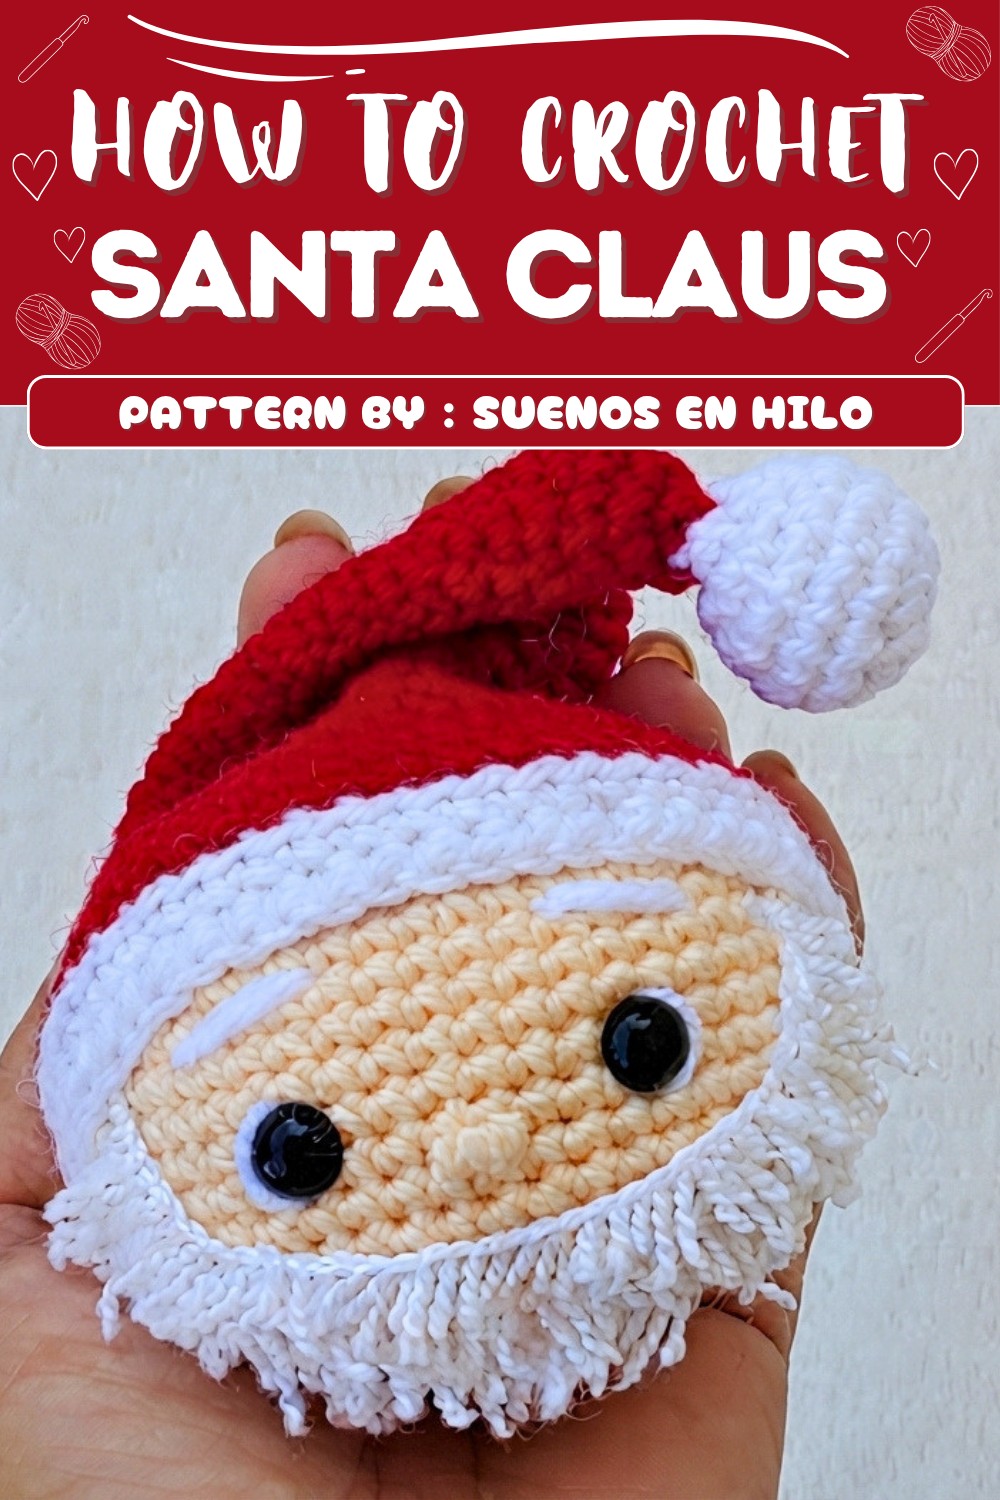
Little Santa Head Crochet Pattern
Pattern Basic Points
Head & Face
- Magic ring base, classic amigurumi increases for 3D shaping.
- Designed with strategic increases to create Santa’s round, friendly head.
- Safety eyes inserted after the shaping, perfectly placed using row counts.
- Simple, careful face embroidery for cartoon features.
Hat
- Worked flat and in the round, seamless transition between colors.
- Color change to bright red from white ribbed brim.
- Shaped with purposeful decrease rounds to achieve conical Santa hat style.
- Finished with a plump, closed amigurumi pompom.
Beard
- Plush/fur yarn applied in lines and stitched at anchor points.
- Layered for maximum fullness and cartoon effect.
Embellishment & Final Details
- Eyebrows made from bulky yarn for visibility.
- Nose worked directly into face using embroidery for dimensional and soft finish.
- Designed with hanging functionality—adapt for ornaments or garlands.
Special Notes
- Carefully count stitches in all rounds; each increase or decrease maintains symmetry.
- Add safety eyes before closing head for proper placement.
- Use a very fine sewing thread to attach beard for invisible seams.
- Hide thread tails inside the body for a neater finish.
- Adjust beard fullness or hat length to your liking.
Skill Level
Advanced Beginner / Intermediate.
Basic amigurumi experience recommended for rounds, increases, and working in the round. Some embroidery and mixed-yarn attachment skills needed for finishing details.
Materials
- 2.5 mm crochet hook
- Yarn: Red, white, and skin-colored cotton
- Plush or furry yarn/thread for beard
- Synthetic stuffing (fiberfill)
- 8 mm safety eyes
- Wool needle (for finishing/embroidery)
- Stitch marker
- Sewing needle (fine for beard)
- Short lengths of strong thread or yarn for sewing
- Scissors
- Optional: metallic yarn for hanging loop
Measurements / Sizing
- Finished Santa head approx. 8–10 cm tall (including hat and beard)
- Width at widest facial section approx. 6–7 cm
Gauge
Not crucial for amigurumi, but typical:
- 6 sc in magic ring = approx. 1.5 cm diameter (with 2.5 mm hook and suggested yarn)
Stitch Abbreviations
- ch – chain
- sc – single crochet
- inc – increase (2 sc in same stitch)
- dec – invisible decrease (see below)
- sl st – slip stitch
- st(s) – stitch(es)
- MR – magic ring/circle
Special Stitches
- Invisible Decrease: Insert hook under front loop of next two sts, yo, pull up a loop, yo, pull through both loops on hook (minimizes gap in decrease).
- Plush/Fur Beard Anchoring: Pin lines of fur yarn, secure at 5–6 points only with invisible stitches using very fine thread.
- Surface Embroidery: For eyebrows and nose, use standard surface passes, layering for nose thickness.
Head & Face
Round 1 (Skin color)
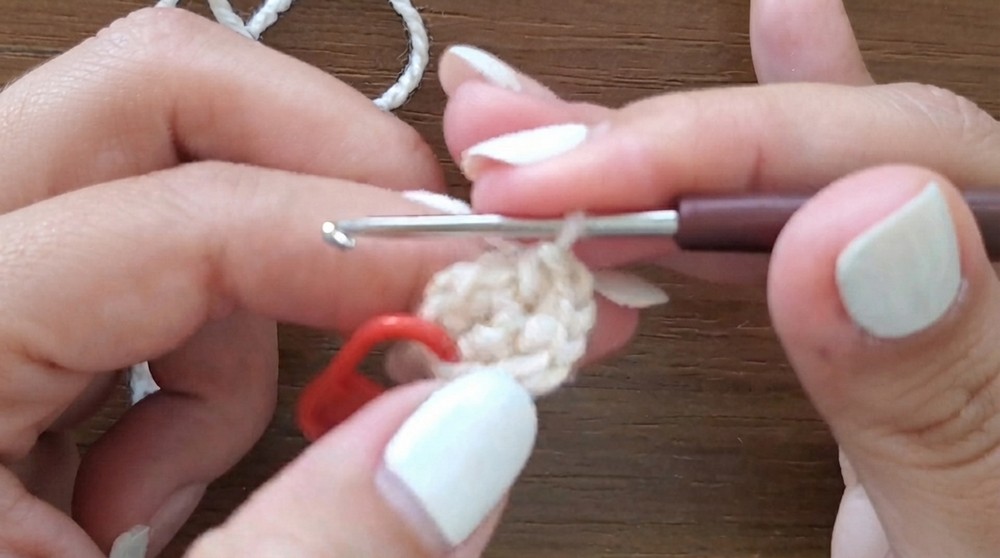
- Make a magic ring (MR).
- 6 sc into MR. Pull ring tight.
Round 2
- 1 sc in 1st st (place marker),
- 3 sc in next st (repeat three times),
- 1 sc, then 3 sc in next two sts.
- (Total: 14 sc)
Round 3
- 3 sc, (place marker in the first st)
- inc, inc (i.e., 2 sc in next st, 2 sc in following st),
- 5 sc, inc, inc, 2 sc
- (Total: 18 sc)
Round 4
- 2 sc, (1 sc, inc) x3, 3 sc, (1 sc, inc) x3, 1 sc
- (To clarify, alternate sc, inc three times, then a section of sc, repeat.)
- (Total: 24 sc)
Round 5
- 2 sc, [2 sc, inc] x3, 3 sc, [2 sc, inc] x3, 1 sc
- (So, sc, sc, inc; repeat three times; after 3 sc in the middle, repeat.)
- (Total: 30 sc)
Round 6
- 3 sc, inc, 3 sc, inc, 3 sc, inc, 3 sc, [inc, 3 sc] x3
- (Total: 36 sc)
Round 7
- 3 sc, inc, 4 sc, inc x2, 4 sc, inc x2, 3 sc, inc x3, 4 sc, inc x2, 4 sc
- (Total: 42 sc)
Round 8
- 6 sc, [inc, 3 sc] x3, 9 sc, [inc, 3 sc] x3, 3 sc
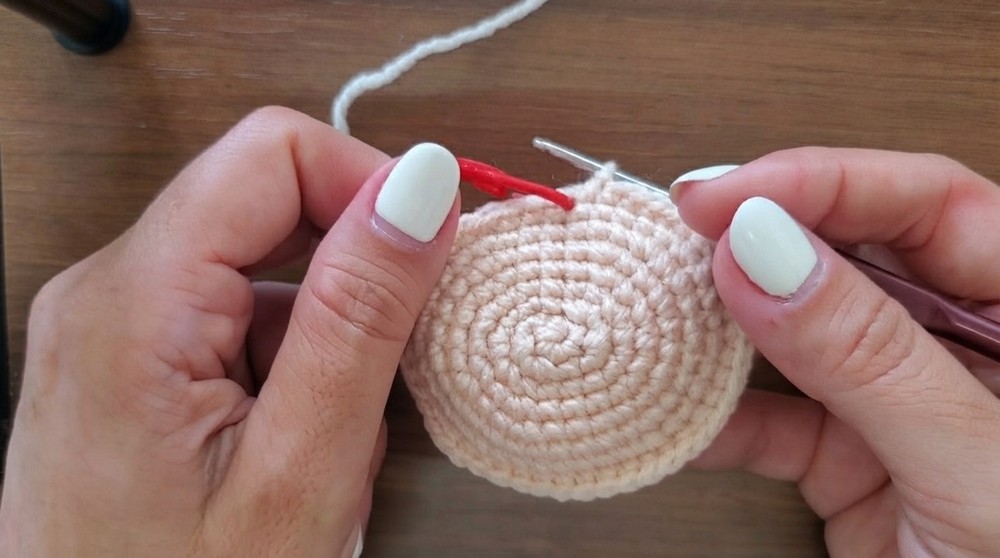
- (Total: 48 sc)
Rounds 9–18
- sc in each st (48) – 10 rounds straight.
Shaping Top of Head
Round 19
- 6 sc, [dec, 3 sc] x3, 9 sc, [dec, 3 sc] x3, 3 sc
- (Total: 42 sc)
Round 20
- 3 sc, [dec, 4 sc] x3, 3 sc, [dec, 4 sc] x3, 4 sc
- (Total: 36 sc)
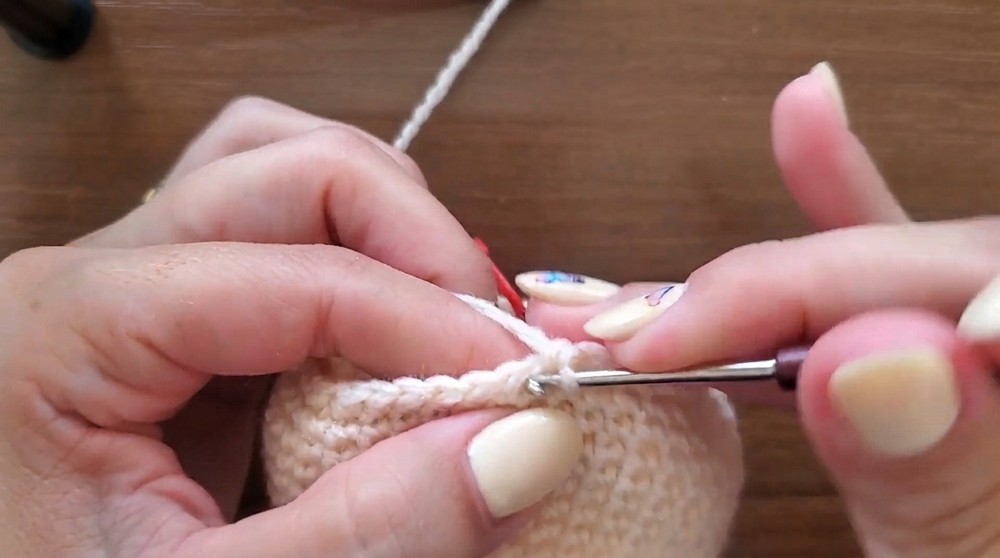
Pause to add eyes:
- Between rounds 12 and 13, 9 stitches apart. Place eyes, secure with backings.
Round 21
- 4 sc, [dec, 3 sc] x3, 3 sc, [3 sc, dec] x3, 2 sc
- (Total: 30 sc)
Round 22
- 2 sc, [2 sc, dec] x3, 3 sc, [2 sc, dec] x3, 1 sc
- (Total: 24 sc)
Round 23
- [1 sc, dec] x8
- (Total: 16 sc)
- Stuff the head firmly through the opening.
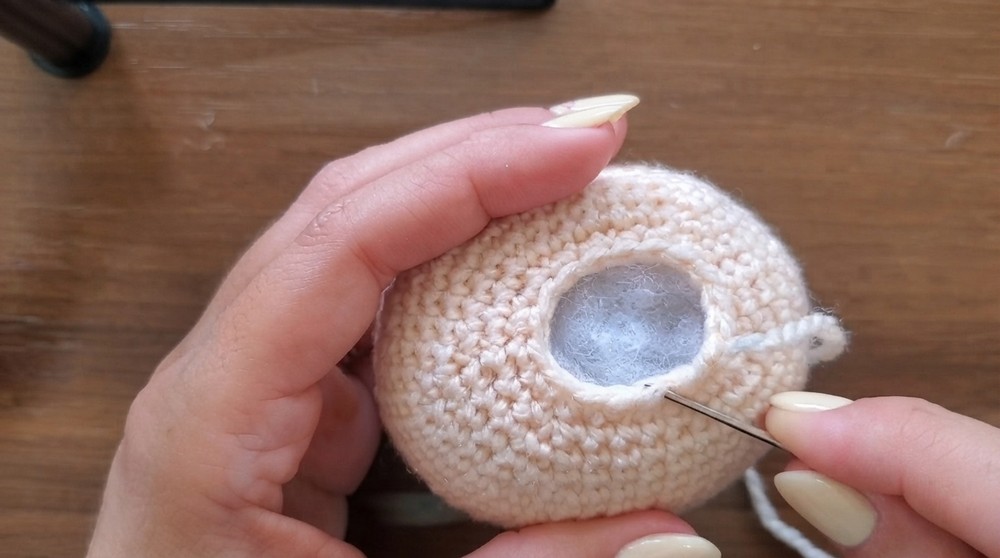
Round 24 (Closure)
- With wool needle, pick up the front loops of the last 16 sts, pull closed.
- Weave in and secure tail.
Santa Hat
Brim (White Yarn)
- ch 48, join with a sl st to form a ring.
- Rounds 1–2: sc in each ch around (48 sc), place marker for new rounds.
Body (Red Yarn)
- Attach red in last st of the previous round, tie and hide ends.
- Round 3: sc in the back loop only of each st around.
- Rounds 4–5: sc in each st around (48 sc).
Round 6:
- [10 sc, dec] repeat 4 times. (44 sc)
Rounds 7–8:
- sc in each st (44).
Round 9:
- [9 sc, dec] x4 (40 sc)
Round 10:
- sc in each st (40 sc).
Round 11:
- [8 sc, dec] x4 (36 sc)
Round 12:
- sc in each st (36).
Round 13:
- [7 sc, dec] x4 (32 sc)
Round 14:
- sc in each st (32).
Round 15:
- [6 sc, dec] x4 (28 sc)
Round 16:
- sc in each st (28).
Round 17:
- [5 sc, dec] x4 (24 sc)
Rounds 18–20:
- sc in each st (24).
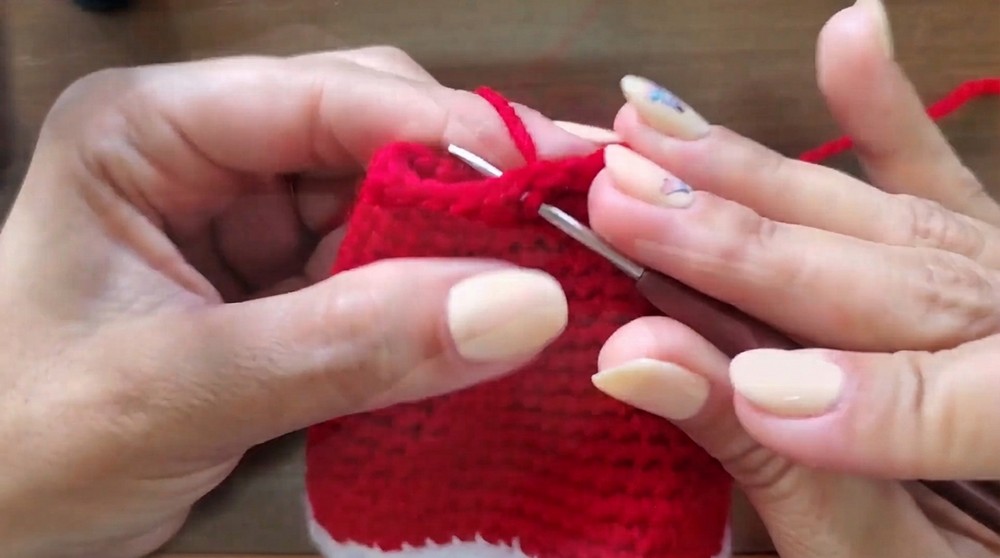
Round 21:
- [4 sc, dec] x4 (20 sc)
Rounds 22–24:
- sc in each st (20).
Round 25:
- [3 sc, dec] x4 (16 sc)
Round 26:
- sc in each st (16).
Round 27:
- [2 sc, dec] x4 (12 sc)
Round 28:
- sc in each st (12).
Round 29:
- [1 sc, dec] x4 (8 sc)
Rounds 30–31:
- sc in each st (8).
Round 32:
- [2 sc, dec] x2 (6 sc)
- Cut yarn, fasten off.
PomPom
Round 1:
- Magic ring, 6 sc.
Round 2:
- inc in each st (2 sc in each st) – 12 sts.
Round 3:
- [1 sc, inc] x6 – 18 sts.
Rounds 4–5:
- sc in each st – 18 sts.
Round 6:
- [1 sc, dec] x6 – 12 sts. Lightly stuff pompom.
Round 7:
- 6 decreases – 6 sts.
- Leave a long tail, close, sew to tip of hat.
Assembly & Face Embroidery
Face
- With white, embroider lines under and around eyes as demonstrated.
- For eyebrows, make a short slanted line above each eye, then a longer thicker line below; both brows should match.
- For nose, embroider a thick dimensional bar horizontally between the eyes, winding the thread for volume.
Beard
- Pin plush/furry yarn around the face—start just below the nose, circle out and under, and to the sides.
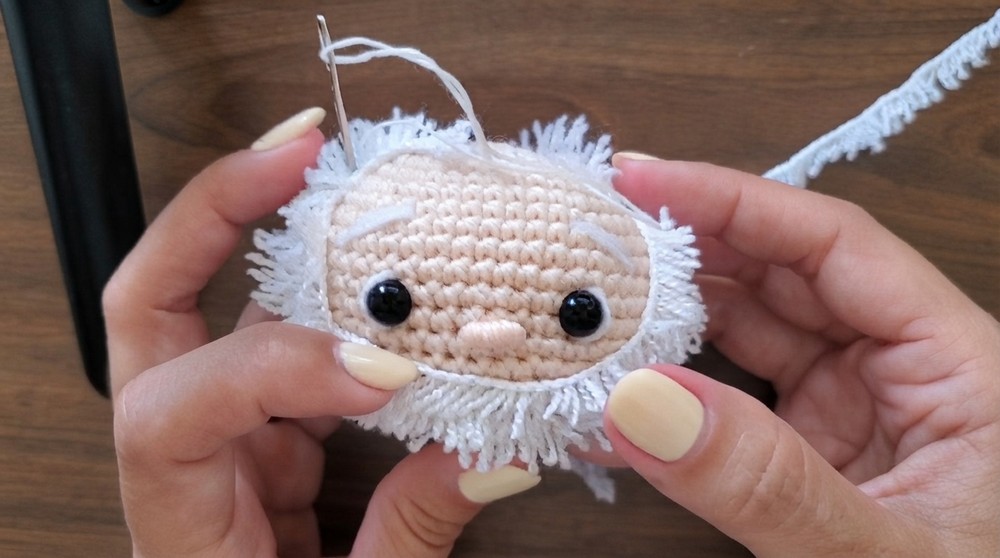
- Attach with fine sewing thread at 5–6 key points around edge and under nose to anchor.
- Add three more lines/layers behind to fill beard. Fluff up.
Final Assembly
- Secure hat to head with glue or neat sewing.
- Attach hanging loop to hat if desired (with metallic or matching yarn).
Conclusion
The combination of plush details, careful shaping, and thoughtful embroidery brings warmth and character to every ornament. Follow each round carefully, add your own special touches, and enjoy gifting or displaying your handmade Santa. Thank you for crocheting together—wishing you a joyful and creative holiday season!
