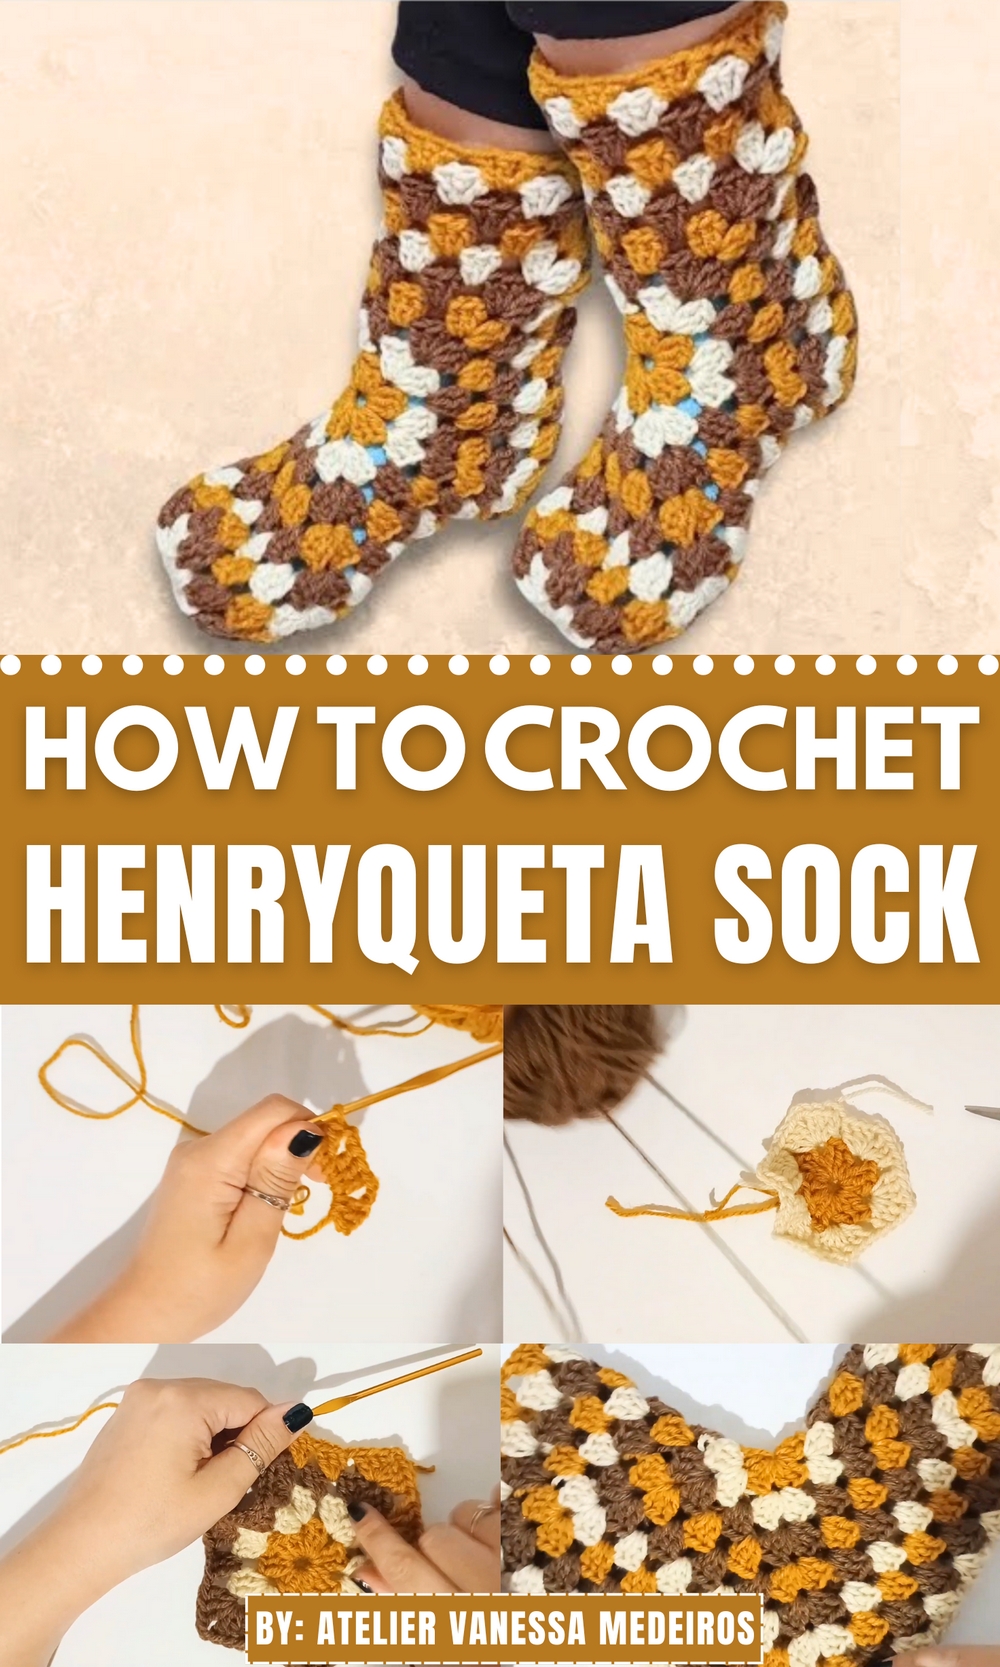
Treat your feet to comfort and charm with this Free Crochet Henryqueta Sock Pattern, perfect for relaxing evenings or thoughtful handmade gifting.
The art of crochet has long been a cherished skill passed through generations, transforming yarn into items of charm and utility. Among such timeless contributions stands the Henryqueta sock, a unique handmade creation celebrated not just for its elegance but also for its practicality. This sock carries a legacy of warmth and thoughtfulness, making it perfect for colder days or even as a thoughtful donation for those who might need an extra layer of comfort. Whether it’s cozying up in your favorite chair, lending your feet a snug touch at bedtime, or layering it over another sock for extra warmth, the Henryqueta sock is as functional as it is beautiful.
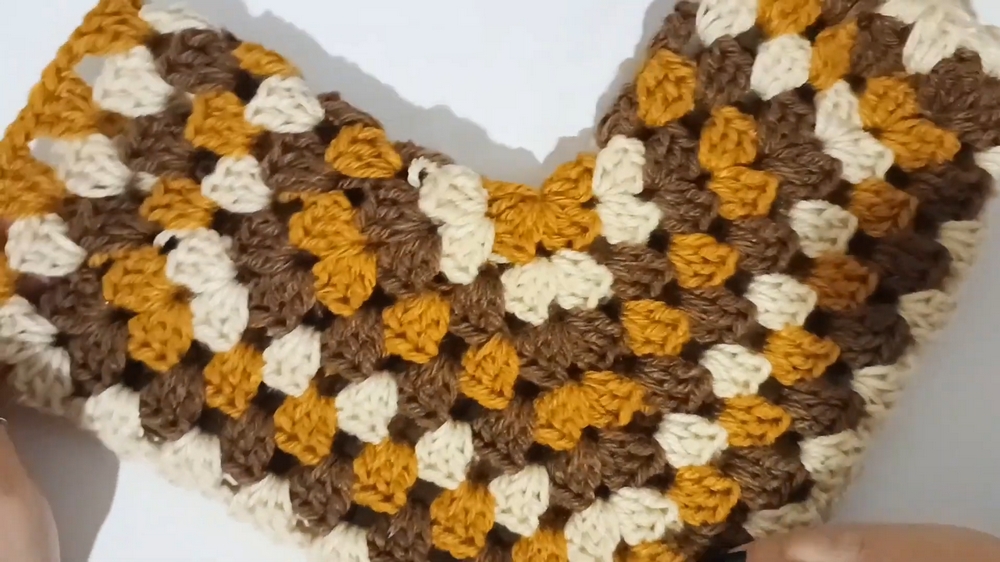
Free Crochet Henryqueta Sock Pattern That Looks Store-Bought
The sock imbued with thoughtfulness and care, ideal for personal use or as a heartfelt gift. While its charming aesthetic makes it visually appealing, its practicality cannot be overstated, it warms feet layered over another sock, making it particularly useful in colder weather or for those in need.
Whether for charity, personal use, or as part of a stylish ensemble, the Henryqueta sock effortlessly blends artistry and utility, showcasing how simplicity can radiate timeless grace.
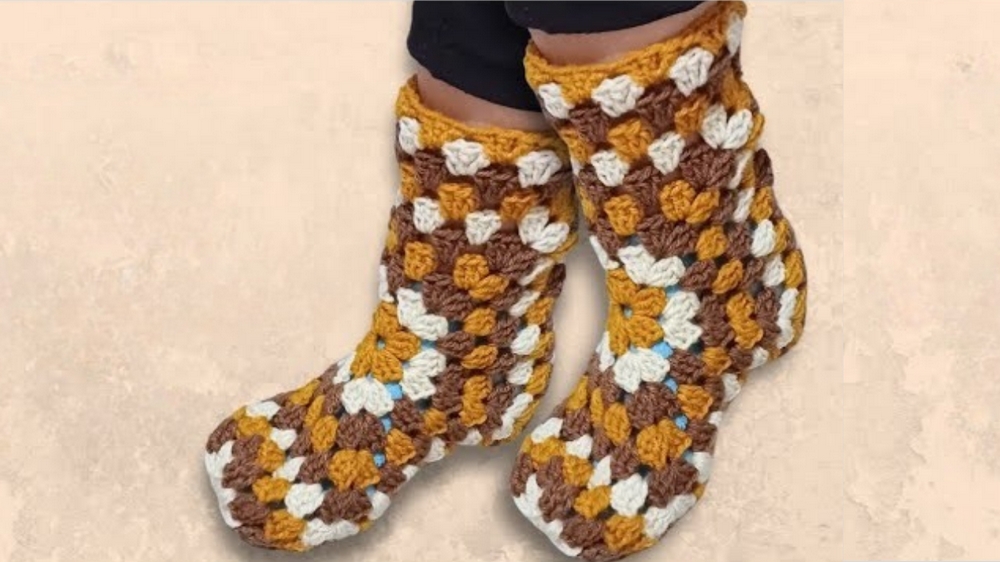
Crochet Hexagon Socks Pattern
Materials
- Yarn (two colors):
- Suggested: Medium-weight yarn for warmth or leftover yarn (perfect for this project).
- Example: Acrylic or wool blend.
- Crochet Hook: Size 2.5mm (adjust based on personal tension).
- Yarn Needle: For sewing and weaving in ends.
- Scissors: To trim ends.
- Optional: Measuring tape (to determine sock size) and stitch markers.
Skill Level
Intermediate to Advanced: This pattern contains techniques like magic rings, fan stitches, and simple sewing.
Key Abbreviations (US Terminology)
- ch: Chain
- sc: Single Crochet
- dc: Double Crochet
- sl st: Slip Stitch
- sp: Space
- rep: Repeat
Special Notes
- This project can be customized for different purposes (e.g., socks, kimono, slippers).
- The design requires two identical hexagons sewn together.
- Adjust the width of the hexagon to match individual foot size.
Pattern Instructions
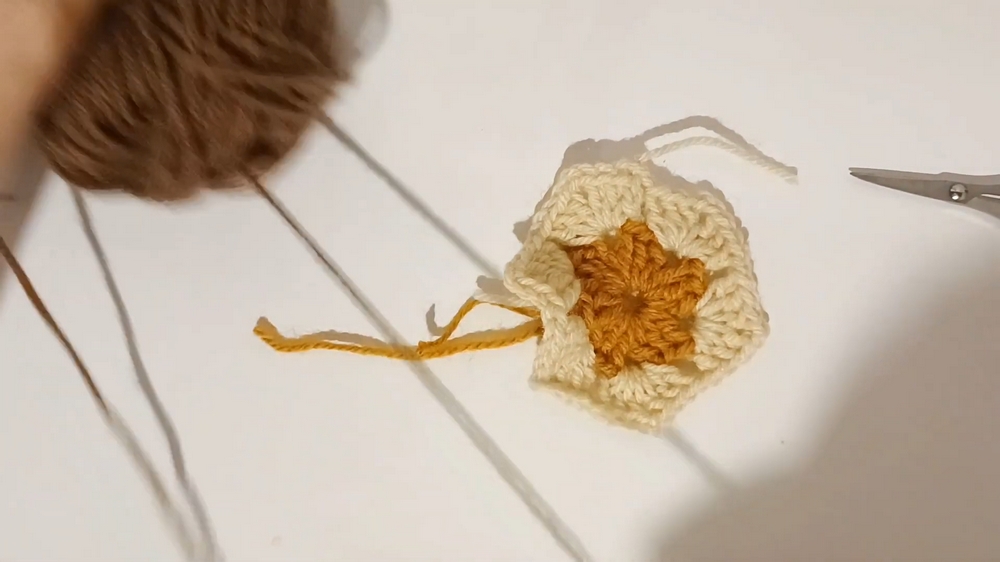
Step 1: Creating the First Hexagon
Row 1 – Magic Ring & First Round
- Start with a Magic Ring:
- Wrap yarn around two fingers and create a crossing loop. Insert your hook and pull yarn through.
- Work into the Ring:
- Chain 2 (counts as first dc).
- Make 2 dc, ch 2.
- Repeat (3 dc, ch 2) 5 more times for a total of 6 groups.
- Pull the ring tightly to close.

- Join with a sl st into the top of the starting chain.
Row 2 – Adding Fans
- Attach Second Color Yarn:
- Join new yarn into any ch-2 sp with a sc.
- Create a Fan (1st Block):
- Ch 2, then work 3 dc, ch 2, and 3 dc into the same ch-2 sp.
- Continue Around:
- In each ch-2 sp, create 3 dc, ch 2, 3 dc to form 6 fans.
- Finish the Round:
- At the end, join with a sl st into the top of the starting chain.
- At the end, join with a sl st into the top of the starting chain.
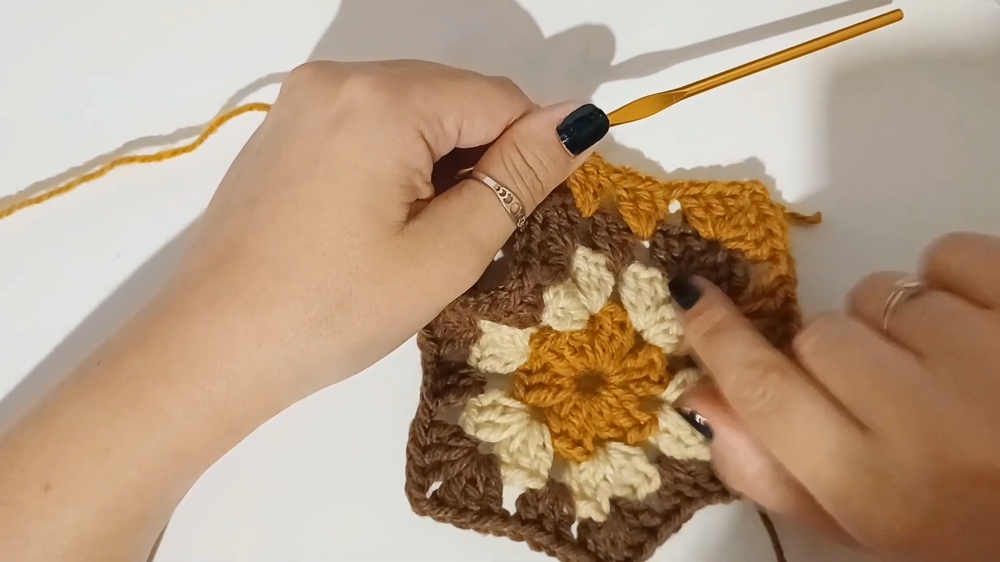
Row 3 – Expanding the Hexagon
- Start With a Fan:
- Join yarn in any ch-2 sp. Ch 2, work 3 dc, ch 2, 3 dc into the same space.
- Create Blocks Between Fans:
- In the next sp, work 3 dc, ch 1.
- Repeat (fan, block, fan, block) until the round finishes. Fans will appear one above the previous fans, and blocks will form between them.
- Finish the Round:
- Join with a sl st and fasten off.
- Join with a sl st and fasten off.
Rows 4 and Beyond – Measuring & Completing the Hexagon
- Continue building the hexagon:
- Always work fans above fans (3 dc, ch 2, 3 dc) and blocks in spaces (3 dc, ch 1) between fans.
- Stop when you reach your desired size:
- Fold the hexagon diagonally to create the sock shape. This fold will help you measure against your foot size.
- For size 36–37 (US size 6–7), the hexagon width should measure approximately 25 cm diagonally.
Step 2: Sewing the Hexagon
- Cut a Piece of Yarn:
- Use the same color yarn as your last row for invisible seams.
- Turn Hexagon Inside Out:
- Fold it so the wrong side faces out.
- Sew the Edges:
- Use a yarn needle to sew:
- Bottom edge (forms the sole).
- Side edges (heel and ankle).
- Use the whip stitch method, passing the needle through the inside loops of the stitches for a clean finish.
- Use a yarn needle to sew:
Step 3: Fuxico Stitch Closure
- For the toe area, weave the yarn in a circular fuxico method:
- Insert the needle in and out of the stitches evenly around the open edge.
- Pull gently to close the toe area completely.
- Knot securely and weave in the ends.
Step 4: Optional Border
- Create a Decorative Top Border:
- Attach yarn at the top of the sock, ch 3, and work blocks (3 dc) evenly around.
- Attach yarn at the top of the sock, ch 3, and work blocks (3 dc) evenly around.
- Alternative Border: Make an accordion-style edging (video card reference is provided).
Finishing
- Check all seams and weave in loose threads neatly.
- Turn the sock right-side out for its final look.
- Repeat the process for the second hexagon sock.
Conclusion
These hexagon crochet socks are fantastic for keeping warm at home or layering over stockings during cold weather. The flexible design also provides opportunities to create clothing, such as kimonos or coats, making this project highly versatile.
Whether as a gift or donated to a shelter, these socks showcase your creative skills while being practical and useful. The pattern is beginner-friendly with basic stitches and assembly but provides intermediate crocheters room for customization.
Pattern Corrections
- Ensure the hexagon width matches your size. Too small, and the sock will not fit; too large and it may slip off.
- Adjust row and stitch counts for smaller or larger feet accordingly.
Tips
- Leftover Yarn: This project is ideal for using leftover yarn, especially in contrasting colors for a vibrant look.
- Customization: Experiment with different borders (simple or decorative) to enhance the sock appearance.
- Blocking Hexagons: Lightly block your hexagons to smooth out edges before sewing for a polished finish.
- Secure Seams: Knot threads tightly to ensure durability during wear.