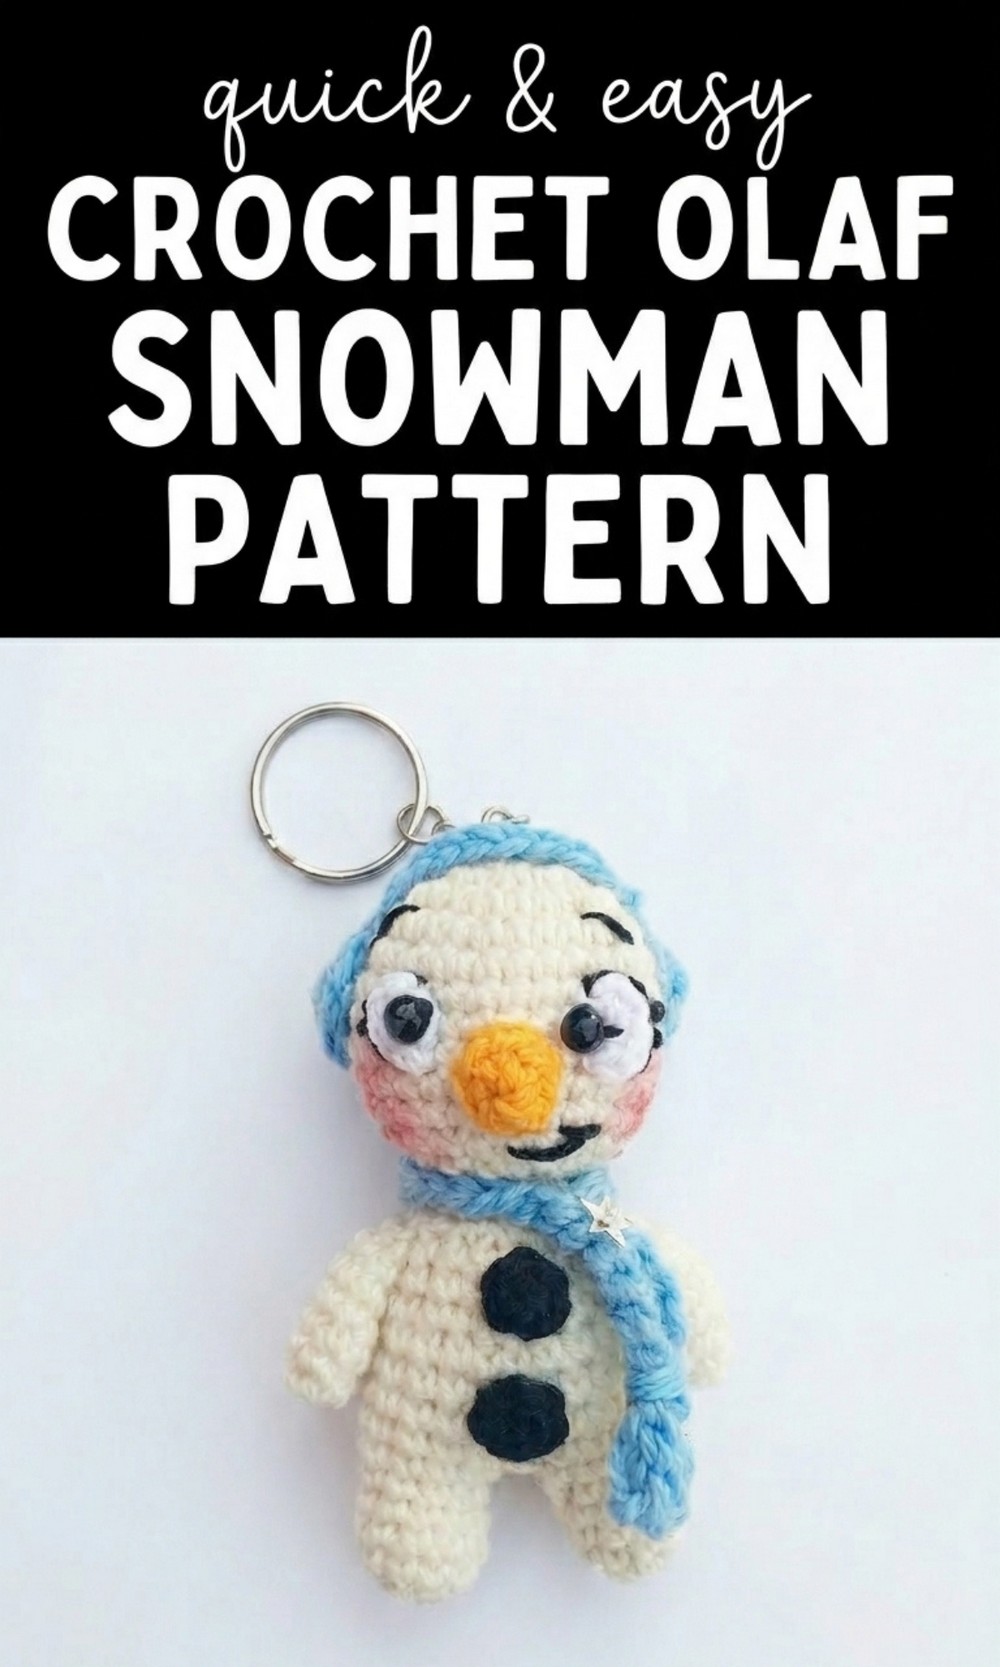
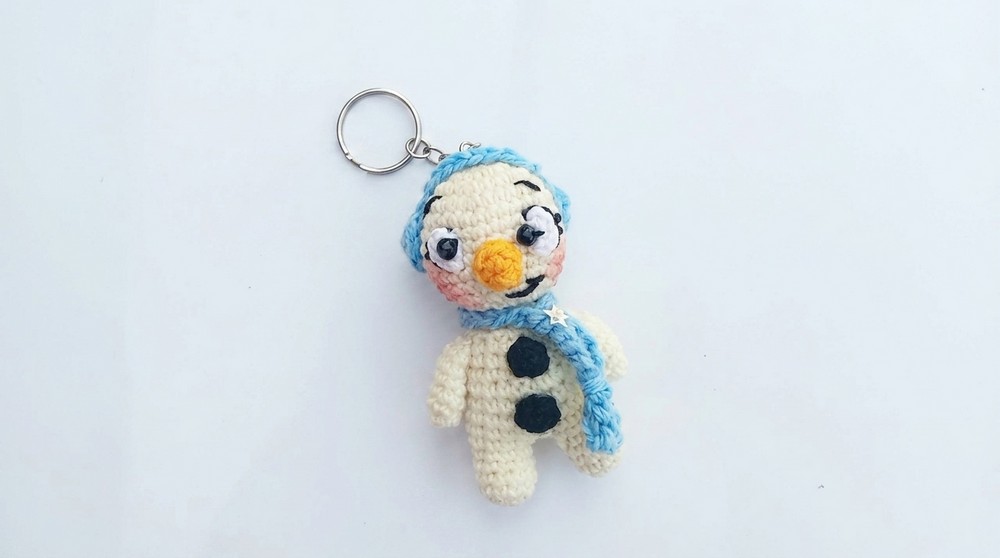
Fill your home with holiday happiness using this free crochet Olaf Snowman pattern and create a lovable character everyone will enjoy.
Olaf is a snowman loved by everyone, especially children, because of his joyful smile and adorable personality. This pattern allows you to bring Olaf to life with your crochet skills. He is made from soft white yarn that gives the snowman body its fluffy and realistic look. His big bright smile and carrot shaped nose make him look happy and welcoming. The twigs for his arms and hair are a fun detail that adds more character to his design.
A Cute Free Crochet Olaf Snowman Pattern To Decorate Any Space

This Olaf crochet pattern is perfect for home décor, gifts, or as a toy for kids. It can brighten up any room, especially during winter and holiday seasons. Not only is it enjoyable to create, but it also becomes a handmade treasure that you can keep or gift to someone special. The safety eyes and expressive face make Olaf look alive and full of personality. You can customize his features by adding a scarf, sparkly yarn, or even changing his size. Whether you are a beginner or an experienced crocheter, this pattern is simple and clear to follow, making it a project for everyone to enjoy.
One of the best parts of this free crochet Olaf snowman pattern is the sense of pride it brings when you finally see him complete. Olaf is not just a snowman; he is a symbol of happiness, friendship, and the magic of winter. Anyone who crochets him will feel the joy that this character brings to life. So pick up your crochet hook and make your very own Olaf snowman today.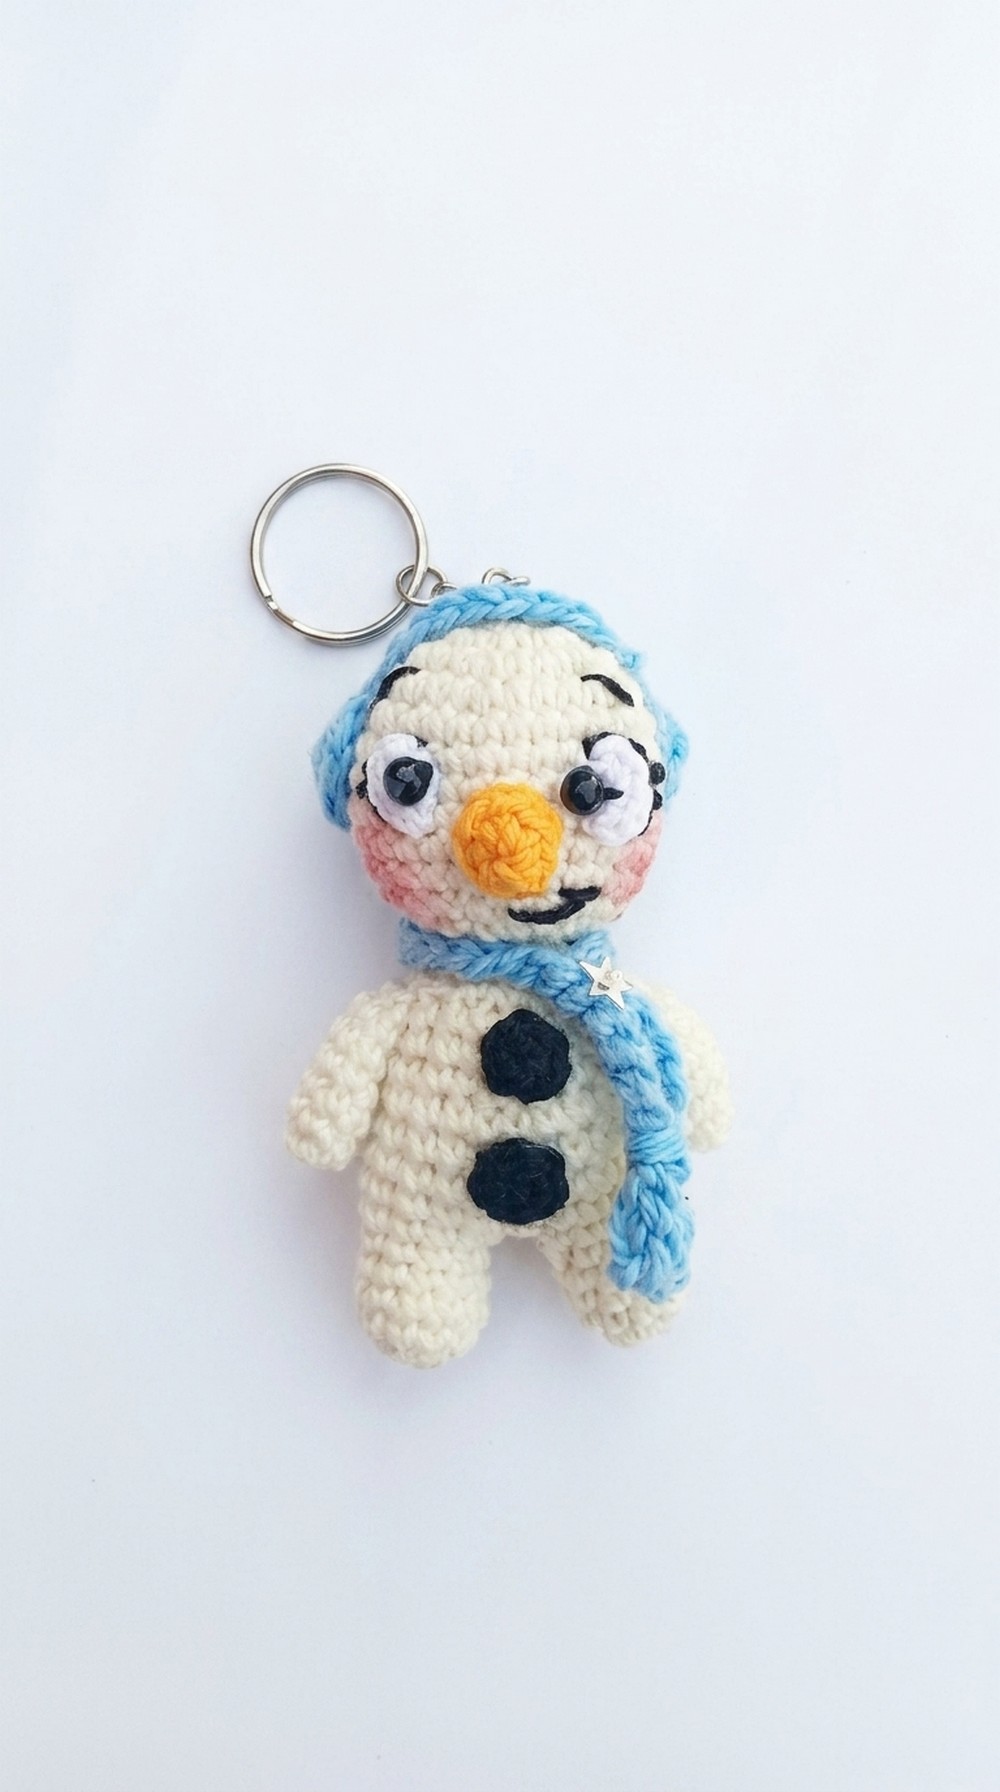
Crochet Olaf Snowman Pattern
Materials Needed
Before beginning the pattern, gather these essential supplies to ensure a smooth process:
- Yarn:
- White (main snowman body)
- Black (mouth, buttons, and eyebrows)
- Orange (carrot nose)
- Brown (hair and arms)
- Blue or Light Gray (eyes)
- Optional: Sparkly yarn for frosty accents
- Crochet Hook: Size 3.0mm or 3.5mm. These hook sizes are ideal for tight stitches, ensuring the stuffing remains hidden inside.
- Polyester Fiberfill: Used to firmly stuff Olaf’s head, body, and nose for a rounded shape.
- Safety Eyes: Size 10mm–15mm for a signature Olaf expression. You can also embroider the eyes using black and blue yarn.
- Tapestry Needle: For sewing individual pieces together and weaving in tails.
- Scissors: To cut yarn neatly.
- Stitch Markers: Optional, but highly recommended for keeping track of rounds, especially for beginners.
Gauge
While gauge isn’t critical for this amigurumi pattern, keep stitches tight to avoid fiberfill showing through. Here’s a recommended gauge:
- 8 stitches per inch and 8 rows per inch using DK-weight yarn and a 3.0mm hook.
If your piece seems overly loose or overly tight, adjust the hook size accordingly.
Finished Size
The finished Olaf measures approximately 9–10 inches (23–25 cm) tall from head to base, depending on your yarn thickness, tension, and hook size. To make a smaller or larger Olaf, substitute yarn and hook sizes.
Crochet Techniques Used
This pattern uses basic crochet techniques, ideal for intermediate crocheters. These techniques include:
- Magic Ring: For a clean, gap free start to amigurumi parts.
- Single Crochet (sc): The primary stitch for crocheting Olaf.
- Increase (inc): Work two single crochets (sc) into the same stitch.
- Decrease (dec or sc2tog): Crochet two stitches together to reduce the stitch count and shape the piece.
- Slip Stitch (sl st): Used to join rounds or create decorative details.
- Chain Stitch (ch): Used for limbs, hair, and small details.
Pattern Instructions
Follow the instructions below to crochet Olaf from top to bottom. Each part is created separately and sewn together during assembly.
Olaf’s Head (White Yarn)
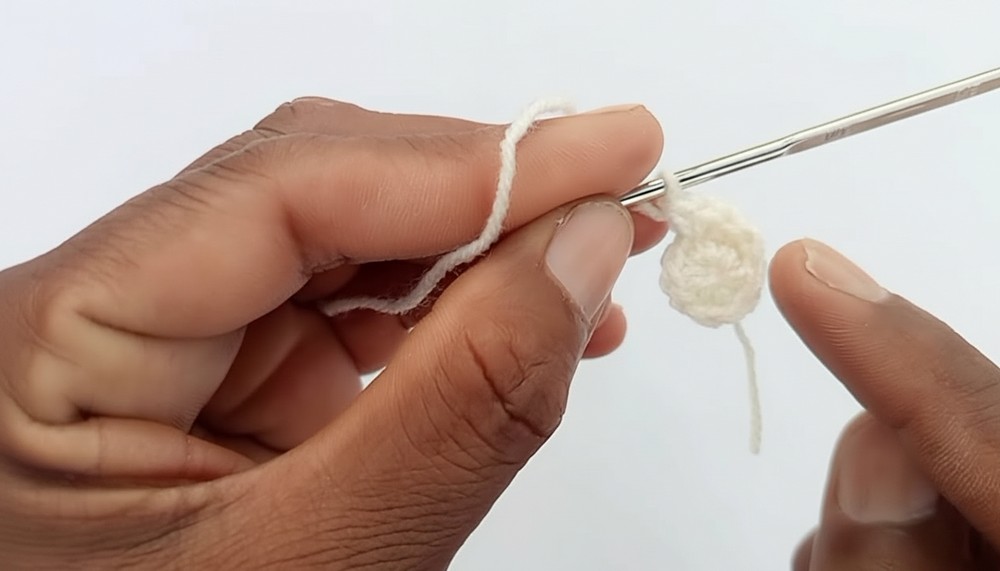
Start with Olaf’s iconic snowball shaped head:
- Magic Ring: Create a magic ring and crochet 6 Single Crochets (sc) inside. Pull the tail tight to close the ring.
- Round 2: Work 2 sc into each stitch around (increase in each stitch). Total = 12 sc.
- Round 3: (1 sc, inc) repeat around. Total = 18 sc.
- Round 4: (2 sc, inc) repeat around. Total = 24 sc.
- Round 5: (3 sc, inc) repeat around. Total = 30 sc.
- Round 6 to 8: Work 1 sc in each stitch around (no increases). Total = 30 sc per round.
- Round 9: (3 sc, dec) repeat around. Total = 24 sc.
- Round 10: (2 sc, dec) repeat around. Total = 18 sc.
- Round 11: (1 sc, dec) repeat around. Total = 12 sc.
Stuff the head: Fill Olaf’s head firmly with fiberfill, ensuring it’s well rounded. Avoid overstuffing, which can distort the shape.
- Round 12: Decrease around (dec every 2 stitches). Total = 6 sc.
- Close the opening using a tapestry needle. Leave a long tail for sewing the head to Olaf’s body later.
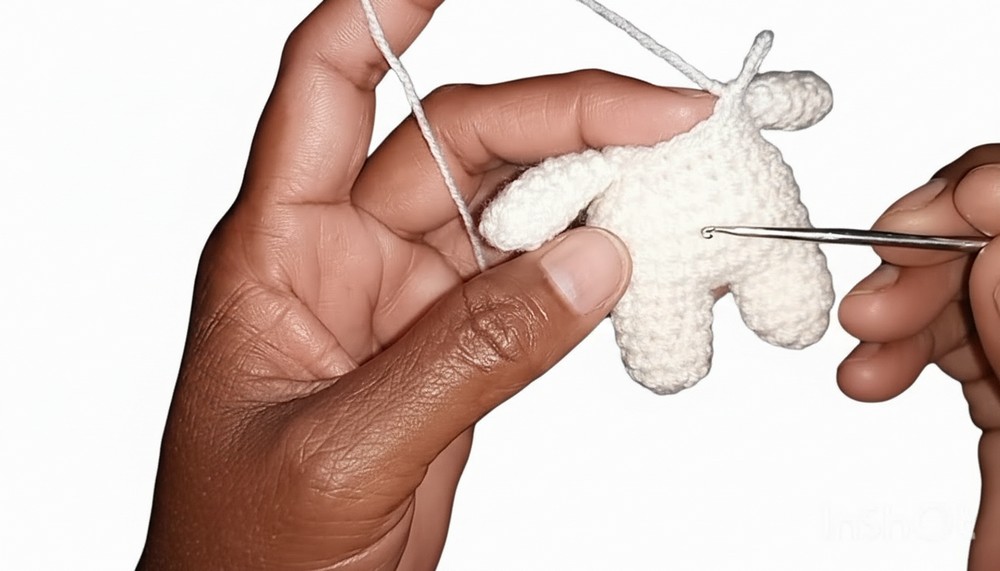
Olaf’s Body (White Yarn)
Olaf’s snowman body consists of two parts: a larger rounded base and a smaller upper body section.
Base Section:
- Magic Ring: Crochet 6 sc inside and pull tight to form a circle.
- Round 2: Work 2 sc in each stitch (increase) around. Total = 12 sc.
- Round 3: (1 sc, inc) repeat around. Total = 18 sc.
- Round 4: (2 sc, inc) repeat around. Total = 24 sc.
- Round 5 to 7: Work 1 sc in each stitch around (no increases). Total = 24 sc per round.
- Round 8: (2 sc, dec) repeat around. Total = 18 sc.
- Round 9: (1 sc, dec) repeat around. Total = 12 sc.
Upper Body Section:
8. Without fastening off, begin directly above the base. (1 sc, inc) repeat around. Total = 18 sc.
- Rounds 10 to 12: Work 1 sc in each stitch. Total = 18 sc per round.
Stuff: Fill the lower and upper body sections with polyester fiberfill to give Olaf a plump, snowman like structure. Secure the final round with a slip stitch and leave a tail for sewing.
Olaf’s Buttons (Black Yarn)
Use black yarn to create Olaf’s iconic buttons:
- Magic Ring: Make 3 magic rings, each consisting of 6 sc.
- Pull tight, fasten off, and sew evenly along Olaf’s body using a tapestry needle. The buttons should be spaced vertically on the lower section for a classic snowman appearance.
Olaf’s Arms and Hair (Brown Yarn)
Arms:
Olaf’s stick like arms add his playful character:
- Chain 8: Start with a chain of 8.
- Row 2: Single Crochet into the second chain from the hook. Continue across (Total = 7 sc).
- Branches: At random intervals, add small branches by chaining 3 stitches. Work slip stitches back to the main arm structure.
Repeat for the second arm and set aside for assembly.
Hair:
Olaf’s hair consists of three small twig like strands:
- Crochet 3 small chains (Chain 6 each).
- Work slip stitches back along the length of each chain for stiffness.
- Attach these strands securely to the top of Olaf’s head.
Olaf’s Carrot Nose (Orange Yarn)
The carrot nose is a small cone:
- Magic Ring: Crochet 4 sc into the ring.
- Round 2: Work 1 sc in each stitch (no increases). Total = 4 sc.
- Round 3: (1 sc, inc) repeat around. Total = 6 sc.
- Round 4: Work 1 sc in each stitch.
Stuff the nose lightly before sewing it to Olaf’s face in the center.
Olaf’s Eyes and Mouth
Eyes:
- Use safety eyes (15mm) for Olaf’s expressive eyes. Place them symmetrically, slightly raised above the nose.
- Alternatively, crochet small white circles and embroider blue irises.
Mouth:
- Chain 6 using black yarn. Shape this into a curved smile and sew under Olaf’s nose.
Assembly
- Sew Olaf’s head onto the upper body section using the tails left during construction. Ensure it’s securely attached for stability.
- Attach the arms symmetrically to the sides of Olaf’s upper body.
- Secure the hair strands to the top of the head.
- Add buttons, eyes, and embroider final details like eyebrows.
Customization Tips
- Size Adaptations: Use thicker yarn and larger hooks for a taller Olaf, or finer yarn for a smaller Olaf.
- Sparkle Accents: For a frosty appearance, use sparkly or metallic yarn in the white sections.
- Accessories: Add a mini scarf or hat for seasonal themes.
Conclusion
Creating Olaf with crochet brings the whimsical character to life in an enjoyable, step by step crocheting process. Simple techniques like the magic ring and basic increases allow you to sculpt each snowball section while incorporating charming details like the carrot nose and twig like arms. Whether you’re gifting Olaf or adding him to your Frozen collection, this project is bound to bring smiles to everyone’s faces. Enjoy warm hugs with your handmade Olaf.